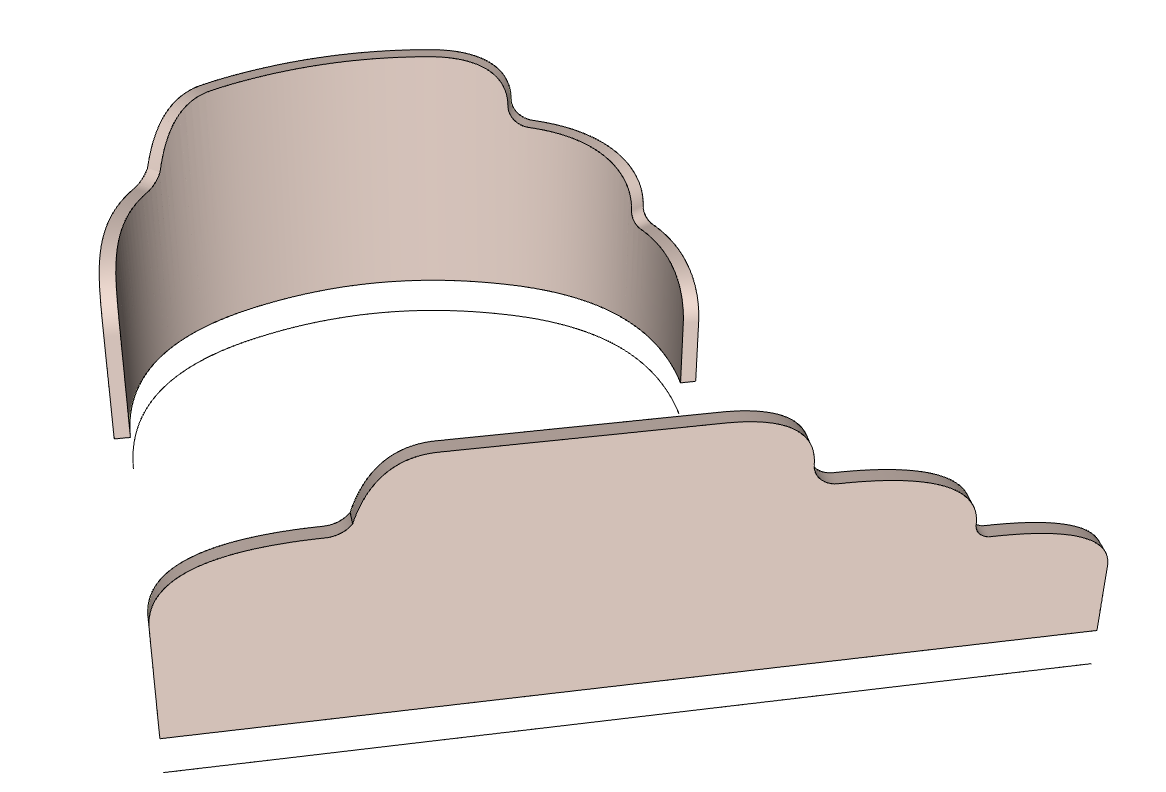
Cheek blocks for a small sailboat. Rendered in Vray.
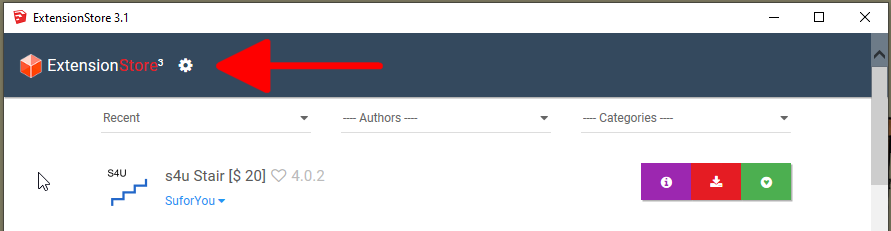
@nickchun you might try updating to the latest version of the Sketchucation ExtensionStore tool. The latest version is 4.4.1
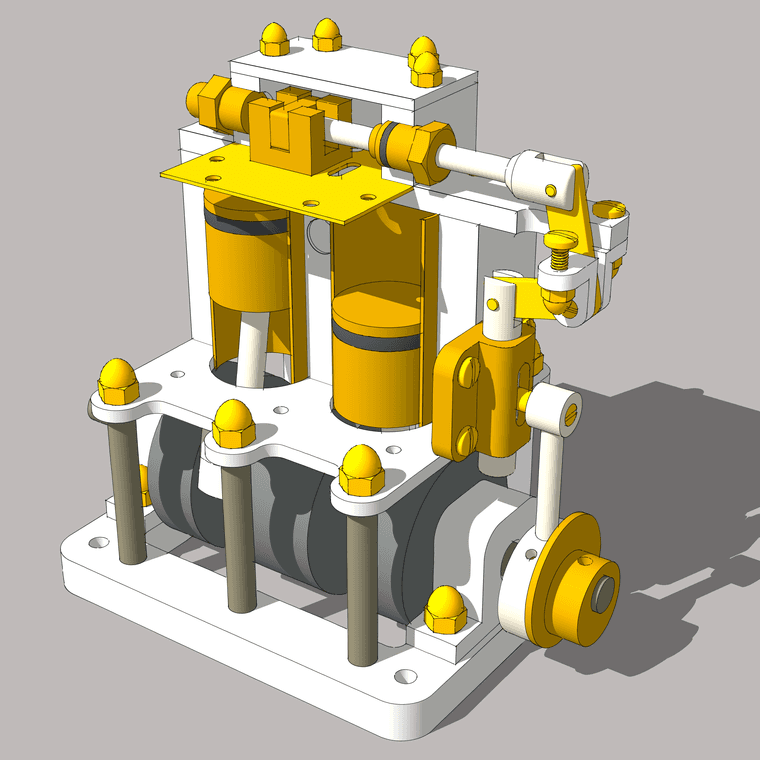
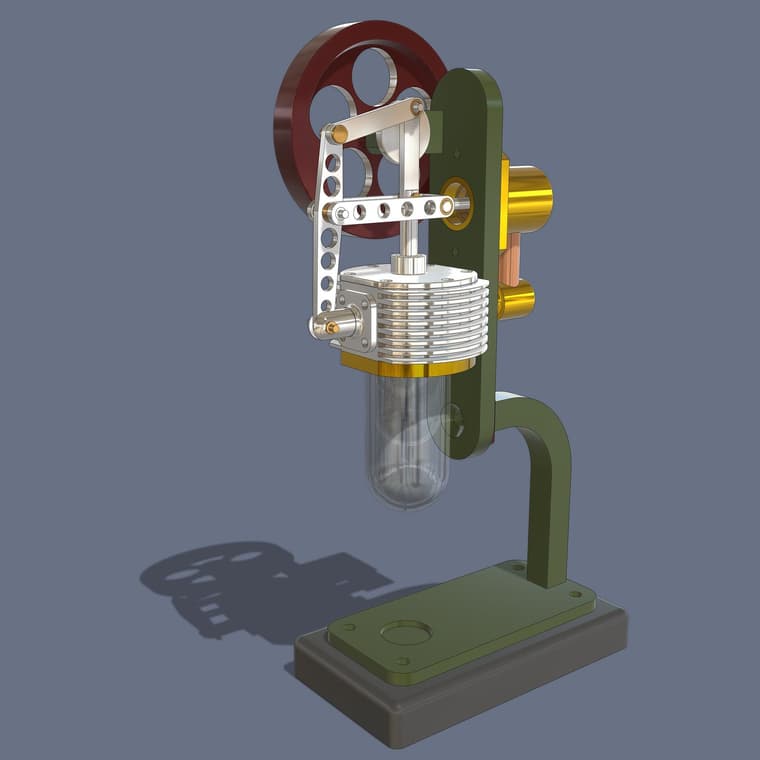
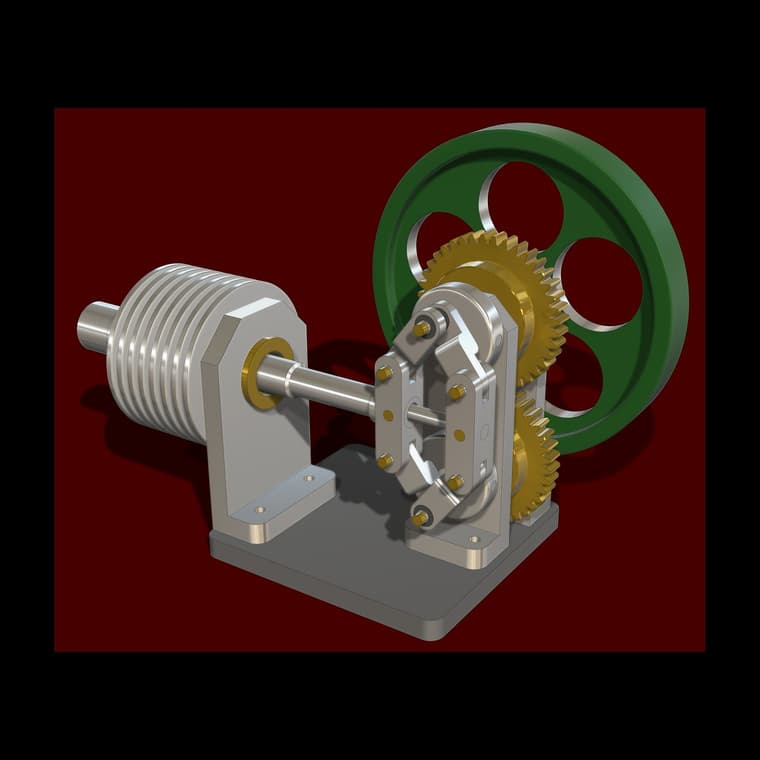
Another two cylinder engine just for the fun of it.
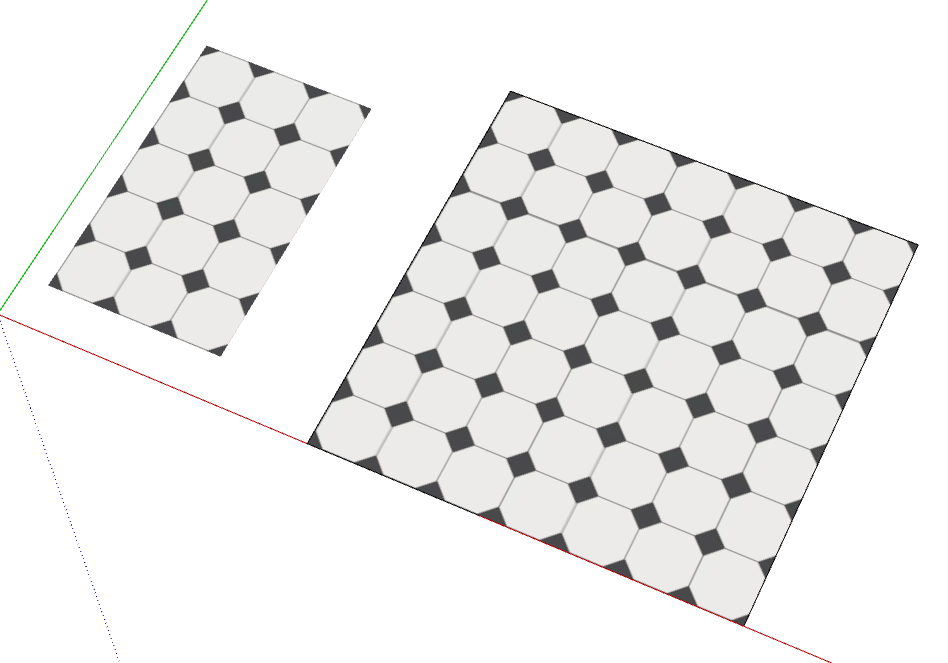
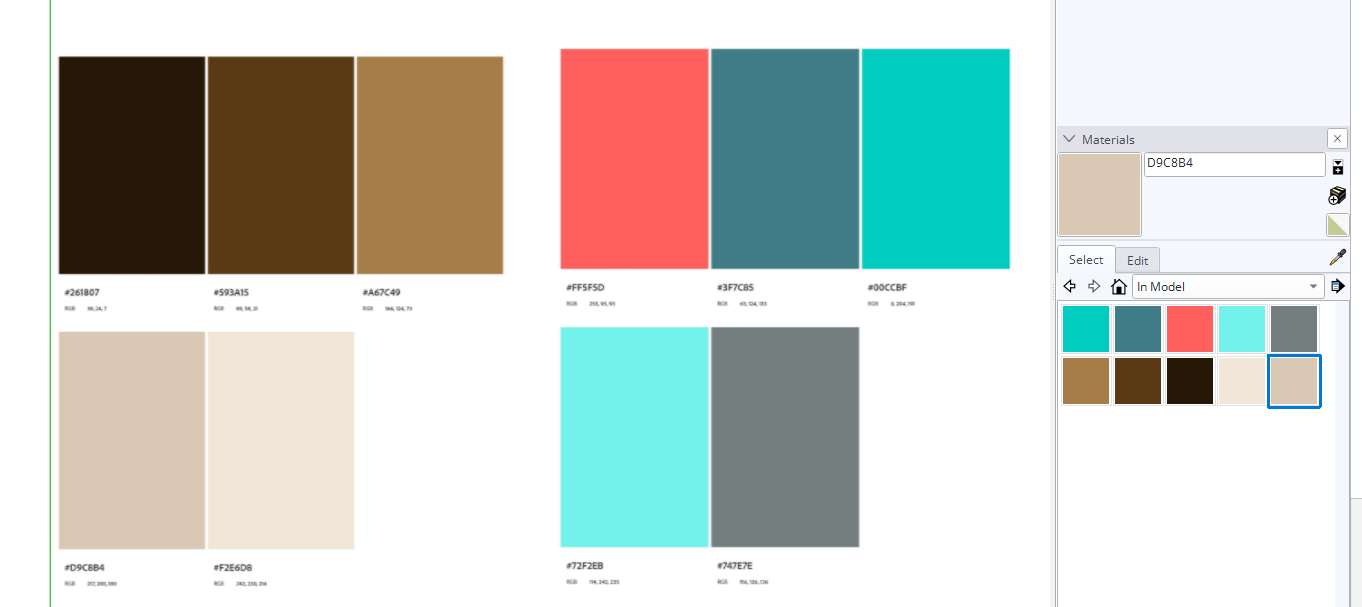
It tiles correctly in SketchUp for the image you have supplied.
Illustrating what TIG described: I cropped your image down to eliminate the partial tiles on the sides. The cropped image is shown imported as an image on the left and as a material on the larger face to the right.
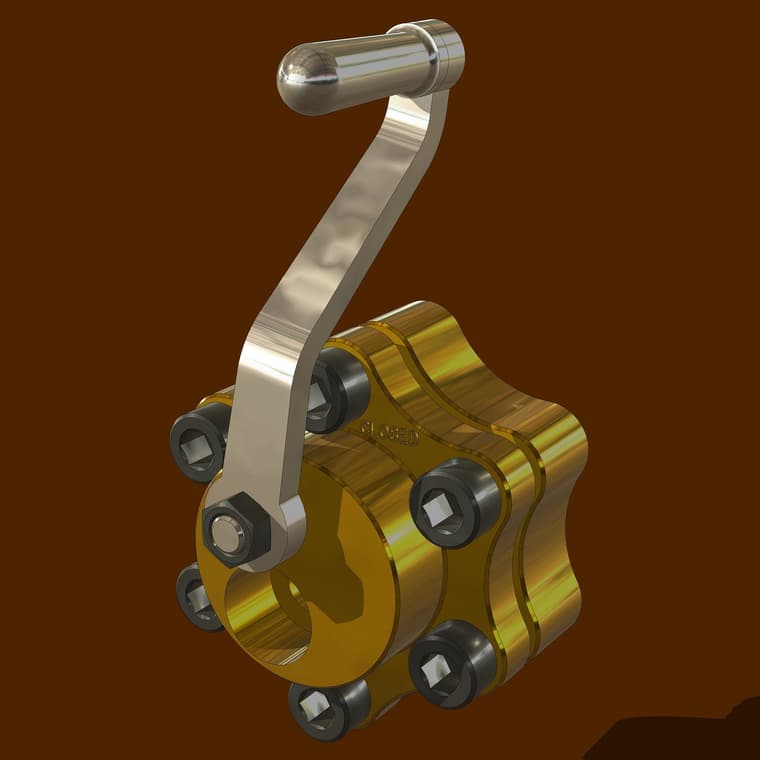
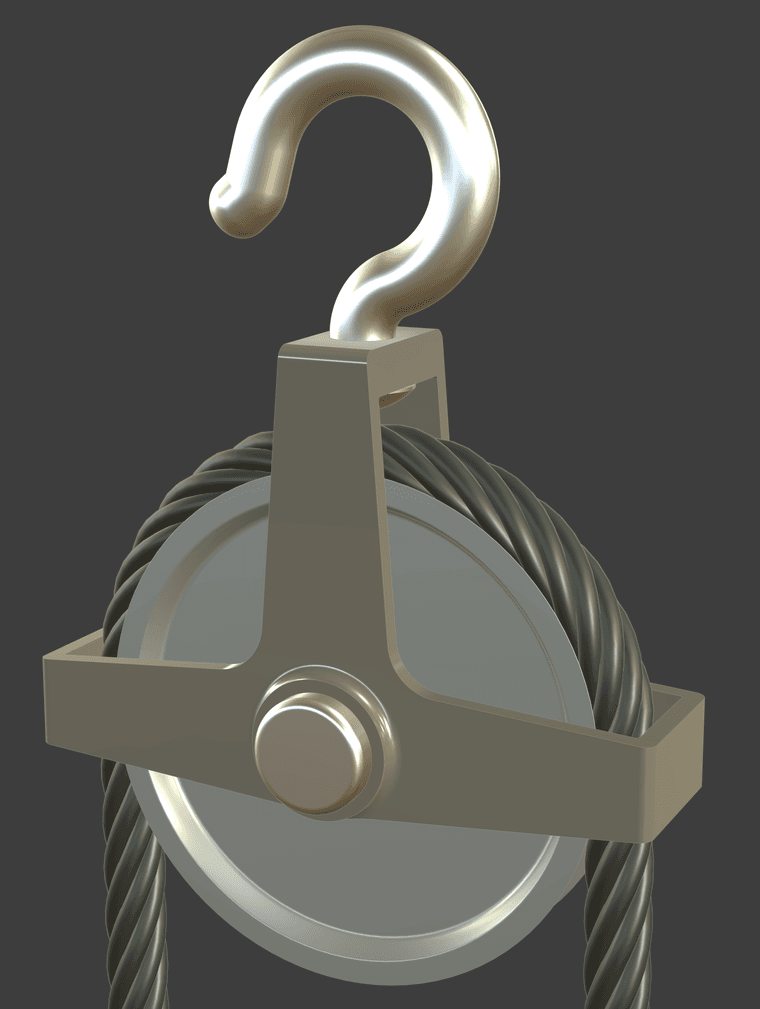
A model done while waiting on dinner to cook. A pulley on a hook. This is based on dimensions in another edition of the technical drawing books from Spain.
@sentur How about modeling it flat and then bending it withShape Bender?
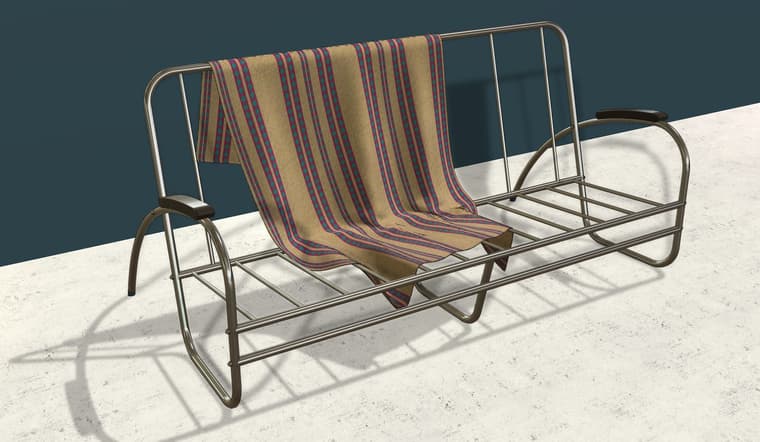
Thank you. The "photo real textures" thing is a new feature in SU2025. That's how I created the shiny metal tubing and leather armrests here. The curated collection of materials (and other stuff) in the 3D Warehouse is available to anyone with a current subscription although the texture maps will only do anything in 2025. You might be able to download the texture maps with an older version of SketchUp and use them in an external renderer but I haven't checked that out yet.
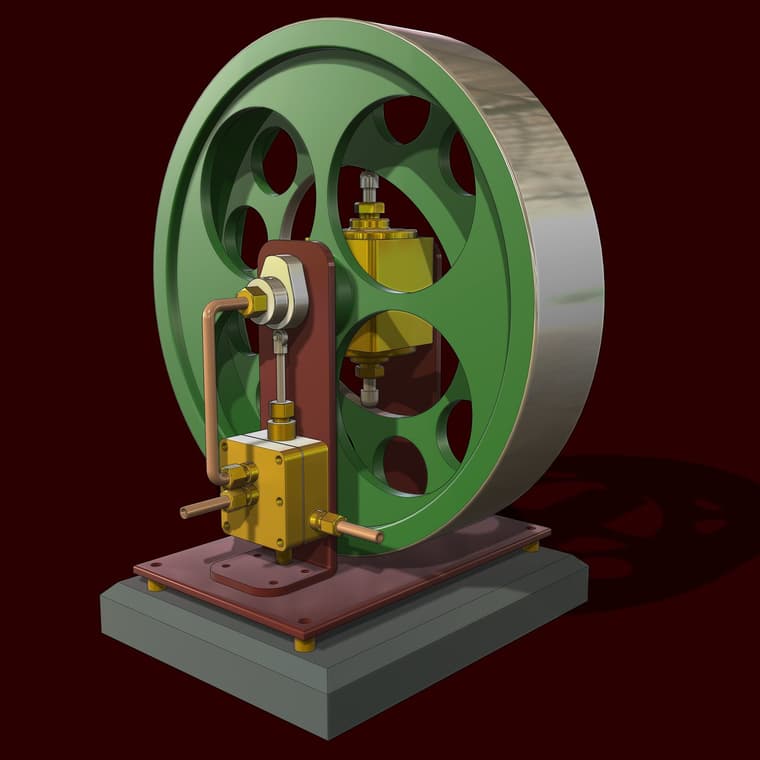
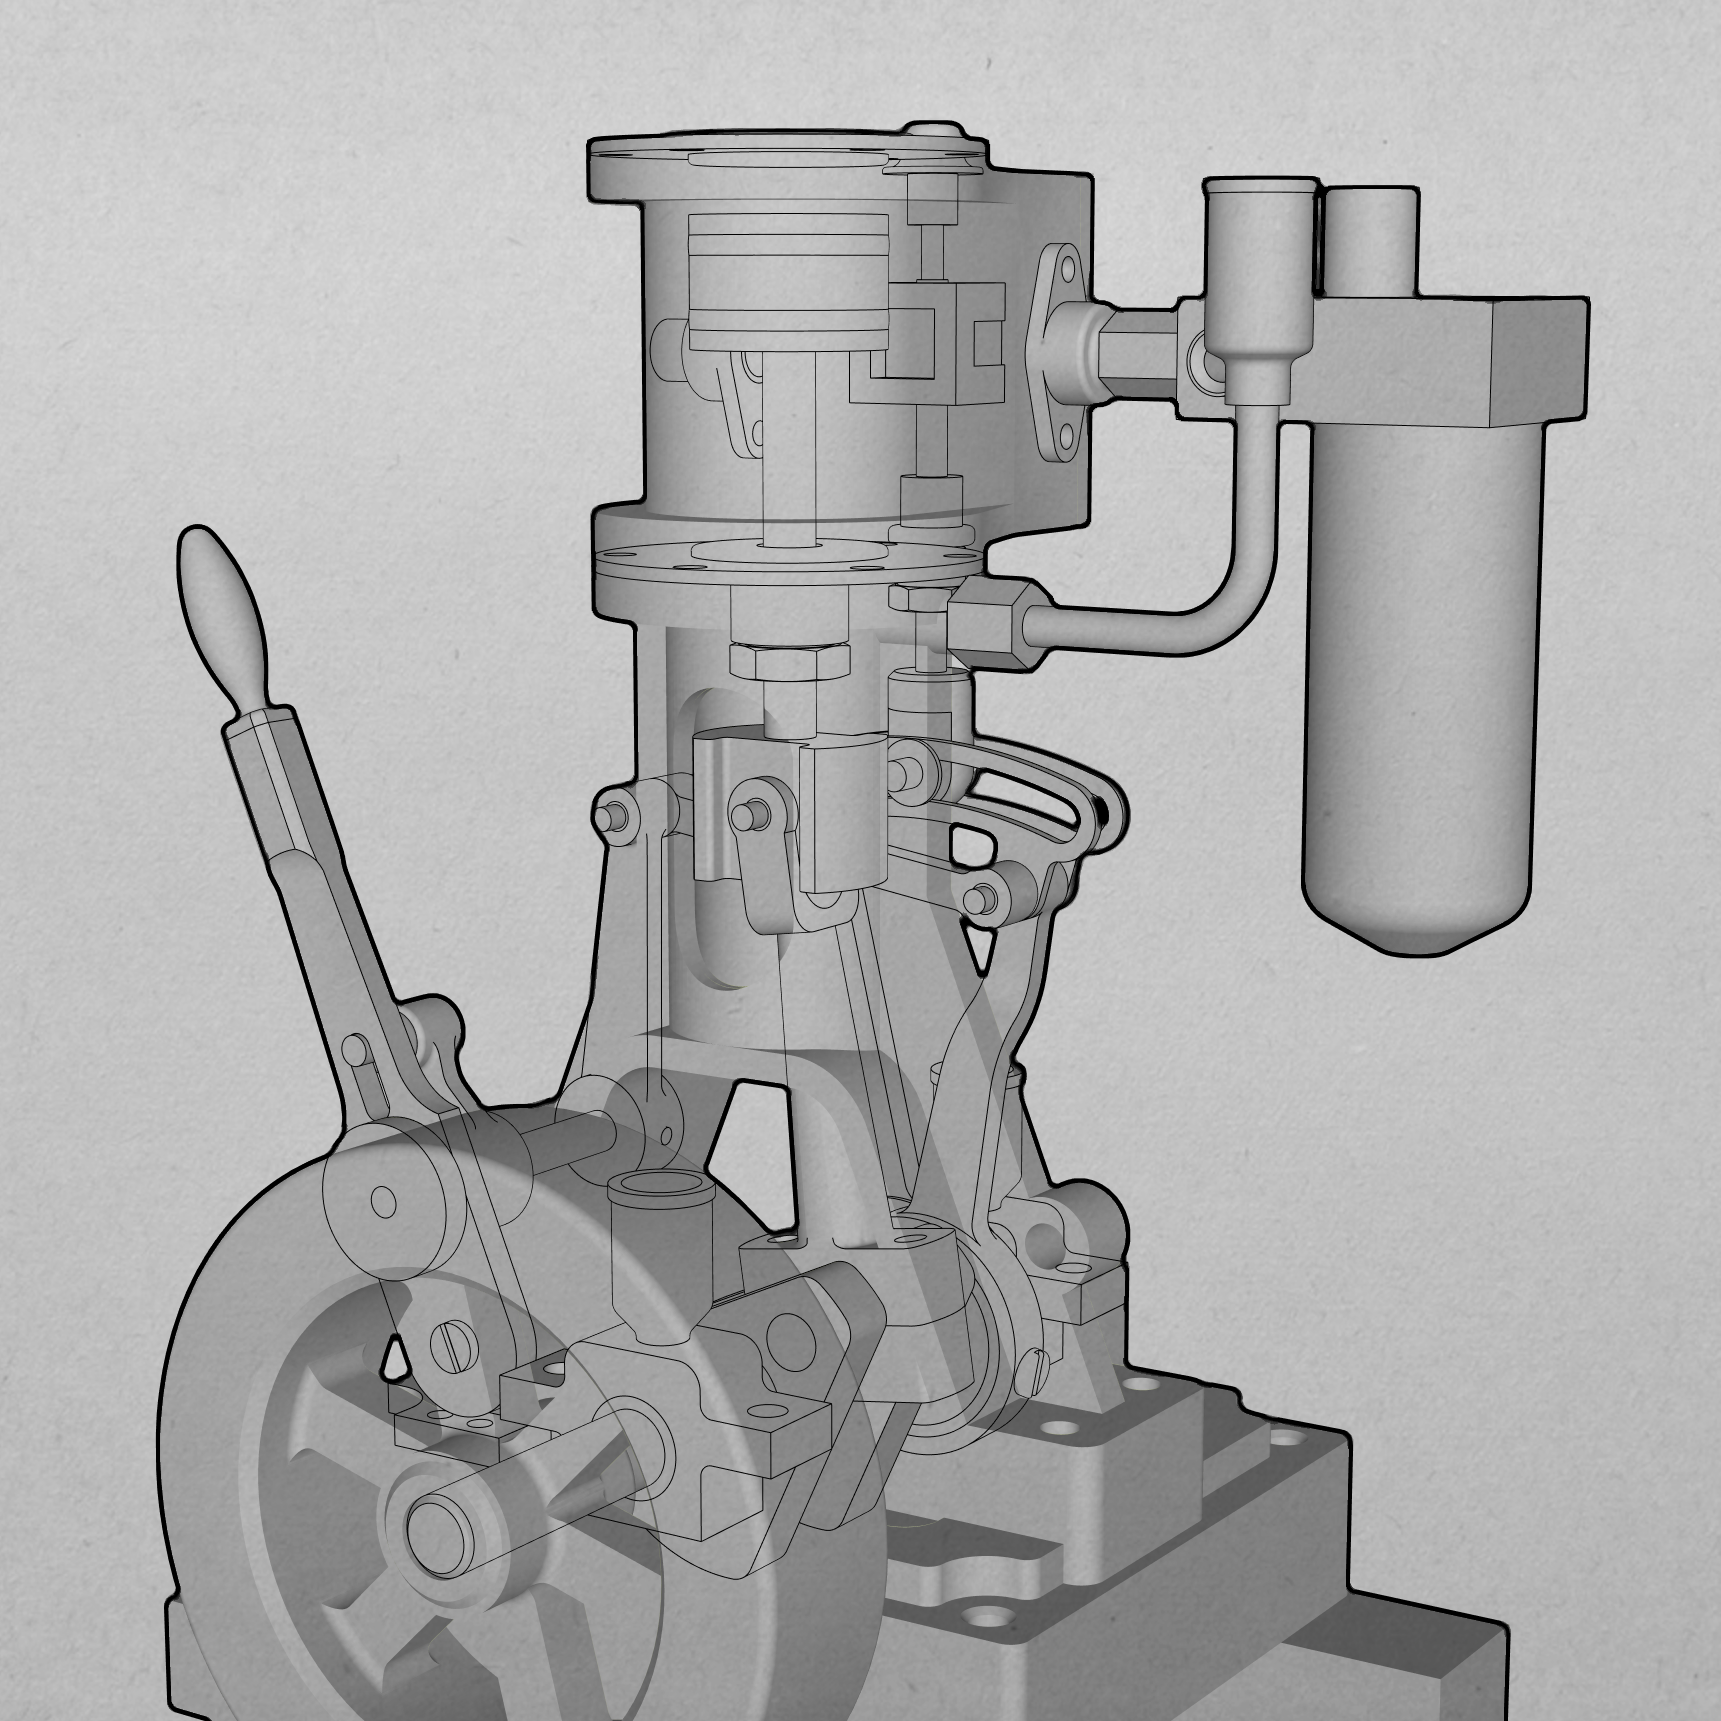
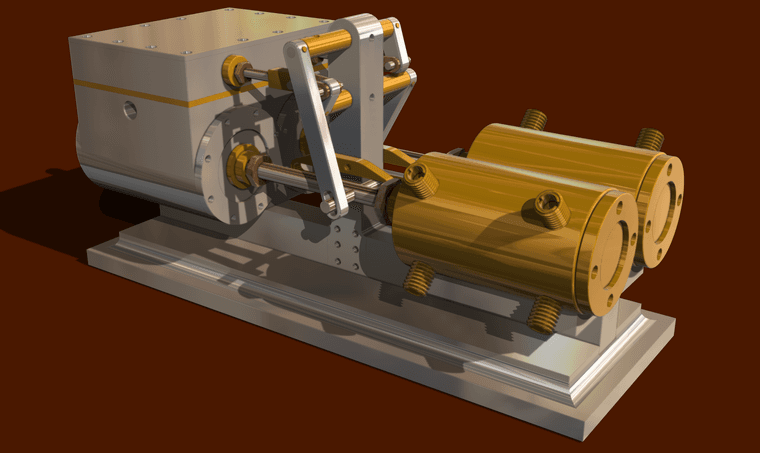
You probably won't believe it but here's another little steam engine. This is a 2-cylinder engine driving a duplex water pump.
A twin cylinder steam powered donut delievery device? That would be cool.
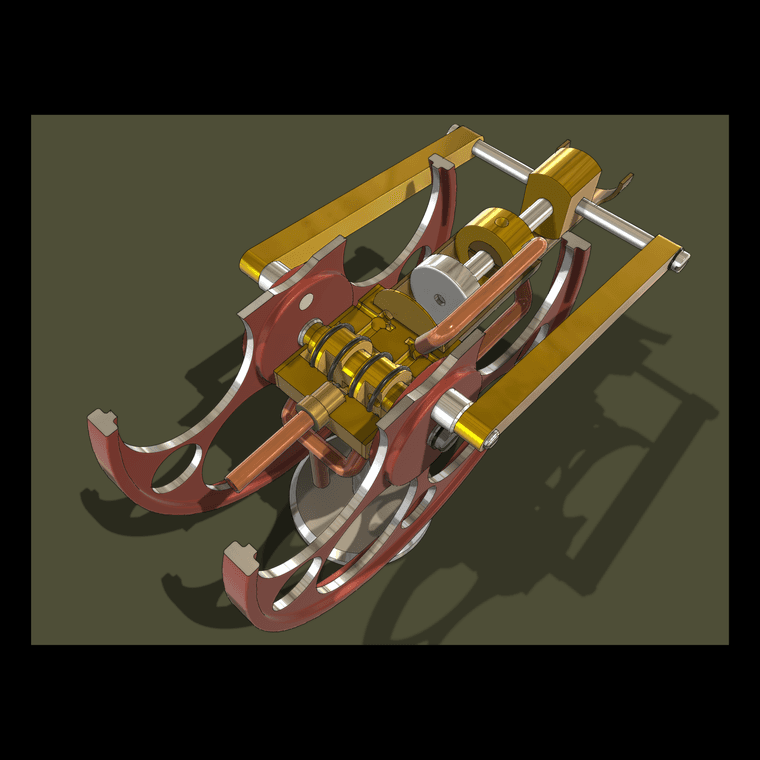
In the meantime here's an idler sprocket for #40 roller chain.

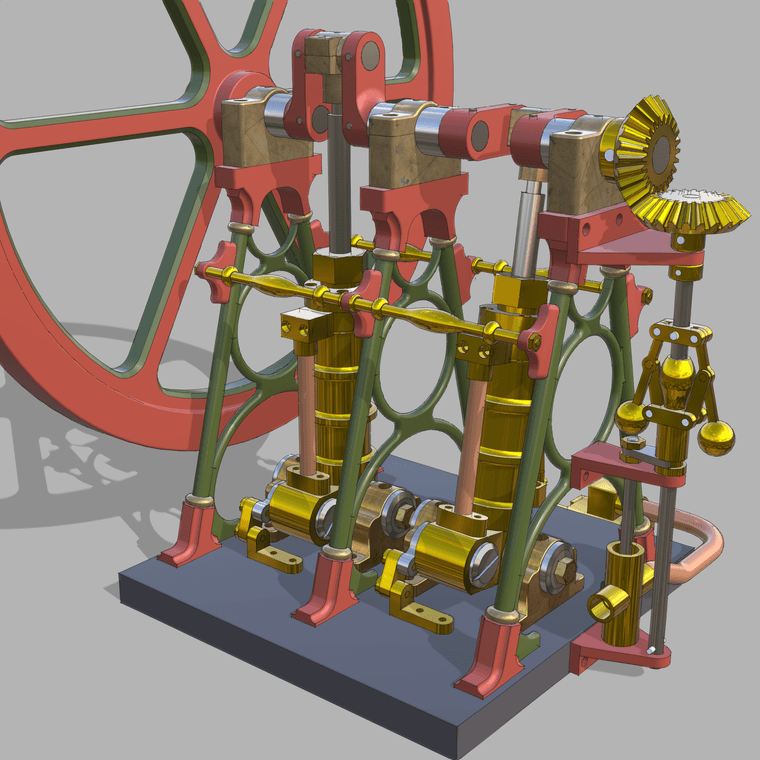
For scale the flywheel is 166mm dia.
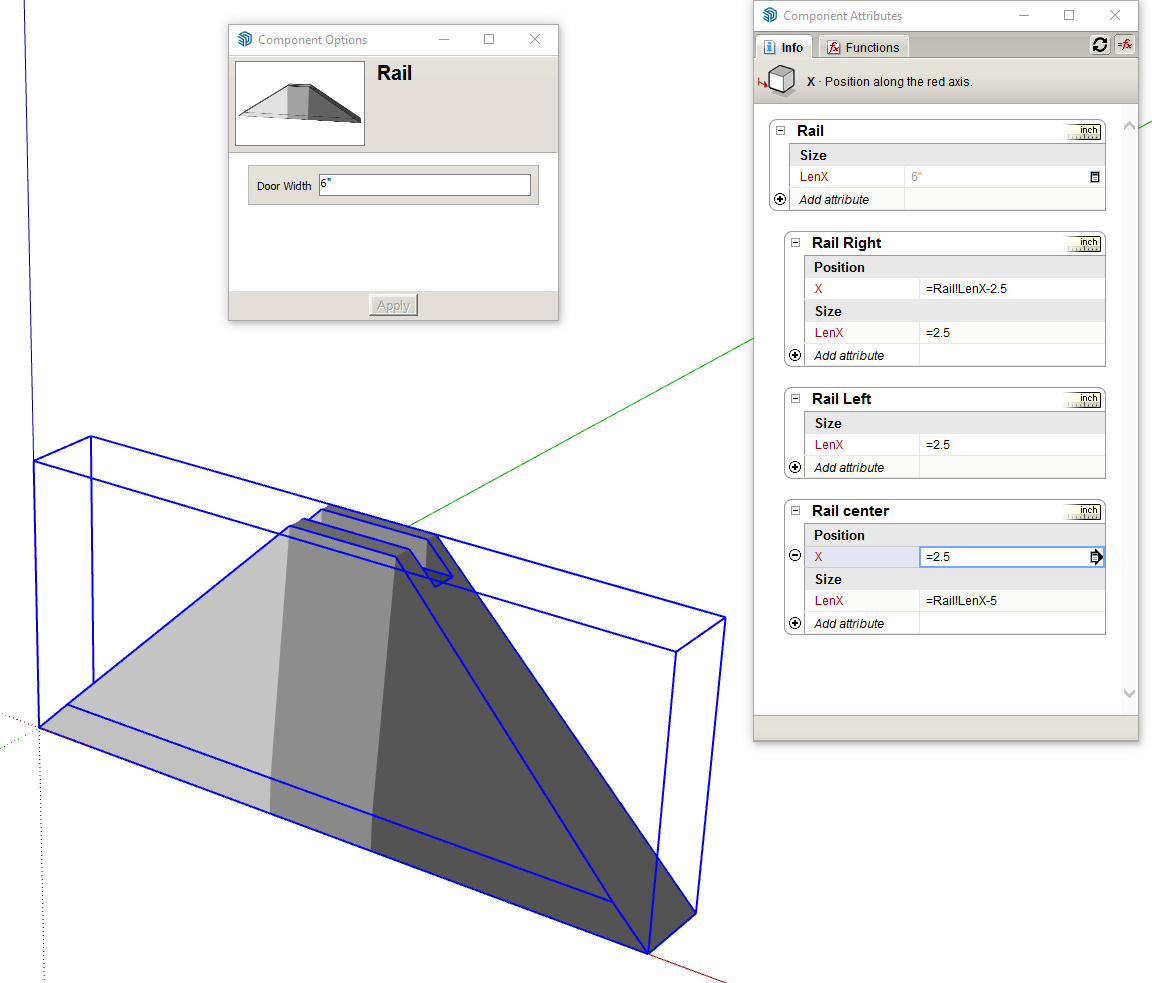
@jcarterKBdesign As you found, changing the length of the components is scaling operation. If you think about the miters as triangles, you're scaling the triangle along one leg which changes the angle of the hypotenuse. Simple geometry.
In the case of your mitered door frame you would need to split the rails and stiles into three separate components, a middle section with square ends and then a triangular component for the miter at each end. Then the setup for the DC would involve scaling the length of the center section and moving one of the end components. That will keep the 45° miter with length changes.
If you don't want to see the seam line between the three components, hide the end faces and their bounding edges to make the rail or stile look like a single object.
I did a quick example for one rail. I painted each component with a different shade of gray to show there are three separate ones.
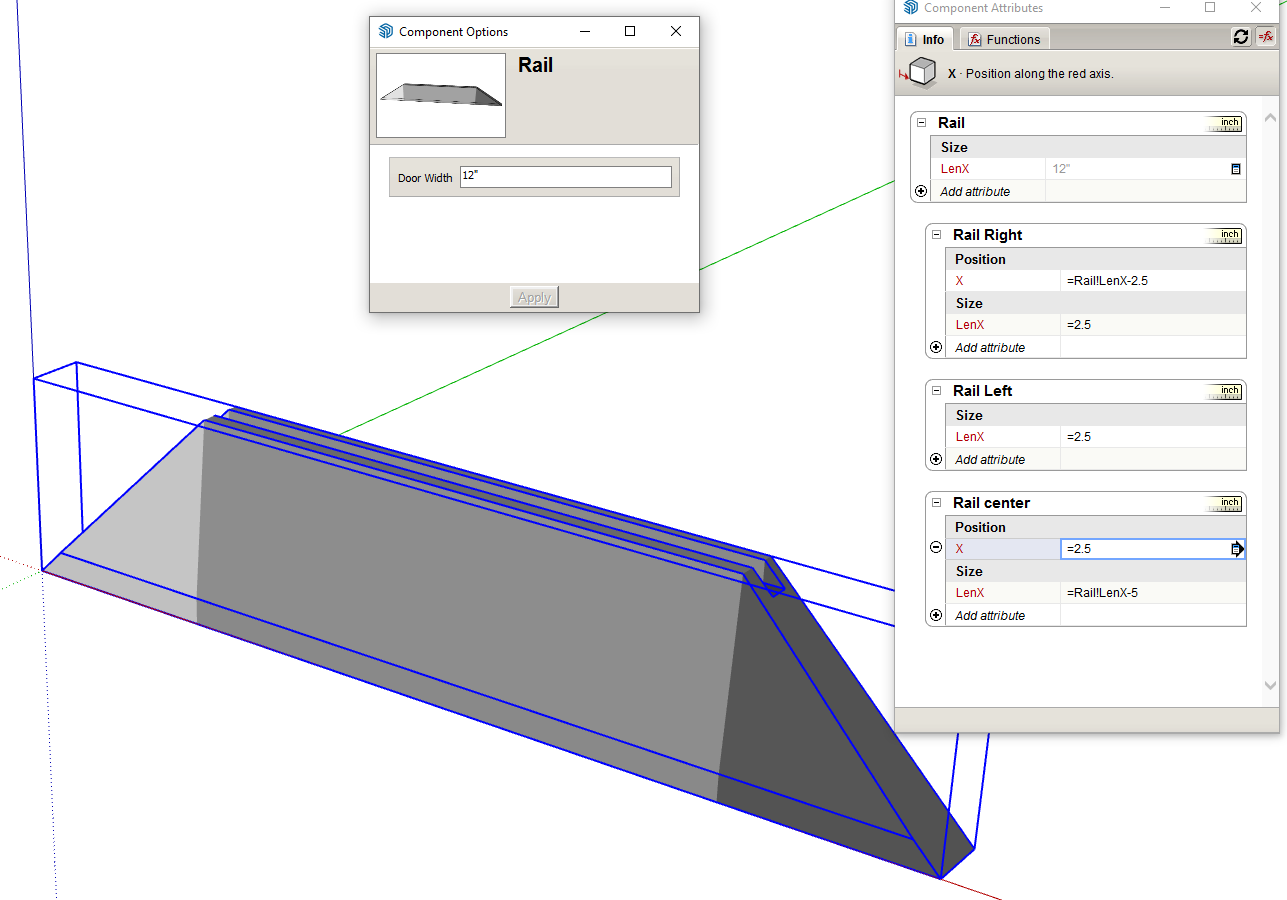
And with the overall length changed.
@elfis said in [Plugin][$] FredoScale - v3.6a - 01 Apr 24:
divide do not work on sketchup 2025 I'm alone with this ?
Well, it works for me in SketchUp 2025.
@danna why is your MyComponents folder in the Downloads folder?
What's wrong with using the default location for components?
@pep75 I just installed it in SU2026 and gave it a try. It seems to do what it says on the tin. The back face color is green.
Until such time as someone figures out and writes an extension to do that you can do it natively. I imported your first two images as images into SketchUp. Then select a random color from the native Colors collection and added it to the model. Under the Edit tab I selected the eyedropper to sample a color, named it, and then clicked on the Create New Material button.
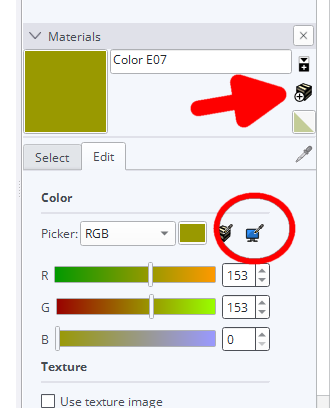
Rinse and repeat for the rest of the colors.
This seems to come around every year or so and for a lot of people it seems to be a big problem but it doesn't need to be. This is how I do it.
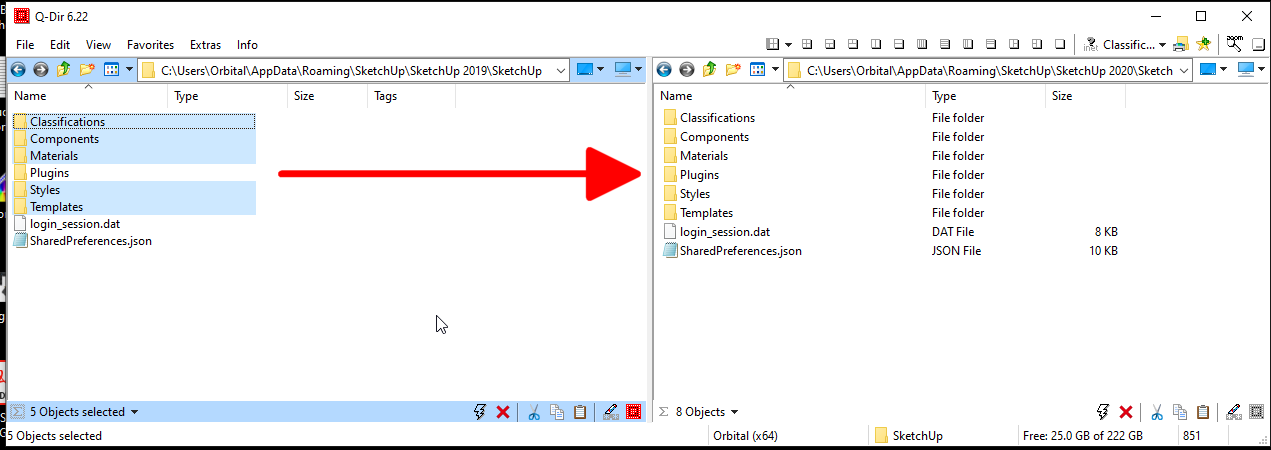
Alternatively you can leave the components, materials, and styles where they are and change the file paths in Preferences>Files.

As for keyboard shortcuts, they should take care of themselves. The new version looks for the shortcuts in the previous version and installs them automatically.
I know there are some things that seem like they could be easier. If people were AR about keep their extensions up to date and extensions didn't require updates due to changes in Ruby versions, most of them could be copied from the old version. Evidence has shown that most people aren't good about keeping their extensions up to date and from time to time, Ruby changes requiring updates to some extensions so it's best just to install fresh copies instead.
It would also be nice if there was a way to get toolbars set up automatically but alas, there isn't yet. No point agonizing over it. Just get it done.