A hook on a pulley for some sort of crane or something. Based on dimensions given in an old, undated book from Spain of technical drawing exercises.
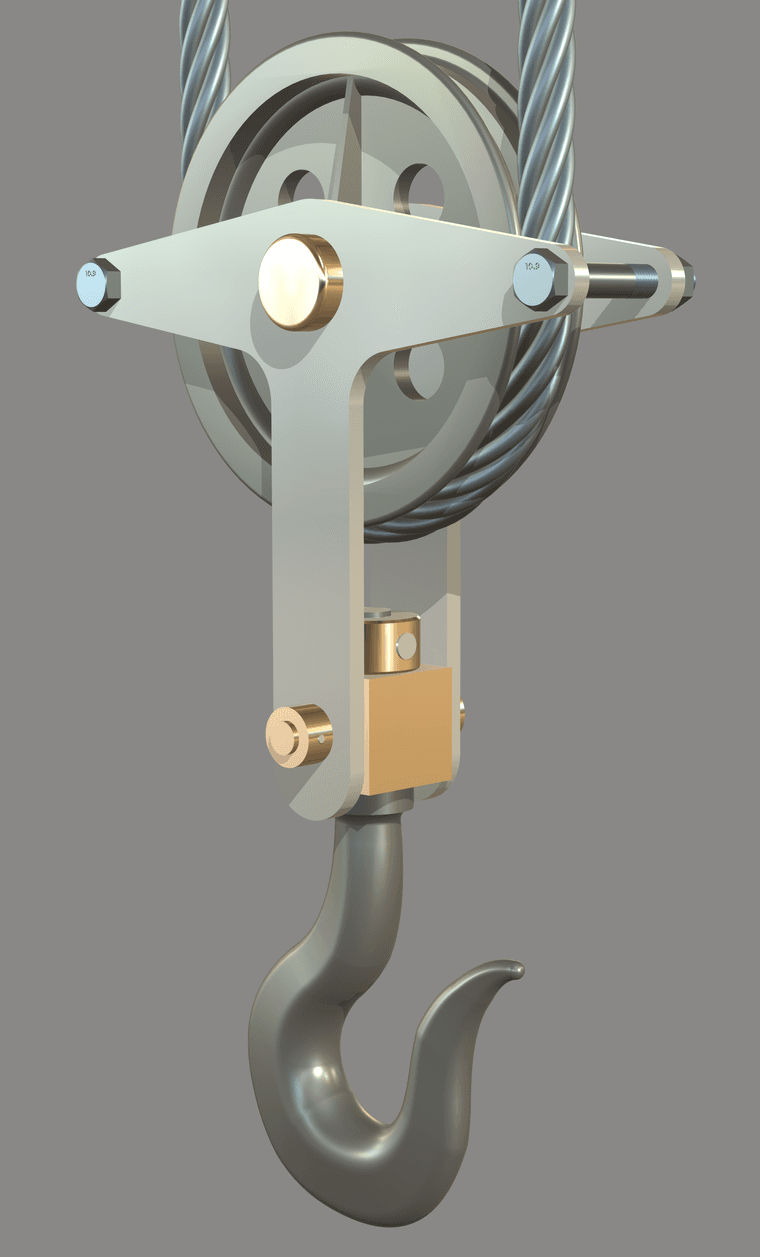
A hook on a pulley for some sort of crane or something. Based on dimensions given in an old, undated book from Spain of technical drawing exercises.

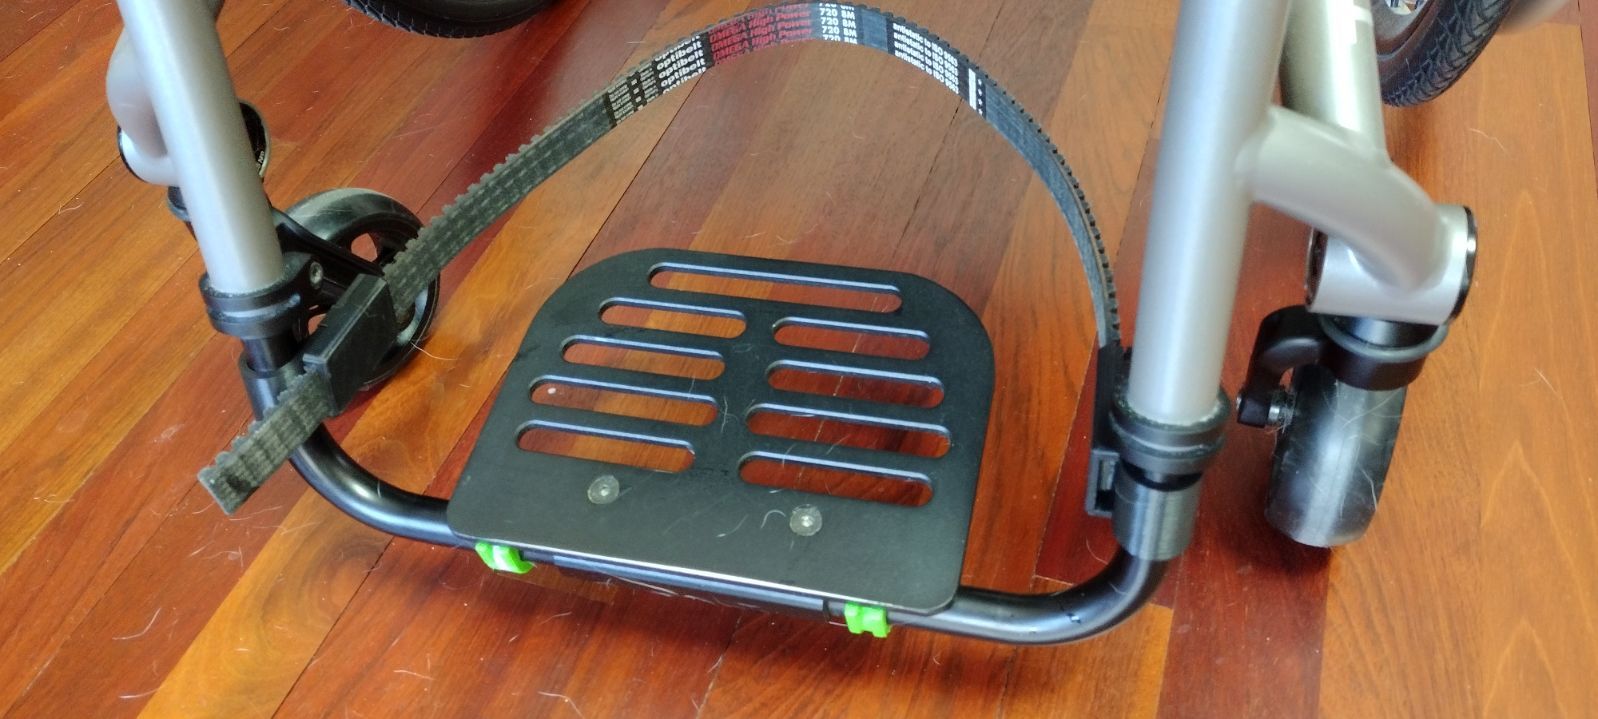
This is a heel strap for a wheelchair to prevent the user's feet from sliding off the foot plate. It's designed to install easily with no tools required except scissors to trim the strap to length. The clips with snap on covers are 3D printed to fit off the shelf polyurethane toothed belting.
From the SketchUp model.
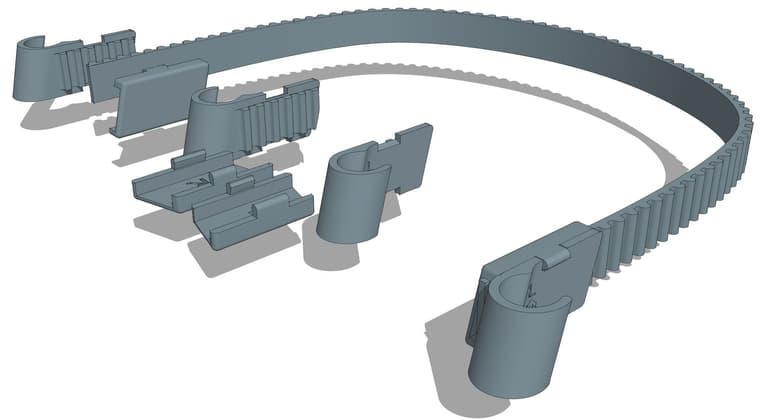
Partially assembled.
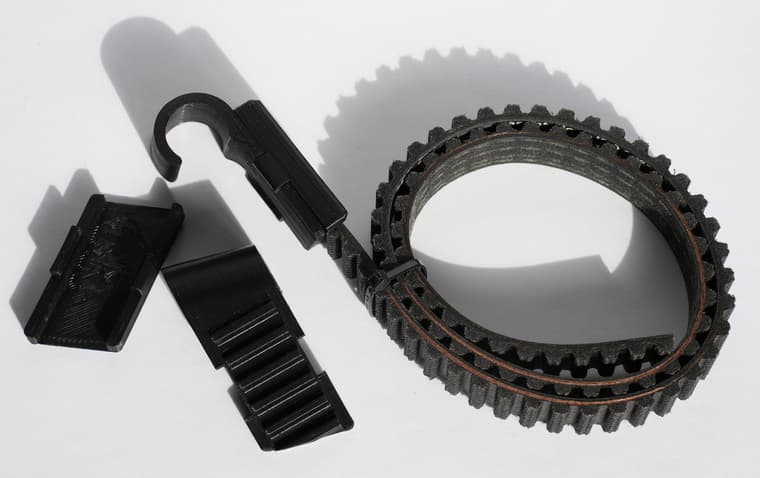
Temporarily installed on a chair. Ignore the dog hair.
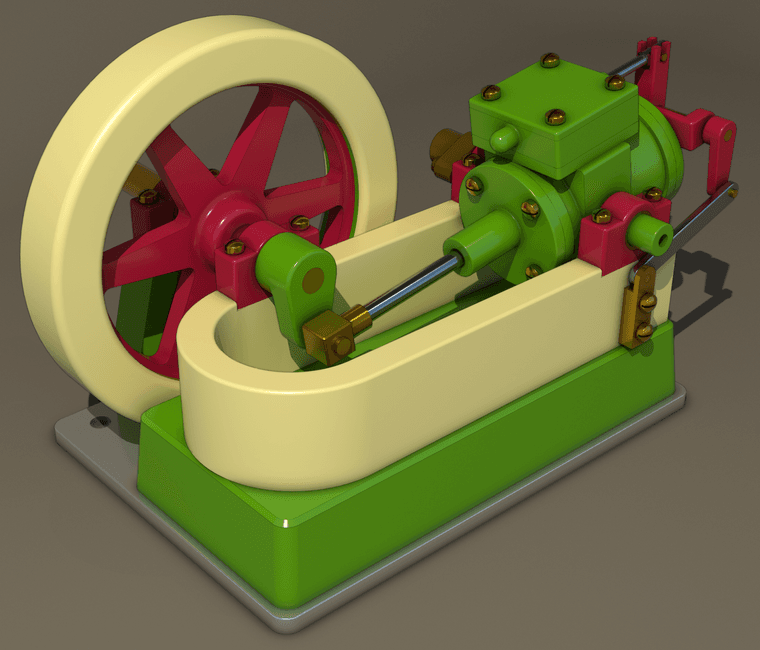
Combined a Vray render with an AO export direct from SU24.
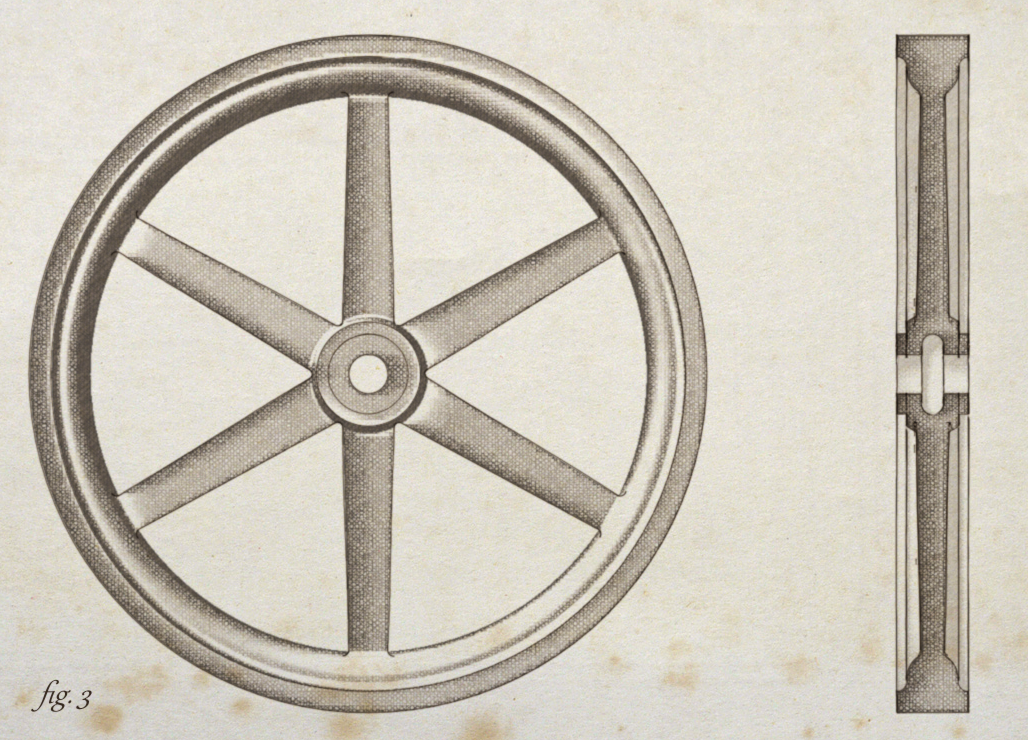
Experimenting with creating a vintage illustration style for my SketchUp models. The flywheel is based on dimensioned drawings in a textbook from 1897.
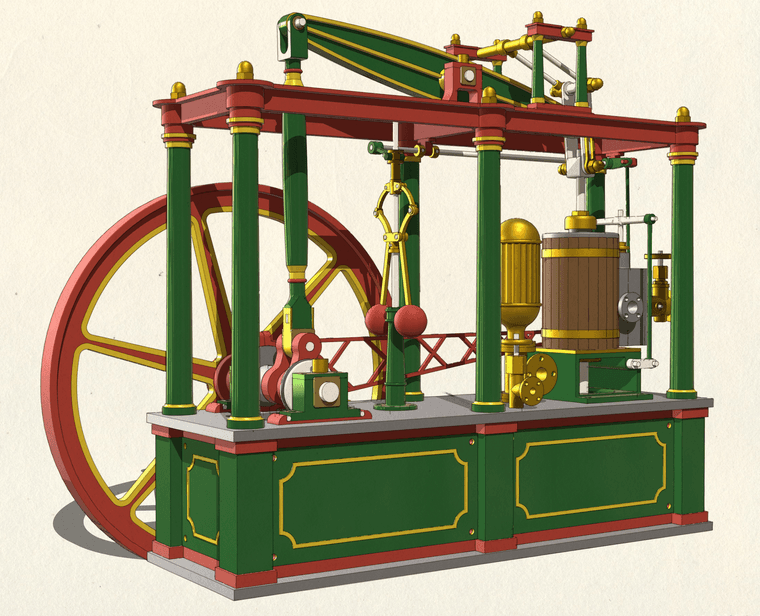
This one is called Lady Stephanie. I don't know who the real Lady Stephanie was but if she was anything like this engine, I'm guessing she was kind of ornery and hard to please.
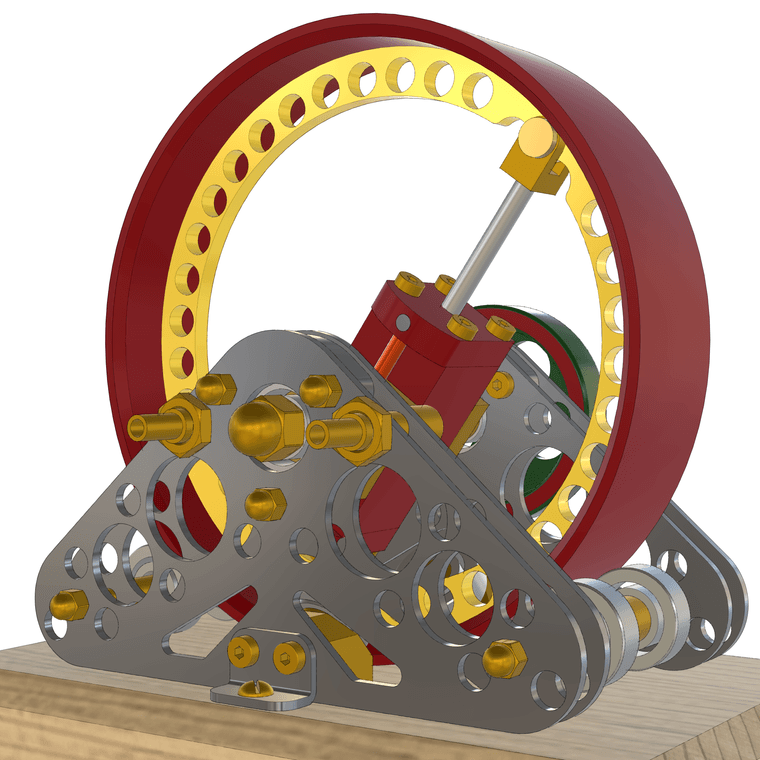
After putting her aside I did another engine today. This is a a little crankless engine.
A model of what is probably the first micrometer ever made. It's dated England about 1776 and attributed to James Watt although evidence shows it likely wasn't made by him.
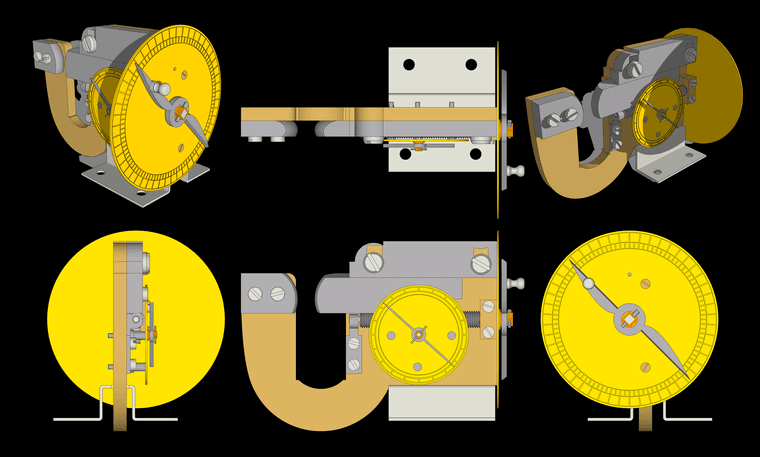
A larger version of this image is available here.
All the screws are made and holes threaded. 28 component definitions, all solids.
Funny guys!
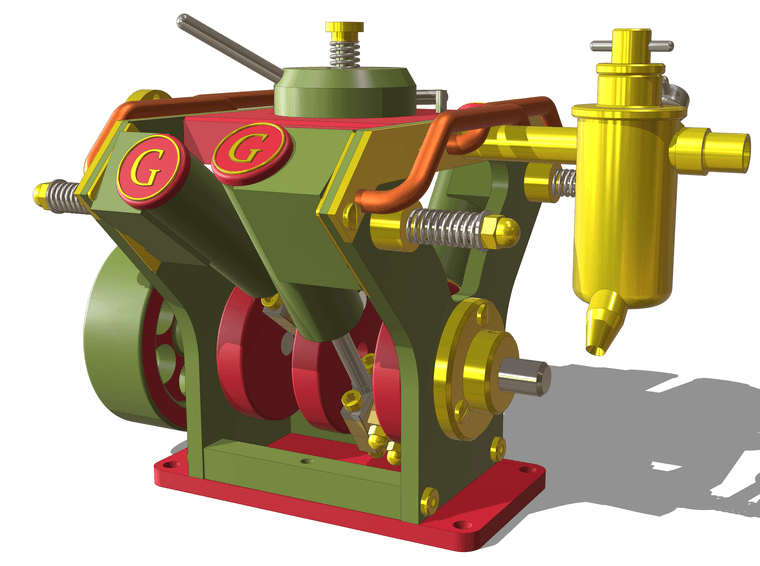
And here's another one. A little 4-cylinder oscillating engine. As usual, all base level components are solids.
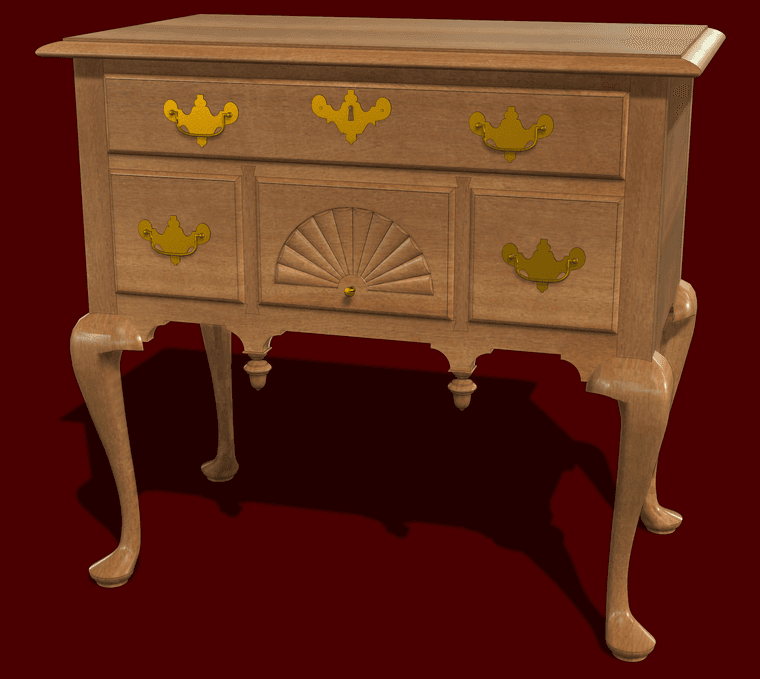
This is from a model I initially made 11 years ago for shop drawings. I pulled it out recently to do a bit of refining in SU2025.
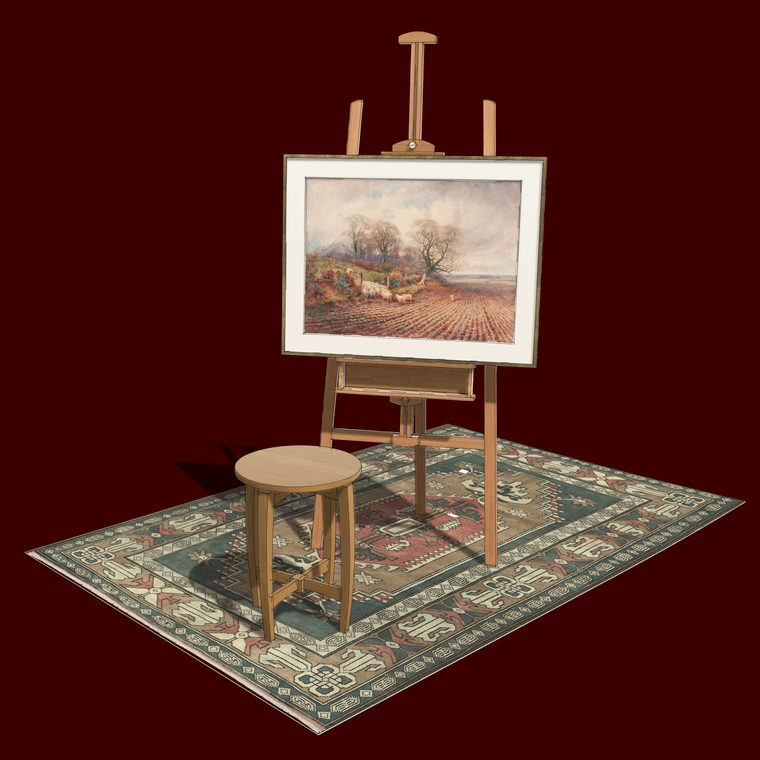
The painting is by Henry Stannard, RBA from about 1885. I recently had a conservator clean up the painting and then had it framed. The image here is from the conserved but unframed painting.
This is a model of a shaving mirror my father made probably 70 or so years ago. I found it in a box of stuff the other day so I decided to give it a go. I should complete the wiring and a few other details, most of which wouldn't ever be seen.

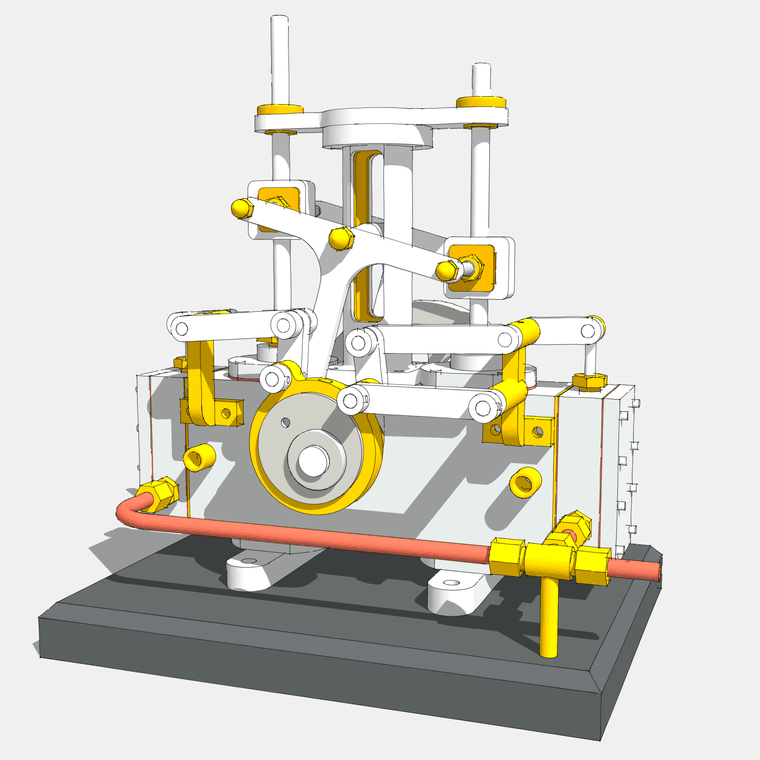
A machinist's model of a twin cylinder steam engine designed by Joseph Bernays in the 1870's. The original was displayed in Paris at the Universal Exposition of 1878.
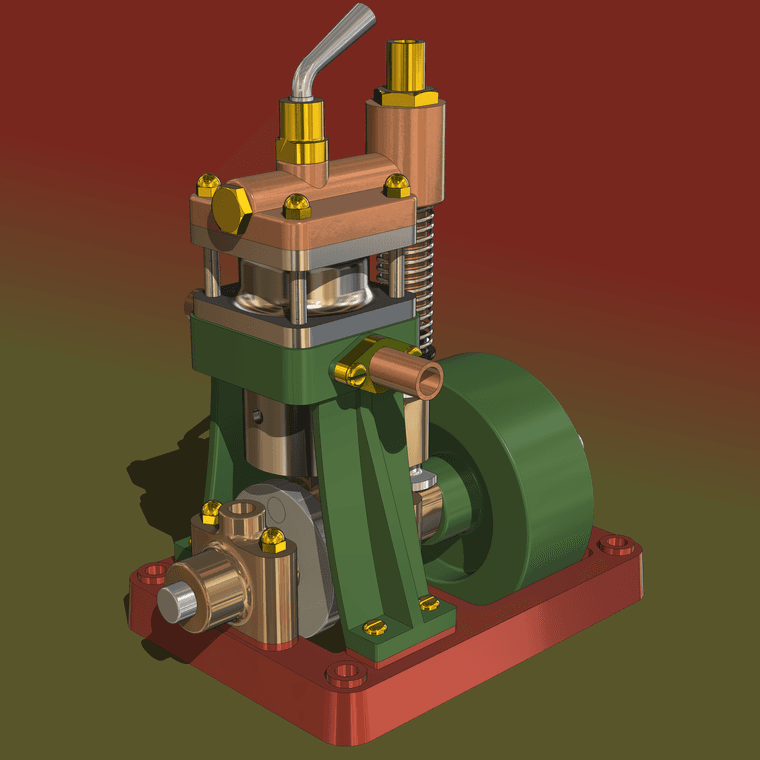
Another in my series of machinist's models. This engine is powered by water, not steam. Water goes into the opening visible near the bottom of the engine and out on the far end. I believe the copper colored cylinder is just filled with air which gets compressed by the water and provides some pressure for exhausting the water.

For a scale reference, the flywheel on this model has a diameter of 159 mm.
Here's a grab of the illustration of the original full-size engine showing the valve arrangement

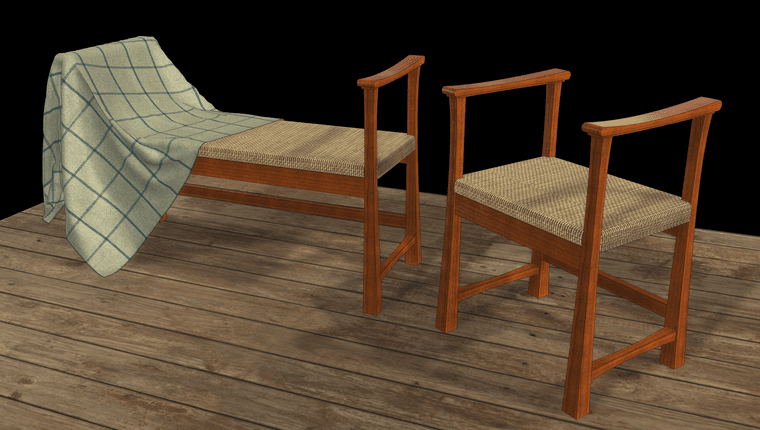
Playing in SketchUp 2025. The bench and stool were modeled a long time ago. Cloth added with Clothworks. The cloth and floor have textures from the curated collection in the 3D Warehouse. Nothing but SketchUp and PaintdotNet.
Here's another little one. It's about the same size as the previous one.
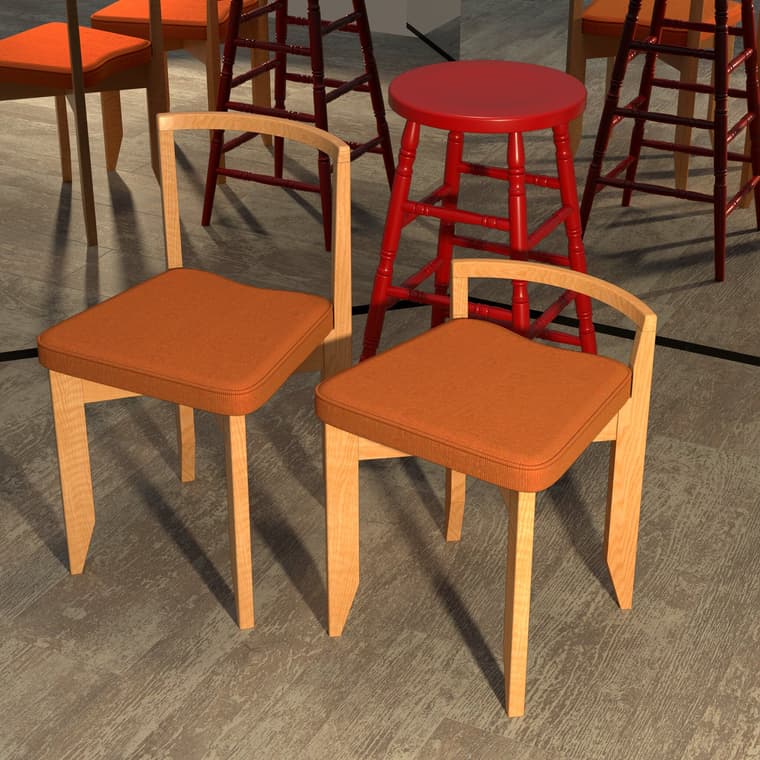
Just playing. At the right is my rendition of a Guillerme and Chambron 'Rubercrin' chair. On the left, my modification to make it a dining chair. In the back is the stool my grandfather used in his workshop. The real one still has a faint odor of his pipe tobacco.
