A hook on a pulley for some sort of crane or something. Based on dimensions given in an old, undated book from Spain of technical drawing exercises.
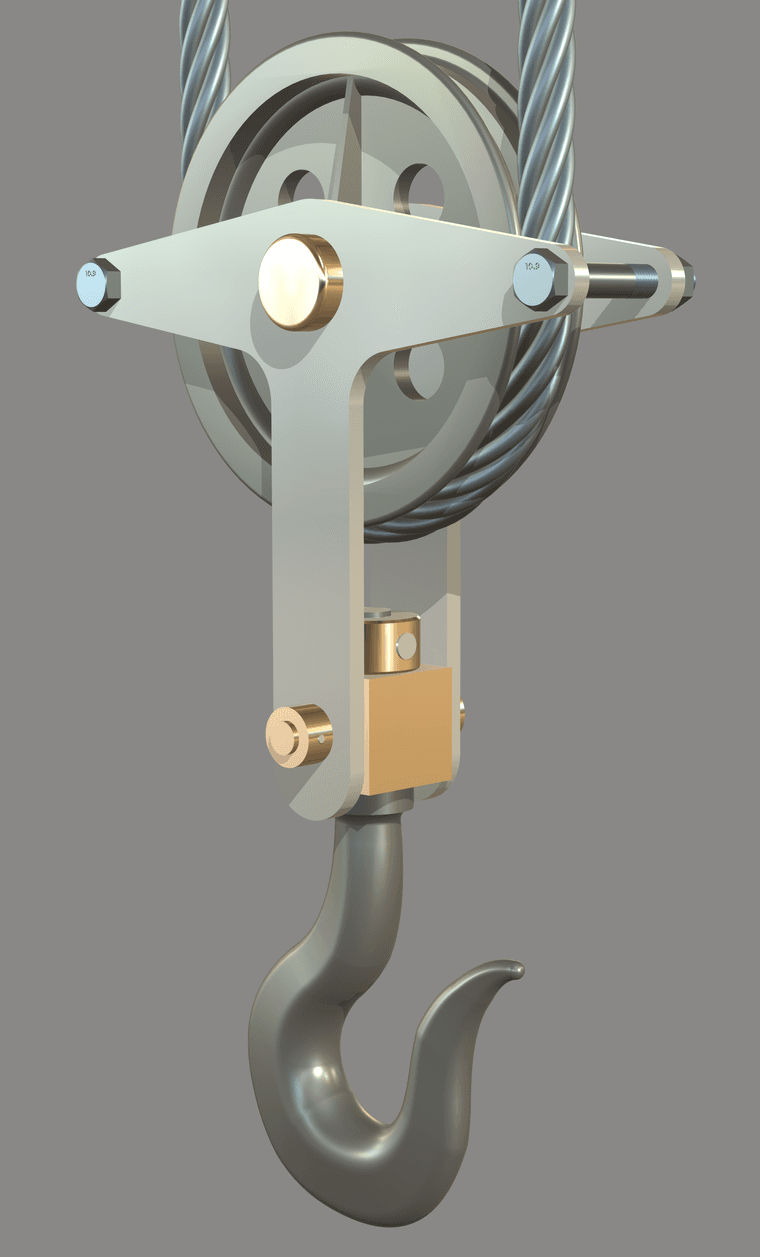
A hook on a pulley for some sort of crane or something. Based on dimensions given in an old, undated book from Spain of technical drawing exercises.

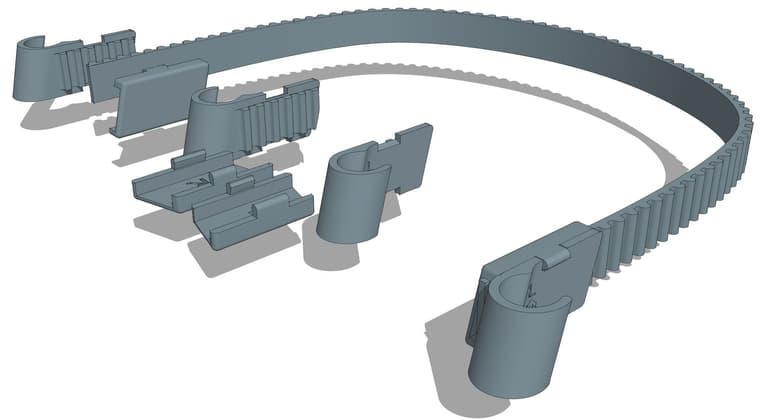
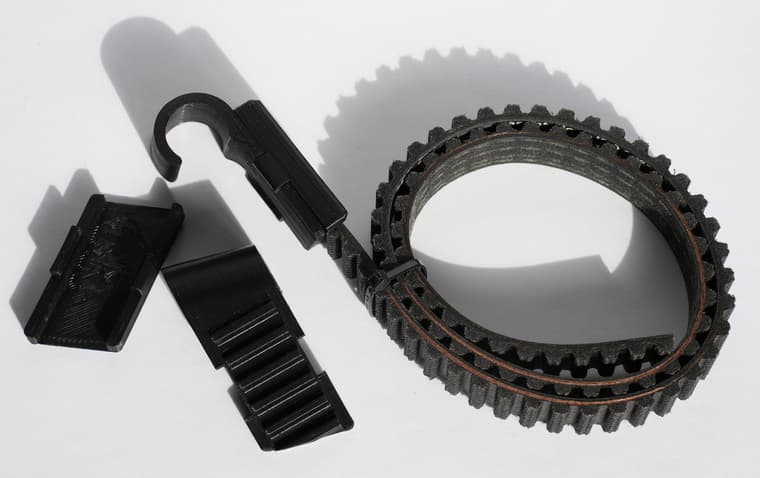
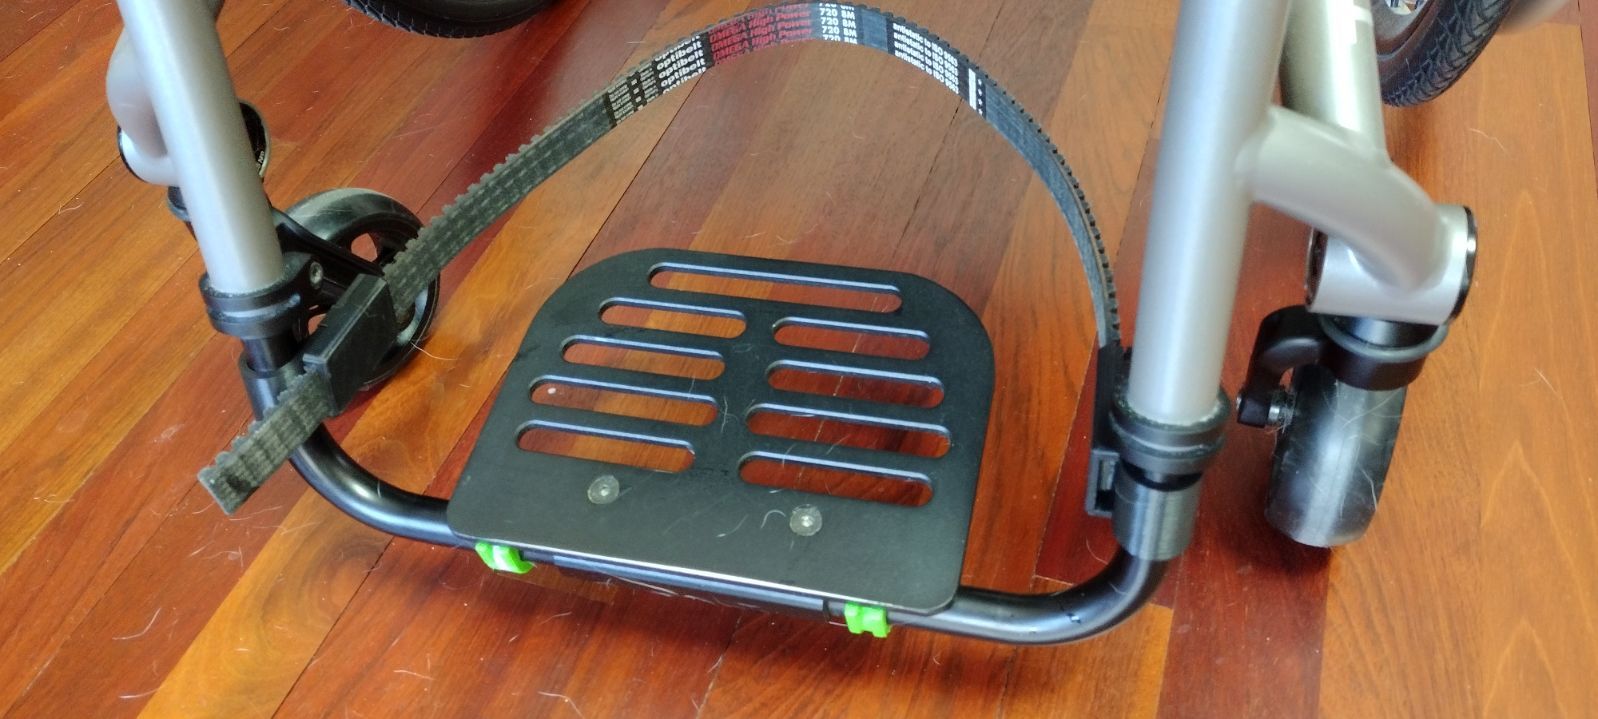
This is a heel strap for a wheelchair to prevent the user's feet from sliding off the foot plate. It's designed to install easily with no tools required except scissors to trim the strap to length. The clips with snap on covers are 3D printed to fit off the shelf polyurethane toothed belting.
From the SketchUp model.
Partially assembled.
Temporarily installed on a chair. Ignore the dog hair.
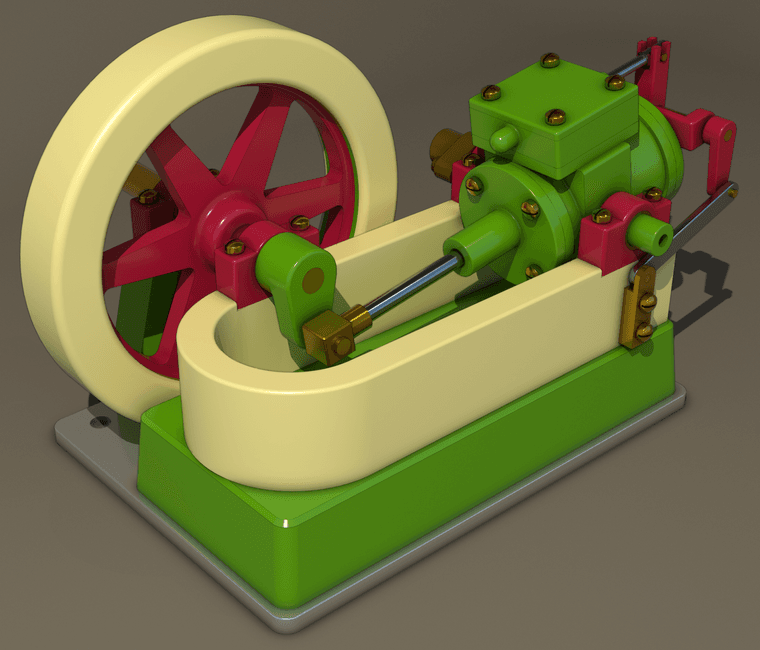
Combined a Vray render with an AO export direct from SU24.
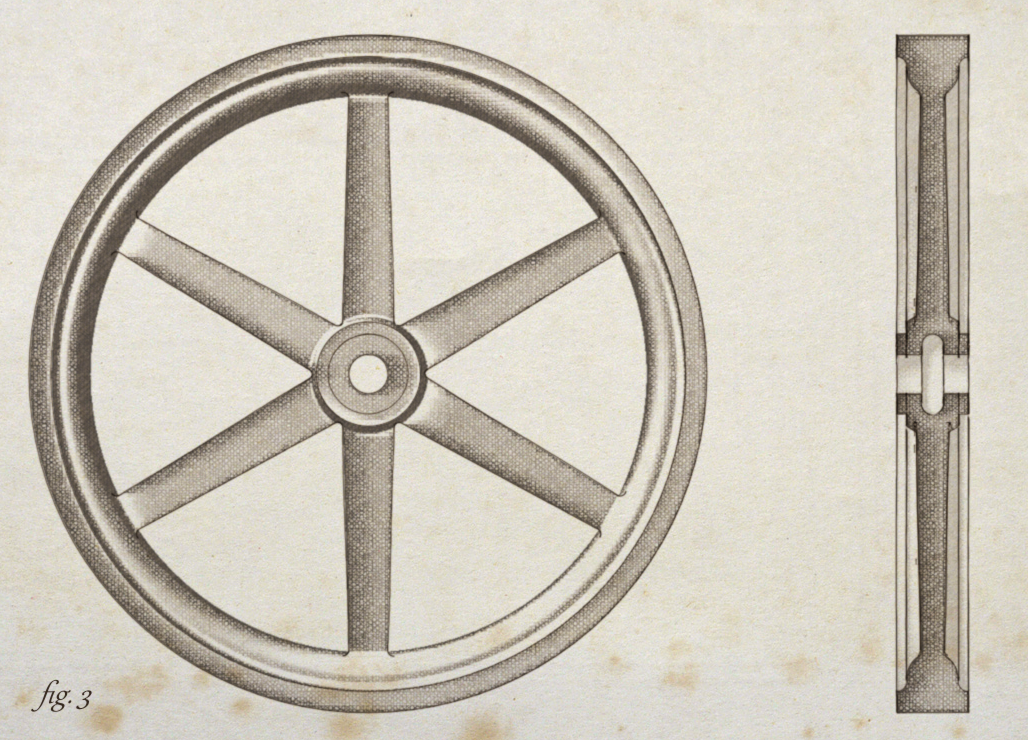
Experimenting with creating a vintage illustration style for my SketchUp models. The flywheel is based on dimensioned drawings in a textbook from 1897.
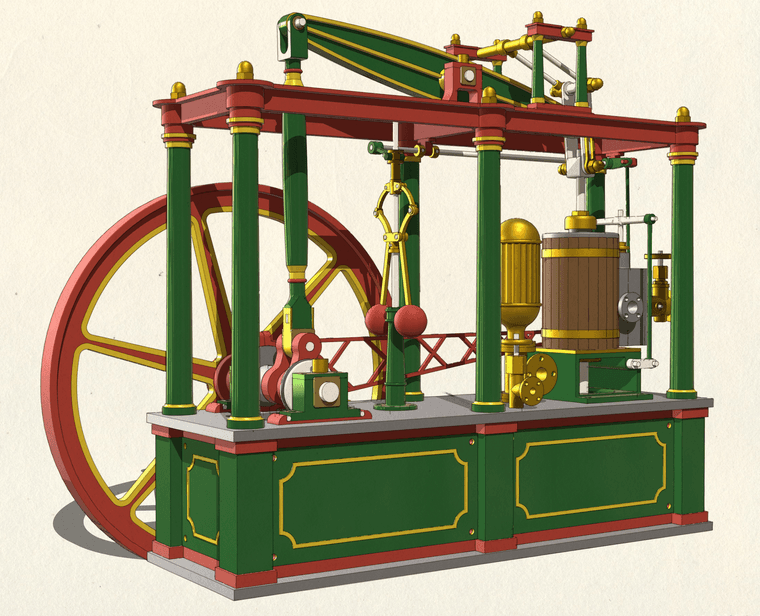
This one is called Lady Stephanie. I don't know who the real Lady Stephanie was but if she was anything like this engine, I'm guessing she was kind of ornery and hard to please.
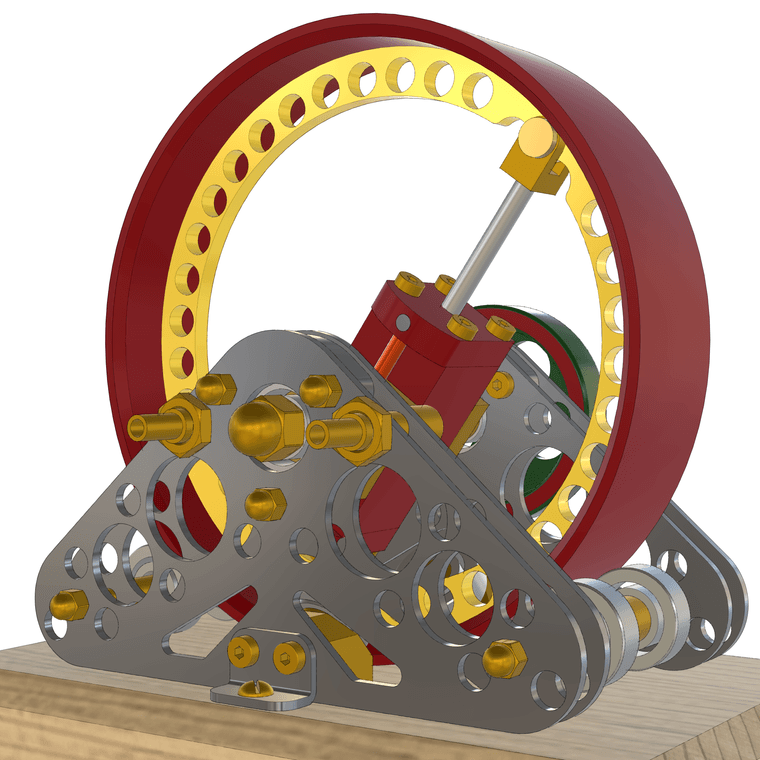
After putting her aside I did another engine today. This is a a little crankless engine.
A model of what is probably the first micrometer ever made. It's dated England about 1776 and attributed to James Watt although evidence shows it likely wasn't made by him.
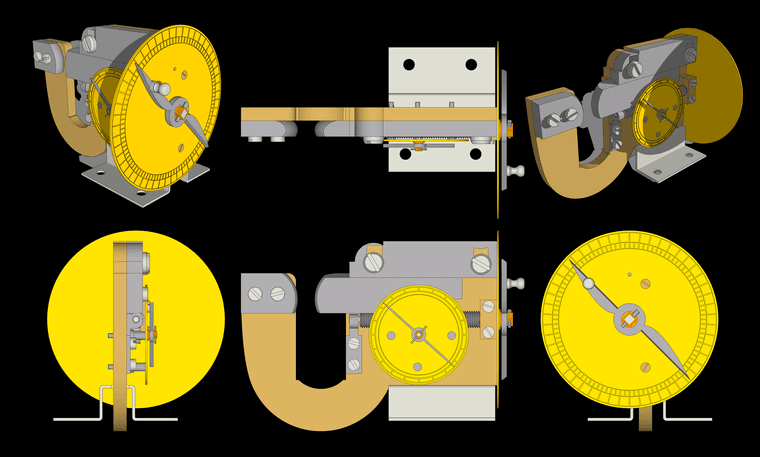
A larger version of this image is available here.
All the screws are made and holes threaded. 28 component definitions, all solids.
Funny guys!
And here's another one. A little 4-cylinder oscillating engine. As usual, all base level components are solids.
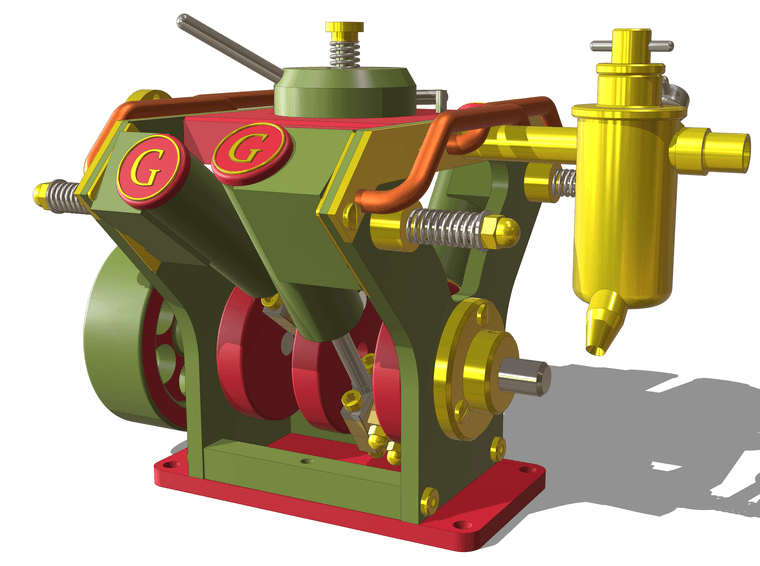
This is from a model I initially made 11 years ago for shop drawings. I pulled it out recently to do a bit of refining in SU2025.
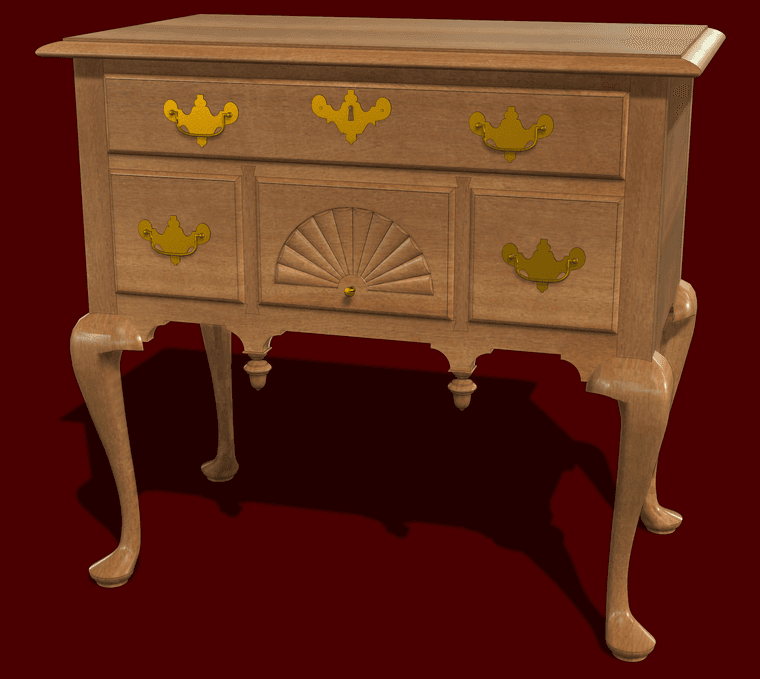
@Jspro said in Help with plugin:
my experience is sketchup (2017) will only accept and recognize a SKP file
That's not correct. You can import .stl files into SketchUp 2017.
Presumably you have Blender since you have a Blender file. Open the file in Blender and export a .stl file as Rich suggests. Then use File>Import in SketchUp to import the file.
@Mvmcneil ahh ... Good that you got it sorted. Two different extensions and two different licenses. Both a good to have, though.
Are you sure you are trying to activate RoundCorner and not Fredo Corner?
The developers haven't have made any changes to SketchUp 2021 since late in 2021. The .3ds exporter in SketchUp 2021 wouldn't have been changed, either. You can be certain that the developers won't be looking at the exporter in old, unsupported versions of SketchUp.
Maybe there's something in your model that is resulting in the slow down. You could share the .skp file. We could try the export in the current version and see what happens.
@onzki said in Export to .3ds takes forever:
I’m using 2021 Pro
Your profile says you are using SketchUp 2024. Do you get a different export result with that version?
A compound steam engine directs the exhaust steam from the first cylinder (smallest one) into the next cylinder which is larger. In the case of a triple expansion engine, a third cylinder (largest of the three) gets the steam from the second cylinder. This works because the steam still has energy to expand after the first and second cylinders. It does require the cylinders get progressively larger.
Thanks. No scavenger system for the exhaust. It's just dumped out into the room. On the other hand it's only compressed air going in.
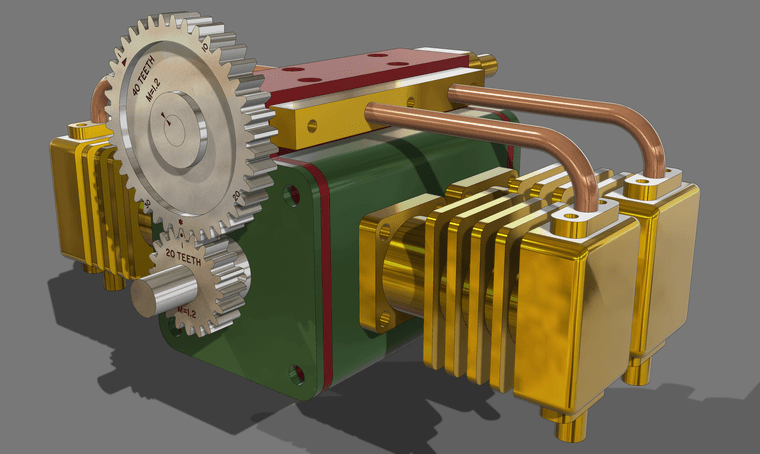
Here's a little boxer engine intended to run on compressed air. For reference, the large gear is about 50mm dia.
Like usual I haven't added screws
@ntxdave said in Create new or adjust materials:
The only problem I am having now is that when I rotate the object (actually the camera)
So you mean orbit the camera?
@ntxdave said in Create new or adjust materials:
the image on the back side of the heart comes and goes
Sounds like Z-fighing. Make the image of the heart a texture and apply it to just the back face of the heart. Turn on Hidden Geometry so you can paint the back separately from the rest.
You appear to have Back Edges turned on. K is the default keyboard short. Tap it and the Back Edges should turn off.
Are you rotating the object or orbiting the camera?
@ntxdave said in Create new or adjust materials:
I do have an F1 key but I am having some new problems.
What problems? F1 is a hard coded shortcut so you can change that one.