hi,
it all started when i was trying to get a reasonable noise texture for grass displacement. since i was getting frustrated, i decided to render the texture in the diffuse slot, so i could see what settings affect what parts of the texture and how it actually looks like.
finally i ended up with two to three versions of every texture plugin available in vray for sketchup (except for TexSky, TexBlend and TexUVW, since i wouldn't believe that they produce any visibly comprehensible result (which is what i learned at TexDirt)).
anyway, here are the collections i rendered. as a scaling mechanism i used the 'u repeat' and 'v repeat' options in the texture dialog since i had thought that this would affect the overall scaling of the texture - unfortunately, this wasn't the case for every texture.
so if anyone knew any closer and more detailed information on how to work with these textures and how to force them to behave the way you want them to, appreciation would be in its place. i think that a comparison like this is important both for newbies and for 'old dogs' as a reference (since i haven't found anything comprehensive about vray textures).
as a reference, all (even the unpublished) images are located at this place.
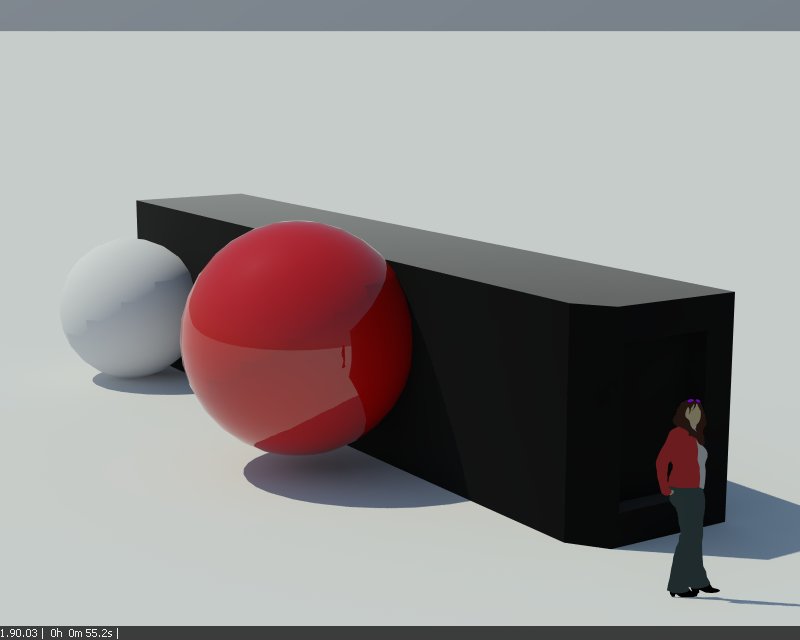
first there is the reference plane. one mistake i've made is that i have on the same height level this plane and the VRay infinite plane, which in some images produced artifacts.

TexAColor texture plugin - this only creates a color. useful for later usage in other texture plugins' options. (for those very eager, here's the image.)
TexBulge texture plugin

- generates bulges. (
 ) i've decided to post only the version(s) with changed UV repeat (both set to 0,02), since here the pattern is visible; all other settings are on default.
TexChecker texture plugin

- one thing important to note here is that the checker pattern also alternates the alpha values, without having to specify them in the Transparency channel. this can be useful in a TexBlend channel, when you'd want to combine two textures.
TexCloth texture plugin

- different pattern for different purposes.
TexDirt texture plugin
- explained perfectly in this user guide from the page 24. it also explains why some of the textures are not scalable by 'stretching' in UV directions - because they are procedural, so the scale has to be controlled by the parameters in the texture's settings.
TexFalloff and TexFresnel texture plugins


and from different angles


- i'm not sure how exactly are these two different (ie. what are their functions). also, the upper picture here is the falloff one, i just forgot to change the text.
- TexFresnel should return a color value between the two specified colors based on the angle of the incident and bounced-off light ray. its usage and effects is described nicely in this manual on page 29 and i also found a sketchucation thread.
EDIT - well i need to add some info, because meanwhile i forgot how fresnel works and this guide wasn't much of a help -.-;
anyway, the keywords found in TexFresnel settings are Perpendicular and Parallel. They mean Perpendicular (to the viewer's direction) and Parallel (to viewer's direction). in the following image the perpendicular color is white, while the parallel color is black, TexFresnel is in diffuse slot.
TexGranite texture plugin

TexGrid texture plugin

- different pattern for different purposes.
TexLeather texture plugin

- different pattern for different purposes. again alternates the alpha value and is scalable by UV repeating.
TexMarble texture plugin

- marble pattern. is not affected by UV repeat values.
TexNoise texture plugin
none of the options is affected by UV repeat values.
simple noise
%20-%20UV%20repeat%200,02%20-%20closeup.jpg)
perlin
%20-%20UV%20repeat%200,02%20-%20closeup.jpg)
inflected perlin
%20-%20UV%20repeat%200,02%20-%20closeup.jpg)
marble + perlin
[img:1aiz7o74]http://www.gjh.sk/~ambrus/misc/sketchup/texture types/TexNoise (marble + perlin) - UV repeat 0,02 - closeup.jpg[/img:1aiz7o74]
TexRock texture plugin
[img:1aiz7o74]http://www.gjh.sk/~ambrus/misc/sketchup/texture types/TexRock - UV repeat 0,02 - closeup.jpg[/img:1aiz7o74]
- rock/noise pattern. is not affected by UV repeat values.
TexSmoke texture plugin
[img:1aiz7o74]http://www.gjh.sk/~ambrus/misc/sketchup/texture types/TexSmoke - UV repeat 0,02 - closeup.jpg[/img:1aiz7o74]
- smoke/noise pattern. is not affected by UV repeat values.
TexSnow texture plugin
[img:1aiz7o74]http://www.gjh.sk/~ambrus/misc/sketchup/texture types/TexSnow - UV repeat 0,02 - closeup.jpg[/img:1aiz7o74]
- snow/noise pattern with alternating alpha. is not affected by UV repeat values. when watching the preprocessing at the rendering time, a snow pattern appears by the samples, but in the end it [doesn't even matter] and gets lost. i would really like to know a bit more about this exotic texture.
TexSpeckle texture plugin
[img:1aiz7o74]http://www.gjh.sk/~ambrus/misc/sketchup/texture types/TexSpeckle - UV repeat 0,02 - closeup.jpg[/img:1aiz7o74]
- speckle/noise pattern. is not affected by UV repeat values.
TexSplat texture plugin
[img:1aiz7o74]http://www.gjh.sk/~ambrus/misc/sketchup/texture types/TexSplat - UV repeat 0,02 - closeup.jpg[/img:1aiz7o74]
- splat/noise pattern. is not affected by UV repeat values.
TexStucco texture plugin
[img:1aiz7o74]http://www.gjh.sk/~ambrus/misc/sketchup/texture types/TexStucco - UV repeat 0,02 - closeup.jpg[/img:1aiz7o74]
- presumably stucco/noise pattern. is not affected by UV repeat values. sadly, i failed to get any output from this plugin! this is very frustrating, as the potential for the architectural visualisations diminishes. if anyone knew the right way to treat this texture, i'd buy him (or her) a beer!
TexWater texture plugin
[img:1aiz7o74]http://www.gjh.sk/~ambrus/misc/sketchup/texture types/TexWater - UV repeat 0,02 - closeup.jpg[/img:1aiz7o74]
- is not affected by UV repeat values. in fact, it's the same case as with Stucco. also, i don't know where this weird color came from.
- update 15.5.2012:
@thomthom said:
TexWater doesn't appear to be fully implemented - it's just producing a colour that cannot be adjusted... 
TexWood texture plugin
[img:1aiz7o74]http://www.gjh.sk/~ambrus/misc/sketchup/texture types/TexWood - UV repeat 0,02 - closeup.jpg[/img:1aiz7o74]
- is not affected by UV repeat values. in closeup looks interesting, i wonder what the usage might be (and how to set it up to look good).
so, that would be the end of a long post. the weird white arcs are the artifacts resulting from the intersection with the vray infinite plane.
if anyone would have any ideas as to what else could be shown in this post (knows some other weird issues), or even better, if anyone actually understands these plugins and could post a link for explanation or write a brief one himself, it would be awesome.
~eidam
edit: wow, thanks thomthom for the sticky i'll try to keep this maintained as much as possible.

