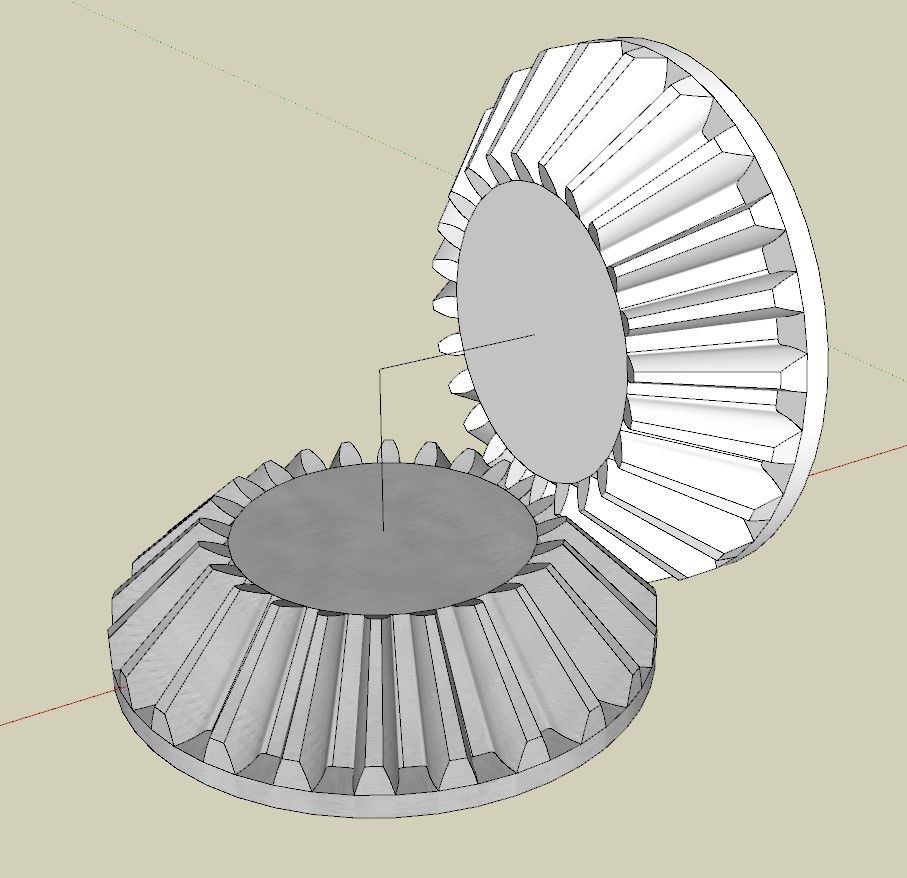
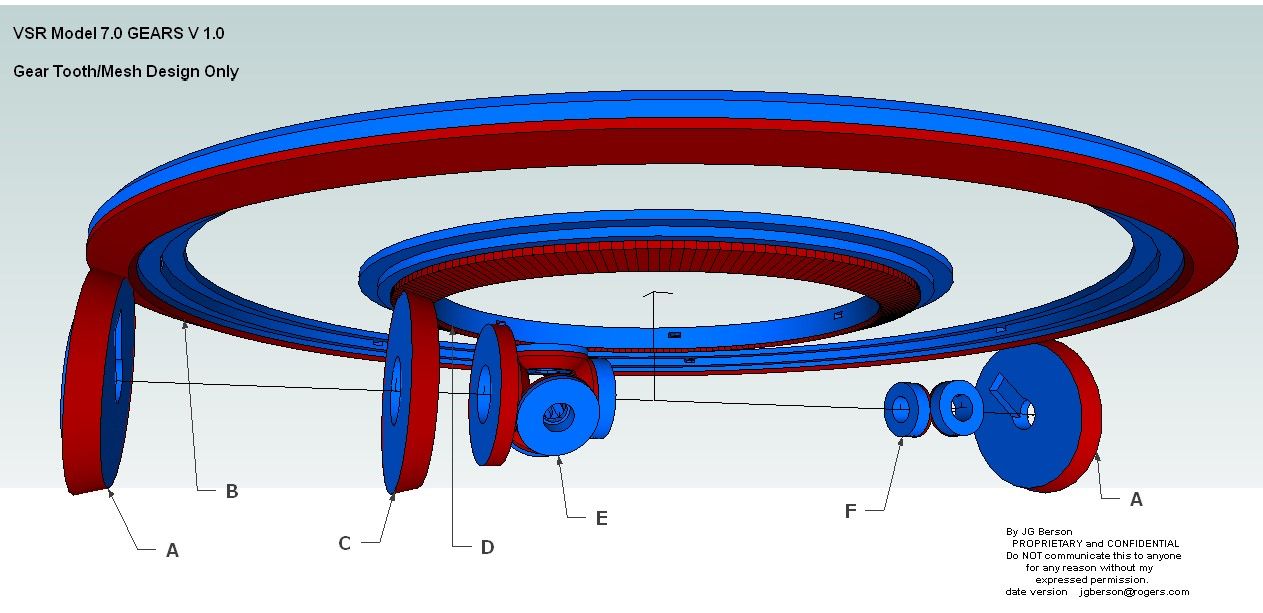
Spent the better part of yesterday getting this gear right (I hope). It is a 24 tooth bevel gear 22.5 mm diam (drawn in centimetres). Gear E in my diagram above.
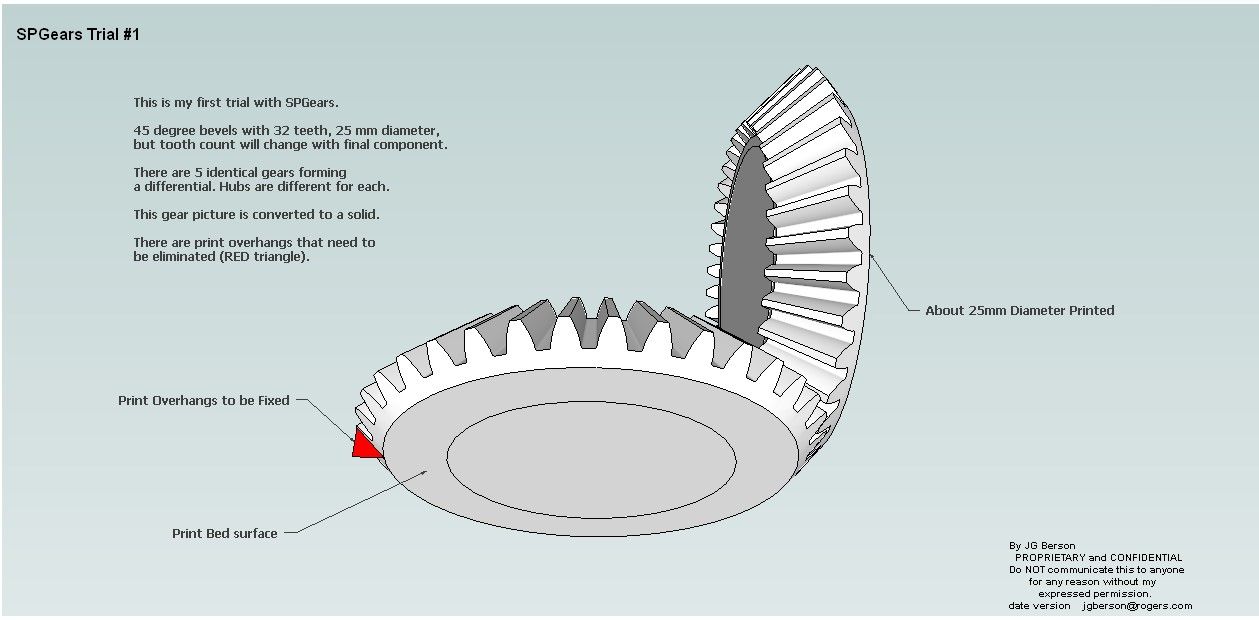
SPGears created a fairly close model. I had to compare that model to my desired cross section and manipulate it into shape.
I had to get rid of the overhangs on each tooth to avoid any supports. That was the tedious part. (I'll show how later today)
Thankfully SPGears creates each tooth as a circular array of one tooth, so editing is relatively easy.
Then I had to make a single generic hub as the 5 gears, plus the other smaller gear (scaled down a bit) have different hubs. That part was far easier.
An SPGear is actually a group of 2 nested groups, the set of teeth, and the hub, done in a strange way, but hey, it works. I made it a component of the 2 nested groups.
To make sure the gears mesh correctly (fingers crossed) I duplicated the SPGear and turned it 90 deg. I drew an axial line to the vertex within the component for alignment purposes. I then turned it 90 degrees and mated them at the vertex. I also rotated the vertical gear 7.5 deg (24 teeth) to properly mesh the 2 gears. That resulted in a large gap between teeth.
By eye I moved the vertical gear along blue and red axis (equally) till I got a nice mesh with a bit of play. Then adjusted (shortened) the vertex end of the axial line accordingly.
There were tiny overlaps.
So I had to scale the 2 face ends of the teeth a bit to clean up the mesh. Only after all that was I able to redraw the large end to eliminate the overhangs.

I cannot yet print a pair to test as I do not yet have a printer (long story, and it's not the $$$)
Later.......


