thanks, everyone. good idea, marne.
as i said before, the problem was made worse by the fact that the students helping me modelled the site carelessly, that is, without grouping everything and assigning the elements to layers.
thanks, everyone. good idea, marne.
as i said before, the problem was made worse by the fact that the students helping me modelled the site carelessly, that is, without grouping everything and assigning the elements to layers.
the terrain was off, not hidden. the problem is that the kid who is helping me does not believe in grouping and assigning things to layers. so the terrain is not grouped and we are having all this trouble.
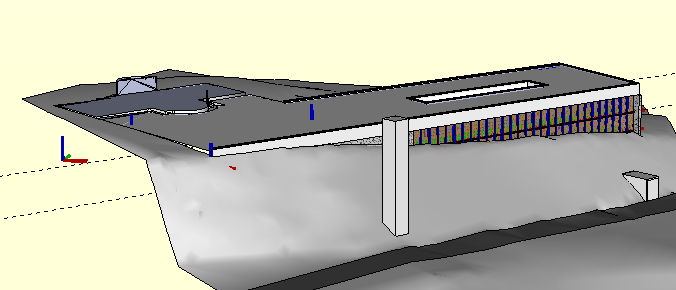
a new problem arised. i am working on a fairly complex terrain with a number of bldgs on it. in order to be able to work faster i turned the terrain off. however, whenever i triple click anything, my machine takes forever to come back to use because it is calculating all the faces of the hidden terrain (i know that because the terrain is selected at the end of the process). is it normal? is there a way out of this?
anything is possible. when i have a chance i will check it.
it may well be. any recommendations as to these? how big can be an image to be successfully imported as texture? what would be the optimum definition for it?
questions, questions...
in order to reduce the size of a file that has dozens of venetian blinds, a created an image of one to aply as a texture to a box.
I then tried to import it and use it via the colors panel, creating a new texture. it worked fine and the texture appeared as a thumbnail. but after selecting it and clicking on the face i wanted to apply it to, i got just a plain colored surface, not the texture i created, nor could i get to the texture position dialogue after double-clicking on it.
the only way to do it was to import the ima as texture via the File menu (File>>Import...).
any clues as to what can be happening that prevents me from using the first method?
thanks, jeremy. it worked.
about the weekend, the same to you. we are finishing a competition and having fun with renders and what not.
i am modelling something and after creating a fair number of goups there is a set of axes showing for each one of them (see pic attached). even though i turned axes off (View>>Axes) they are still there.
any suggestions as to how to get rid of them?
@chris fullmer said:
Thanks for the nice comments Edson.
I think your link you posted is pointing to the wrong place. That file is not on my server
I think you uploaded it here:
Chris
chris, you are absolutely right. i assumed you were referring to kelly's server and did not even bother to check it thoroughly.  thanks for calling my attention to it.
chris,
excellent tut for another way of achieving depth in terrains.
in july, i had similar doubts and was helped by kris, gai and tom. unfortunately that thread is lost now but i can still quote from the message by tom that i had printed. it refers to the skippy mentioned below. here it goes:
@unknownuser said:
tomsdesk:
on the left of attached is a terrain (grossly exaggerated vertically) with all the edges of curbs and walks intersected (including the extra edges to form the faces that will be "stretched" during the vertical alt-move processes).to get to the right i first picked all the gray road faces and alt-moved them to 6"...this formed my curbs (which are slightly sloped as is the case with the detail i use here). then i picked all the grass faces (not the skinny strips along the curbs and walks) and alt-moved them up 2"...the skinny strips then formed the vertical faces of the grass (slightly sloped: just like grass)
looking closer to the red circle over the right model you'll see it isn't perfect. SU still assumes in several places i wanted something different than it did for me everywhere else...so there is always a little cleanup to be done.
EDIT: the correct location is http://www.sketchucation.com/forums/scf/sas/ProUser/sitetech.skp
i hope it helps anyone.
today i came across a very handy screen capture little app called Jing. it allows one to capture images and videos and annotate them without having to open another app. it is very easy to learn (there is not much to learn, really) and it is FREE.
this is their site.
enjoy it!
ross,
your post shows why this is a special place, a place where people care enough for the others (mostly strangers) as to go through the effort of trying to make everyone feel confortable, lurker or not.
regards.
google earth models tend to be very simplified. i do not think they ever get any depth to them.
great idea and beautiful work.
nothing like european cities for this kind of urban continuity and homegeneity. in south america we can olny get it in some preserved quarters (not too common).
i have never heard of this and will follow this with interest.
besides the flip tool, you can mirror things using the scale tool or installing and using the ruby script mirror.rb (which can be douwnloaded here.
thanks, kelly. i will look into that.
darrel,
thanks for the script and for the tutorial. i am going to forward it to my students too. cheers.
i am probably asking too much, but would you consider doing a sort of guide to skin.rb so that everyone could understand what the script can do and how to do it?
although it means more work for you, it would allow many people to take full advantage of your fine creation.
thanks anyway.
good call, aces.
that image (skin test) is very intriguing as it suggests that the script did less complex things as it evolved in time.