phil,
teasing pictures... could we have more on the house?
jim,
forget it. i made it work by creating another shortcut. thanks for the very useful plugin.
edson
jim,
the plugin is not working for me exactly as expected. for instance, when editing some group/component inside another group/component, what is taken as extents is not the object selected inside the group/component but the outside extents of the group.
i hope i made myself clear.
thanks.
tig,
thanks for taking the time to help me. you "tut" was good enough. it gave me the basics and i managed to build quite a few lattices from it.
best wishes.
edson
EDIT by Coen: Original topic name: 'Wanted: tut on Lattice-izer'. Original forum topic posted to: Ruby forum.
tig,
the usage text may seem self-explanatory to you, but i do not get it. a couple of illustrations would help a lot.
regards.
edson
great answer to a problem that is not complex but very annoying.
by the way, your signature reminds me of indian chiefs depicted in westerns with names that were descriptive of some of their main traits of personality (like "one who rises with the sun" and the like).
regards.
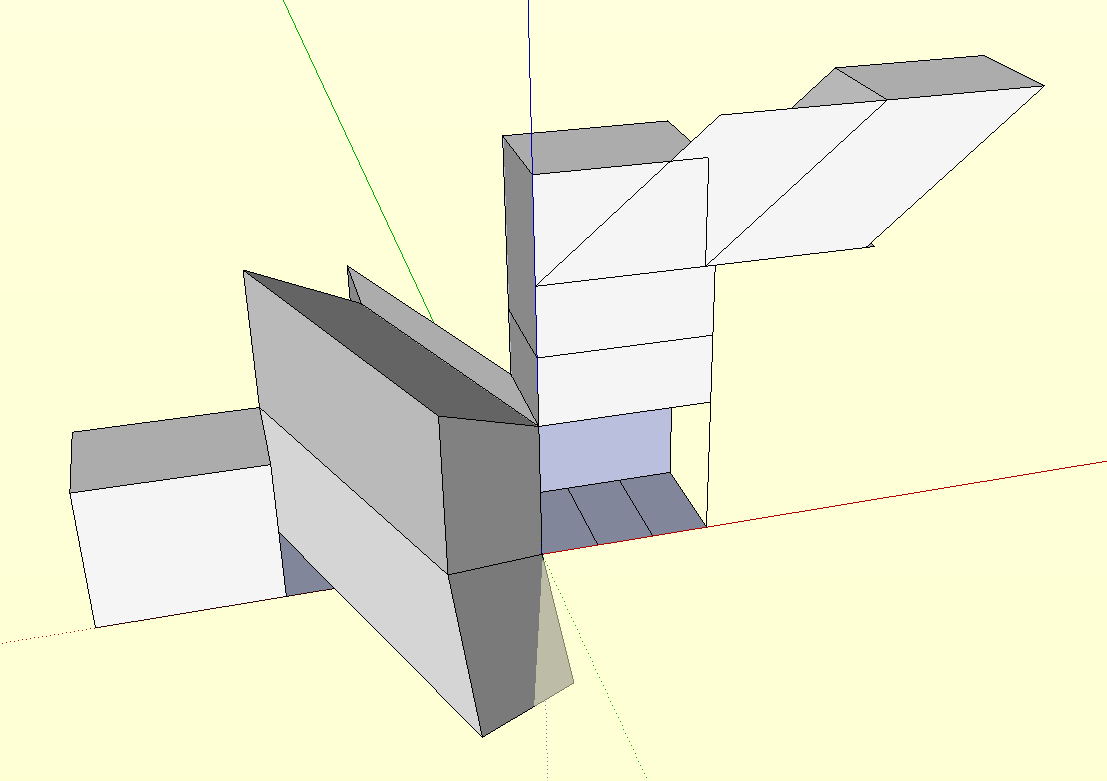
thanks, brad. indeed, it allows one to push-pull in directions the straight tool will not allow. i played with it for a short while and came across some unexpected results, like being able to copy a face along one of its sides (see attached).
i wonder if anyone who has been using it for some time can tell us some practical ways to use it.
no, i do not forget that. i am just not sure how to do it.
this a great tut, jean. very useful indeed.
gai, we should move jean's tuts to the tutorials section, don't you think so?
I am eagerly waiting for part 3.
edson
thanks, shawn.
it is a curious name for a design as it means passion in portuguese. it can also be a fairly common surname.
regards.
kris,
let me know where to find Paixao...
hi kris,
this tutorial is a great input for most people, I am sure. thanks a lot for your generosity.
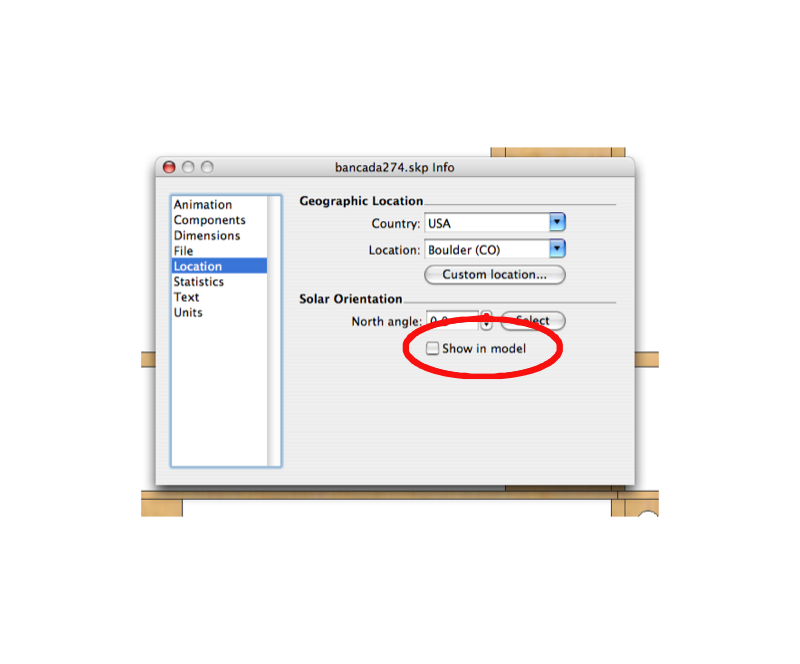
uncheck it and the sun's direction will not show.
juju, sorry about that. let me try again.
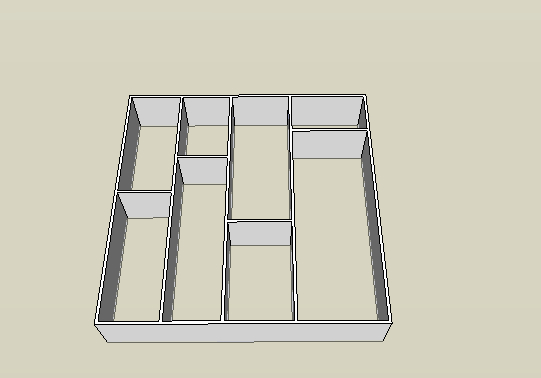
i imported the plan and scaled it, ok? then i drew a larger rectangle close to it and copied the scaled plan onto it. since the rectangle was bigger than the image there ensued a tiling effect. in trying to get rid of the tiling (by using Texture>>Position) i threw the plan off scale. so i ended up with two plans side by side, one scaled correctly and the other slightly bigger while all the tutorial suggested was to have one scaled plan "textured" on the plane.
i hope it makes some sense to you now.
edson
hi juju,
i did step 2 exactly as told and got the plan scaled right. my mistake was probably having used the texture tool to make the image fit the larger rectangle.
from what you said the plane under the picture helps keep things straight and plumb. would not that happen if i traced the plan that is not on the rectangle?
thanks.
edson
hi kris,
i am following your two tutorials with great interest and have a couple of questions to make you.
are you starting from the assumption that there is no plan in dwg or dxf format for one to start with and that all there is is some image scanned from a mag or some other source? i ask that because tracing over a picture is not that easy, as there are no edges or endpoints to grab on to.
what is the point of applying the plan as material on the larger rectangle? you suggest one to use proper thicknesses but the larger plan is out of scale. please explain this.
why not trace the plan over the rightly scaled plan and then make copies of it to put on other layers as you suggest?
please continue this amazing thread. regards.
edson
good work, ross. and good idea to get things moving. i think the mods have been busy moving and most members have not digested the move yet. but we will get back to normal soon.
cheers.