sketchucation logo sketchucation
    • Login
    1. Home
    2. Dave R
    3. Posts
    Oops, your profile's looking a bit empty! To help us tailor your experience, please fill in key details like your SketchUp version, skill level, operating system, and more. Update and save your info on your profile page today!
    πŸ›£οΈ Road Profile Builder | Generate roads, curbs and pavements easily Download
    Offline
    • Profile
    • Following 1
    • Followers 5
    • Topics 670
    • Posts 19,156
    • Groups 4

    Posts

    Recent Best Controversial
    • RE: Tapered Pipe Along Path?

      TIG, I've made a discovery. Evidently I have a different version of Grow on my machine at work thatn at home. The one at home gives me an arrow to set the center of the grow operation and three different dialog boxes with the second covering scaling including the option to have exponential or linear scaling. The version at work, which I downloaded from Didier's library today doesn't give me those options or the arrow.

      Hmmm......

      Maybe I have an old version at work?

      But. I have a puzzle about the version I have at home. I'm trying to create a series of circles that get smaller as they go up. In the version at work, I entered a scale of 0.9 (for both X and Y scaling) and the circles got smaller as they went up. The version I have on my home machine makes progressively larger circles with that same 0.9 for X and Y. I tried a -0.9 but that doesn't help either.

      posted in Developers' Forum
      Dave RD
      Dave R
    • RE: Tapered Pipe Along Path?

      Thanks TIG. Unfortunately the axes return to their original position after recomponentizing the exploded component.

      posted in Developers' Forum
      Dave RD
      Dave R
    • RE: Tapered Pipe Along Path?

      TIG, this is a handy script. I had played with it once before but never tried it on a component. The Push/Pull and scaling thing is pretty slick.

      I must be missing something though. I can't seem to get the components to line up concentrically either. See the attached image.

      I used the same settings for each stack of circles. There are displayed in the box.

      Stack A: The bottom circle was drawn centered on the intersection of the guidelines and then, after making it a component, I moved the component axis to the center. Then I used Grow.

      Stack B: The bottom circle was drawn centered on the origin and the axis left alone.

      Stack πŸ˜„ The bottom circle drawn centered on the origin and the axis moved to the origin.
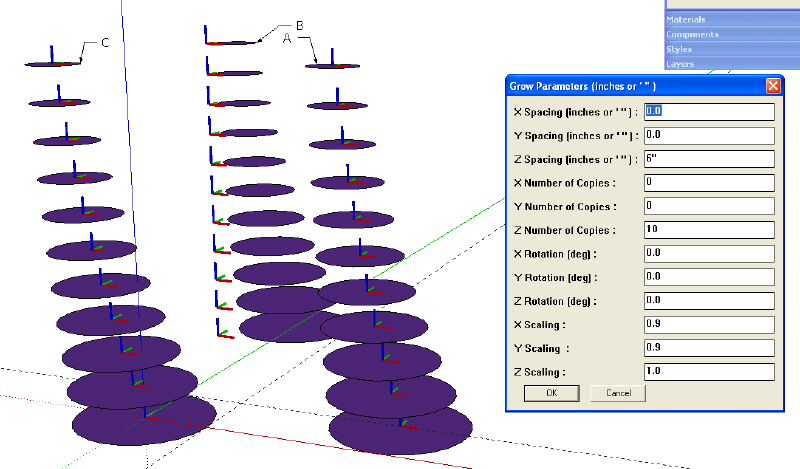
      They all look the same to me. What am I missing?
      Grow.jpg

      posted in Developers' Forum
      Dave RD
      Dave R
    • RE: .simple little cart.

      That's pretty cool Jason. Are you going to build it?

      posted in Gallery
      Dave RD
      Dave R
    • RE: Looking for a Script

      That would be it. I expect I went right by it when I looked there. My would say, "you were looking like a guy." And then she'd πŸ˜’ 🀣

      Thanks.

      posted in Plugins
      Dave RD
      Dave R
    • Looking for a Script

      I'm fairly sure it already exists but I can't find it. Probably because I don't know the name. I think there is a script that allows one to save versions of a model so that you can keep previous ones. Am I just imagining this or not? If I'm not imaging it, what is it called and/or where can I find it?

      Thanks gang.

      Dave

      posted in Plugins
      Dave RD
      Dave R
    • RE: Claire's cookie company

      This is cool stuff. Very inspiring. πŸ‘

      My only complaint is that the ramp is too steep. πŸ˜‰

      posted in Gallery
      Dave RD
      Dave R
    • RE: A Quickie Render in KT

      Thank you Gai. I just finished up a larger version of it. This one was done at 1024x768 using 07.PM-High+AA 0.3 24 minutes, 34 seconds. The brick is from the SU materials. Under Bump Mapping I added the image to the BMP and left the settings as they were.

      Link Preview Image

      posted in Gallery
      Dave RD
      Dave R
    • A Quickie Render in KT

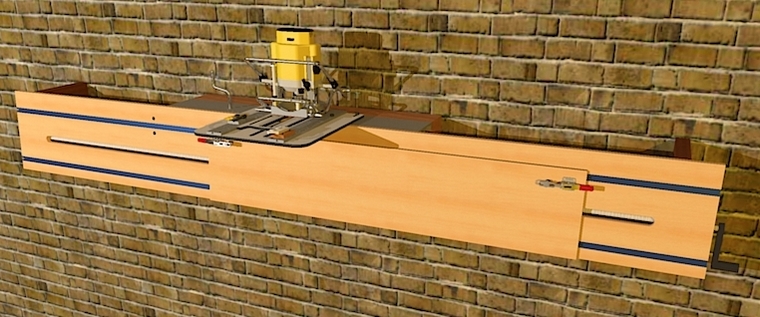
      Here's a quickie I did this morning. I'd drawn the WoodRat some time ago. The atachment on the front was done last night to show an idea for an attachment to allow the creation of raised panels that are longer than the WoodRat. I decided I should try a render for the fun of it.

      This was done at 800x600. 06.PM-Medium+AA 0.3 3 Minutes, 51 Seconds.
      WR with Panel Raising.jpg

      posted in Gallery
      Dave RD
      Dave R
    • RE: Styles!!!

      @majid said:

      dear dave . as i remember u were a woodworker . very nice to meet u again ... as i remember u retouched my style i'd posted on old foroum ( su pro) to cool watercolor style? didnt u?
      thanks again for ur testing . and it works grat on outdoor scenes. πŸ˜„

      Ah yes. That was you? I like your styles. Thank you very much.

      I can hardly wait to see the next one you create.

      Dave

      posted in SketchUp Components
      Dave RD
      Dave R
    • RE: Ride a Painted Pony

      @unknownuser said:

      Dave that looks pretty cool in hidden line form, it really shows some modelling skills to produce so quickly and to such small model size.
      Very nice work.

      Any chance, if you get time of a small tut showing your methods in creating one or two components?

      Thank you Dylan. Let me see if I can come up with a tutorial showing how I did part of the clamp. The cast parts are all done using the same basic method. I'll see if I can show my work. πŸ˜‰

      posted in Gallery
      Dave RD
      Dave R
    • RE: Quick access to help files

      Thanks for that, Didier. It looks like it'll work fine.

      posted in Developers' Forum
      Dave RD
      Dave R
    • RE: Ride a Painted Pony

      Darth, that's very good. Thank you.

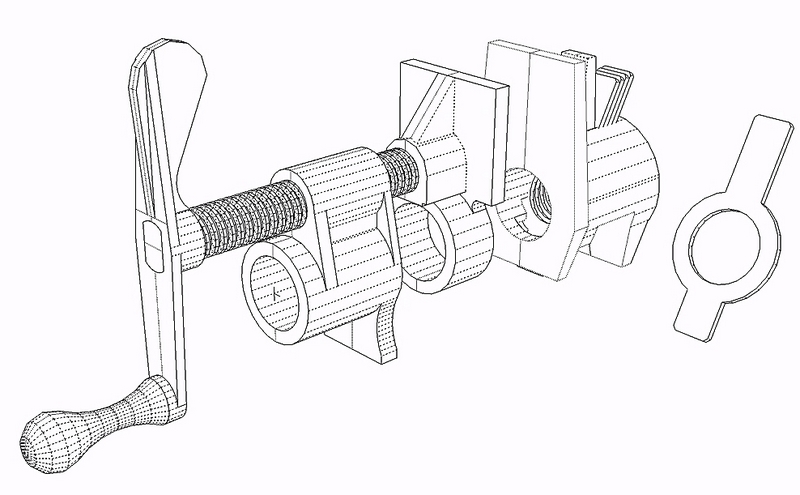
      Boo, here's the hidden line view. I guess I could probably afford to add a few faces on the end of the crank. As far as working time, I suppose I have an hour or an hour and a half in it. It didn't really take too long. I had a real example of the clamp at my desk to work from. Actually took measurements as I went, too. Most of the parts were easier to draw whole and then split in half.
      pony_hidden line-1.jpg

      posted in Gallery
      Dave RD
      Dave R
    • RE: Ride a Painted Pony

      @unknownuser said:

      DANG

      Izzat good? πŸ˜†

      posted in Gallery
      Dave RD
      Dave R
    • RE: Ride a Painted Pony

      @unknownuser said:

      That looks pretty high poly, what is the face count on that stallion?

      Wanna guess?

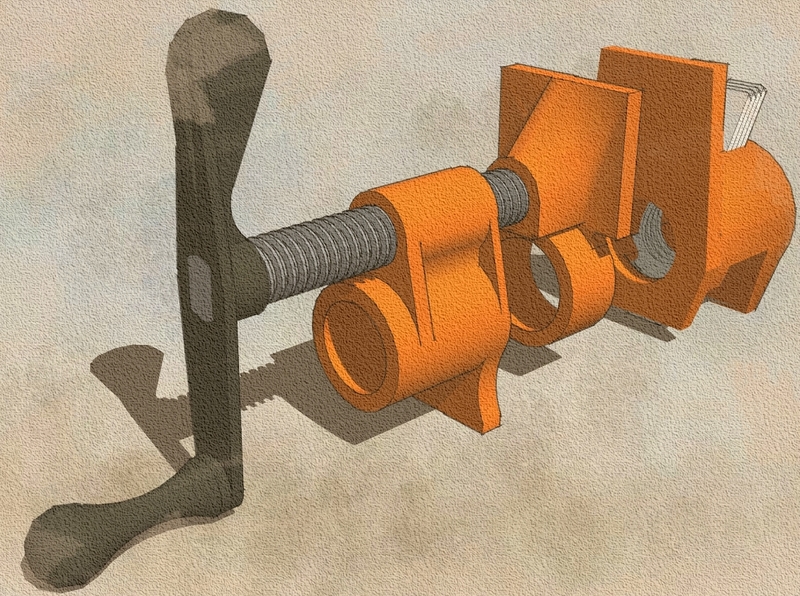
      File size is 139Kb. 4122 faces but 690 component instances. The clamp parts are split in half using the hidden seam method with each half being a component and the Acme threads on the shaft are instances of a little components with only three faces. The threads are separate from the central cylinder which makes adjust the length of the threaded rod a simple matter.

      posted in Gallery
      Dave RD
      Dave R
    • Ride a Painted Pony

      Here's a "painted pony" in Majid's new watercolr style. πŸ˜†
      pony_H2O.jpg

      posted in Gallery
      Dave RD
      Dave R
    • RE: BlackWatercolor

      So is all this my fault for doing something wrong? Or is this a Mac thing?

      I know what you're going to say. Just because I'm paranoid it doesn't mean they aren't out to get me. πŸ˜„ πŸ˜†

      posted in SketchUp Components
      Dave RD
      Dave R
    • Accessing the PDFs with Plugins

      I just had a thought. With many of the excellent Rubies you gurus are writing, you're also including PDF files with instructions. I was thinking it would be nice if they could be accessed directly from a menu entry in the Help menu. I'm picturing a menu entry with a flyout menu listing the PDF files that are included in the Plugins folder. At least that's where I end up extracting those files to when I unzip.

      Is this possible? I have no clue but it seems like it ought to be a short script. What say the experts?

      posted in Developers' Forum
      Dave RD
      Dave R
    • RE: Styles!!!

      Very nice. Thank you.
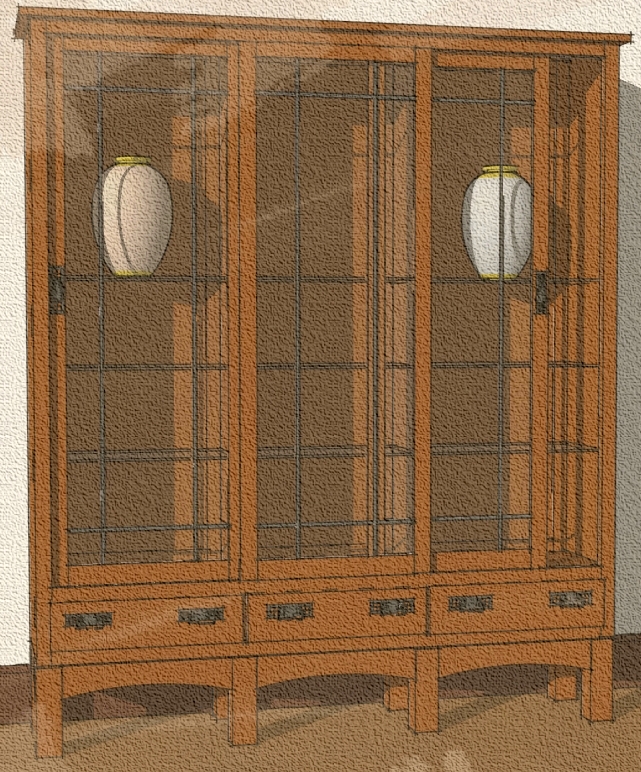
      Plaque_CabinetH2O.jpg

      posted in SketchUp Components
      Dave RD
      Dave R
    • RE: Indigo Render Experiment

      I'm surprised at the time, too. Of course I'm no judge of these things since I'm so new to this. Perhpas it has to do with all the reflective glass surfaces and the lights?

      FWIW, this is what I got after 10 hrs and 43 min. It only ran that long because that's how long I was away. I set the materials for the floor, small table and the tall cabinet to dull plastic as advised. I don't see any difference in the tall cabinet but I can see the reflections on the floor and the little Greene and Greene side table has a bit of shine to it now. (Click the picture to enlarge)


      http://img.photobucket.com/albums/v506/weekender410/im1193653973png-1.jpg

      posted in Gallery
      Dave RD
      Dave R
    • 1 / 1