That's a great diffused specular material. How did you manage it?
Posts
-
RE: TEA TIME ( dedicated to tadema)
-
RE: Golf course animation - Unity3D
Impressive! I personally think that it's not long before the Unity/SketchUp combo catches on in a big way for Architectural Visualization. How did you find the import workflow?
-
RE: LumenRT 4
Hi Solo. I tried to look at your animation from page 1 in the thread, but the screencast.com link's dead. Please could you re-upload?I'd sure like to see it!
-
RE: Boulder newspaper spills the beans about Trimble future
@d12dozr said:
So lets play the speculation game...any guesses on what the 125K sf facility will be for? Think it has to do with Sketchup?
I'm guessing a manufacturing facility for a building of that size.
I've no idea. Could it be the new Trimble HQ? If the project has "broken ground" already, would there be plans available on a town planning website - or does it only work like that in the UK?
Whatever else this is, it's certainly an indication that Trimble's serious about SketchUp.
-
Boulder newspaper spills the beans about Trimble future
I came across this eye opening article in the Daily Camera, a Boulder (Colorado) local paper, which quotes John Bacus (the SketchUp product manager) saying some pretty enlighteneing things - reading between the lines admittedly
 but just a little. Article link and link to my blog post.
http://www.dailycamera.com/business/ci_21520012/trimble-moves-forward-new-boulder-home-sketchup
http://www.sketchupuser.co.uk/sketchup-goes-back-to-architectural-roots/
-
RE: What happened to the Kerkythea forums?
Thanks mate! I thought something didn't quite add up

-
What happened to the Kerkythea forums?
I just called by the Kerkythea forums and noticed there's been no posts since 2011
 I'm quite sad about that. What do you think happened there? Has everyone moved on to other rendering forums - perhaps Thea render?
 -
RE: Base Camp?
Me too. I don't get what the short lead time is about. Last time it was something to do with only wanting VIPs there, then rolling it out to the rest later. But that can be achieved by simply reserving some seats for the VIPs and putting the rest up for sale at the same time. Or having a bigger venue...
-
RE: Sketch up for gaming concept art?
Hey all. Indeed, SketchUp is gaining acceptance in the games industry, especially for Indie Game Developers. The easiest way to use it with your games is to export your models to Unity 3D, which is a free game development environment and game engine. In fact, Unity is just about the most awesome thing out there (apart from SketchUp of course
 ) period! The book describes how to use SketchUp and Unity 3D (and other free tools) to get a complete game level up and running (a walkthrough like a 1st person shooter style). You can export it to web page, Windows or Mac .exe file.
I expect (hope
 ) a lot of you are going to find this amazingly useful for all sorts of things, especially in the short term for architectural walkthroughs and such, and also as a way to get into games, whether for your own pleasure or as a step up to get a job in the industry.
There's already a few great reviews on Amazon to give you a taste of what's in the book: http://www.amazon.com/Google-SketchUp-Game-Design-ebook/product-reviews/B006EEJSK4/
And a sample chapter here: http://www.packtpub.com/sites/default/files/1345EXP-Chapter-02-Tools-that-Grow-on-Trees.pdf
-
RE: Base Camp?
This year's basecamp is going to have some massive announcement - I can feel it in my bones.
-
RE: CatchUp Edition 8
Superb magazine! - even the adverts - looks like I'm going to have to get me that Artisan plugin!
I also meant to say a big thank you for the awesome review you gave my book last month!
-
RE: Base camp 2008...2010...2012?
Unity are having their basecamp (Unite12) in Amsterdam, and they're HQ'd just round the corner from Google US. The proposed location has had a lot of positive comments.
-
RE: Column layouts accross multi-floors tutorial
Hi - I'll have a dig around and see if I can dig the tutorial out for you.
I was incredibly interested to see this article on the SketchUp blog where a steel construction company is now using SketchUp for their CAD drafting. Looks like I was 5 years ahead of the curve trying to push for SketchUp as a BIM tool on my blog!
http://www.sketchupdate.blogspot.com/2012/02/pro-case-study-turner-construction-and.html
-
RE: Planning a tiled floor layout and material estimate
Thanks Kris. Hope it's useful.
I've just added the images inline for clarity.
-
Planning a tiled floor layout and material estimate
Hi all. I've just created a short tutorial on how to plan a tiled floor using SketchUp. Hope some of you find it useful. The url for the full tutorial and images is http://www.sketchupuser.co.uk/planning-a-floor-tiling-project-with-sketchup/
Planning a floor tiling project with SketchUp
SketchUp’s easy to use tools can help you in all sorts of DIY tasks. One of the best is to get quick plans and estimates of materials. If you’re about to go and tile your bathroom floor, pave your driveway, or board your loft – wait a second – and follow this tutorial first. I promise it will save you hassle and time!
Step 01 – Draw your room
Using the Rectangle tool, click on the Origin (where the red, blue and green lines cross) and then draw a rectangle roughly the right size of your room, or area to be paved. Type in the dimension of the room (length, width) and hit Enter. The rectangle will resize.
Step 02 – Draw the obstructions

Now draw rectangles where the bath, toilet stem, basin stand, or any other obstruction are placed. Do this as roughly or accurately as you like.
Step 03 – Choose tiles and paint them onto the floor

Next go to the Paint Bucket tool. The Materials Pallet should appear. Go to Tiles on the dropdown list, and select some tiles that look approximately like the one’s you’re going to use. Paint onto the floor area.
Step 04 – Scale the tiles correctly

Of course, these tiles could be any size, so it’s important now to resize them accurately. Go to the Edit tab in the Materials pallet. At the top you can see a thumbnail image of the tiles. Note how many tiles wide the image is showing. In this case it is 4 tiles. The tiles we’re using in this project are 300mm wide, so 4 x 300 = 1200, with some gaps for spacers, say 1250mm. Type this figure into the width dimension box and hit Enter. Now the tiles on your floor resize correctly.
Step 05 – Arrange the tiles for best fit

From what little I know about tiling I gather that visually the best way to go is to center the tiles. You can do this now by Right Clicking on the floor, then select Texture ¦ Position. Now use the hand to move the tiles around on the floor. Easy peasy.
Step 06 – Display the total area of your floor

This bit is a piece of cake. Go to View ¦ Toolbars and make sure Construction is ticked. Then go to the Text button, select it, and click somewhere on your floor. Click somewhere else where you wish the text to be displayed. You will now have the area of your tiles, without any of the obstructions (bath etc.) factored in. If it’s in mm you can convert it to m by moving the decimal point 6 places to the left.
Step 07 – Find the tiling starting point
You’re going to want to start tiling in the middle, working your way out. So to find the measurement at the corner of your starting tile, click on the Tapemeasure tool. Click on the right hand wall, and move to the left. Settle the line at the edge of the centre tile as shown here. Now repeat with the perpendicular wall. You now have two lines crossing in the middle at the corner of your first tile. Use the Dimension tool to get the measurements. Hit Print, and go get ordering your tiles.
Now get to it. And don’t forget to wear kneepads!
-
RE: Best choice of style to best repesent photo material
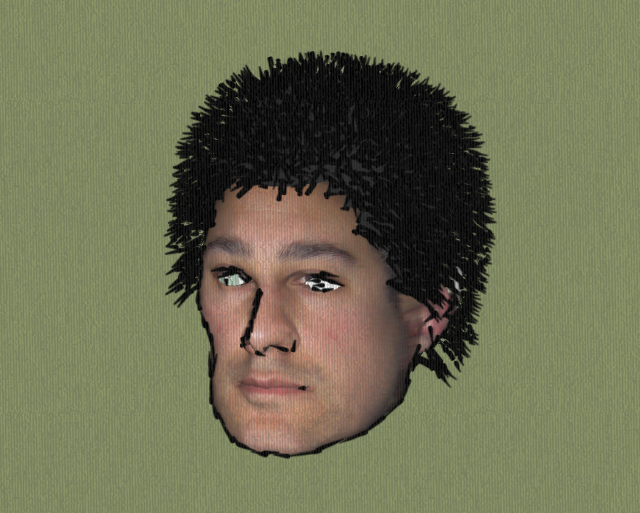
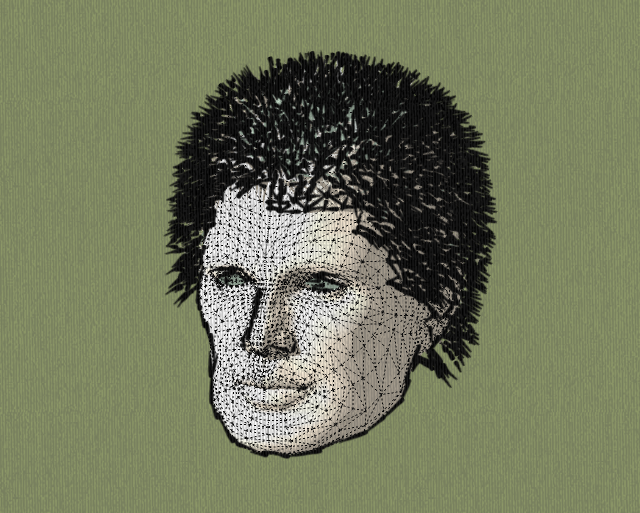
Any view setting that contains the Shaded with Textures view style. I usually first select any style from the style pallet, then click the Shaded with Textures button. That way you can even have photo textures with one of the sketchy line styles. It really depends what visual style you wish to achieve.

-
RE: Trees for game tutorial
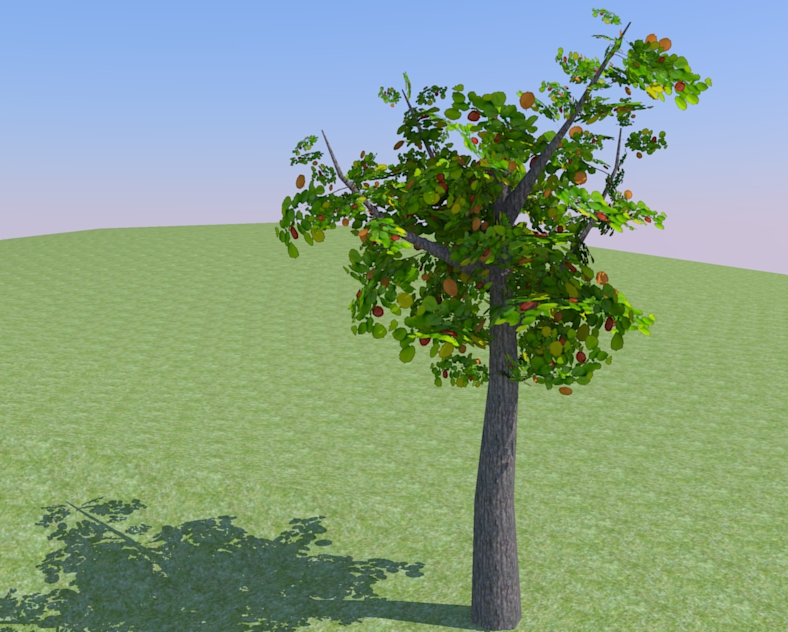
Taken the main branches to a point. Added some colour variation in the leaves - but I think I've over done it. Concentrated leaves at the tips of the main branches. Still don't like those main branches.
-
RE: Trees for game tutorial
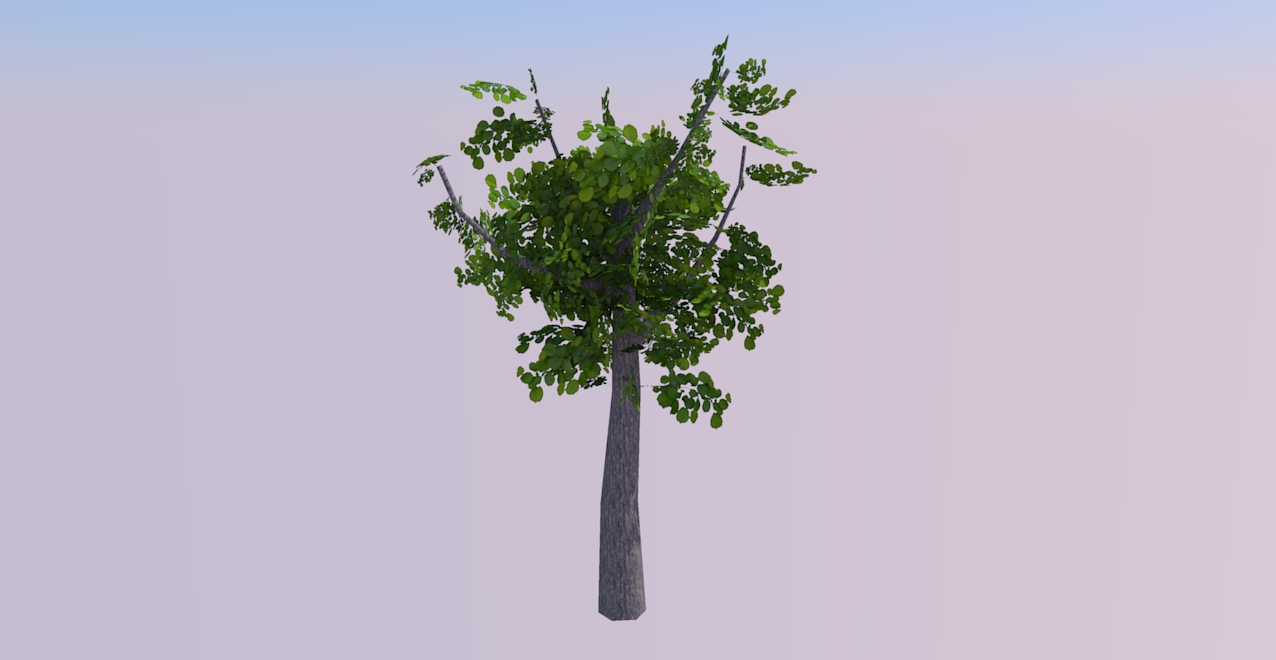
Another attempt. Here I've thinned the trunk and spread the leaves out more evenly by using two different branch components rather than just one.
-
RE: Tgi3D SU Amorph and PhotoScan Update (v1.20)
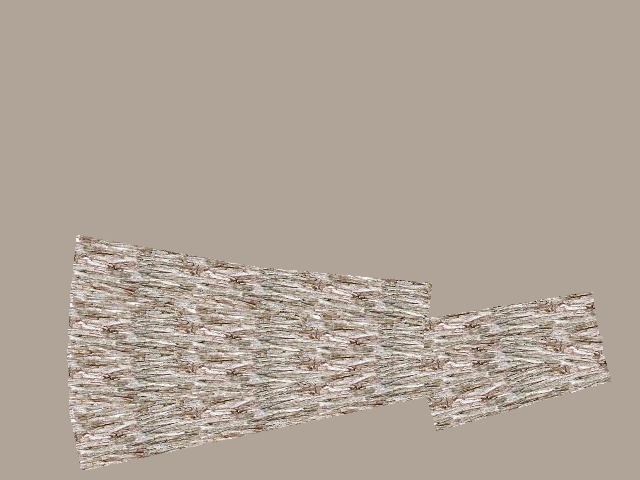
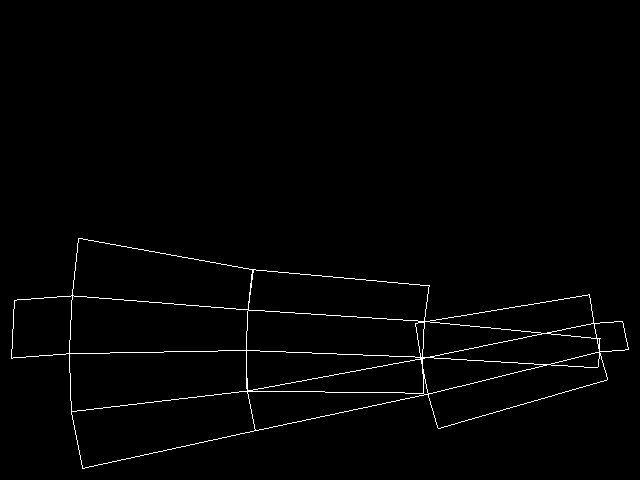
Thanks for your response. I'll try to clarify. I have a highly simplified tree trunk that I've smoothed. I select the smoothed face and select Create Texture and tick the UV Unwrap method with Create UV. You can see in the attached images that the UV Map could do with some pulling around so that faces don't overlap. Is there any way to do this? If not, how can I control how it unwraps?
Many thanks
Rob