Joint Push Pull Classic (Old version) - v2.2a - 26 Apr 17
-
NEW RELEASE
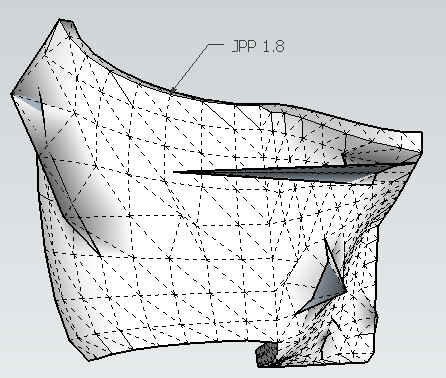
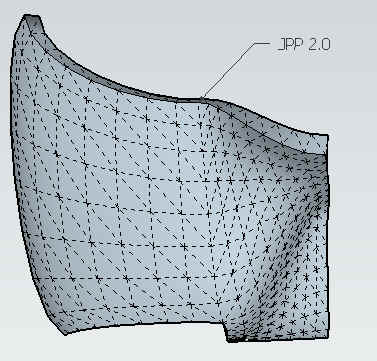
version 2.0a - 16 Jul 11: Fixes for problems when applying to convoluted shapes. The issues were signaled by ThomThom.
Note that the parameter "angle of influence" is no longer used.See main post for download.
Fredo
-
Thanks Fredo. Much appreciated

-
Great stuff Fredo, thanks.
Baz -
NEW RELEASE
version 2.0b - 17 Jul 11: Fixes for problems when applying to convoluted shapes. The issues were signaled by ThomThom.
Note that the parameter "angle of influence" is no longer used.
Version 2.0b also includes the Italian translation

See main post for download.
Fredo
-


-
Fredo is the man!
grtzzz
Pep -
just wanted to say THANK YOU

-
Will this plugin allow me to perform a 1/2" roundover on perpendicular intersecting edges?
Example of desired finished result:

-
Hi, BBLV:
You will want to try Fredo's Round Corners, which will do that, plus chamfer, plus radiused corner and edges. Joint PushPull is a multiface simultaneous extrusion tool. -
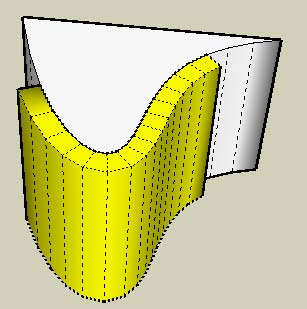
using this plugin when i push pull a curved surface i have to manually delete the original surface that was push pulled. is there any way that this plugin jointpushpulls just like a normal push. and not like a ctrl+pull that makes a new face? For example i just want this yellow extrusion to be a part of the whole solid.

-
With face and tool selected...
Press TAB to open dialogue box
Choose Finishing Options
Pick option
-
@unknownuser said:
With face and tool selected...
Press TAB to open dialogue box
Choose Finishing Options
Pick option

I chose thickening, then erase original faces, then keep original faces. All the options are giving the same results with the lines :?
-
What is your question? Your image doesn't show anything useful as far as a problem is concerned.
-
It's not a telepathic tool - just erase lines and faces that YOU don't want!
-
@rock1 said:
using this plugin when i push pull a curved surface i have to manually delete the original surface that was push pulled. is there any way that this plugin jointpushpulls just like a normal push. and not like a ctrl+pull that makes a new face? For example i just want this yellow extrusion to be a part of the whole solid.
yes it works like a Ctrl+pull.
Actually, doing like the native push pull is much more complex for:- creating holes
- merging the surfaces after push pull
Note however that in most cases, JPP is used for complex surfaces where the standrad push pull would not be effective. So the continuity of surface won't really happen.
I suggest you simply erase the unwanted lines.
Fred
-
@unknownuser said:
Note however that in most cases, JPP is used for complex surfaces where the standrad push pull would not be effective. So the continuity of surface won't really happen.
I suggest you simply erase the unwanted lines.
Fred
In the case shown above is it possible that the pulling is like a normal pull? My shape isn't complex enough :lol:
-
@unknownuser said:
In the case shown above is it possible that the pulling is like a normal pull?
If I understood well can't you just use the "vector pushpull"? Anyway here you have the behaviour of the three tools.
-
Feature request: Option to disable the Context Menu.
-
@thomthom said:
Feature request: Option to disable the Context Menu.
+1

[I have already tweaked my copy so that there's no context-menu, as there are already too many things clogging mine up!] -
Yea - I use to tweak it myself. But for each update I need to do it all over again.
Advertisement


