Hmm. Maybe Fredo's BezierSpline? I haven't used it though so I'm not sure. 
Posts
-
RE: How do you create clean curves like this?
-
RE: How do you create clean curves like this?
Cleaner curves?
In SketchUp, you can't exactly model a true circle. When you use the circle tool to make one, it is divided into 24 line segments. Technically it's not a circle but a regular 24-gon. (Polygon with 24 sides and congruent angle measures.) However, you can adjust the number of segments in a circle or arc (curve).
You can just set the segments in the arc higher. The default is 12. With the arc tool activated, just input your desired number of segments. Of course, you will have to sacrifice model size. I would only recommend doing this on larger curves that will be more visible. In fact, for smaller arcs I usually decrease the number of segments. They add up and keeping the segment number down keeps the file size down a lot.

Welcome to the forum by the way.
 Hope you like it here. It really is an awesome place and the folks here are great.
 -
RE: Kerkythea question
Have you taken a look at the Zorro 2 plugin? You can make the section cut on a backup of your SketchUp model before importing to Kerkythea.
Is that what you needed or something else?
-
RE: Kerkythea
Yeah, I don't know what it would be other than reversed faces. Like Dave said, just turn on monochrome mode and see if you see any. The default color for back faces is a light blue.
As for the view, simply get the view you want in SketchUp and save it as a scene. You can even make multiple scenes and see how they render. Just make sure to export the scenes when you export your model to .xml. Then, when you open the model in Kerkythea, you can switch between scenes over on the left side toolbar. You can also set it to render a specific scene in your render settings, even if the viewport isn't how you want it.
Hope I've been clear. Let me know if I've confused you.

-
RE: SU crash notice?
@marvins_dad said:
Anti-frustration software

 No, seriously. That's what it's called. Soluto Anti-Frustration Software. http://www.soluto.com/
Actually, it's been nothing but "anti-frustration" for me. Can't get it to install since finding it a few days ago. E-mailing back and forth with a customer support person hasn't helped much.

-
RE: [Plugin] Extrude Edges By Offset v1.0 20110525
You're on a roll TIG! Thanks a bunch for these awesome tools.
 I'll have to try this out this afternoon.
 -
RE: Ithil gallery
Wow! Fantastic work!
 I was excited when I saw you had posted again as your work is always stunning. How did you do the animation of the setup as well as the skaters? It looks awesome!
I look forward to seeing some renders on this project.

-
RE: Accidental Workflow
@stefanq said:
John, Nomer had a project where his render output was a spherical image. He basically rendered a 360 degree image, like a spherical map HDRI. He used this 360 degree image as HDRI to render that statue in hypershot.
Nomer, that was under our noses, thanks for sharing!Oh, so he rendering an hdri?
Then that's amazing.
 How would one go about doing that?
 -
RE: Accidental Workflow
@unknownuser said:
read under the picture for a link to the next episode
I saw that but I still didn't get it after reading the blog post.
Wow. I really must be dumb.

-
RE: Accidental Workflow
I'm probably just thick-headed but what exactly did you "discover"?

-
RE: Photo match or what
@unknownuser said:
I look at all of those and they did help out to much at all. Thanks for the help tho!
You mean they didn't help out?
 Sorry. Do you just need me to go into more detail or is this just completely different from what you were looking for.
If this is what you want, here's what you can do:
First, set up your model and under sky settings (maybe, I don't use V-ray but there should be similar options) set your "sky" to a 'Background fitted image' or something along those lines and add your landscape image. Then render it and you should get something similar to the first image in the tutorial. You may have to move your camera around to position the model right where you want it to be in the picture.
Next, make the same render but this time, add a ground plan below your model so you can get some shadows. This is what is done in the second image.
Then, render a depth mask render. This is the third, black and white image.
Finally, add the three images in Photoshop, Gimp, or a similar program.
Hope this helps. Let me know if it doesn't or if you have questions.
-
RE: Scooby Doo and Shaggy
Pete, please refrain from posting your imports here. It's a disgusting habit.

Your organic models are insane!

-
RE: Rovers
@unknownuser said:
If you're taking requests I'd suggest...
Or maybe something big like a cathedral or castle. That might take you a few days to finish.

-
RE: Most impressive SketchUp modelling
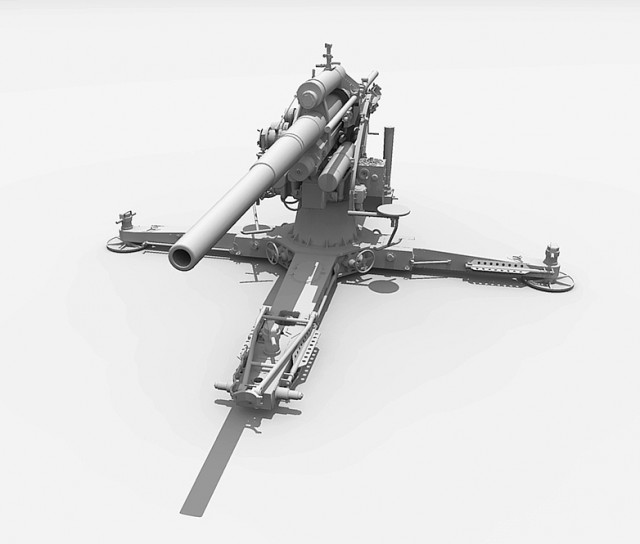
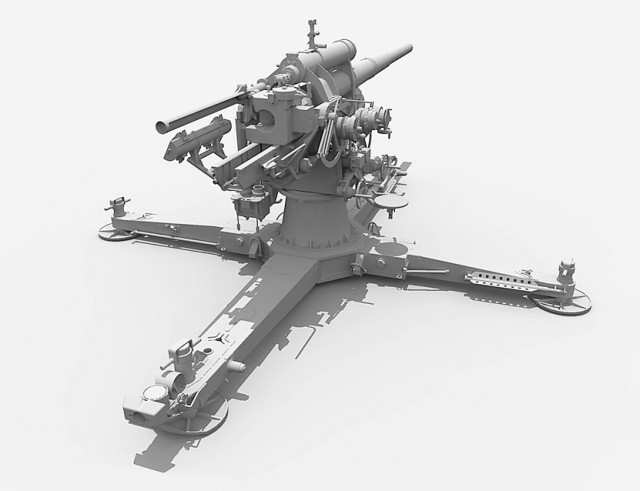
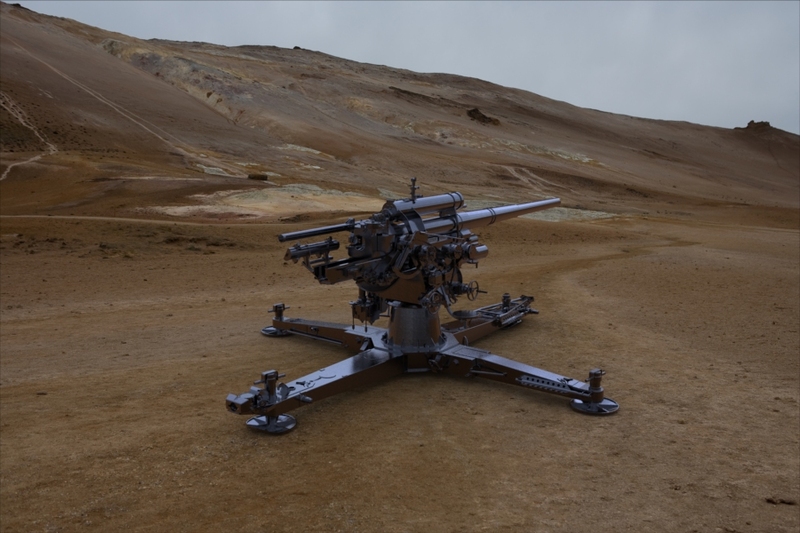
Numbthumb's "Acht-achter" cannon definitely deserves to be mentioned here.


-
RE: Photo match or what
Check out this thread and this tutorial. It's from the Kerkythea forum but will work in any renderer.
Hope this helps.

-
RE: [WIP] NYC IRT R26 Train
Very nice Mistro. The last render is looking pretty realistic.

I'll be following your progress on this.

-
RE: IPhone4 users! What do you think of the Hipoflex?
Don't have an iPhone but this looks pretty cool. Useful too.
By the way, is that image/animation in the video made with SketchUp?
-
RE: [Plugin] Pen Tool +
@tig said:
type
$exStringsin the Ruby Console

Seriously though, thanks for the update Rich. Construction points should be nice.