@nickchun said:
These are both great. Whats your workflow for the second on and how do they go down with the clients?
Thanks! To be honest, these animations can take quite a while to produce! If I didn't enjoy the creative process so much I would never create them! These aren't provided as part of my 3D Visualisation services. They are merely marketing tools to help promote my work and to (hopefully) inspire potential clients to consider the use of 3D Visualisation when pitching to their clients.
The second one involved importing a rendered scene into Photoshop and making it look like a sketch. Then I had to erase all of it in sections so that it appeared to gradually appear in the intro of the animation. This alone was 128 frames! Then (again using Photoshop), I created a watercolour of the rendered scene and masked it with the final sketch. Masking allows you to place one image on top of the other and pull through the bottom image. Does that make sense?! So then using various Photoshop brushes, I 'pulled' the watercolour image through on top of the sketch in segments. This was 46 frames. I had to add a few frames to show the paint dripping.
Once the final watercolour transitioned into the photo-realistic image I wanted to split the screen so that the alternate design was exposed. I had to create the split screen (in frames) in Photoshop.
I did the same (split screen into 3) when the wall of storage appeared and then revealed the alternate design.
The scrolling of the entire images (this happened twice) is a function available in Windows Movie Maker.
Hope this wasn't too long-winded!
Anita
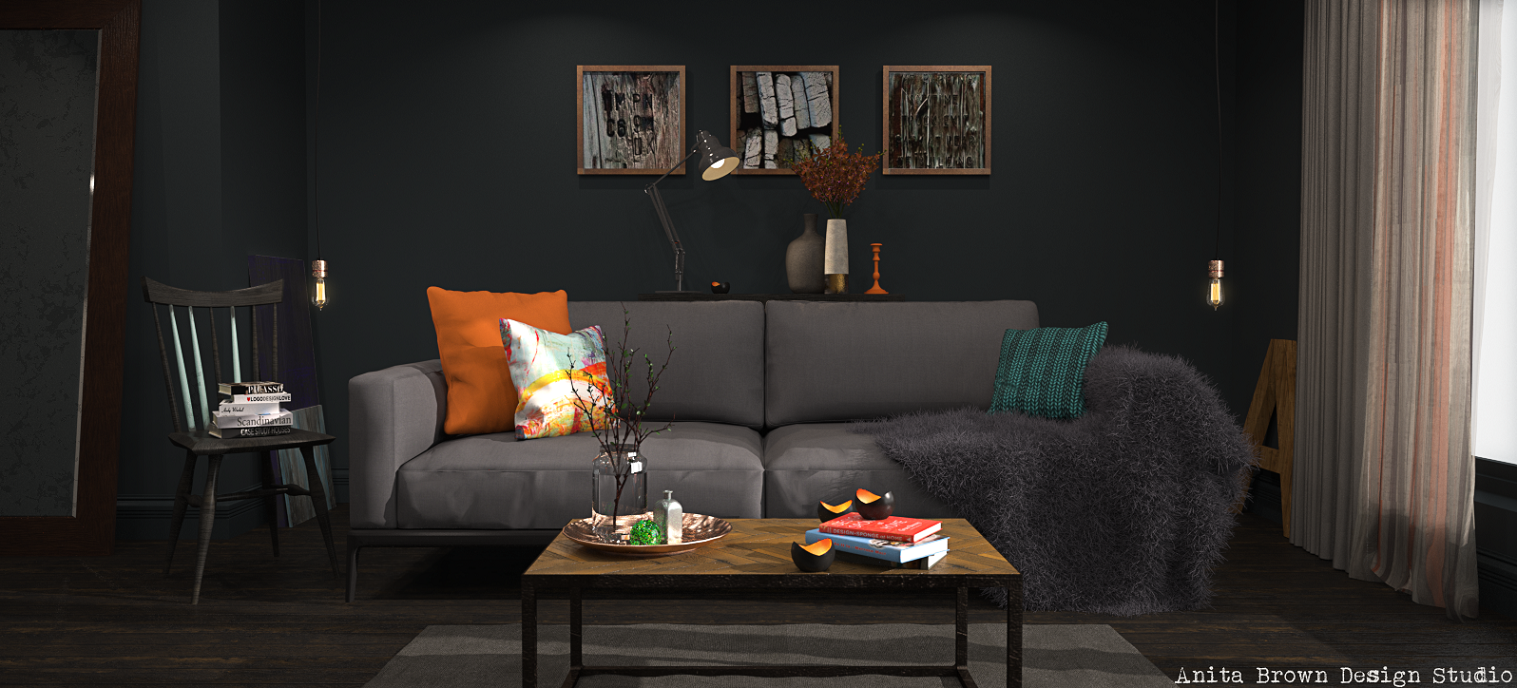
 Fab colour scheme, right?!