Vray reflection mapping
-
Yea, the forum just went down. At least from the default URL. You can access it from this alternative URL which works: http://asgvis.com/smf/index.php
I tried searching for the thread you mentioned. But I couldn't find it. Found a different thread though related to specular reflections.
http://asgvis.com/smf/index.php?topic=2248.msg11150 -
Odd. Stefan's solution differs from JoeB's.
Edit: I can see you, FA! Give up yer secrets!

-
Seems there's many ways to apply specular maps.
I figured it'd be of interest to see the reply of one of the ASGVis employees. -
Thanks for the link Thomas, here the link for my post....sorry for schrolling...it's on page 2..
http://asgvis.com/smf/index.php?topic=4089.15
Stinkie, yes, it's odd, but it's working.Check the link above.EDIT: the post it's about HDRI, but on page 2, almost at the bottom, I have some images about specular maps.
-
-
@thomthom said:
Seems there's many ways to apply specular maps.
I figured it'd be of interest to see the reply of one of the ASGVis employees.Yeah, that'd be nice.
-
@unknownuser said:
@thomthom said:
Seems there's many ways to apply specular maps.
I figured it'd be of interest to see the reply of one of the ASGVis employees.Yeah, that'd be nice.
JoeB was that reply.

-
lol. Nevertheless I'd like to see, say, Damien Alomar elaborate on this issue. He usually does a good job explaining things.
-
@unknownuser said:
lol. Nevertheless I'd like to see, say, Damien Alomar elaborate on this issue. He usually does a good job explaining things.
Yup. His replies are valuable gems. I've been meaning to collect some of them into a tips/tricks post.
-
Whoa! Err ... dankie? Dankiewel? Whatever - thanks!
-
hey i did a quick test after thomthom PM'd me on the matter, the thing about spec maps is u only notice them in shaded area where the light would hit them where they not in shadow.
raw render:

notice how the walls facing the camera get less reflection than the ones perpendicular to those, this is the fresnel effect, so a couple of things need to come togther in order to achieve this effect.
the refelction channel:

tip: in photoshop overlay the reflection channel over the render and make the layer mode: SCREEN, this will increase the reflection of the raw render.
i attached the plaster vismat i made from a cgtextures image... and the model, so u can go through the material to see how its made. the spec map is placed under the fresnel image slot.
-
haha dis 'n plesier.
-
Guys, really, really Thanks
Freeagent, now with the scene on my hands everything's clear. Thanks everyone for taking so much time with this. I wish some day i will help you as you have helped me
-
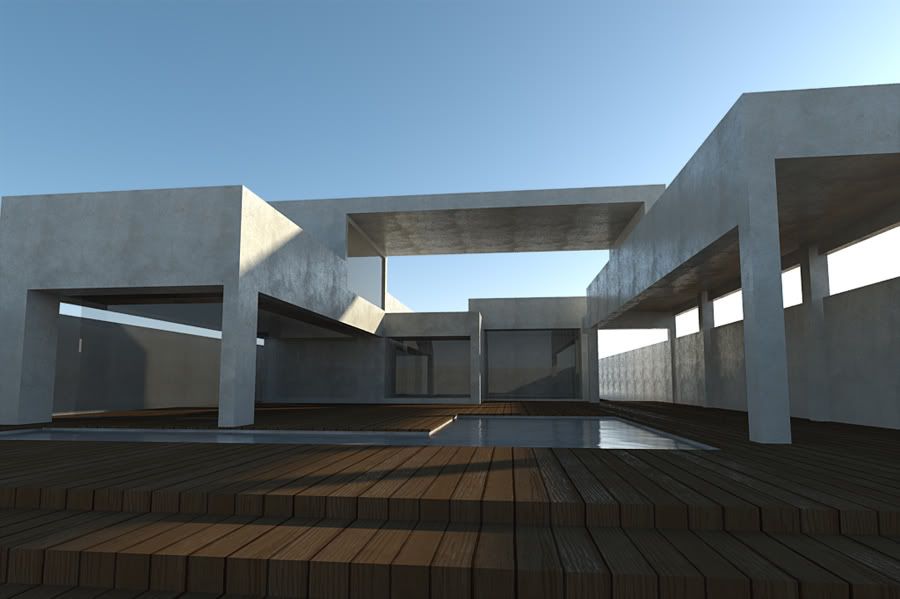
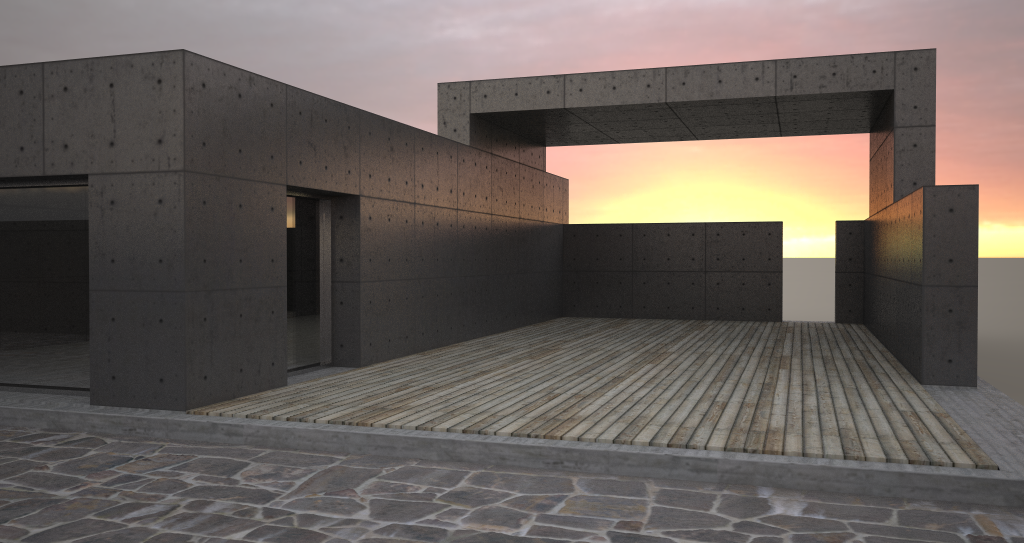
Did a little test scene. Used an HDRI as I wanted to get a colour tint to the lighting. Too bad the Sun shadows are gone. (If I remember correctly, I can get them if I turn on default light and decrease the GI light while also adjusting the camera exposure.)

-
Very beautiful scene thomthom. I have tried to make my own with an HDRI map but after more than 10 trial errors can't get the desired position for my sun. Is any easyer method to quickly position your hdri?
-
Hide all geometry, or do material override so it renders quickly and then do a few trial and errors of the HDRI horizontal position. Or you could do what Richard do; quite nice setup: http://www.sketchucation.com/forums/scf/viewtopic.php?f=15&t=18001&p=145253
Note that you won't have much luck if you try to adjust the vertical position of the SUN source from and HDRI. That will just mess things up.
-
@unknownuser said:
lol. Nevertheless I'd like to see, say, Damien Alomar elaborate on this issue. He usually does a good job explaining things.
yeap, whenever damien reply assurely my eyes are there... -
@unknownuser said:
Whoa! Err ... dankie? Dankiewel? Whatever - thanks!
Oh thank God FA is here to give some explanation about this.
hey stinkie are you saying FA is a donkey? lol. -
thats a cool linking render Thom
-
What I'd like to know is how to create a render with a tinted sun but with sun shadows as in the picture posted by the original poster. Anyone got some tips?
Hello! It looks like you're interested in this conversation, but you don't have an account yet.
Getting fed up of having to scroll through the same posts each visit? When you register for an account, you'll always come back to exactly where you were before, and choose to be notified of new replies (either via email, or push notification). You'll also be able to save bookmarks and upvote posts to show your appreciation to other community members.
With your input, this post could be even better 💗
Register LoginAdvertisement


