Thank you thank you thank.... spent a couple of nights trying to come up with a good looking ice cube. Your's are much much better.
Oops, your profile's looking a bit empty! To help us tailor your experience, please fill in key details like your SketchUp version, skill level, operating system, and more. Update and save your info on your profile page today!
Urasik Extensions | Lots of new extensions to check out Learn More
 Offline
Posts
-
RE: KT fast start returns
-
RE: Twilight Render - Challenge
Thanks pbacot , it's kind of fun trying new stuff even if your not getting the result you want. Totally understand your comment about artists painting glass objects. Have an art background. I have to tip my hat to the guys that write the render software. When I think about the way light bounces and bends going through bottles and such. I'm guessing calculating the light paths through curved glass is one of the toughest on the software. Makes my head hurt thinking about it.
-
RE: Twilight Render - Challenge
Dave , don't get discouraged. You are making progress. Heck I never need to do this sort of stuff for my job but learning new stuff is a good thing. You never know when it might come in handy. Just keep swinging at the pitches. chuck.
-
RE: Twilight Render - Challenge
Dave, Didn't think you were mad. Figure at some point you think " oh good gosh now what" when you see my post
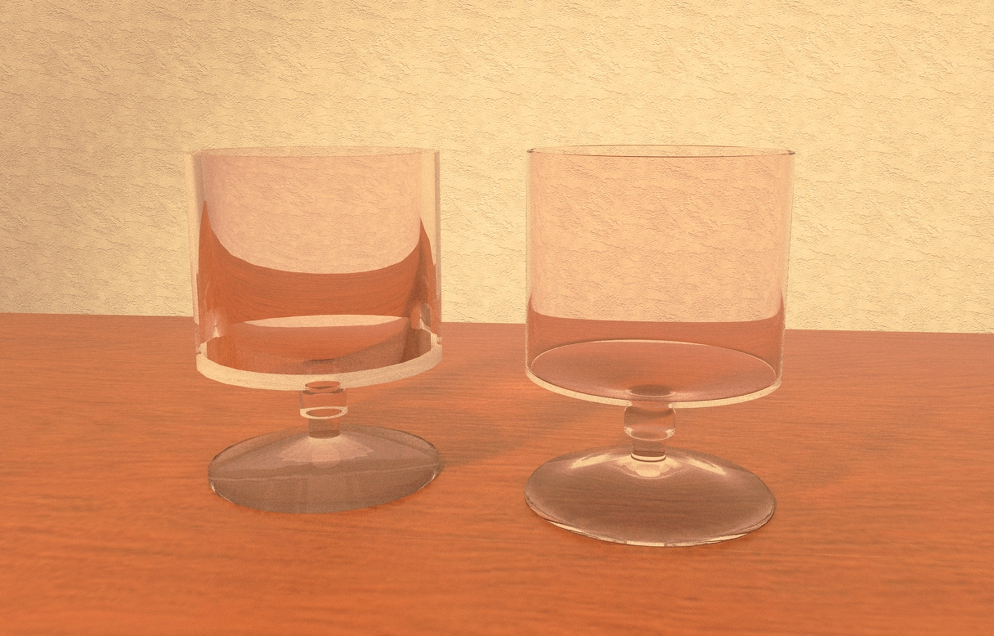
 .Several of us have hammered at you about the thickness of the glass in your glass. I thought i show you a side by side comparison . Posting at pic of your glass ( left side of pic ) next to one I cleaned up a little. Want you to see just how much a difference the small stuff makes.
I made the following changes to your glass - reduced thickness of glass by 2/3's. Used a 48 segment circle for follow me path. Added a small 3 sided radius to top edge of glass. Added radius to the square corners in the stem. Gave the bottom of of the foot a smoother curve. Probably took about 15 minutes.
Render set up - Put both glasses on a "table" inside a room. The room is a half circle. Already had one set up for some other tests. Used a combination of point lights and one spotlight. Point lights given RGB value of 100 watt light bulb. Spotlight was set to front left of table to aimed to glasses. Gave it RGB of a halogen bulb.
Spent maybe 15 minute doing quick tests to adjust power levels of lights. Rendered on 10 interior plus. Let it run 55 passes. I think the difference is pretty obvious. Check out how distorted the reflections in the thick glass are. Wouldn't matter how long it ran the result wouldn't be so good.
The renders far from perfect even on the thin glass. I do think it shows that time spent on the small details will give good rewards.
-
RE: Twilight Render - Challenge
Dave, Don't hate me. Was a little distracted when I posted earlier. Your glass is still way to thick. Went back into model and looked again. The thickness needs to be reduced by easily 2/3 s it's current thickness. The reflections in glass are a result of good models good light set up and good materials. If you provide the "right stuff" Twilight will give you all the reflections you'll ever want. I've got a scene set up now that I've been pulling test shots off of. Have it about ready to let it run overnight. I'll post some images when I get it done. Regards, Chuck.
-
RE: Twilight Render - Challenge
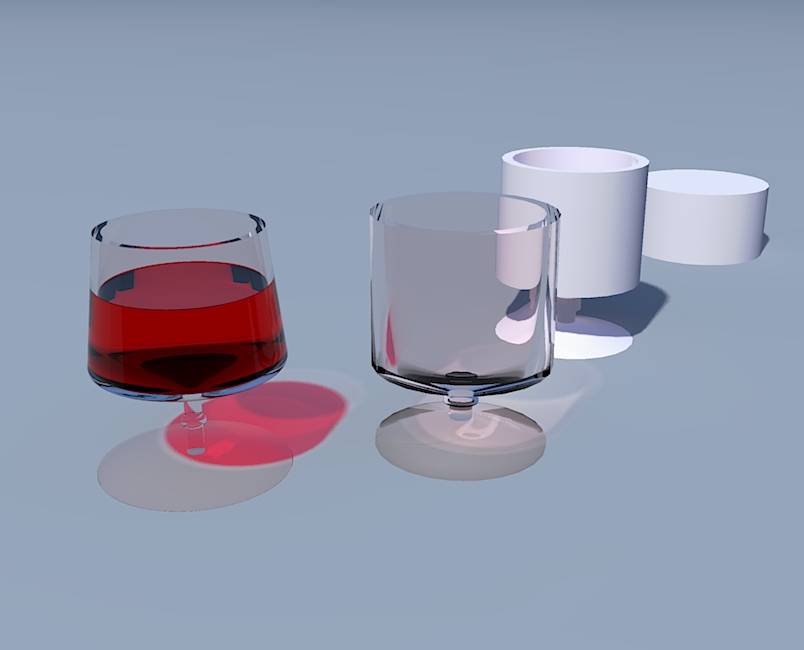
Dave, Much better. Downloaded and took a look. There was only a few minor issues. Biggest was glass on the left had the wine and glass in separate groups. If you had tried a render you'd have got weird look to the wine. Exploded both groups and then regrouped and everything was fine. What happens is the inside faces of the glass are in the same physical space as the outside of the wine . It will drive SU & TW crazy as 2 faces can't occupy the same space. Easiest way to recognize it is when you rotate the model you will see weird flashing effects on the faces that are flat against each other. You had a few edges that needed soft/smooth and there were 2 unwanted cylinders inside the stems on the center and right side glass. A left over from the follow me. Sometimes that happens depending on the shape your making.
Scaled the glasses down , checked the TW settings and ran a quick render that I've posted. The big plug in the back is one of the left over pieces of geometry from a glass stem , I didn't scale it down
.The only things I changed in your TW settings were as follows.You had 2 different color set ups for your glass. Deleted on and repainted one glass so they both have matching materials. Changed the channels from " sketchup" to "color" and set the alpha to 3 . Set your red color to channel also and set the alpha to 4.Ran the render on easy-medium, took 17 sec. Not bad. The funky look in the bottom of the center glass is my fault. I soft/smooth'ed the bottom edge inside and out. I was curious what would happen. If those edges were unsoftened the bottom of the glass would probably look better. So much for experiments! Keep it up your making good progress.
-
RE: Twilight Render - Challenge
Box, a double DUH! from me as I slam my head on the desk repeatedly !
-
RE: Twilight Render - Challenge
pbacot , I think you've hit on something. Should speed up the process. I pretty much stuck with the way massimo illustrated as it's my first tries at this liquid in a glass business. The moving the liquid in and out wasn't a real big deal worked big and used a couple of guides. Will have to try your approach. thanks, chuck.
-
RE: Twilight Render - Challenge
pbacot, I get what your driving at. There may be an easier way. I've tried different approaches. One thing I
discovered. If the wine surface and inside of the glass aren't isolated by a group when you create the
meniscus and run follow me you lose one row of geometry on the side of the glass. This is right
below the line where the glass side and meniscus join. Then you have a repair job. At least that's what I
had happen during my experiments.Dave , hvanessen , You guys need to check the rocks glass. Look at the difference in the appearance of the sides
of the glass in my renders and yours. It looks like the vertical edges in your models aren't
softened. Almost like their hidden but not softened/smooth. It's like something messed up
passing the file. You need to check that out.good luck and keep experimenting and learning. chuck.
-
RE: Twilight Render - Challenge
Dave, Glad I could be of some help. Don't be embarrassed at making mistakes, that's how you learn. If you could
see some of my early models you'd get a pretty good chuckle. Have been going back through my files recently and
cleaning up early stuff. When I go into monochrome some of them look like checkerboards ! We all started at the
same place so don't let it get you down. Going to give you a few more tips, hope it doesn't freak you out.In your last image you posted, the reason the wine in your glass is black is the back face issue. If you have
reversed faces TW will render them black If you run a test render and you've got objects that look black go to
monochrome and check your face orientation.The stepped red lines in the wine is where the wine group was misaligned and sticking through the side of the
glass. The heavy black effects around the rim of the glass where solved when I unsoftened the outer rim.The comment about segment count in your circles is easily seen in the last render I posted. The segments are very
apparent in the foot of the glass. At least 48 segments would have looked smoother. Might have taken 64.The foot of the glass will look better if it has an upward curve across it's bottom. Only a small part of the foot
actually rests on the table. The wine glass foot is pretty dead flat and is why it's so grey.Make sure you model this kind of stuff BIG. The rocks glass was over 2' tall when i modeled it. Didn't scale down
until all modeling and texturing was finished.Last thing i promise ! Hope you figured out the TW post pro settings I had made in the rocks glass model. Besides
"vignette" being turned on I think I had dialed the exposure down one click. Default is 1.0Well that's it. Hope it's been some help. Glad to do it. Question's are always a good thing ! chuck.
-
RE: Twilight Render - Challenge
ooops..... Forgot something. If your wondering why the saved renders look a little dark around the edges. I had been fooling about with the post pro settings in the rocks glass model and forgot to turn them off before posting the model.
If you want to see the raw render click on post pro ( lower right corner ) in Twilight window and deselect vignette and your renders will look more like the original post of the rocks glass image. sorry....... me bad.......... -
RE: Twilight Render - Challenge
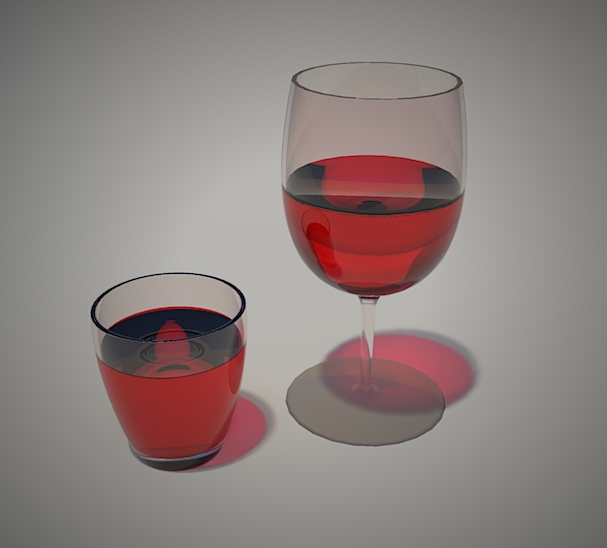
Dave , Here's your fixed model back. Most of your problems were in the model itself. Biggest issue was your glass and your wine were each in separate groups and the wine didn't line up with the inside surface of the glass. When you move the wine shape back inside the glass, once it's lined up proper you explode the group and then intersect the faces. What you ended up with was 3 layers of glass were you should only have 2. Also had stray geometry between
the glass layers that needed erased. Unsoftened the outside rim of the glass. It was causing weird artifacts in the render. I think if 2 faces get real close together it makes the render engine a little crazy. If you want a rounded rim draw it in when your making your template, don't try and get it just by soft & smooth. Redrew the top of the base, you were missing a bunch of faces were the stem and base meet.Last but not least you had a lot of back faces were you should have had front faces. I changed the color of the wine in both just cause I felt like it. Didn't change anything in Twilight. You should be able to plug and play and get a nice result. Also will post render. 05 - medium+ , took 49 seconds.
Almost forgot , one more thing. You should increase your segment count when you draw your circles. Things will look a lot smoother. FYI the rocks glass was drawn with 64 segments.
-
RE: Twilight Render - Challenge
Dave , Posting the "rocks glass" model. You'll be able to check out materials and sun settings I used . It's a simple set up but gives a nice render on easy low through easy medium+ . Have one scene set up. Hope it's helpful.
-
RE: Another chair
DavidH , many thanks.
Pilou , Yes it's typical of 50's - 60's mid century modern style. Not a copy of one particular chair. combined elements of the arm from two different chairs I've seen.
-
RE: Twilight Render - Challenge
Dave, I'll post the model next day or so. Haven't had the "faces" change when working in TW. I will say SU can get a little crazy with face orientation sometimes while I'm modeling. Never an issue when setting textures in TW ?
-
RE: Twilight Render - Challenge
Dave, Take a deep breath and step away from the keyboard
On a serious note try not to get to frustrated.
I'm no expert at this either. I remember having days I wanted to jab pencils in my head sitting at my keyboard trying
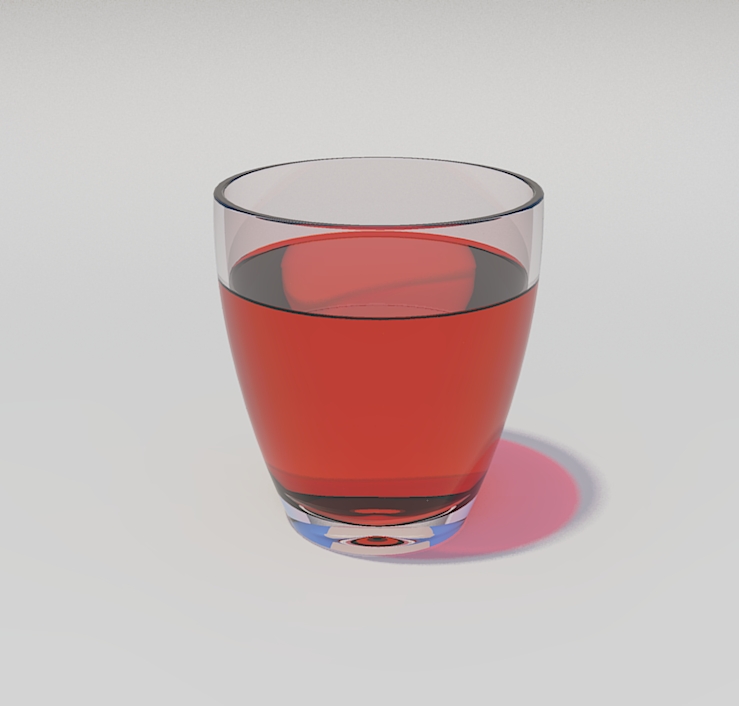
figure this stuff out. I've been messing about and tweaking settings and such. Posting another pic of a "rocks glass". Was going to tweak on your model but I'm still working in SU2015. If you'd like I'll post my rocks glass model so you can get in and check out how the materials and sun is set up.
-
Another chair
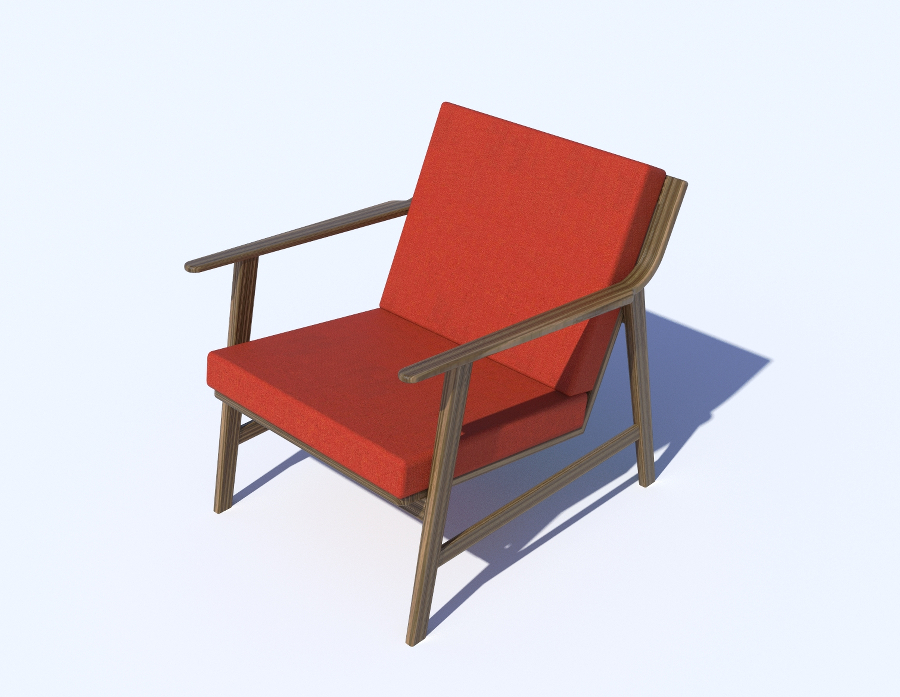
O.K. it's not David's bentwood chair but it does have cushion's
Different style mid mod, quick render in
Twilight. No post pro.
-
RE: Finished
 Great job ! Boy that woven seat couldn't be much fun during assembly
  Still a fantastic modeling job.
 -
RE: Work in progress
Darn you pick the craziest stuff to model ! Looks like your off to a great start. Looking forward to seeing the finished model.
-
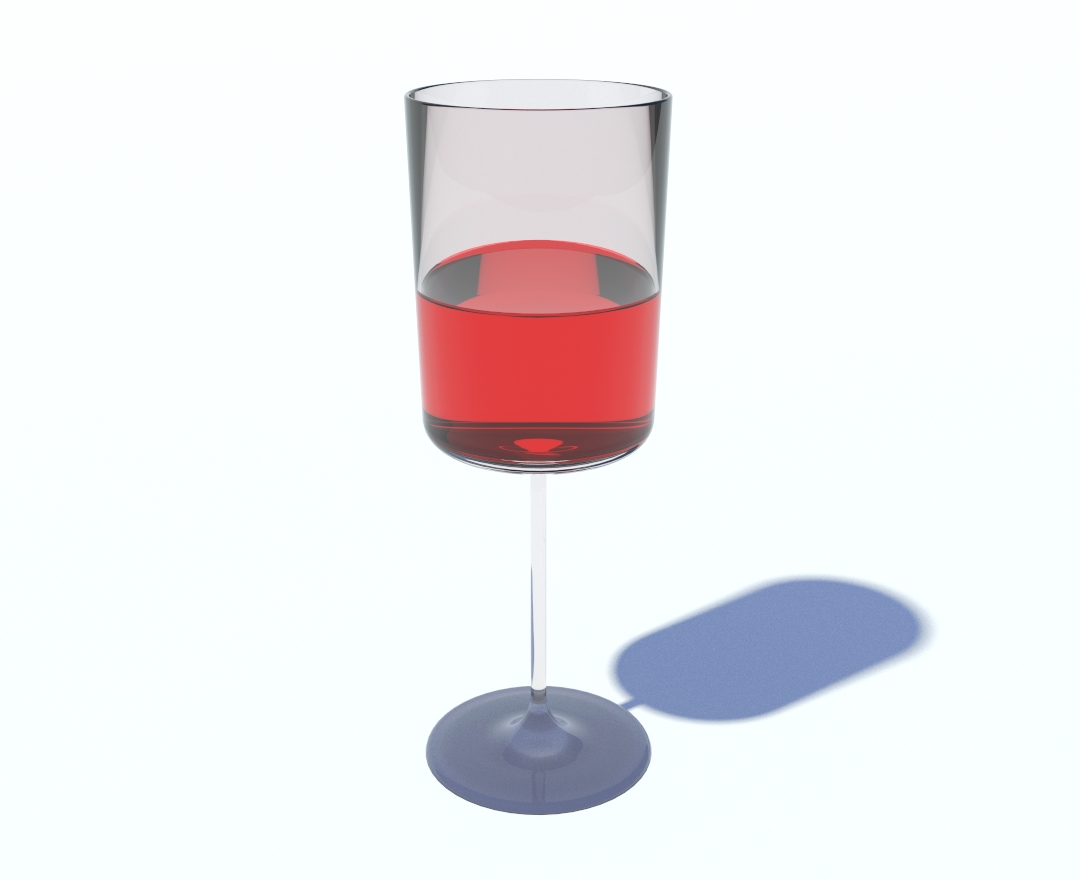
RE: Twilight Render - Challenge
Dave C. , Stumbled across your post today. Twilight user also and you peaked my curiosity. Never have done the
glass of wine business so figured why not. Built and textured my glass like Massimo shows ( thanks
for posting that Pilou ! ) .Below I've listed how I set things up.Materials , Wine Glass - Snow , TW - glass / common
Top of wine - Indian Red 12% opacity , TW - glass / water
Side of wine - Fire Brick 12% opacity , TW - glass / water
Backdrop - Cool Grey #4 , TW - paint / eggshellTW render preset - 08 Exterior Daytime Progressive
TW Sun Settings - Physical Sky , Brightness - .800 , Haze - 20% , Sun Strength - 3.0
Gave the sun a very light yellow color. all other settings left at default levels.Let the render run for 100 passes. It took about 19 minutes. Probably as good as it will get with this setup. Need to
try some shots in an interior studio setup. Better chance of playing with lighting and use some other objects for
reflections and such. Good luck and just keep working with TW you'll get better with practice. Thanks for the kick to
do something a little different with SU & TW than I usually do. It was a nice change of pace.