Just noticed a small gap around the outer reveal - fixed. Updated SKP.
Posts
-
RE: Wall cutting window
-
Wall cutting window
My take on the multiple wall surface cutting operation. Not really a 'proper' solution but might be useful to someone! The idea was to enabled the window to be moved about looking something like the final unit before committing to cutting the walls.
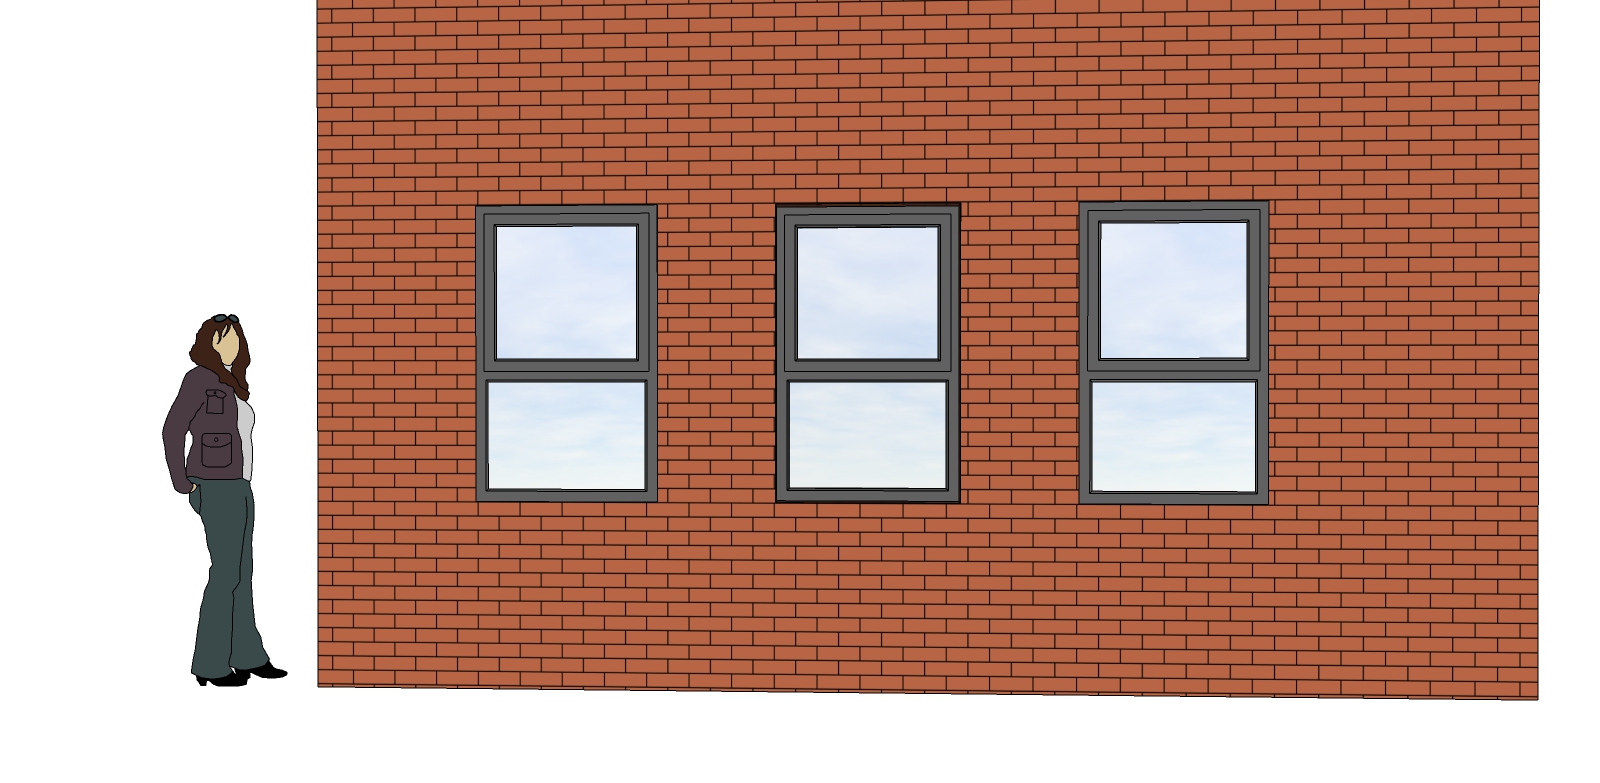
Each instance of the window component has to be exploded to cut the walls but only when a final position is settled. Until then the window can be moved around with a 2D representation of the window showing how it will look. The 2D element is located a couple of millimetres proud of the wall surface to avoid Z fighting. It is also on a separate layer that can be turned off after exploding or deleted entirely.
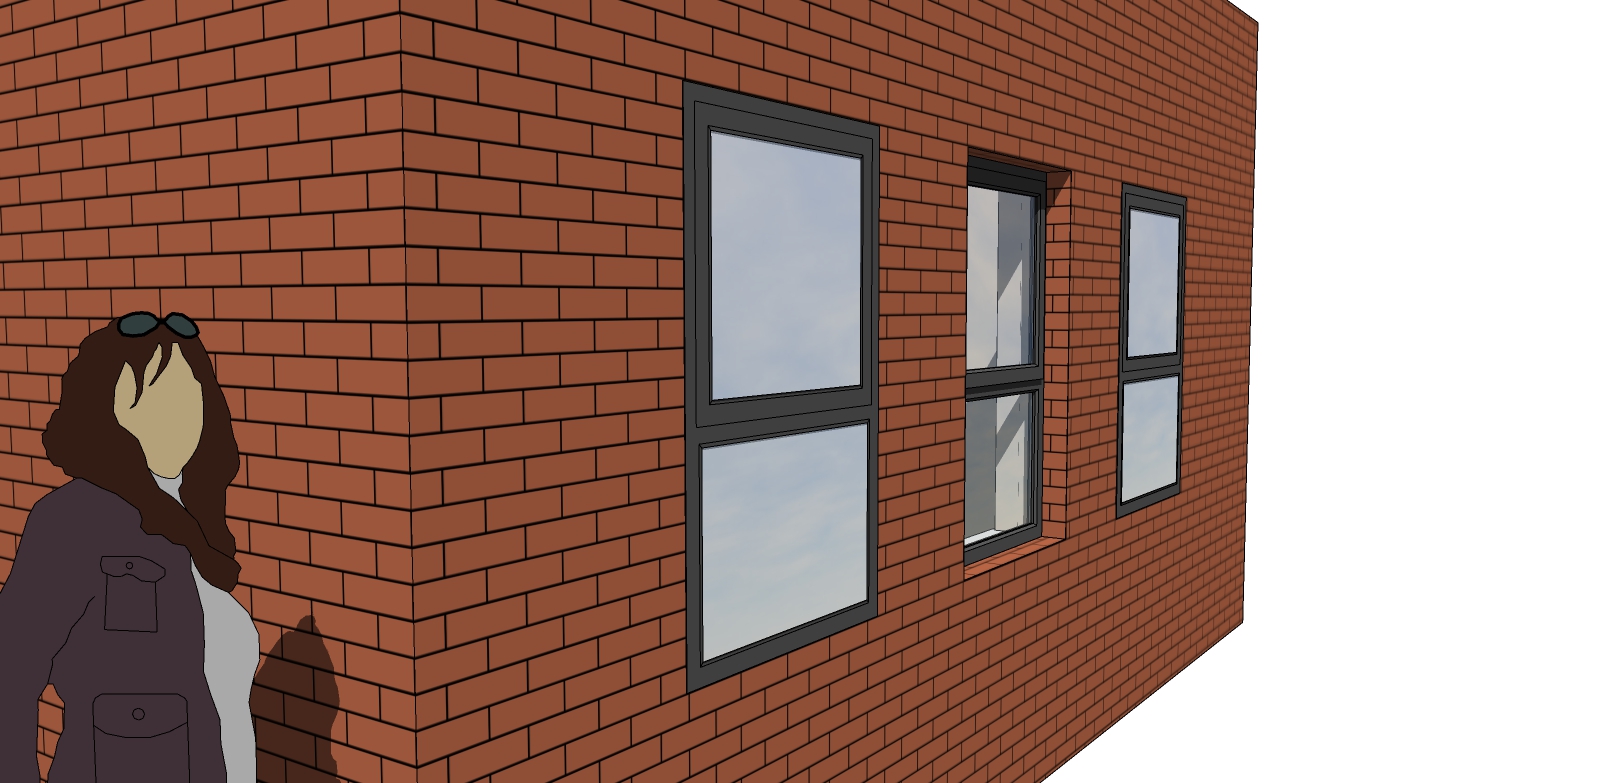
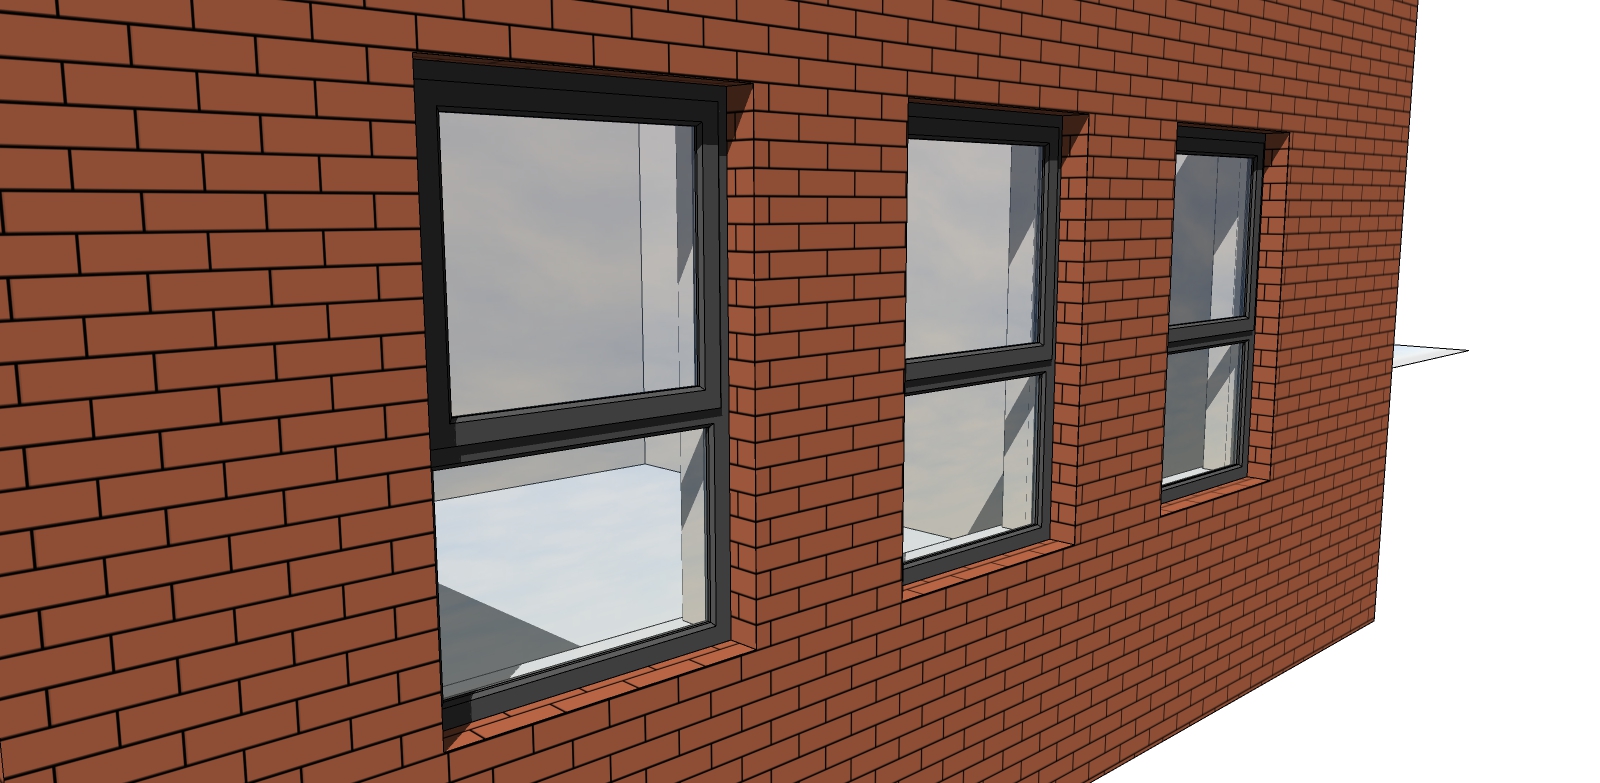
There are four separate cutting components nested within the main window component. The component could be made dynamic to suit different wall thicknesses. SKP file attached to have a pick through if desired.
-
RE: Staying home on a foggy Paris day
@bryan k said:
At first I had a lot of scenario explanations (excuses) in my mind why I did not have the windows more open, but they all boiled down to "I just wanted it that way."
And that's all the reason you need! Very nice render with unusual light. The figure at the tall windows puts me in mind of a scene from 2001 A Space Odessy.
-
RE: TINY HOUSE ON 24FT TRAILER
An interesting & thought provoking design! Could the toilet/shower room be made a wet room and dispense with the shower cubicle? Would give a lot more 'elbow' room (at the expense of a damp WC till it dried). For small space living check out the old narrowboats on the canal network of England. Bargee, wife and numerous children in a space that you could touch all four walls from the one spot.
-
RE: Adjusting Terrain in the Real World
Adding to and echoing pbacot's excellent advices, I hope this might also be of use.
I would stick with the native SU tools and get a thorough grip on what can be done with them. Have a look at some of the YouTube videos; Justin Geis's TheSketchupEssentials has a lot of good information.
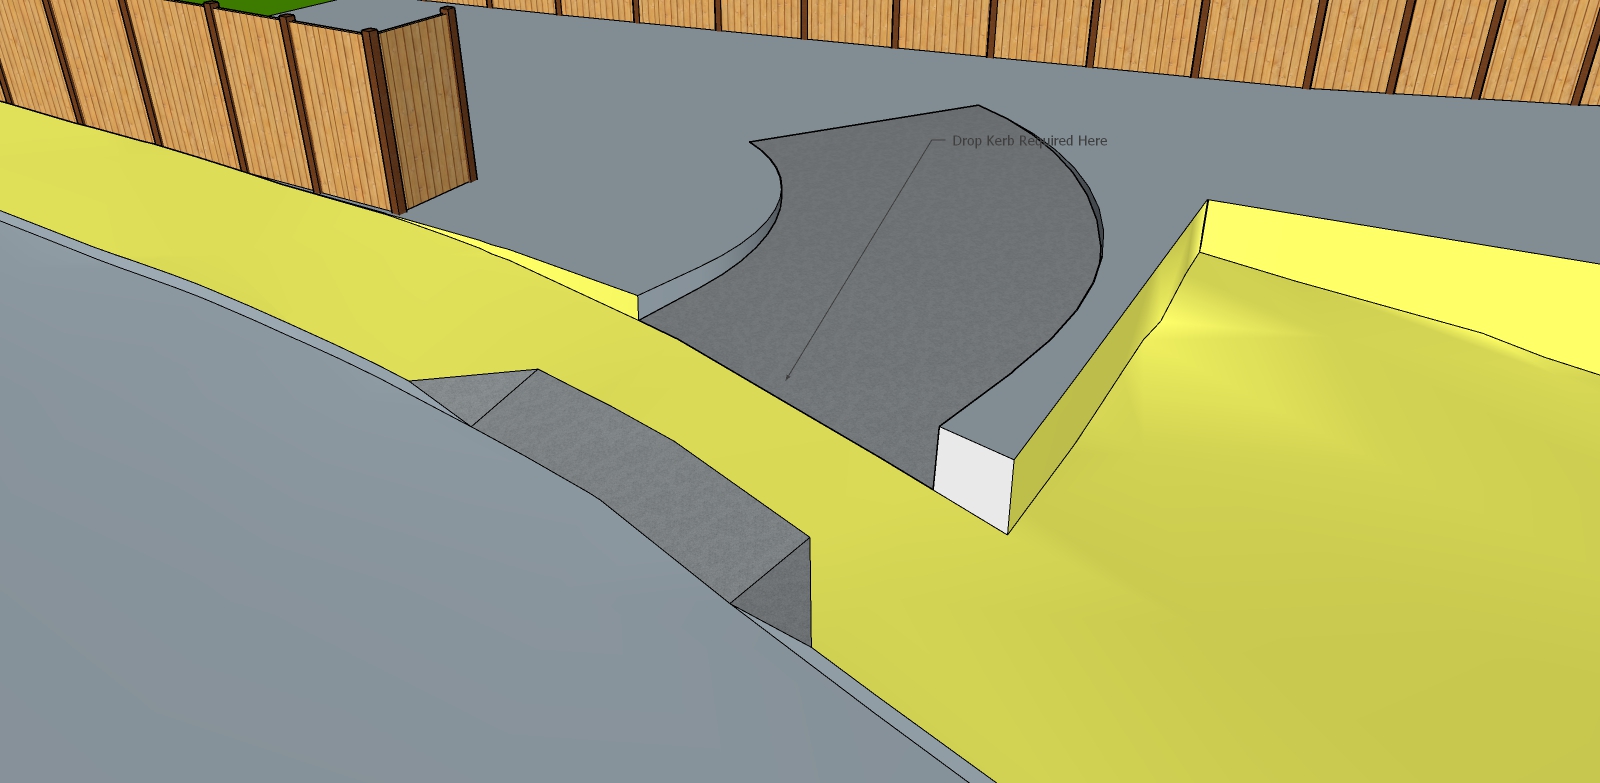
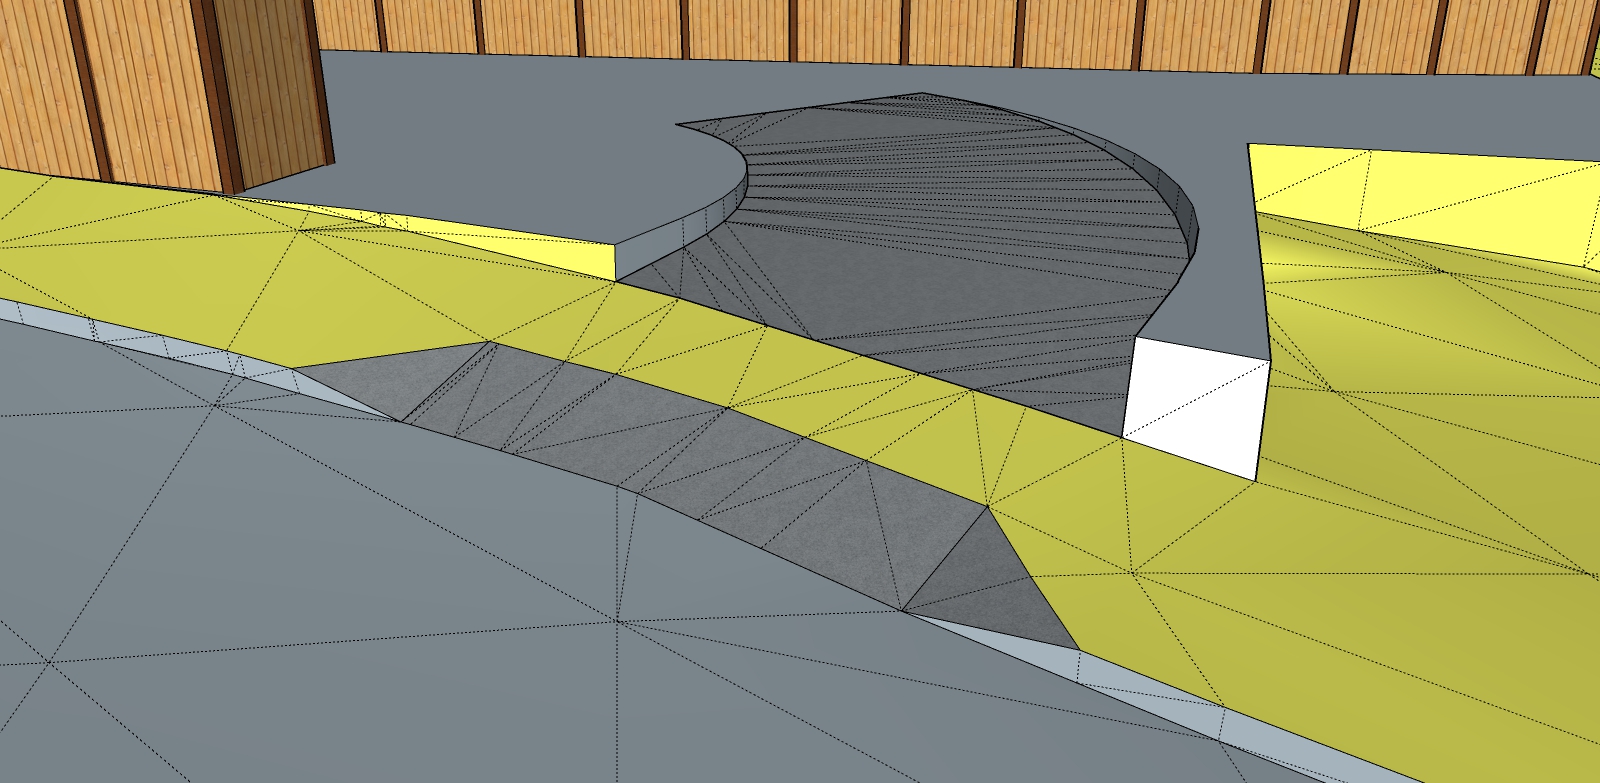
There are, of course, many different approaches to terrain modelling but with the Sandbox tools in mind, using a combination of these could help rather than using just the one tool. Definitely keep your building footprint and hard landscape as separate groups or components. I have done some work on your original SKP and hope that it will be more illuminating than what would be a rambling commentary on what I did! Essentially, I drew the required outlines on a flat surface above the model and used the Drape tool to indicate where to cut into the terrain and re-build with the drop curb and sloped driveway. If you would like to PM me I will try and answer any queries.
-
RE: Scenes/Groups/Open/Close/Repetition
Use the 'Save as a local collection' option in the component tray tab. This will save all the components in the model as separate SKPs to a folder of your choice. Use 'Open or create a local collection' to bring in your junk yard items.
-
RE: Scenes/Groups/Open/Close/Repetition
Create a Local Collection of the components in the junk yard and display with large thumbnails in the Component tray. That way the components will be available at whatever group/component level you happen to have open. Maybe easier than trailing around a junk yard trying to spot what you need?
-
RE: Trevithick's 'Penydarren' locomotive
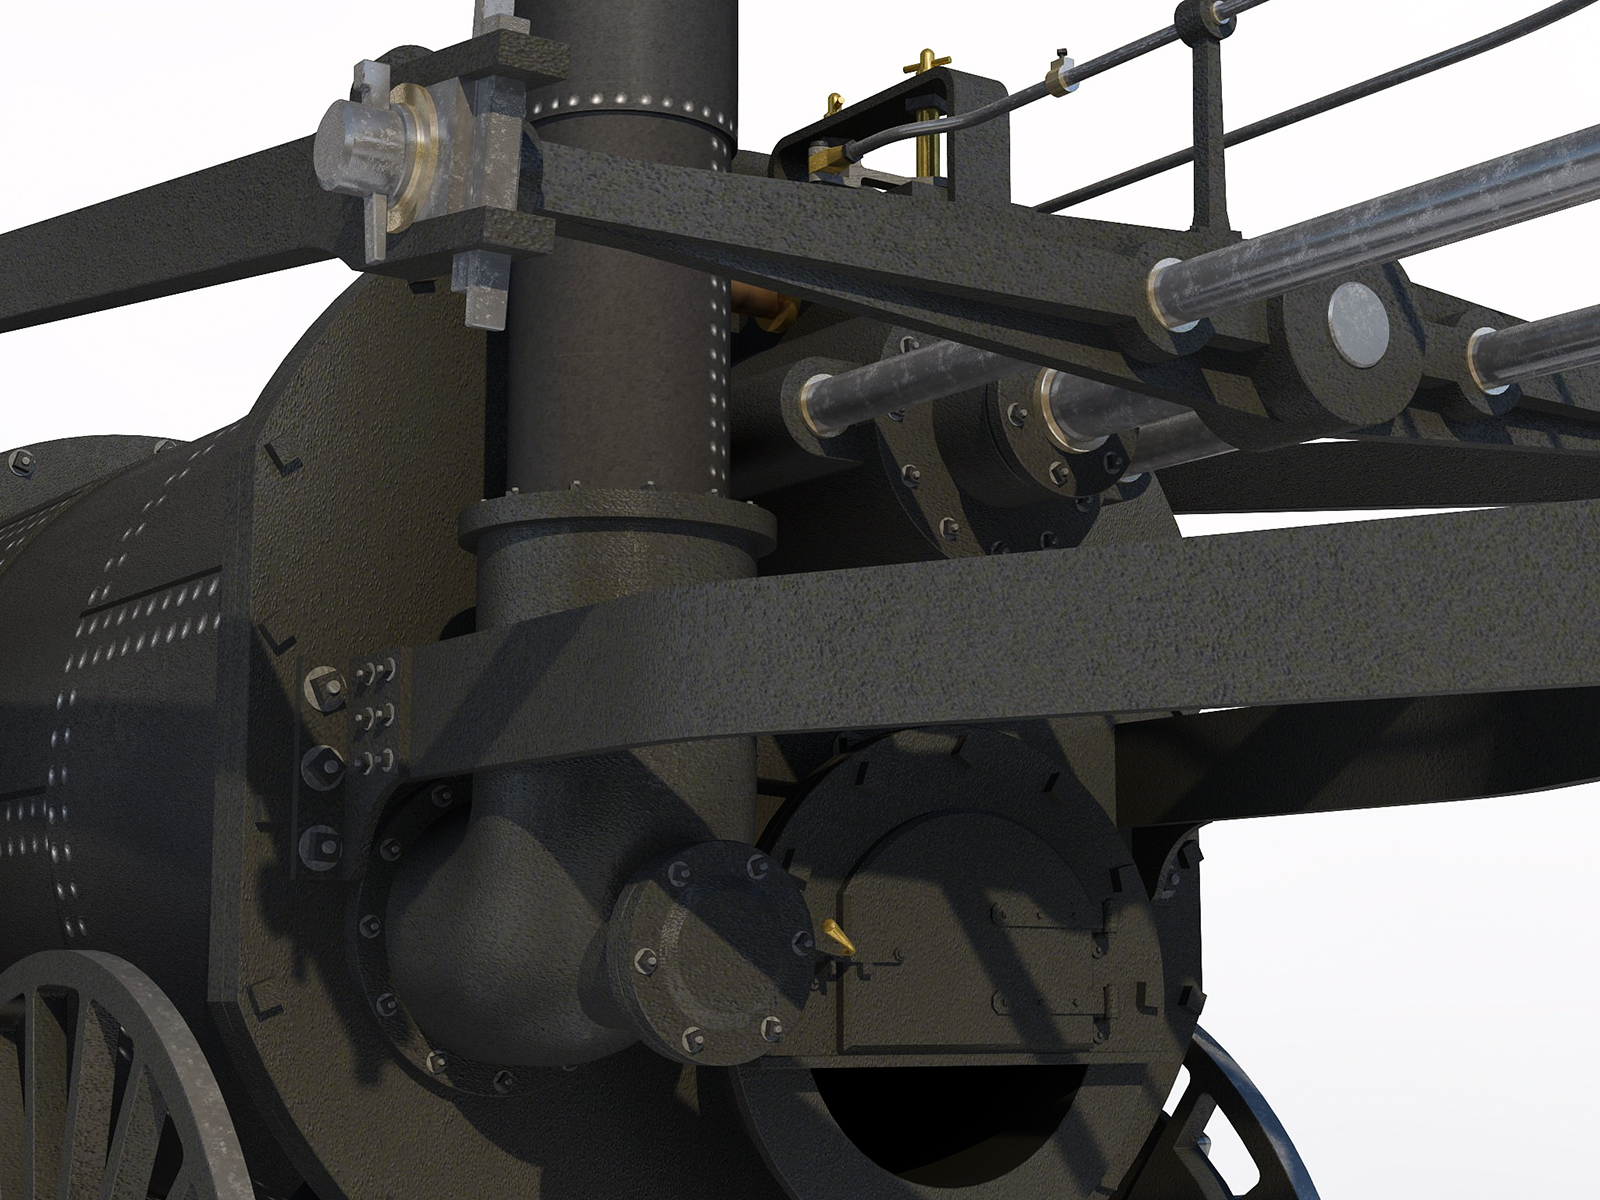
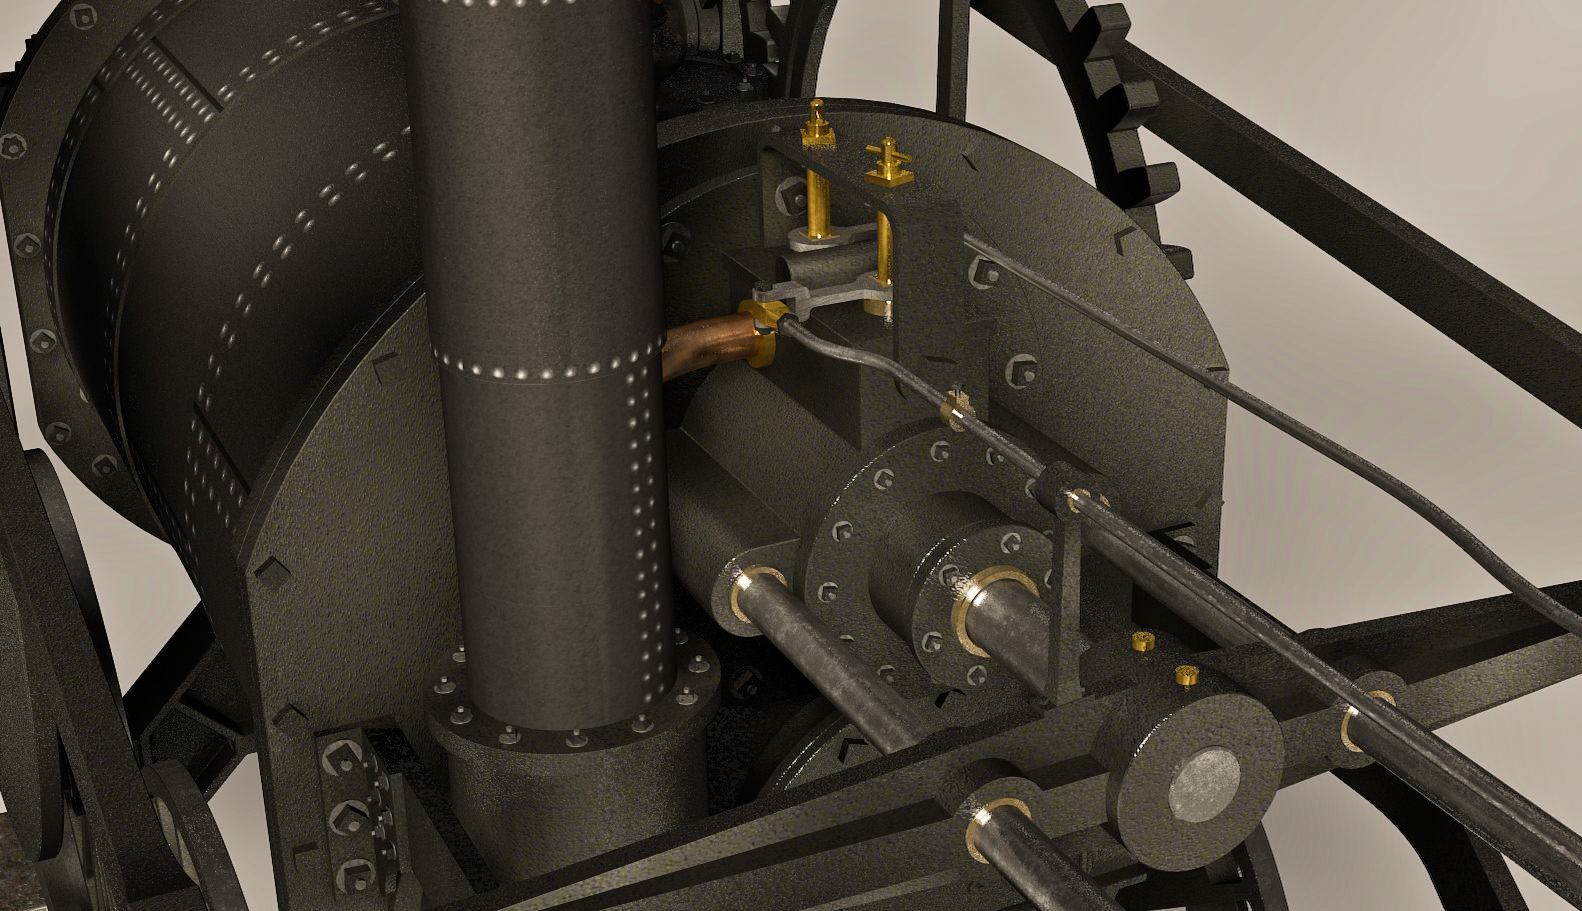
Thank you Bryan, glad you liked it! The bits I was most pleased with are the riveted plates - done with a texture only. The nuts and bolts are 'OnClick' components and so once placed just need a click to randomise the rotation of the nuts.
I mentioned earlier in this thread that I was having problems with SU Podium. Support at Cadalog was excellent and the issue turned out to be 'material fragmentation', no, nor me! The following link explains:
This might provide an additional route to check out when experiencing odd render behaviour in other render programs.
-
RE: Projecting vector linework
As Dave R has suggested, using a texture would be the way to go. If you do prefer a vector method then maybe the following might help.
Extract or copy the curved face or, at least, copy the curved edge in order to have the new linework sit over the surface correctly. Define the arc centre of the curve. Model a single brick as a component. I used just the face with four sides converging to a single point at the arc centre. Once the model is populated with the brick component the bed & perpendicular joints can be adjusted by scaling the brick face. If you just have an arc edge then add some extra lines so that a face is formed on the ground plane (make it a group). The brick face should lie slightly in front of the wall face or arc line.
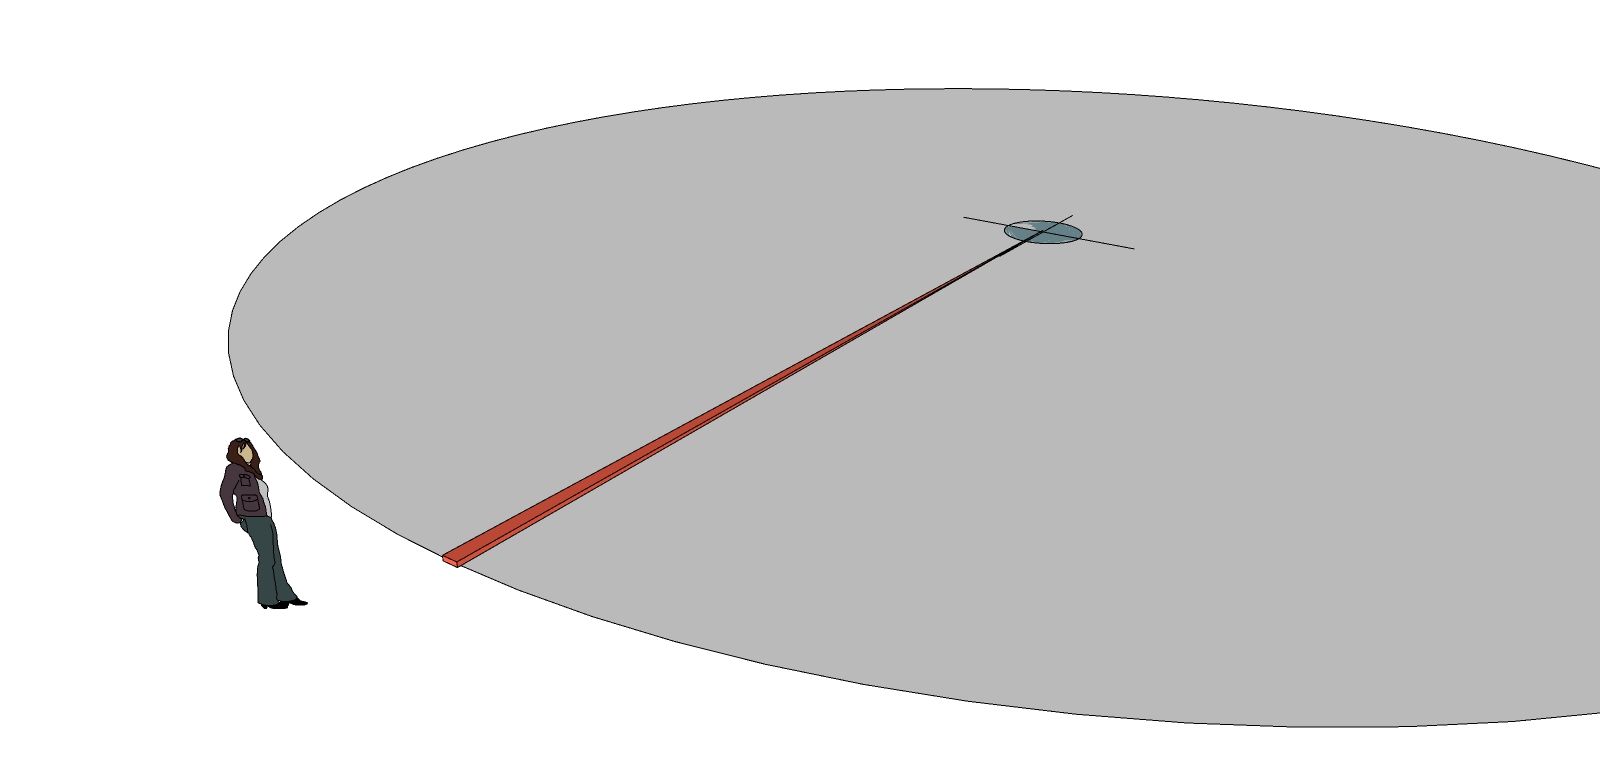
Next, rotate/copy the brick sufficient to give coverage across the wall width with some overlap. Group this first course and then copy it upwards to form the second course. Rotate to give the staggered joints.
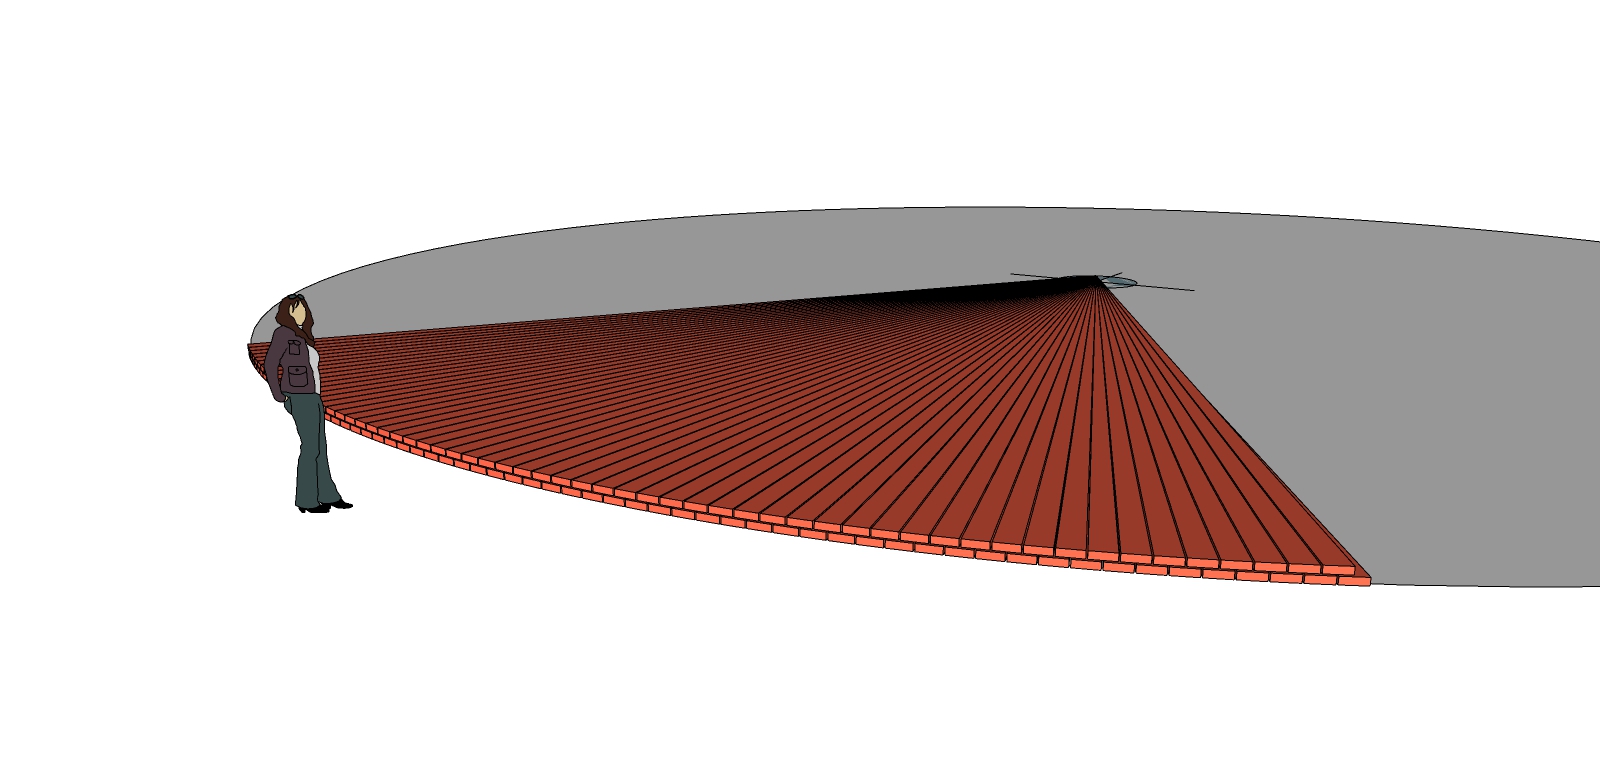
Now group the first and second courses together and copy upwards to give vertical coverage to the wall. Place all of the bricks into one further group.
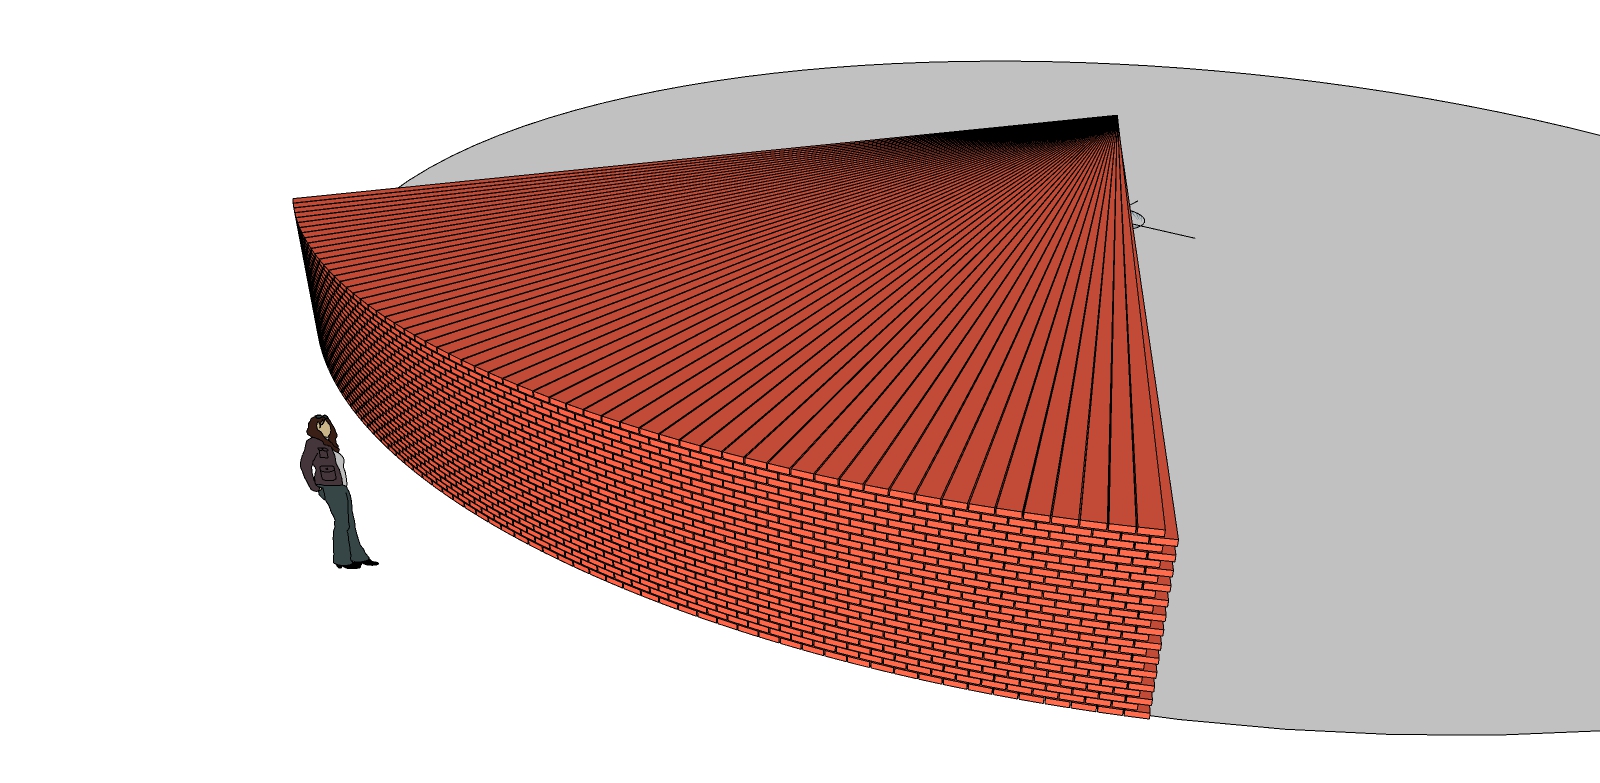
Push-pull the wall ground plane up to the top edge height needed to form a vertical face if you did not extract this from the model already.
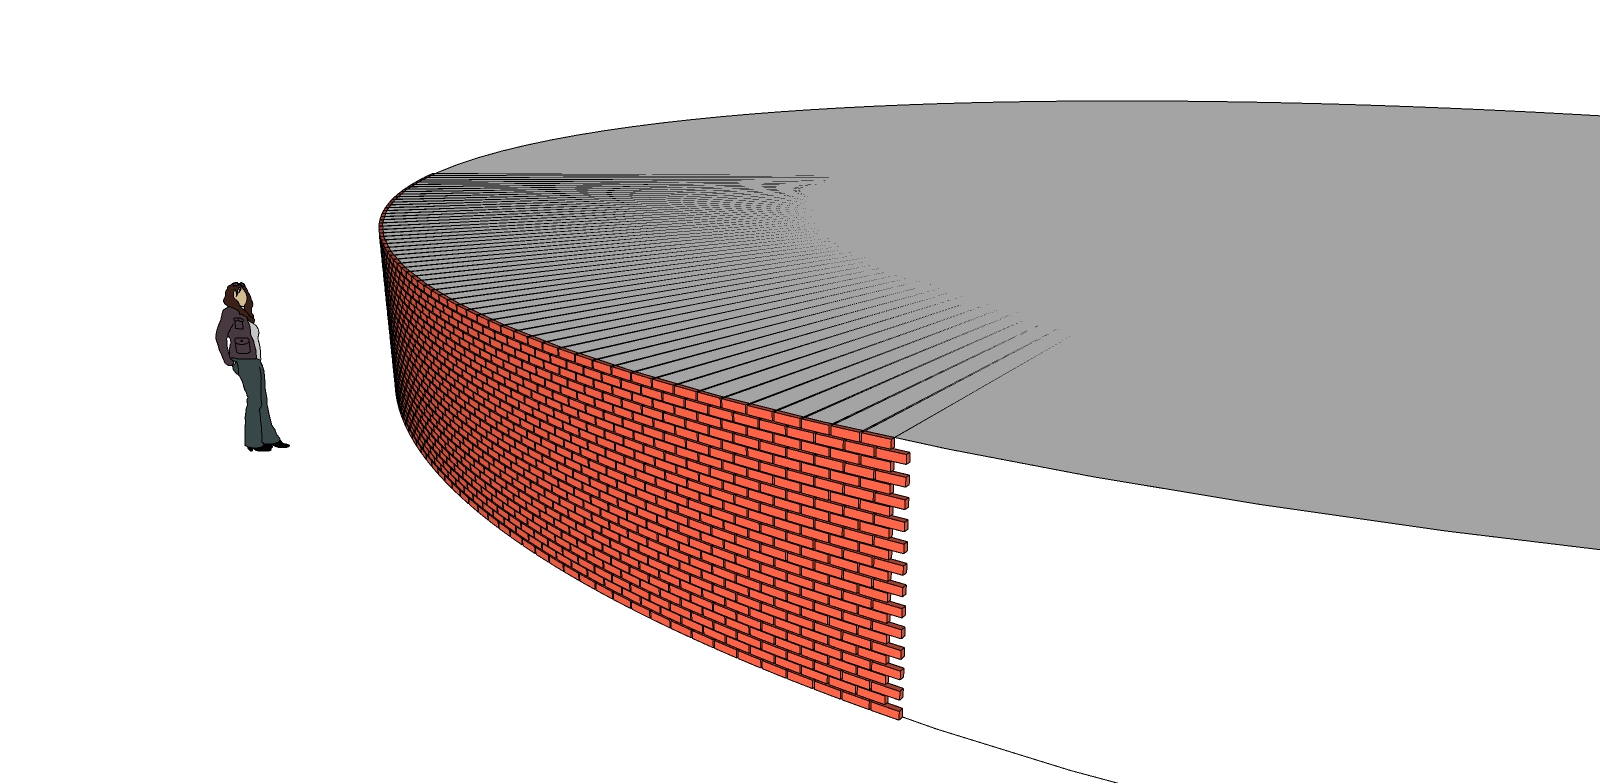
Select the brick group and the wall group. Run 'Intersect with selected'. When done, hide the bricks and the wall groups. You should now have just the intersected linework to represent the bricks in the curved wall. Select and group this linework and fit into the main model.
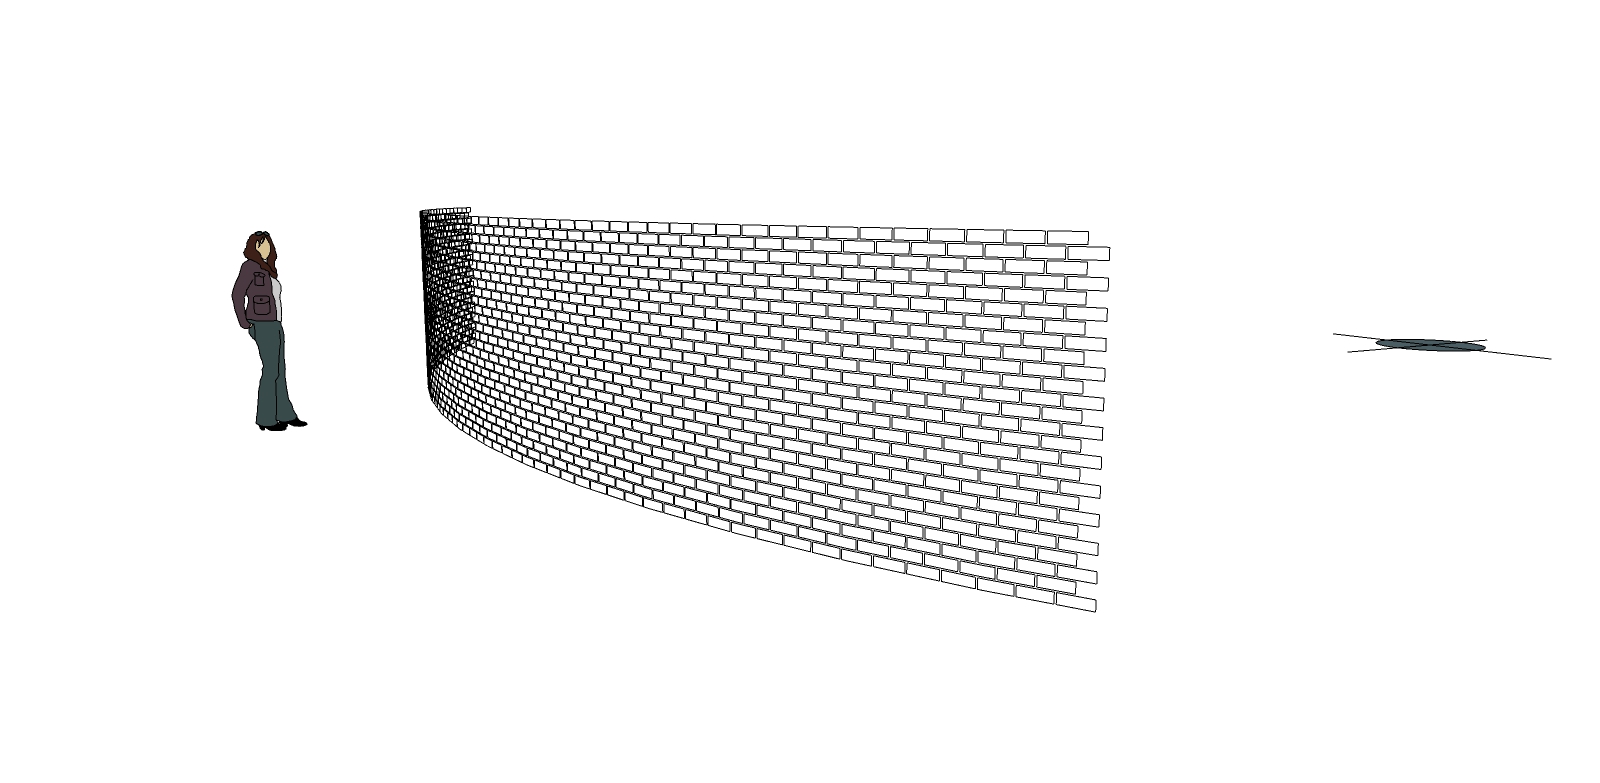
A bit long winded I know but an enjoyable afternoon diversion. I used only native SU tools.
-
RE: 'Climate Change' and Carbon Tax ... Your Thoughts
@mike amos said:
The grasslands that cattle feed on take in more CO2 than the cows expire, the difference is methane which nobody out there is talking about methane as a problem.
Cows have evolved to be really good at eating and digesting grass. If, as some would have it, we all switched to a plant based diet would that affect the balance of CO2/methane production? I would hazard a guess that we are nowhere near as good as cows when it comes to living on just green stuff. What would the world look like then? Or more to the point - smell like? Also, what about all the trousers that would go south without the support of a good leather belt! Hold on, there's always plastic I suppose.
-
RE: 'Climate Change' and Carbon Tax ... Your Thoughts
My thoughts? An awful lot of otherwise sensible people around the world have, to use a phrase that the OP Mike Lucey may recognise, 'lost the run of themselves'. No longer a debate but only entrenched opinions and scant respect for those who might dissent.
So just to throw something into the mix here's a visual representation of the transport and material requirements for a, not untypical, 7 unit upland wind turbine project. You know, the ones that will let us cool down and breath fresh air? The cubes of stone and concrete, as well as the vehicles, are all modelled to the correct size. The standing turbines are, of course, the same ones as represented on the vehicles. The items shown are by no means all that would be assembled for a project of this size. Maybe not so 'Green' when viewed in this way?
-
RE: Solid Volumes, with interior divisions
Perhaps this may help? Construct the overall volume without any internal divisions. Group and check for solid. Exit the group and model the dividing wall in a separate group.
-
RE: Trevithick's 'Penydarren' locomotive
Thanks L i am, I am experimenting with the studio type renders at present and hope to have some more views soon. Upgraded to v2.6 SU Podium which is pretty fast but so far proving very buggy and splatty although I have a suspicion that Windows 10 upgrades are adding to the grief.
-
RE: A small selection of my work from the past year.
@kolibri69 said:
Hi shawb,
The file size of the emergency room model is approximately 143 MB. I use proxies for the medical devices and the ambulance.
Just goes to show that Sketchup can handle the 'big stuff'!
-
RE: Trevithick's 'Penydarren' locomotive
That's a very good question HornOxx! Some images/descriptions have an axle running through the bottom of the boiler barrel which I would not think possible. The full size replica has a through axle which gives the four wheel drive. For my model I used stub axles (from a plastic model instruction set) which would mean the wheels on the flywheel side will just freewheel. It was a lot of guesswork and self invention but I have got the overall look that I wanted. You are right that the large gearwheel mounted on the side of the boiler will drive the two wheels that run on the track. It itself is driven by the smaller gear which transforms the reciprocating motion of the piston into rotary motion.
This link shows a replica in action. Again, the interpretation of the original is different to my own.
penydarren locomotive - Search VideosVideos
Watch videos instantly on Bing—enjoy direct playback, discover related clips, and dive into trending content all in one place.
(www.bing.com)
-
Trevithick's 'Penydarren' locomotive
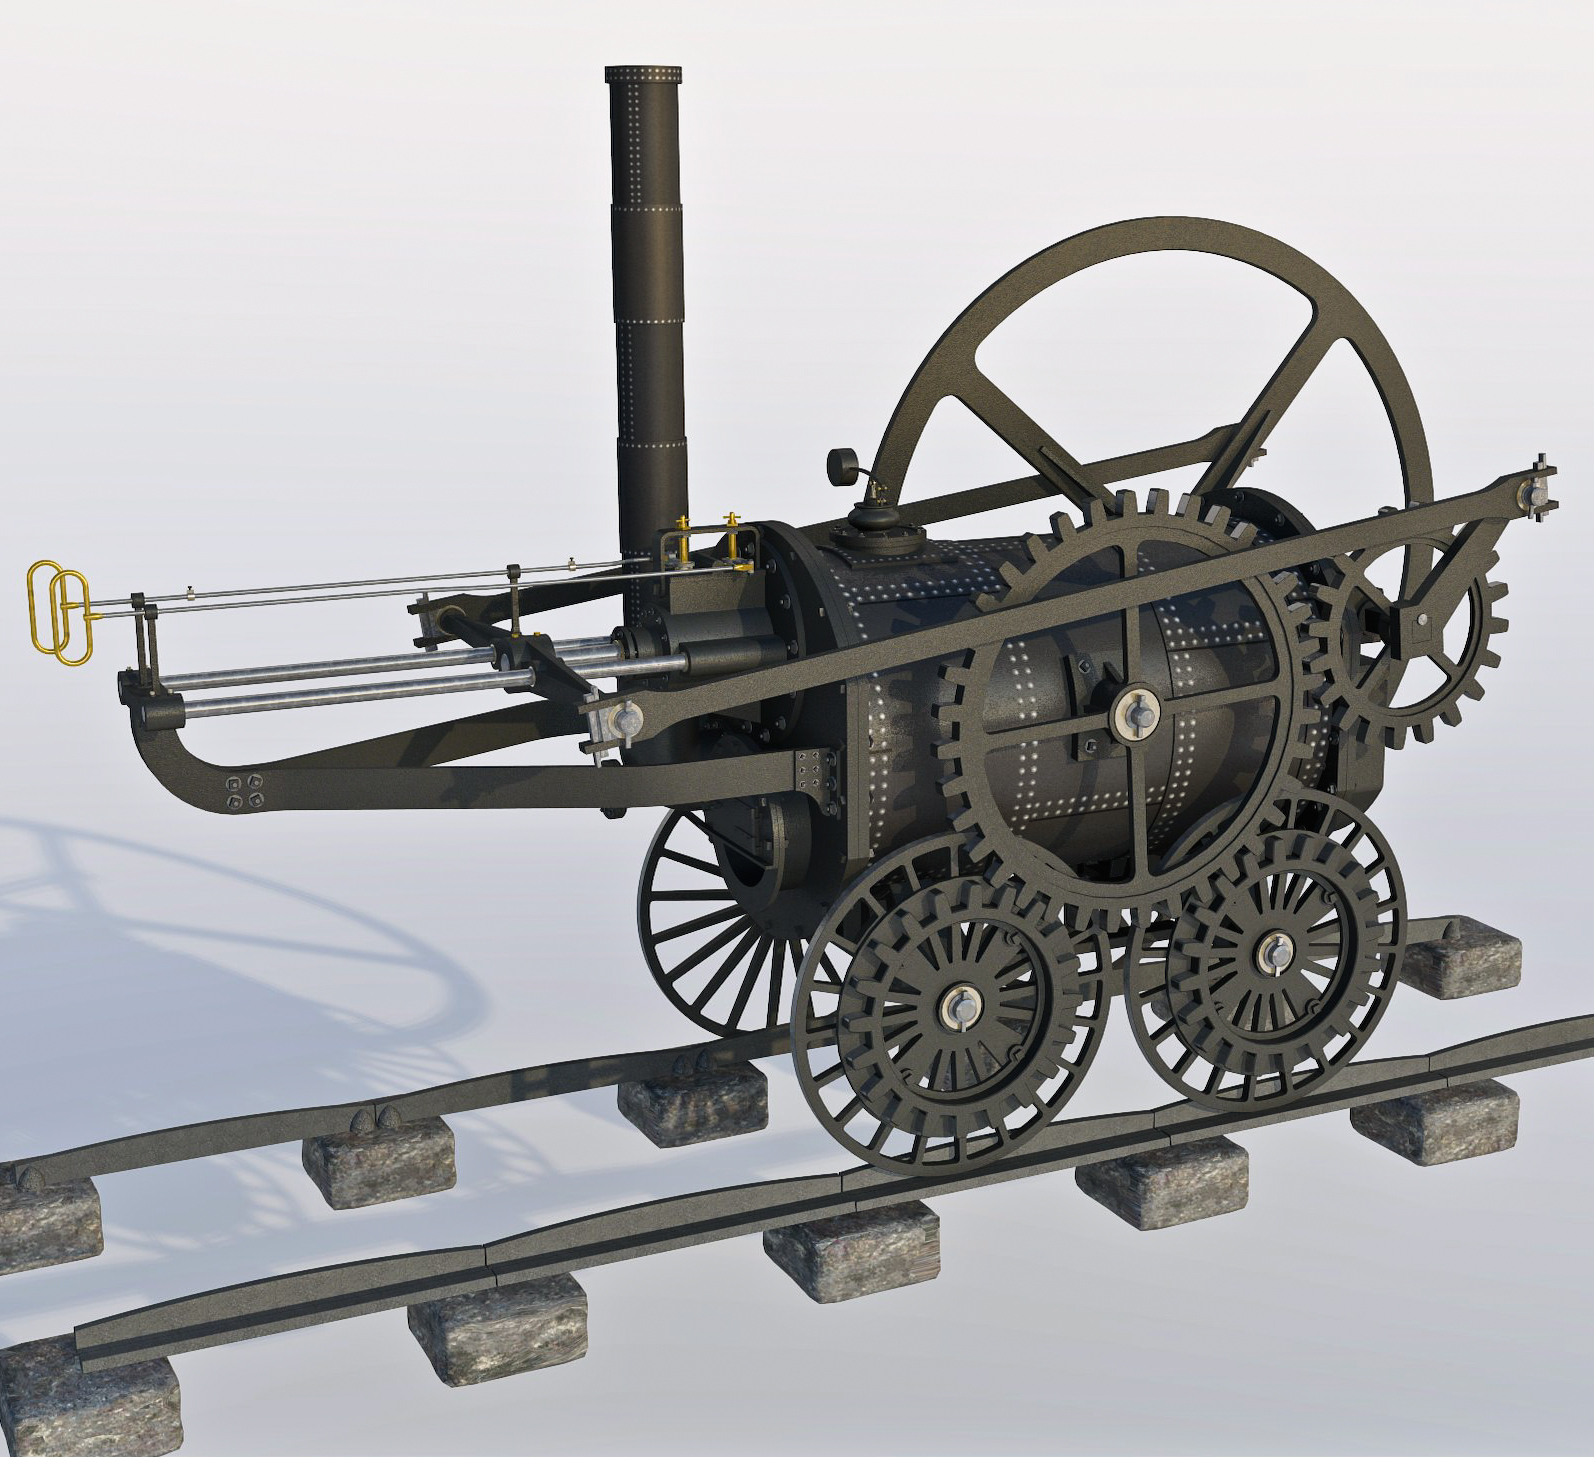
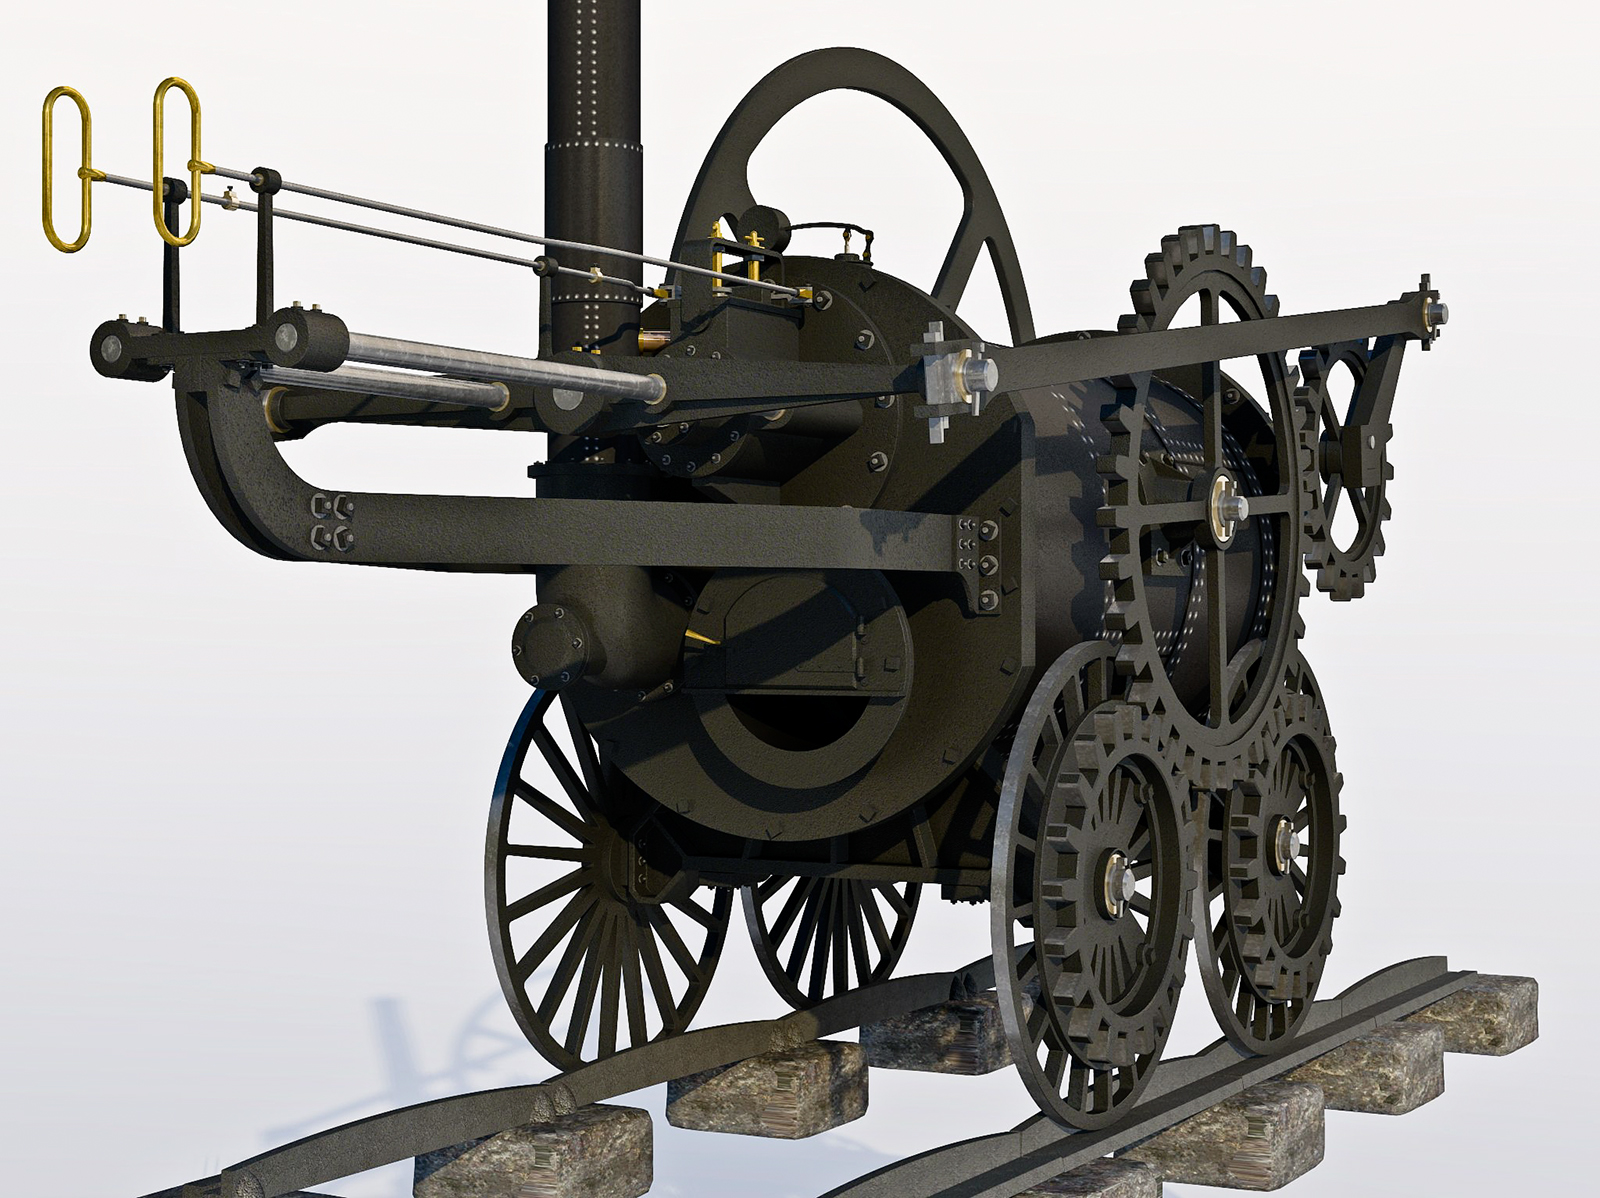
Trevithick's Penydarren loco was, perhaps, the first steam locomotive to run on rails although the cast iron rails of the time broke under the weight! There are a number of replicas of this engine in existence along with various drawings but, seemingly, no definitive drawing of what the machine actually looked like. This is my take on it!
-
RE: A small selection of my work from the past year.
Truly a transport of delight! The bus is superb. Intrigued by the hospital model, what sort of file size did this result in?
-
RE: A Frame Cabin
The flames are spot-on and you can almost taste the wood smoke. That is quite an eclectic assembly of old brick as well. Maybe go again with the pinecones? A bit smaller, not so rotund and lie them on their sides - they wouldn't all stand upright!
