Ahhhhhhhhhhhhh, paneling tools why are you so sweet !!! Yes!
Seems relevant to mention that it took Rhino like 4 seconds to generate those panels....Just saying.
Both planar and 3d panels.
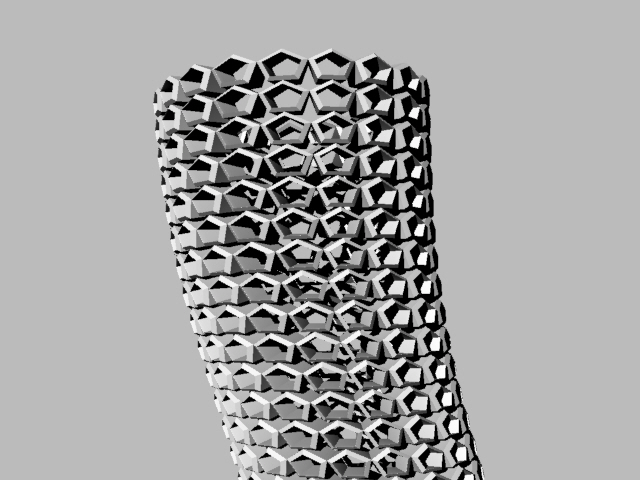
Ahhhhhhhhhhhhh, paneling tools why are you so sweet !!! Yes!
Seems relevant to mention that it took Rhino like 4 seconds to generate those panels....Just saying.
Both planar and 3d panels.

PS. Jeff BZ-Convert in step 2 of your technique. Can you elaborate.
I understand the top and bottom must have equal segments to get the nice/proper quads from the loft, just not sure what role that plays?
I see the beauty of your technique, all about the accuracy.
@unknownuser said:
@pjbazel said:
Jeff, am I missing something your approach makes me feel like Im missing some essential detail or a technical consideration. Have i missed something?
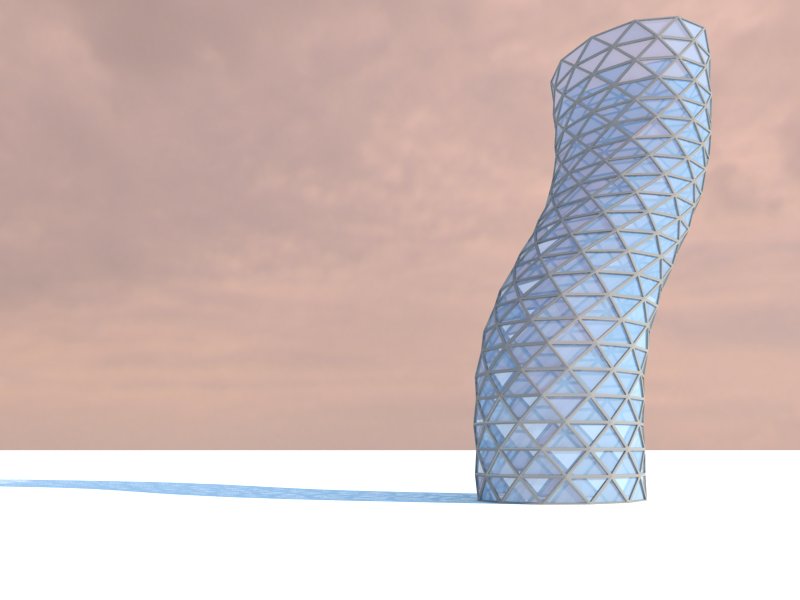
how does it look? it sounds like it looks similar to the (incorrect)example i posted at the top of this page(3) whereas the picture posted in the original post has a pattern of alternating triangles... a pretty big detail both structurally and visually..
V^V^V^V^ and not |||||
(lol at me trying to draw the pattern using the keyboard)
[eDIT]-- oh.. and hey.. i'll be the first to admit, i'm usually pretty damn picky when it comes to detail..
(ie- most of the stuff i draw irl has to then be built.. i can't just draw a sort of shape then start pulling vertices around (ffd style) and say 'ok, that looks about right' then go try to build it.. that would be a nightmare build and it would more likely than not, collapse)
so, when you see the sketchup method i posted on page 2, realize it's an attempt at making properly outlined geometry (systematic geometry? understandable geometry? idk) for building purposes as opposed to viewing purposes)
Ahhhhh, That what I imagined. Your approach at getting the shape seemed so systematic and precise, I figured there was a world of secondary (arguably primary) considerations I was not getting, as a pretty picture maker...hahah
Yes, precise systematic geometry. I get it.
Glad you like, im going to throw a roof on that puppy keep playing.
Can we expect a picture of a wooden version in the next few days? 
PS. I also took a run at this.
I used the same technique as gill to get the Basic shape.
Then I use lattice maker but with a depth of 0 to generate a lattice structure with windows (essentialy offset faces) - sure to assign separate colors/textures to the glass and lattice so you can 'select by color' later.
So, I have the 2d structure. From there I just used JPP to get the thickness of the lattice, selecting by color, pulling outward.
I finish the building with JPP, select by color and creative grouping and ungrouping to get proper depth and placement for windows, which are two pane and inset.
Jeff, am I missing something your approach makes me feel like Im missing some essential detail or a technical consideration. Have i missed something?
@unknownuser said:
@unknownuser said:
PS Have you seen the little Conoïde membrane problem?
It's for you!haha.. i haven't opened that thread yet.. and i better not -- i have some things to do today..
ok.. maybe just a peek[EDiT].. same thing for that as this.. the conoid membrane is literally a 30 second deal in rhino and that's how i would draw something like that.. since this is a sketchup forum, i'll refrain from posting "use rhino for this" in yet another thread..
Jeff, Please don't refrain from comparing with rhino. Im learning it currently, and Im very interested to see how you attack these problems with Rhino. I've see it on a few threads. Im Very curious how to make the conoid membrane with Rhino. Im really quite new with it.
Plus one for a penalization tool. That would be amazing and bring Sketchup one step closer to parametric type facades!!!
Please ruby masters ?!
Yeah I get it probka. That would be great for cray textured surfaces and such. Did this go anywhere ? Did anyone ever get the technique figured out?
@rich o brien said:
Some tweaks....
[attachment=0:2cc50wdq]<!-- ia0 -->PickPic 2.png<!-- ia0 -->[/attachment:2cc50wdq]
Rich, I'm just curious how you added the offset from the front and back face detail, in order to get the edges tighter. I would assume it was JPP out with 'erase original faces' on, but it looks as though the thickness hasn't changed.
@panixia said:
@pjbazel said:
I found a number of tutorials on multipass comping, mostly which relate to 3ds max.
can you link some of them? i'm curious to know more about this.. i mean i must admit i never understood what reflectionn or gi channels are meant to do.. i only know how to use alpha, mat-id and z-depht, but always wondered about the meaning of all those additional channels..also were i can find a very basic and proper tutorial about "linear workflow"? is that related to color mapping, gamma, etc?? the tutorial i found about this were always aimed to an intermediate level, assuming you know the basics of this workflow and.. i do not
Panixia, here are some of the better tutorials and vids Ive found. Valero posted one of them already, and if you look at the layers in that vid you can see how they correspond to the final image RGB. If you look at the layers I posted above in comparison to the RGB they do not seem to have the same kind of information. Thats my problem, Valeros too i believe. If you get to multipass in this way let us know if you have a similar issue.
As for LWF, it seems like it should be simple but I never found a single source which definitively clarified exactly how you should proceed from render settings to PS settings.
Here is a great multipass tutorial with tons of info and he even gives you the layers he's working with to follow along.
http://cg.tutsplus.com/tutorials/chaos-group-vray/compositing-v-ray-render-layers-in-photoshop/
This guys page has tons of great videos, some of wich deal with comping and LWF, for sure book mark that one.
More comping from Chaos group, nice and basic
http://vray.info/tutorials/basiccomping/
One of the better postings on LWF

How to setup vray and 3ds max with gamma 2.2? What is linear workflow or LWF? What is it good for?
(www.aversis.be)
Hope that helps, Should keep you bussy at least 
Nice!!
I took my eyes of this thread, didn't think it would see anymore action, but then I come back and wow! Nicely done guys!
Taff: Yes, Fresco, that's where I got the image! I took a screen capture from something I saw on youtube and then forgot where it came from. He's far out! lots of inspiration for modeling. Its funny to think that he uses those little plastic models to communicate his ideas rather than 3d models and renders. They look so dinky, hehe.
Great techniqe Stretching half of the sphere to get the almond shape, while melding with the proper sphere great idea. Ill have to play with that one and try to duplicate it.
also, leave it to the guy with the spinning geodesic as his avatar to make a weed joke...hahahah classic!
**pbacot:**nice refining of the techniqe, thats the closest yet, and who wouldnt want a little extra porche!
Thanks for playing along guys.......I knew there was somthing interesting about this shape, glad to see it gave you a bit of a bug too.
Hi Valero,
Thanks for your reply. I am starting to wonder if this is an issue with Vray. I have tried everything I can think of, including almost all possible combinations on the color mapping options. I'm really at a loss.
I don't think this should be a linear workflow issue. Even if the gama was wrong I don't think I would be getting Raw_GI and Raw-Light passes which seem to contain just the wrong information.
I found a number of tutorials on multipass comping, mostly which relate to 3ds max. The passes they get ( specifically Raw_GI and Raw-Light) seem to be quite different from the passes I'm getting. My passes (as shown above) seem to have lots of missing information (again, Raw_GI and Raw-Light) which should multiply into the diffuse pass. The diffuse pass looks like its not the problem.
Ahhhh, very frustrating.
Valero, i'm curious, do your passes seem to be deficient in the same way?
Sorry for the belated response, didn't have internet access over the holidays.
Again any help would be welcome.
Hello,
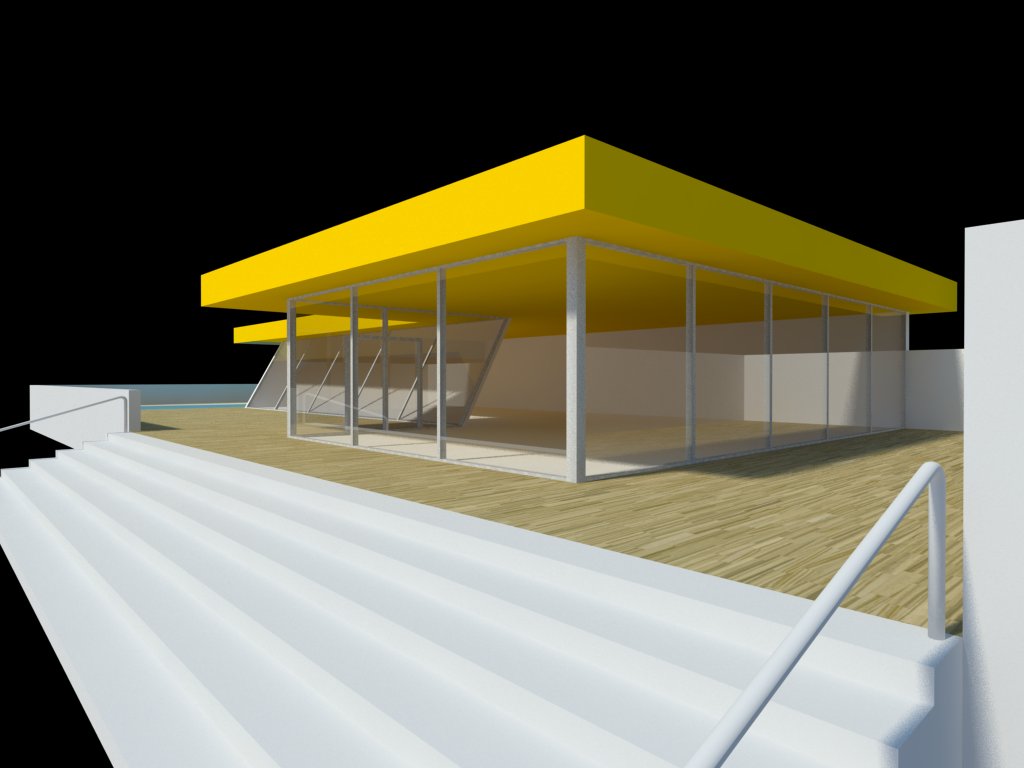
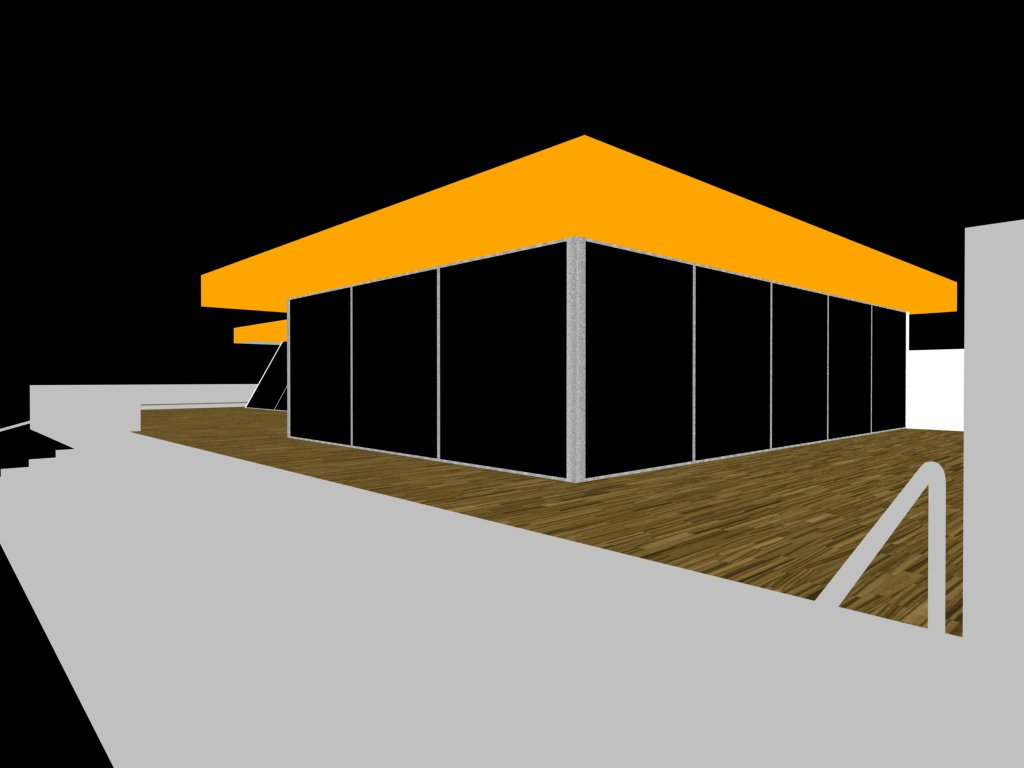
Im using vray, and I would like to start exporting multipass layers to composite in PS. I am at my whits end trying to get the passes right.
From what I have seen/read elsewhere I should be able to add {(diffuse x raw GI) + (diffuse x raw lighting) + specular + reflection + refraction + shadow } and get the result that vray outputs in the main (beauty) render.
My problem is that my passes do not appear to be coming out properly. When I composite according to the above formula I get something quite far from the vray beauty/composite pass.
I suspect something is wrong with my vary settings, though I have tried most combinations which seem to make sense in color mapping. For instance when seeing compositing tutorials peoples Raw GI and lighting pass seem to be a grayscale image or have some muted colors, where mine come out black and white. Most time raw GI just has white where my objects are. When i add (diffuse x raw GI) + (diffuse x raw lighting), I can already see it dosent look right.
Can anyone give me some insight into what might be going wrong? It would be much apreciated as I have been toying with this for days now.
Ill attach the images of the passes im exporting, along with my colormapping settings.
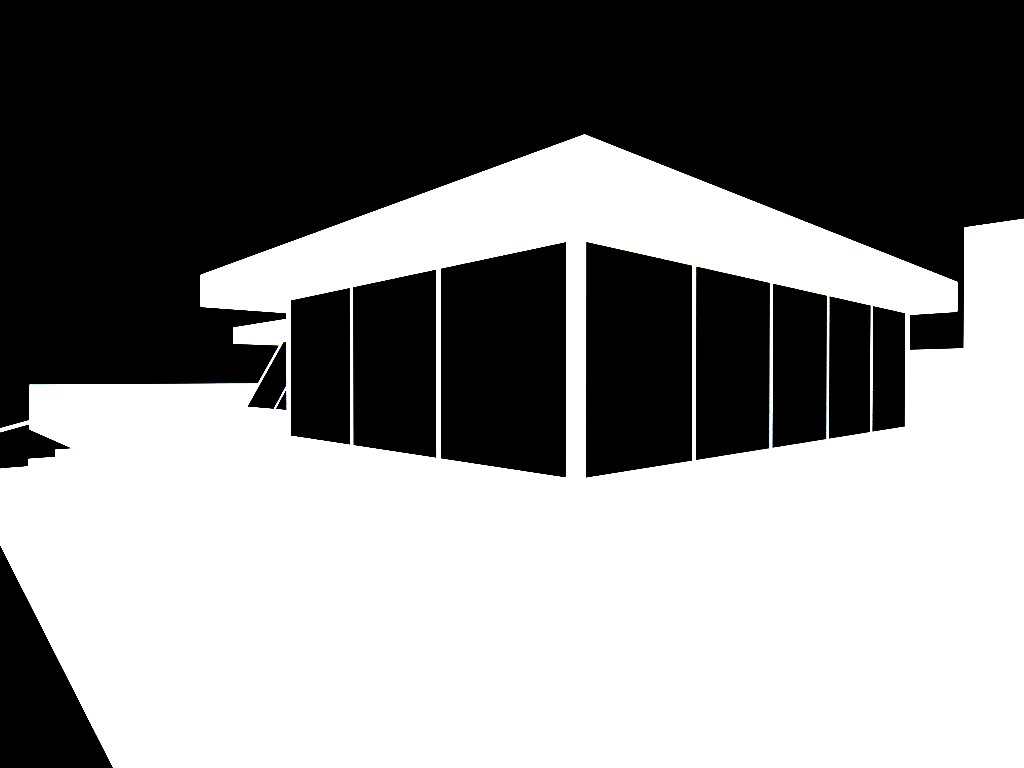
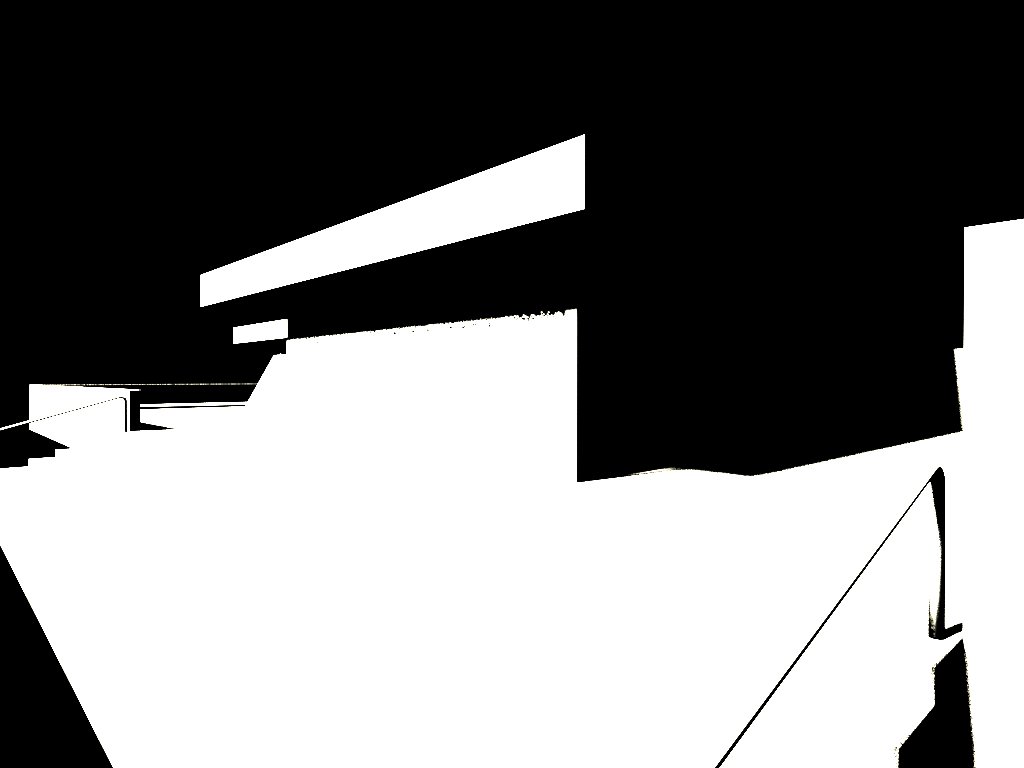
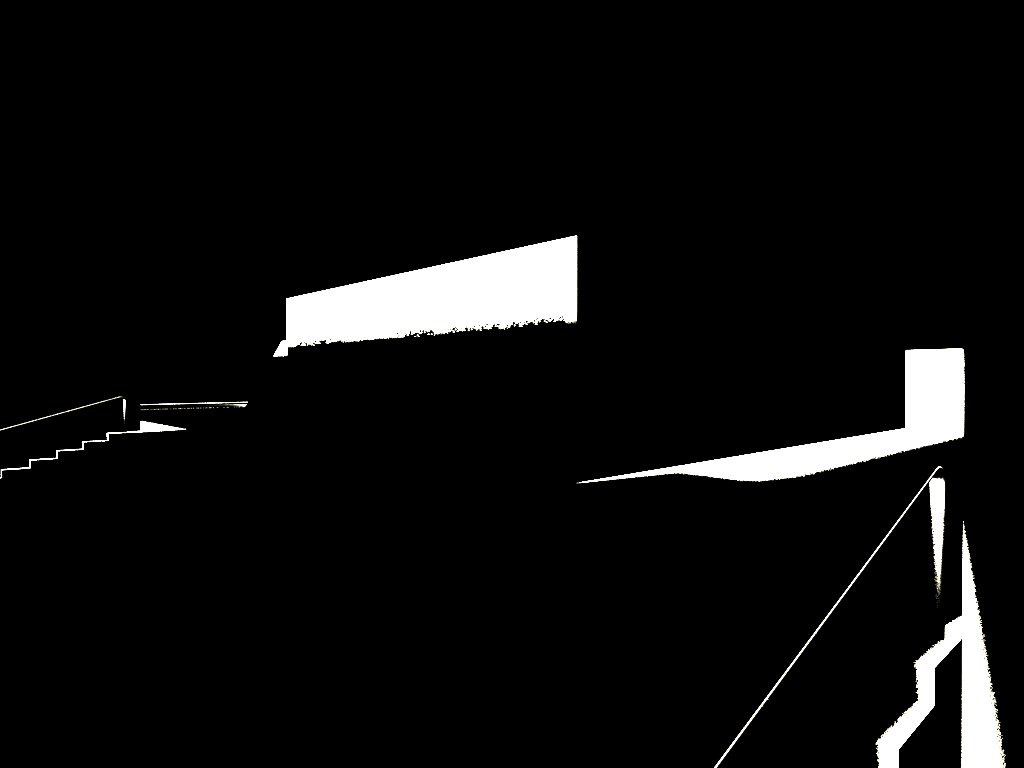
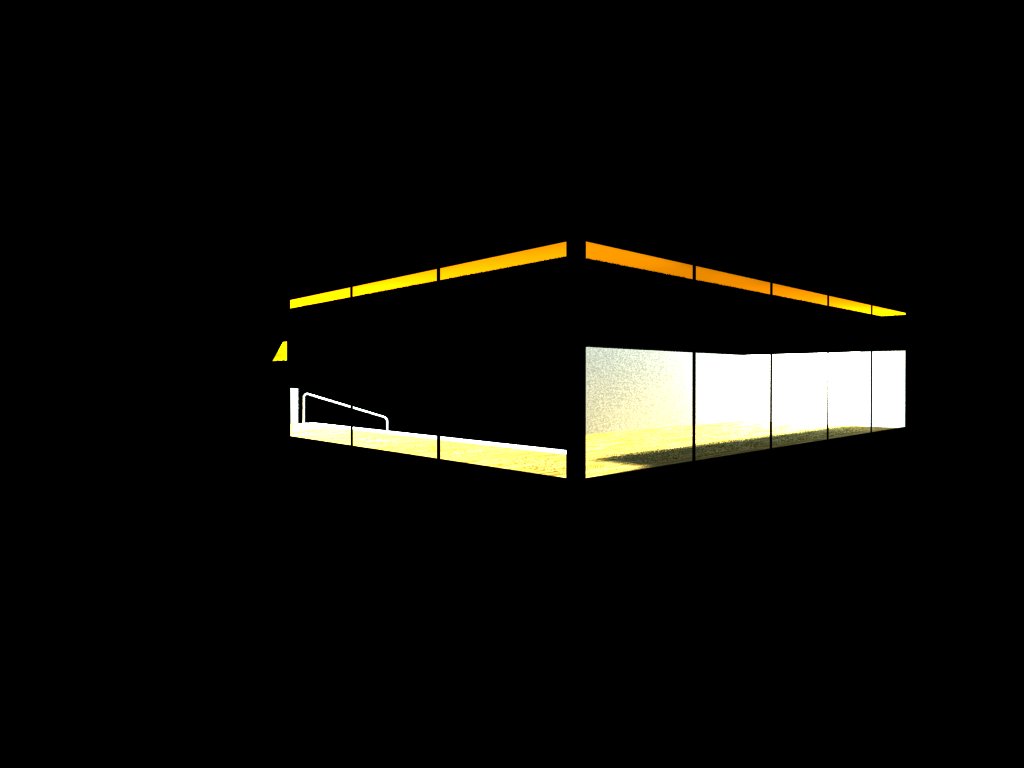
I know its tricky, Lots of ways to go about it but none that quite respect the image.
pbacot, nice organic approach, SS?
I went with a more brute force approach. Its close but still not quite there.
Quite a tricky little designee
@panixia said:
have you got a reference image for the backside?
Unfortunately, I don't.
But I find its the continuous sweeping line from the opening in the dome that goes out along the edge of the balcony (if you can call it that) which is the most interesting feature. It is curious how the architect pictured the back joining given that the dome and base meet along the left edge.
Glad to see I caught at least one persons imagination. 
TIG, Pilou,
Thanks for taking a look. I didn't understand why that one face with the ultra short edge wasn't intersecting. Now I get it!
As for the bowties, yes, I realized this was an issue that results from having a side shorter than the offset distance.
I ended up using fredos tools-on-surface offset with the 'simplify contours' setting enabled to fix the bowties, as opposed to changing the vertices before using lattice-maker, which is a great option. I imagine Fredo's offset would produce a similar result to using TIGs smart offset. Only problem is then I have to do all the lattice modeling myself, and it would really be nice to be able to use TIG's lattice-maker.
If your planning to do any updating for lattice-maker, which is awesome, it would be great to see a option for TIG's smart offset incorporated directly into the lattice-maker process. but then I don't know anything about programing rubies, and maybe that would be a real pain in the butt.
Anyhow, thanks for all the help once again. Oh, and all the toys, or perhaps im supposed to call them tools 
Pilou,
Here is an example of the problem I was describing above. I made notes on the model, so you should see exactly where the issue is.
If you think there is a quick way to fix this that would be great. I have never used cleanup, so if you find a way to fix the offset & intersect problem with that plugin please tell me.
Thanks for helping with this.
@unknownuser said:
Can you post a 3D SU example model of your Voronoï problem of intersection ?
(save as V6)
Sure, I will post it this weekend. Just at work now 
@unknownuser said:
Maybe you can use Clean Up by Thomthom ?
That could be one option, but, I suspect that won't work.
The offsets edges produced by lattice maker do not intersect one another when they cross. For some reason you have to tell SU to intersect to break the edges at the crossing. This generates a additional face, which must then be intersected with the edges to form the 'pane'.
This really creates a lot of work. And though I would love to use lattice maker, I found it was faster and cleaner to use ToS offset on each cell, before JPP-ing. However, if lattice maker had a simplify offset feature I would have saved a ton of time.
Do you think clean up would work for that? I haven't used it before.
TIG I have a request for this fantastic tool.
I have been using lattice maker on vonoroi tessellations (as you know, thanks again for the help), and since they have irregular shapes the offsets produce crossing edges in some cases.
I have noticed when using Fredo's tools on surface that offsets can be 'simplified' to eliminate the crossing edges. Is there any chance that you could incorporate this feature into lattice maker? That would be fantastic.
Thanks again,
Some times I find a shape that bends my mind a little. I find I am never more obsessive with SU than when I have a particular shape in mind and haven't achieved, or perfected it yet.
Just curious how you would go about creating this very unique futurist shape... Its the top I'm interested in. The continuous edge from the arc out and along the rail, also the perfect dome that meets the lower half in apparent symmetry, even though the back side must lose this symmetry.
I have experimented with this shape, and obtained decent results, but not that perfect transition and dome that would really do it justice.
There are a number of interesting things about this shape, give it a try and you'll see.
Just been playing with this so long that I was curious if anyone else would find it interesting, or want to give it a crack. I figured organic modeling might be the right place for this, hope its not to far off.