@tig said:
I've taken the liberty of editing your code so it's more readable...
First is Wordpad going to save these as 'plain text' like Notepad ?
There can't be any 'formating' or it won't load...
If it'll be plain-text make the file called 'FreeFormModelling.rb' in the Plugins folder.
Your code:
The 'require' parts are OK.
Now you see where it says
%(#808040)[### now add each tool in turn to 'tb' ...
textstring="Tool1sName"
instructions="Tool1sBriefInstructions..."
cmd1=UI::Command.new(textstring){tool1Command()}### as made in original script
cmd1.status_bar_text=textstring+": "+instructions
cmd1.tooltip=textstring
cmd1.small_icon="my_icons/tool1_16x16.png"
cmd1.large_icon="my_icons/tool1_24x24.png"
tb.add_item(cmd1)]
for each of the tools you 'required' you need to have a 'paragraph' of code, defining its name, instructions, command and icons - then in turn you add the command to the toolbar ('tb')
You can force the order of the buttons by the order you add the commands...
To complicate things the first one you list to be added is subdivideandsmooth which is a group of tools and is encrypted so you can't access its commands etc... you also can't make 'pop-out' toolbars so I think you should stick to unencrypted single command tools...
So let's take the first button as one of my 'accessible' tools - 'ExtrudeEdgesByLoft.rb' - read the script to see what it does in terms of menus, naming itself and toolbars, icons etc - this is [usually] near the end of the code...
So the 'paragraph' of your code needs the relevant bits adding in...
textstring=" Extrude Edges by Loft"
instructions=" : Select Curves: Follow Prompts: to Loft a Mesh..."
cmd1=UI::Command.new(textstring){ extrudeEdgesByLoft()}### as made in original script
cmd1.status_bar_text=textstring+": "+instructions
cmd1.tooltip=textstring
cmd1.small_icon="my_icons/ extrudeEdgesByLoft16x16.png"
cmd1.large_icon="my_icons/ extrudeEdgesByLoft24x24.png"
tb.add_item(cmd1)
If you were to refer back to the original icons you could use "TIGtools/extrudeEdgesByLoft16x16.png" etc instead.
Now the next button... let's do 'ExtrudeEdgesByRails.rb'...
your next 'paragraph' is
textstring=" Extrude Edges by Rails"
instructions=" : Pick Curves: Profile, Rail-1, Rail-2 & Melding-Profile. Makes Mesh. Follow Prompts..."
cmd2=UI::Command.new(textstring){ extrudeEdgesByRails()}### as made in original script
cmd2.status_bar_text=textstring+": "+instructions
cmd2.tooltip=textstring
cmd2.small_icon="my_icons/ extrudeEdgesByRails16x16.png"
cmd2.large_icon="my_icons/ extrudeEdgesByRails24x24.png"
tb.add_item(cmd2)
Note how we increment the command to cmd2...
Add more commands as desired...
If a tool only appears in the Menu and has no toolbar you can still make a toolbar button for it using the same idea - just invent the textstring/instructions and make your own icons, and use cmdX=UI::Command.new(textstring){**theCommand()**} where [ruby:rtq2vrvx]theCommand[/ruby:rtq2vrvx] is a copy of the command string inside the [ruby:rtq2vrvx]{ }[/ruby:rtq2vrvx] of the menu's code
Unfortunately if a command is encrypted you won't know what/how to call it into the toolbar ? 
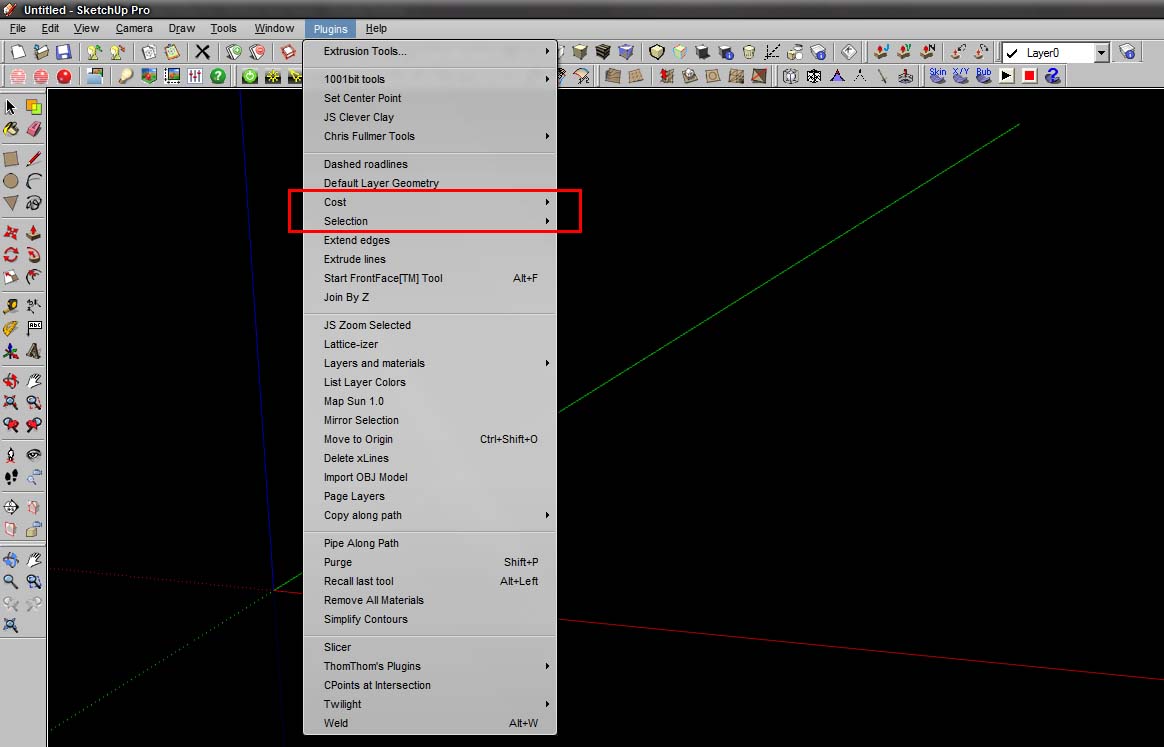
To see the new toolbar you need to activate it from View > Toolbars...
Hope this helps though... 
Thanks for the very detailed and indepth tutorial, when i have time ill have a crack at it ... Cheers TIG btw i love your tools