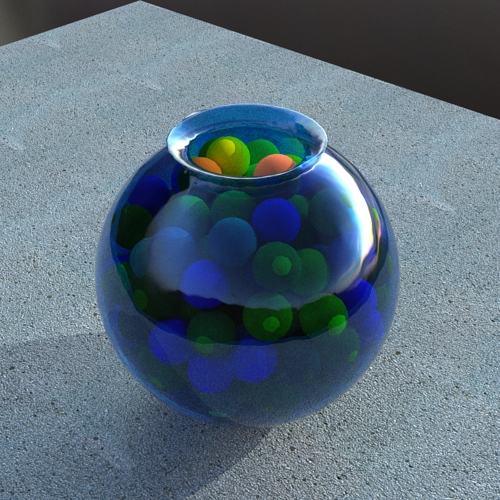
Here's an example of pathcopying along a welded path that I posted in another thread.
Bob
Here's an example of pathcopying along a welded path that I posted in another thread.
Bob
. . . and it's back up again at 21:50 UTC
Fingers crossed it stays that way.
Bob
The Kerkythea site went down this evening. As far as we know this is a temporary hosting problem . . .
Bob
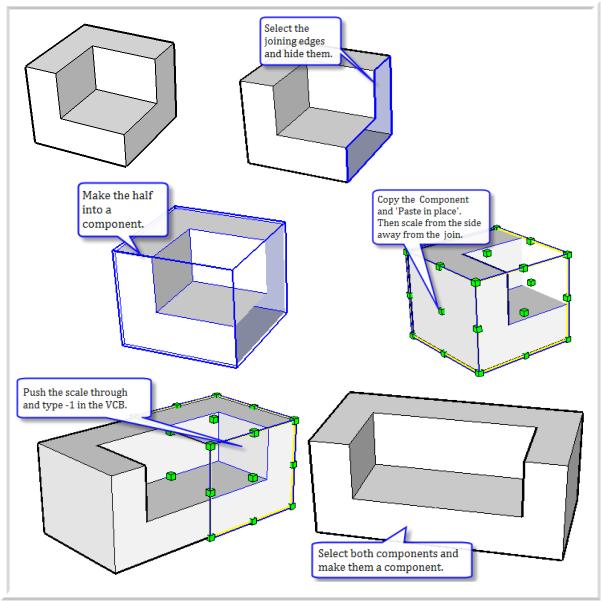
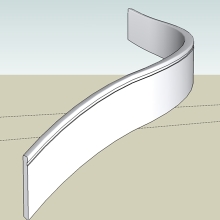
To make a symmetrical shape, create half of it. Hide the edges that meet. Make it a component, copy and 'paste in place', then scale the copy by -1. To finish make the two components into a new component.
Bob
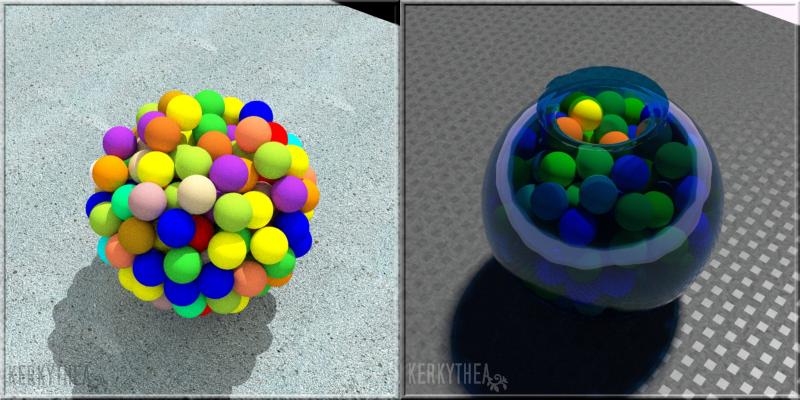
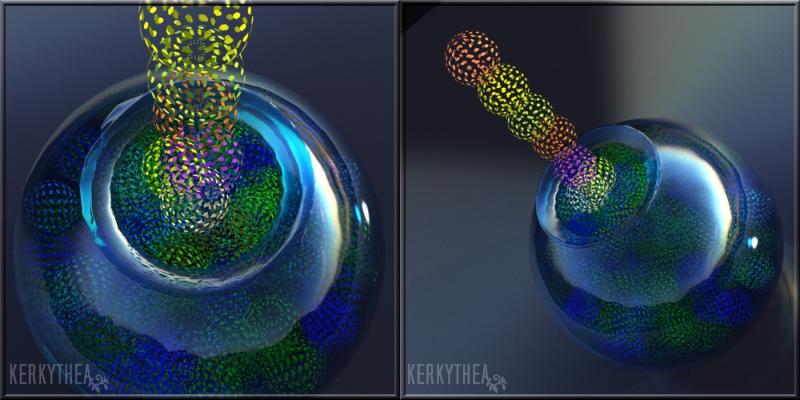
I solved the 'yellow' spots' I think; the one on top was just the play of light, those on the sides were contact points. I rendered the balls alone and the spots disappeared, shrunk then just a tiny bit and re-rendered and the spots are gone.
Bob
PS I started the export-import route but what I got back seemed to have all the hidden lines un-hidden so I abandoned it for the moment.
Tried the pause and render approach, that works well. I'm not sure what I did in the render but it looks rather magical.
Bob
Remus - yes, I think that's what's happening. Must be something about the way SketchyPhysics handles contact spaces. Haven't had time to go back and explore.
Bob
Google says 120 centimeters = 47.2440945 inches
Bob
From the ticket inspector's point of view he's probably heard just about every story about lost, stolen, eaten by the dog, used for Granny' shopping list, disappeared in thin air, abducted by aliens, . . . thrown in the bin is just another variant. And unfortunately many students make a practice of travelling as far and as often as they can without a ticket and having a fund of plausible stories.
How would you have known which ticket in the bin was yours - only by searching through for one with more or less the correct time-stamp and that proves nothing, except that someone bought a ticket around that time and threw it away. But the time that takes is keeping the inspector from getting back to the tea-pot at the depot.
Bob
Unfortunately you can't just download the CD because it uses parts of Windows and MS don't like that being downloadable. However if you can beg, borrow or steal a Windows install DVD it's not at all hard to create. Step by step instructions are here.
Bob
If you have (or can get access to) a CD burner and a copy of XP then go hhere and make yourself a copy of the Ultimate Boot CD for Windows. You can then boot your computer from the CD drive and run some diagnostics. At the very least you can back up all your data files before doing any dramatic restore.
Bob
PS If you can't get a copy of Win XP then there's also a DOS/Linux version that may help but doesn't carry so many Windows tools
I found this tutorial, for a complex curved moulding, by Gilles in the French Language Forum here. I've translated his comments into English in this version (apologies for any errors).
@unknownuser said:
Gilles wrote: un limon est une pièce très complexe surtout quant il suit de nombreuses courbes, un casse tête de menuisier.
A staircase stringer is a very complex item, particularly when there are several curves, a real head ache for the joiner.
Bob
Hi Henry,
You'll find it a lot easier if you start to take each chunk of your work and make it a component (or a group) as they don't 'stick' to each other. You can also clone components (and change the scale or color) without adding to the complexity of your model.
I've attached a copy where I've done a very quick job of turning the door and side windows (and some other pieces) into components. You should now find that you can move these without dragging other pieces with them.
To edit a component double click on it. If you edit the floor and rotate the model to look up from underneath you should be able to see the outline of the door and windows and draw around it.
To fill the gaps it's probably best to use inferencing to move the side windows into the 'best' positions. Then create small fillets as separate components to fill the gap.
Bob
PS As the side windows are identical I would delete one and replace it with a clone of the other.
File has the text and unused components removed to reduce the size.
Very nice, I've linked them into the threads here. Bob
[flash=448,361:36l7lbhh]http://i103.photobucket.com/player.swf?file=http://vid103.photobucket.com/albums/m157/ShermanPeabody/SU/bw_tutorial_011.flv[/flash:36l7lbhh]
[flash=448,361:36l7lbhh]http://i103.photobucket.com/player.swf?file=http://vid103.photobucket.com/albums/m157/ShermanPeabody/SU/bw_tutorial_012.flv[/flash:36l7lbhh]
[flash=448,361:36l7lbhh]http://i103.photobucket.com/player.swf?file=http://vid103.photobucket.com/albums/m157/ShermanPeabody/SU/bw_tutorial_013.flv[/flash:36l7lbhh]
[flash=448,361:36l7lbhh]http://i103.photobucket.com/player.swf?file=http://vid103.photobucket.com/albums/m157/ShermanPeabody/SU/bw_tutorial_014.flv[/flash:36l7lbhh]
[flash=448,361:36l7lbhh]http://i103.photobucket.com/player.swf?file=http://vid103.photobucket.com/albums/m157/ShermanPeabody/SU/bw_tutorial_015.flv[/flash:36l7lbhh]
Cheat! Download the free version of DelftShip. Create you hull in that, export as a DXF mesh that you can re-import into SketchUp.
This is one of the demo hulls included with the download, there is a library of close to 200 other hulls on the site; or you can play with your own waterlines, stations and buttocks if you prefer 
Bob

I think so, edit the camera and select Geometry | Parallel
Bob
Didier's script requires a plain text file with x y z data like
123.456 789.012 234.567
. . .
If you have something like this (decimal places and separators can vary) then it can almost certainly be massaged to work with his script.
Can you post a sample? Or email me the file if you like and I'll take a look 'info at greyhead.net'
Bob
Here's another version that's pretty simple. Create your cube and make it a component. Draw a square on top and push-pull it up to half the extra height you want (i.e. the height of the two middle corners). Copy/move a second identical block on top. Move three of the corners down to the top of the first block, then you'll find that you can move the center one down to to the top of the cube. Explode the cube and clean up.
Bob
The spiral from Dmitry's code is 2D - it was 'smooved' into 3D in the demo skippy. I havne't check in detail but I don't think that this spiral generator does anything that can't be done with the existing K-tools or Helix scripts (with the possible exception of the 'segmented' spirals') though it has a much more friendly interface. So the trade off is between the friendly interface and the inconvenience of having to import the DXF file.
Bob