sketchucation logo sketchucation
    • Login
    1. Home
    2. davidh
    3. Posts
    Oops, your profile's looking a bit empty! To help us tailor your experience, please fill in key details like your SketchUp version, skill level, operating system, and more. Update and save your info on your profile page today!
    🛣️ Road Profile Builder | Generate roads, curbs and pavements easily Download
    D
    Offline
    • Profile
    • Following 0
    • Followers 0
    • Topics 129
    • Posts 500
    • Groups 1

    Posts

    Recent Best Controversial
    • RE: View across country

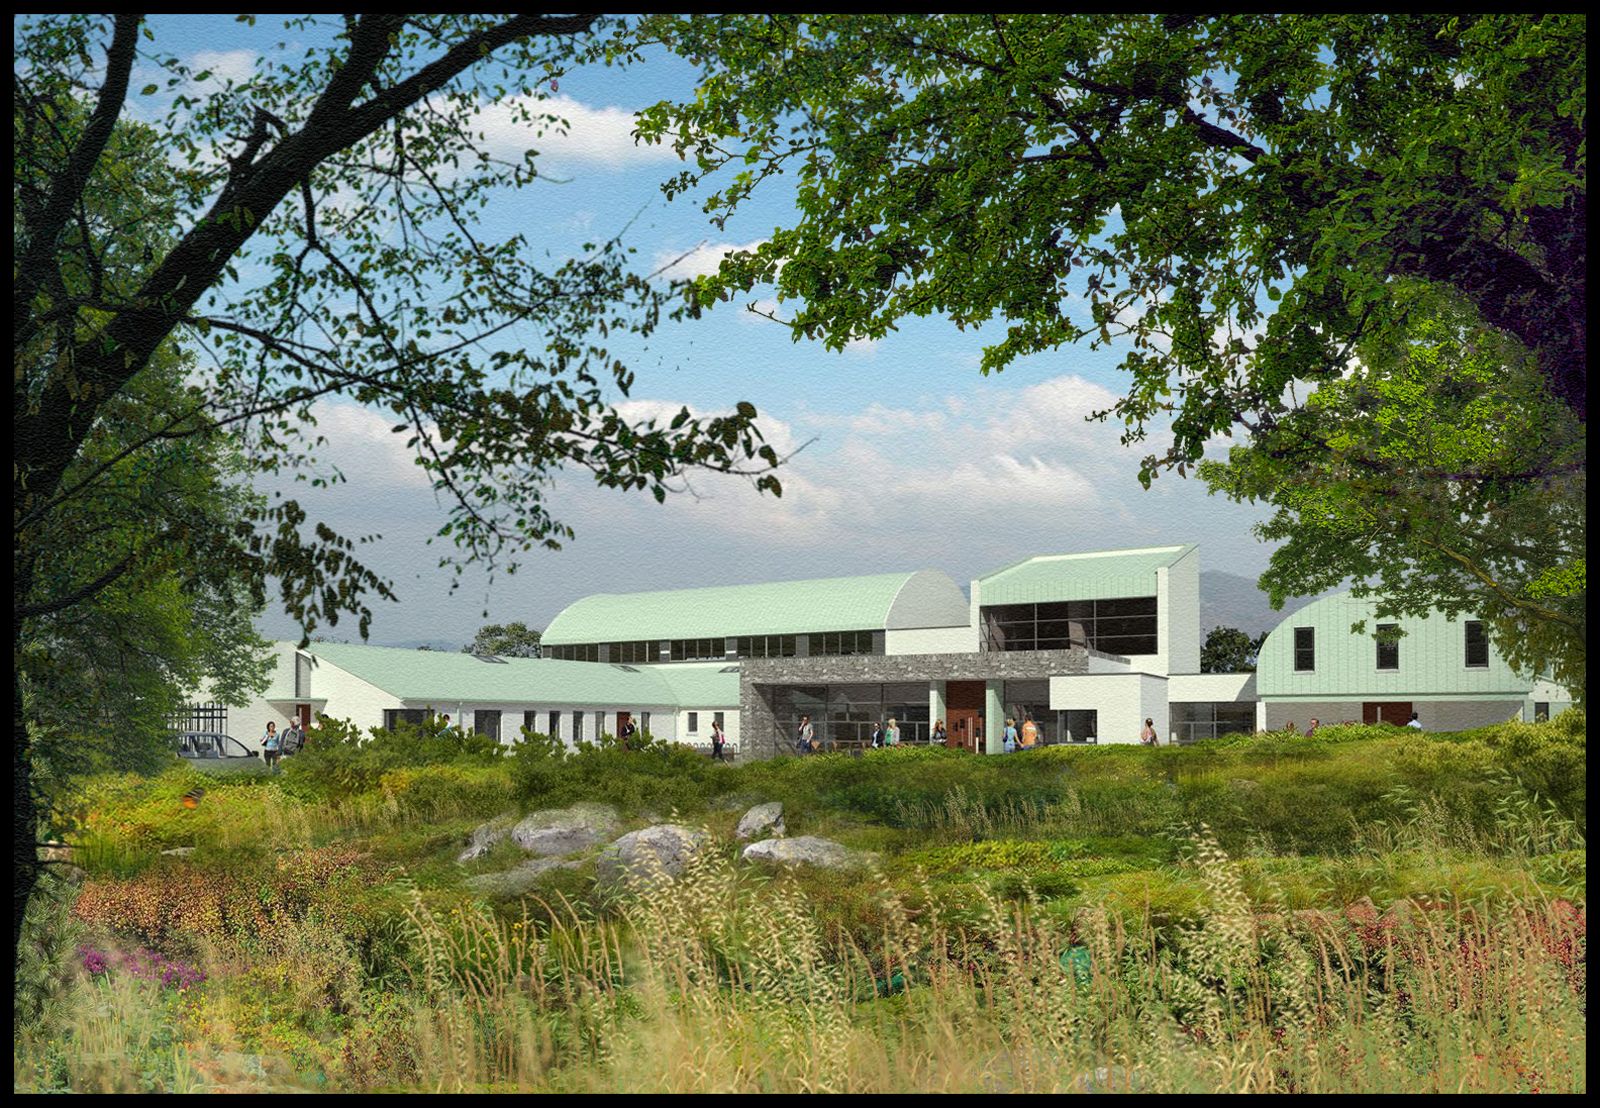
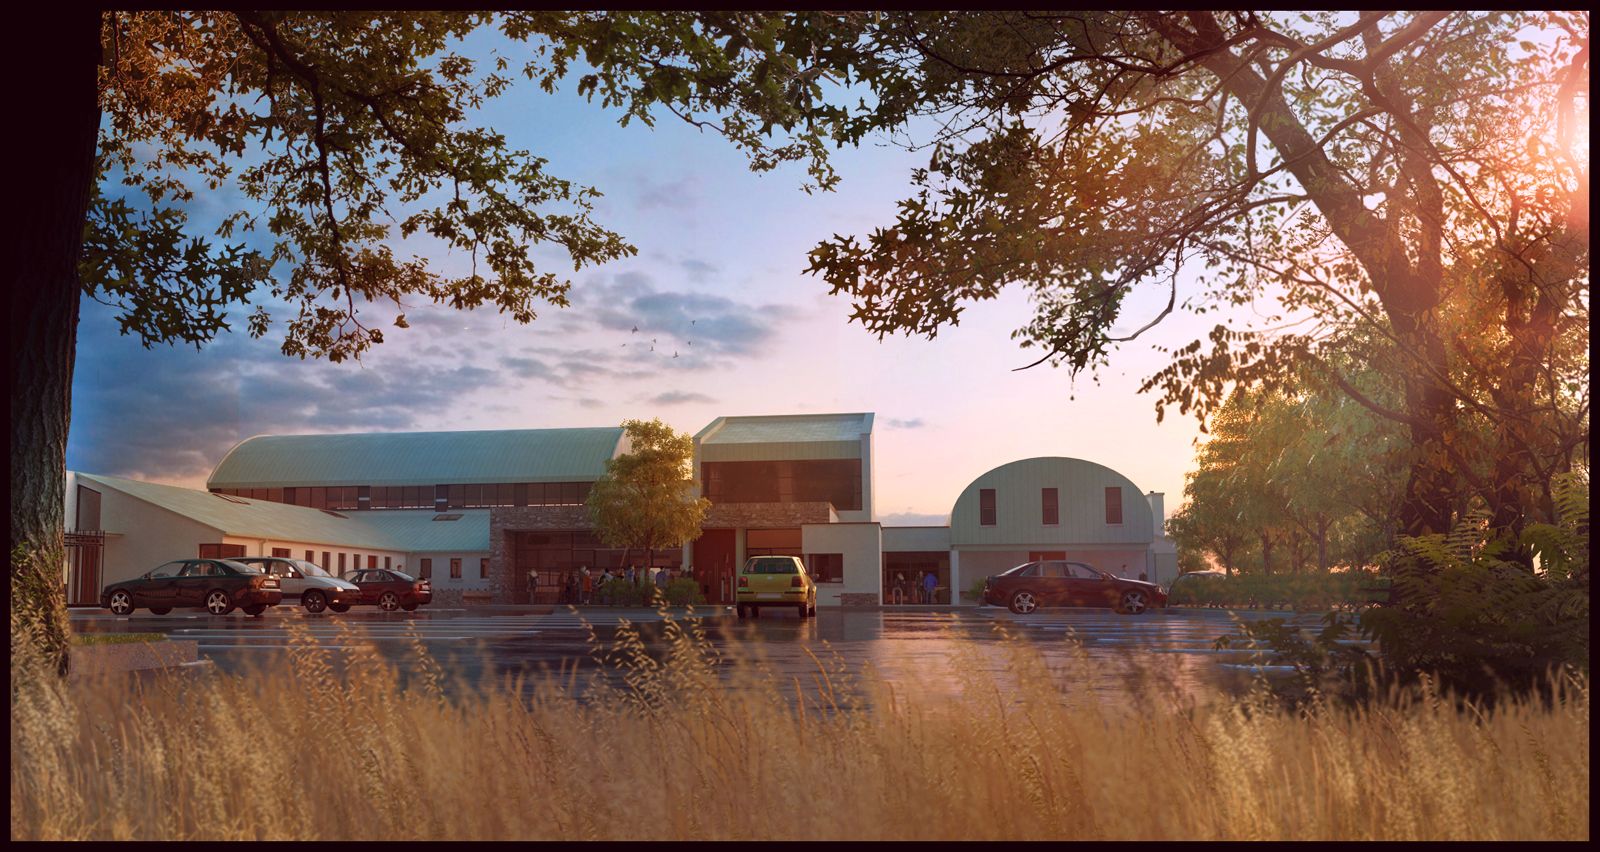
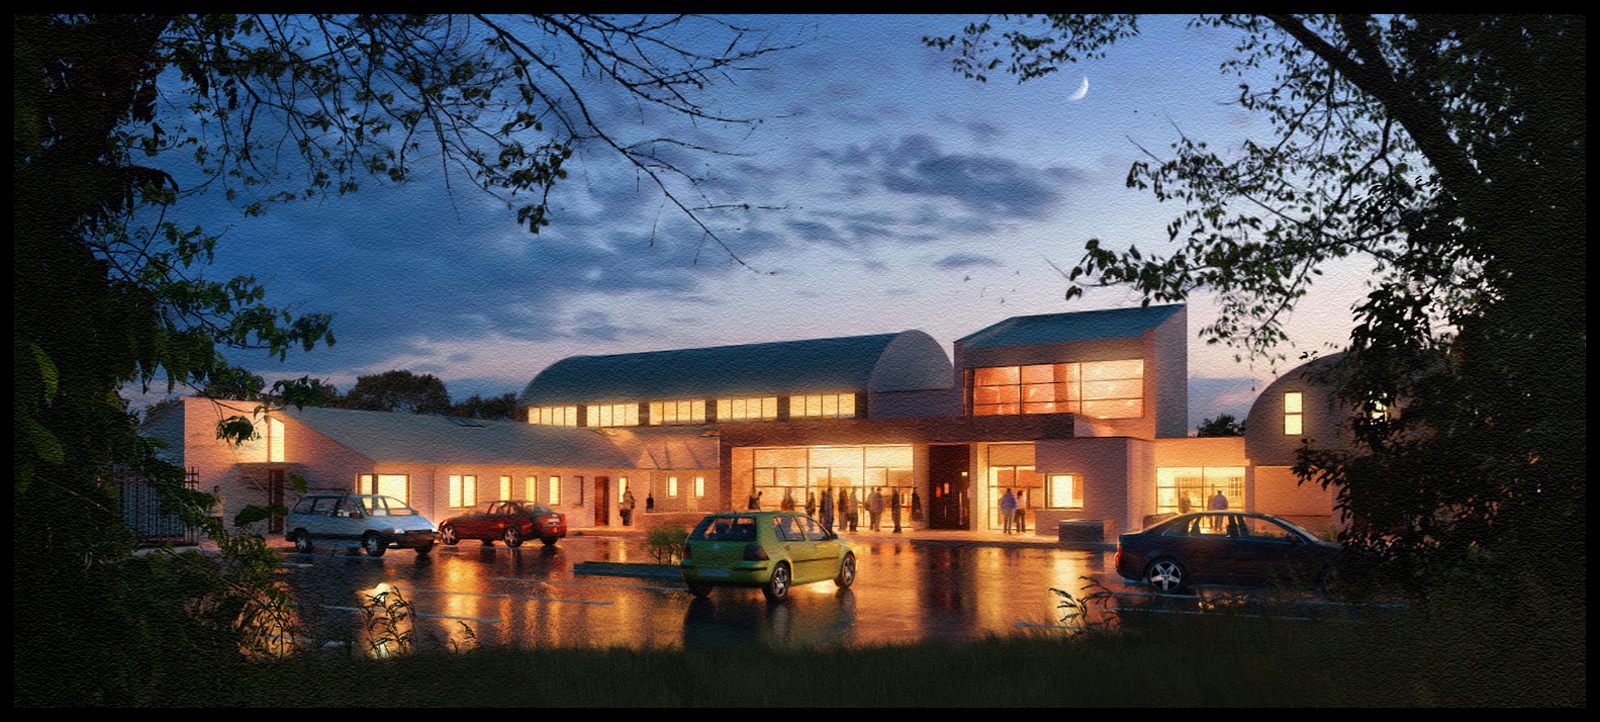
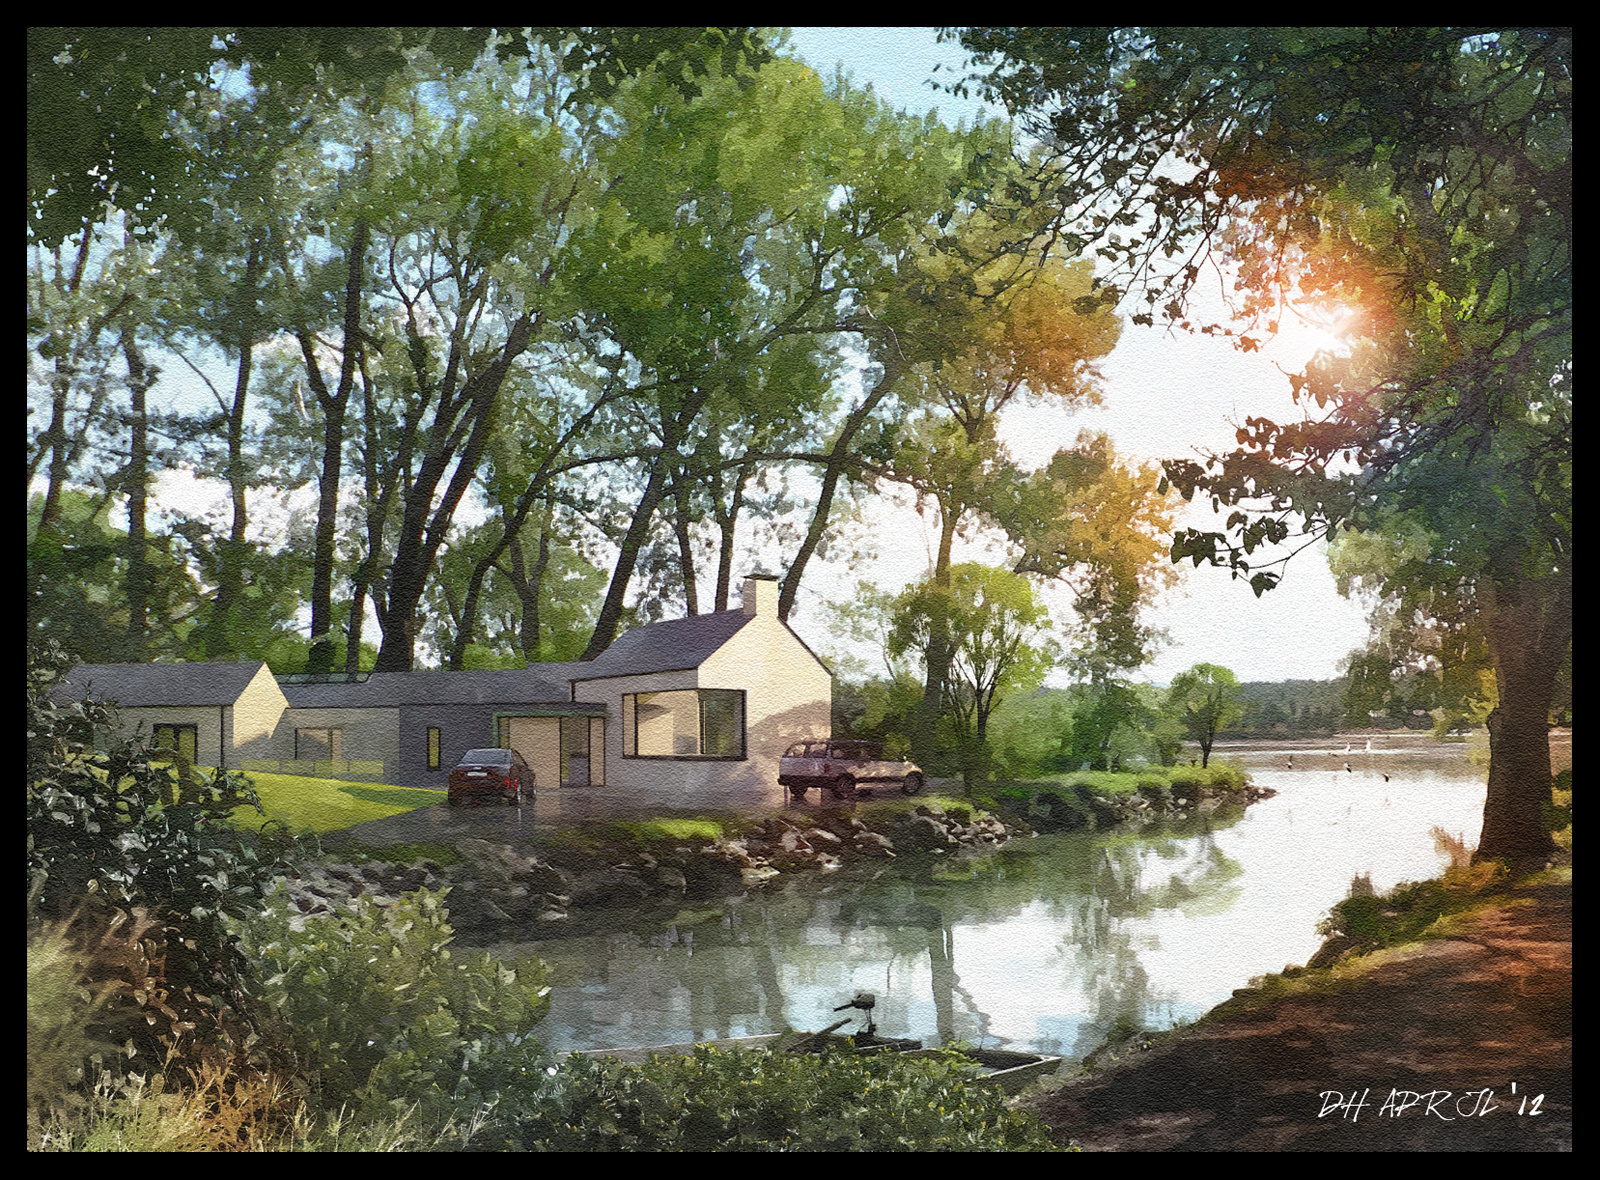
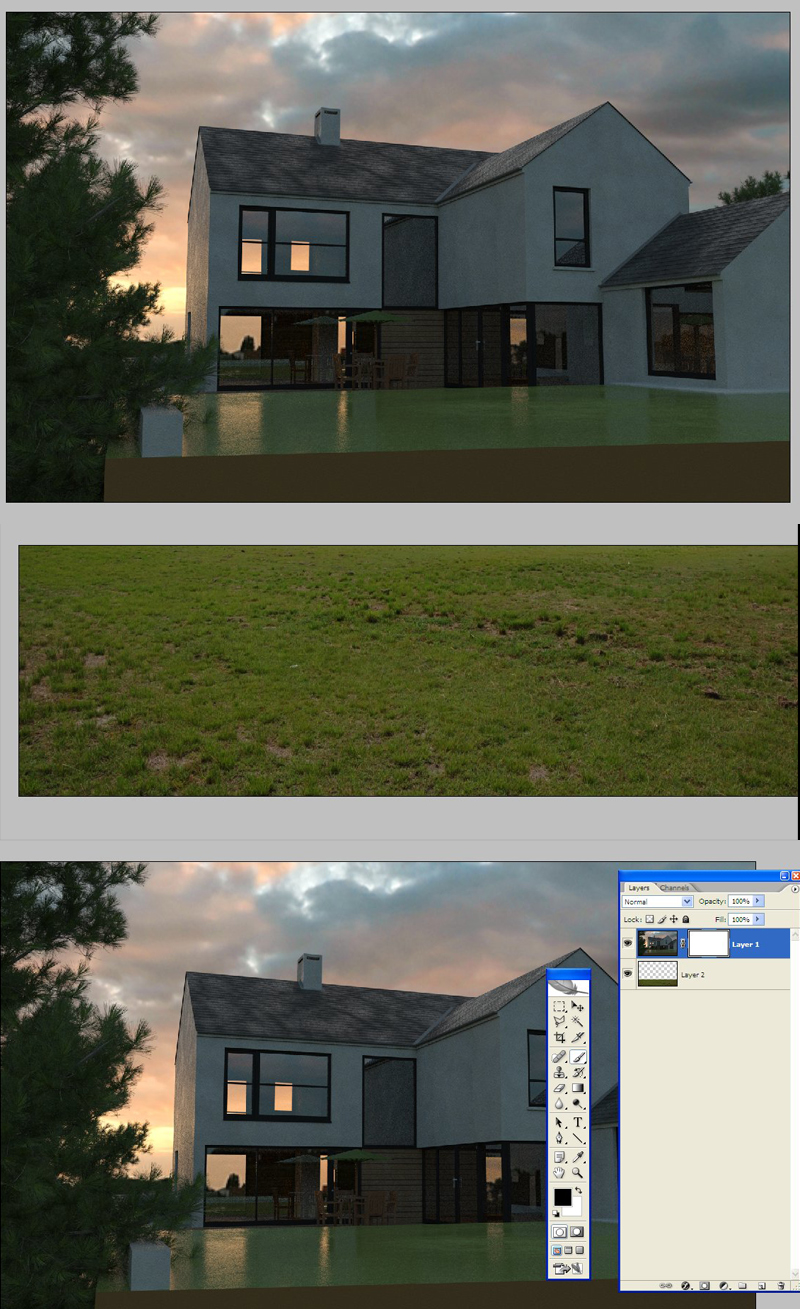
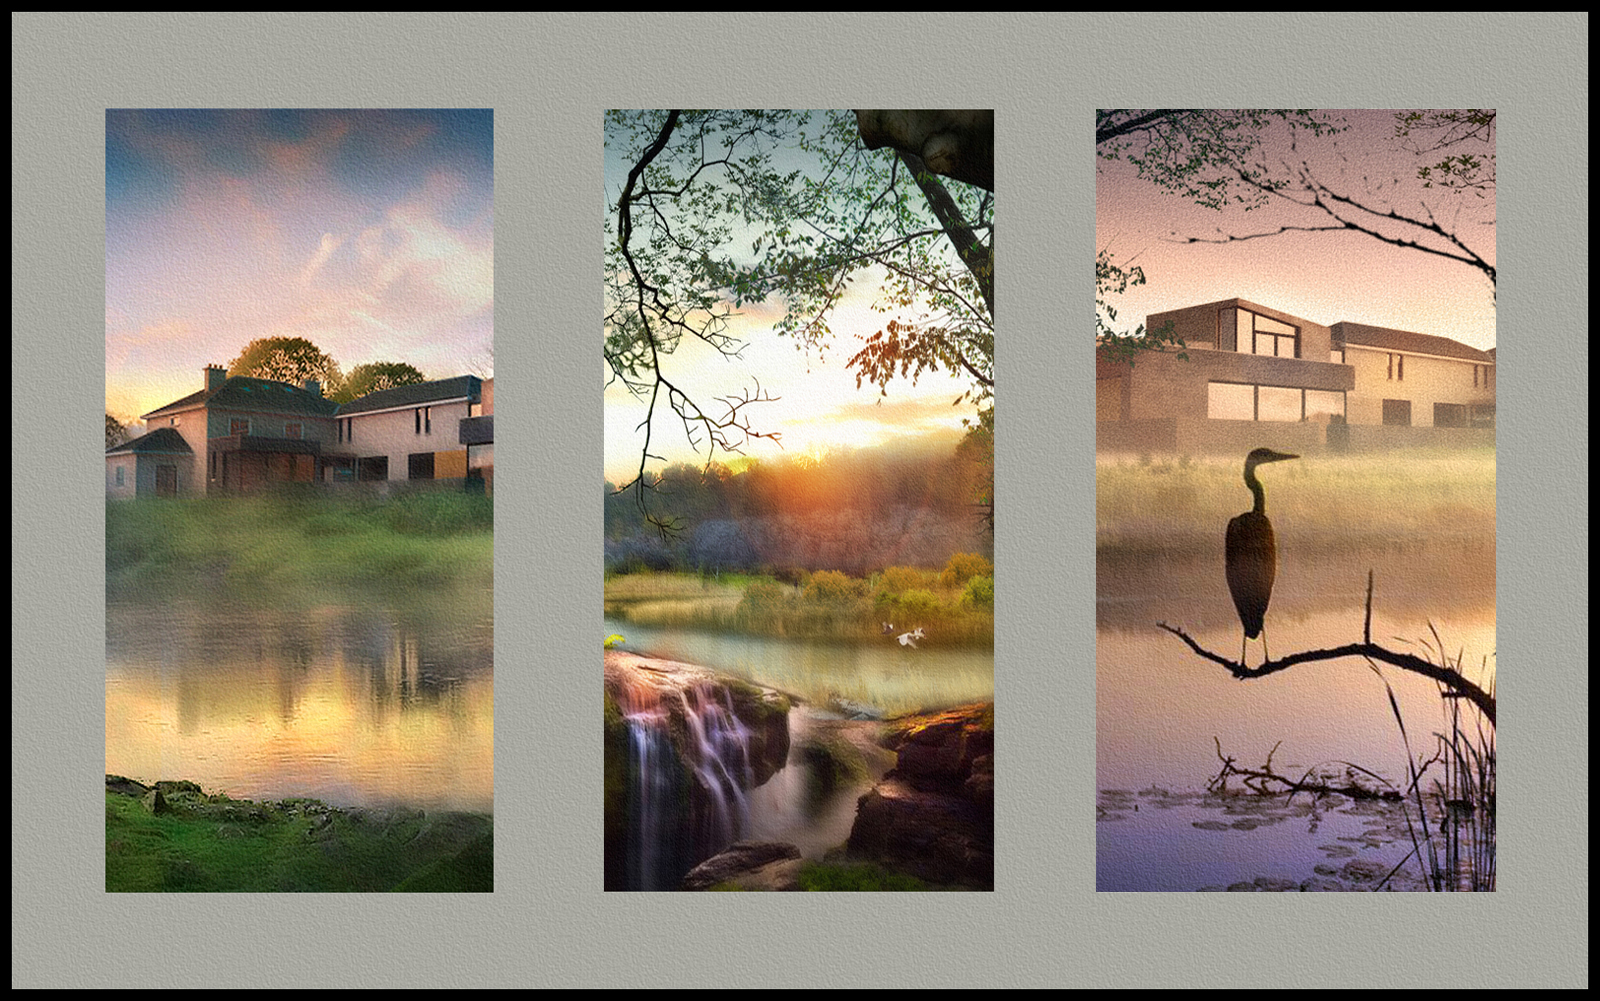
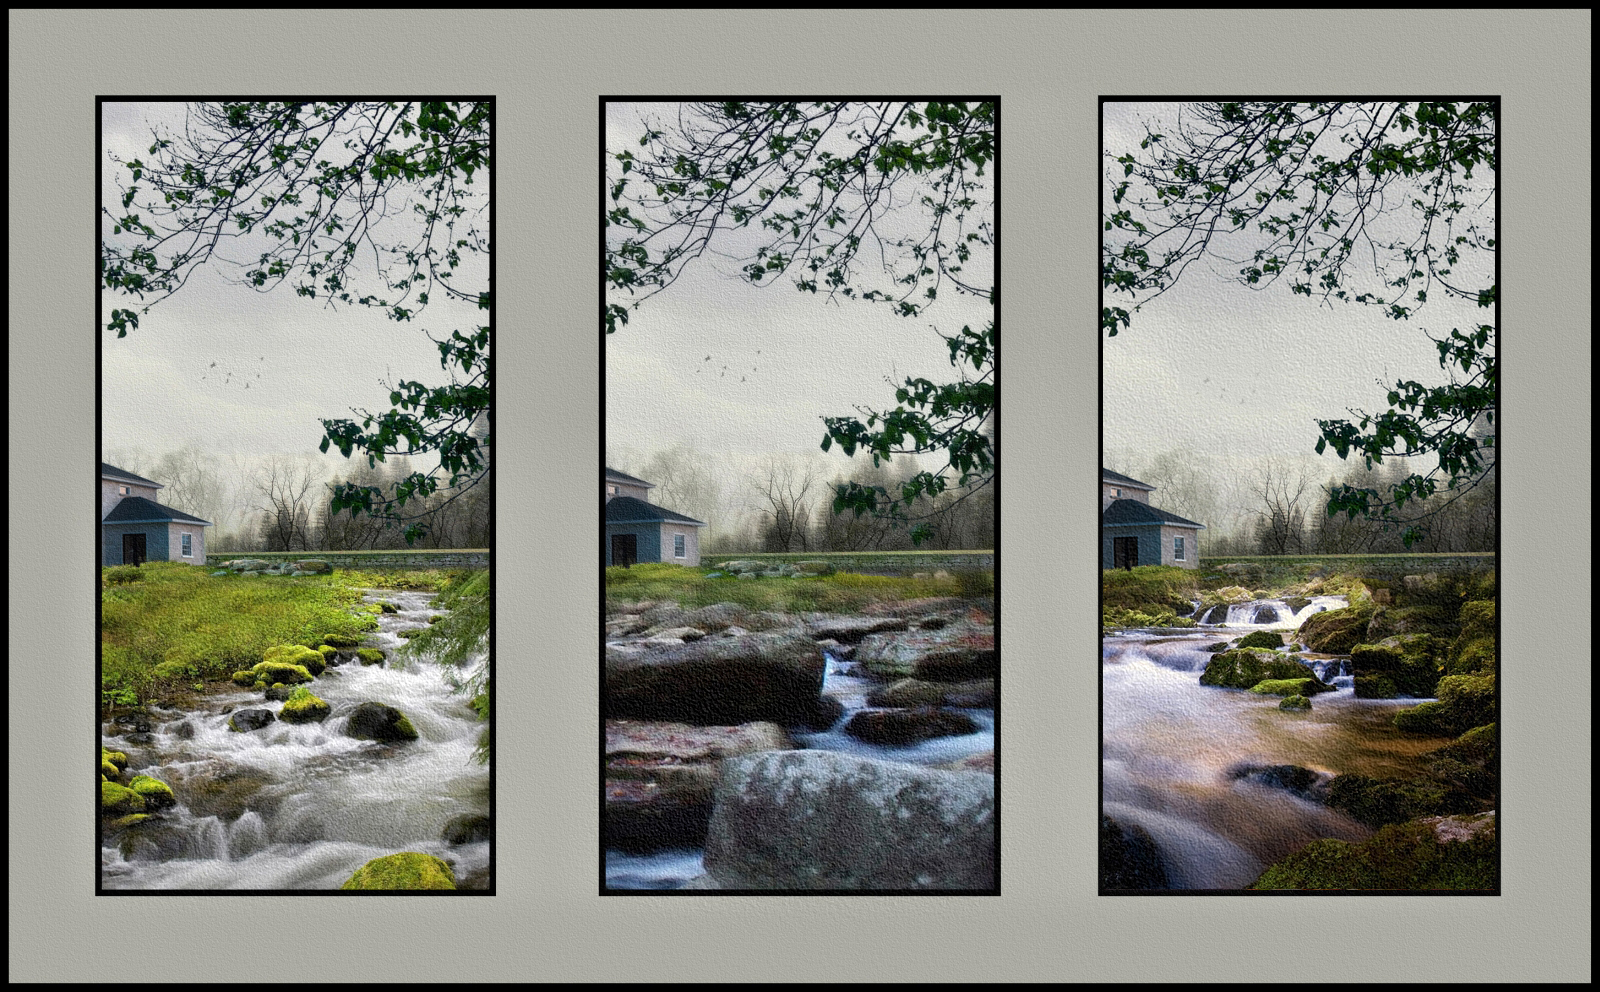
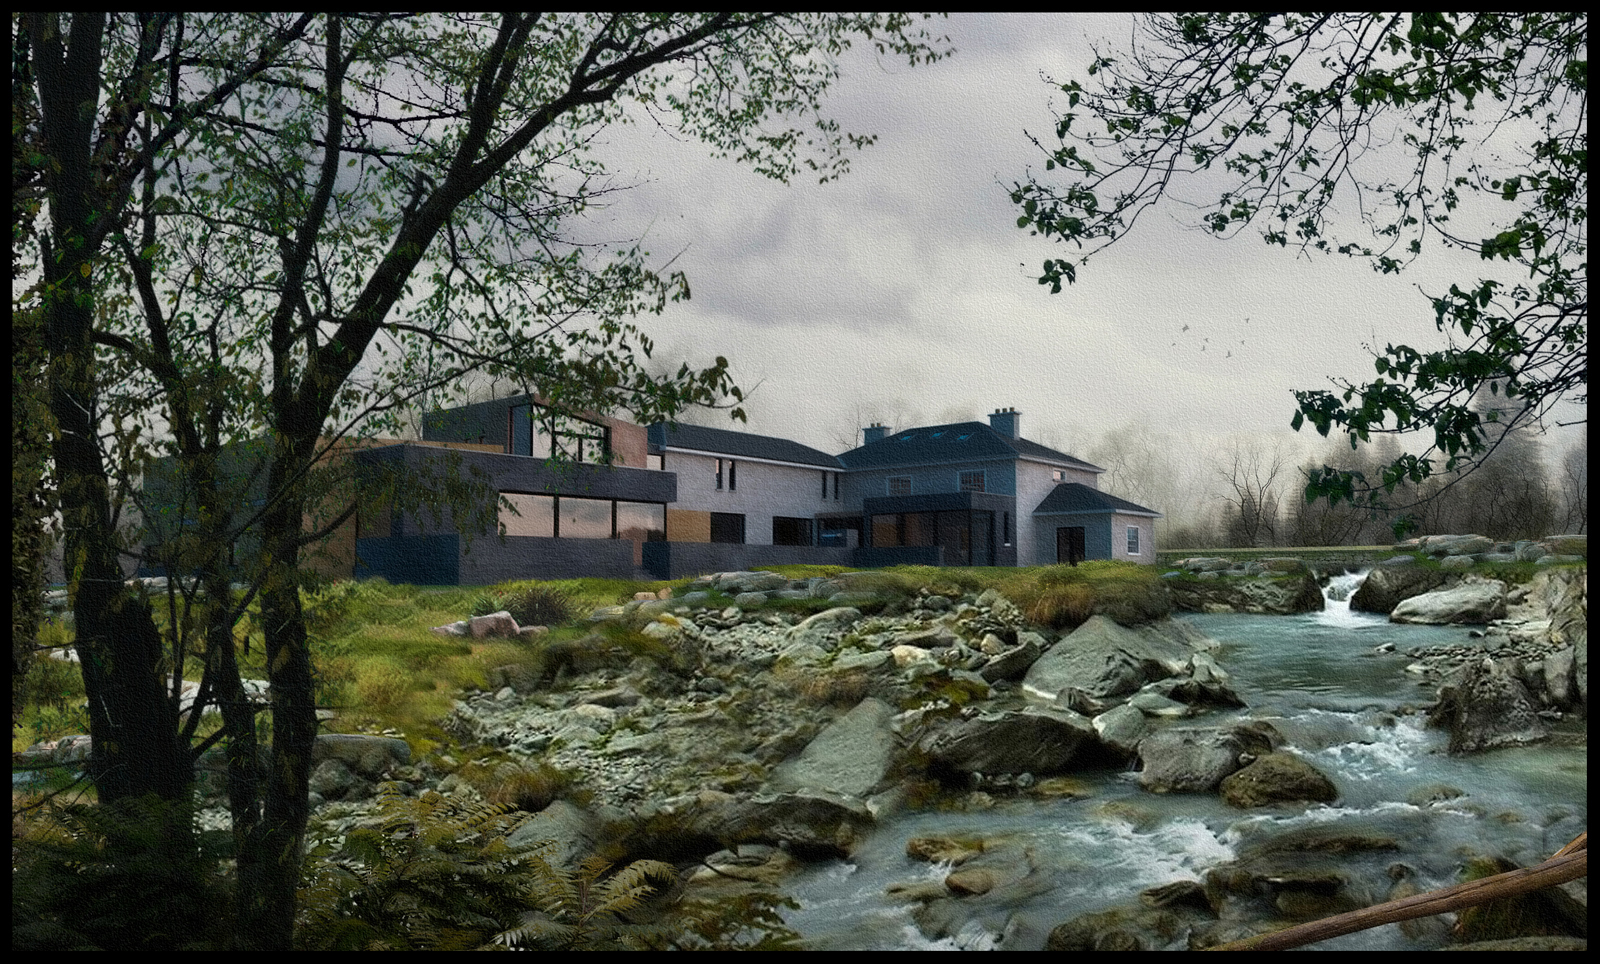
      A lot of the vegetation is clip art I have built up over the years.Others are purchased such as the grain planting at foreground which is a digiart product.These Grains are very high in resolution so I normally place them right at the foreground,overlaying them on each other and adding gaussian blur to create a sense of depth.

      Its really all about layering multiple images on top of one another,trying to make sure that the lighting on the clipart is someway consistant with the main render.As these are not photorealistic I dont get too concerned with matching elements exactly.

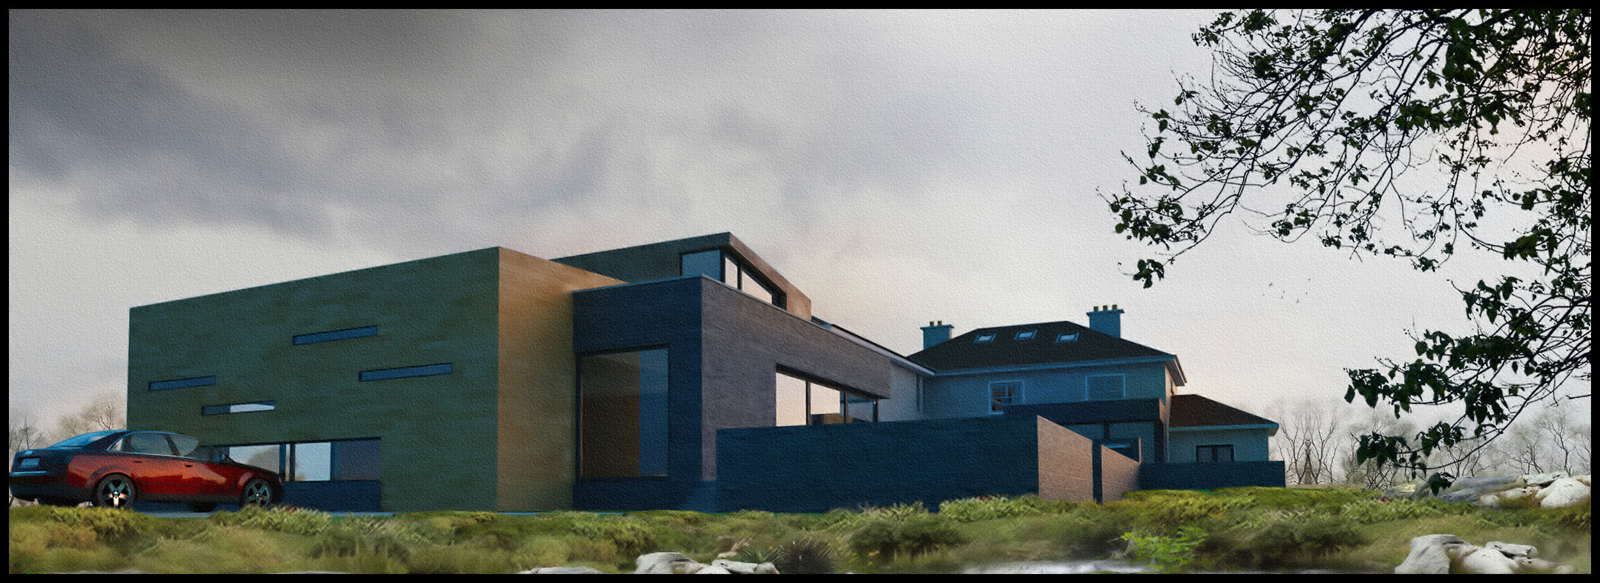
      I often use trees as hedges/bushes.by placing them low behind another element such as some planting or rocks,only the tops of the trees are visible,which helps to suggest hedges.(I would use trees because you can get a lot of tree clip art with quite a high detail but not so much actual hedges.)

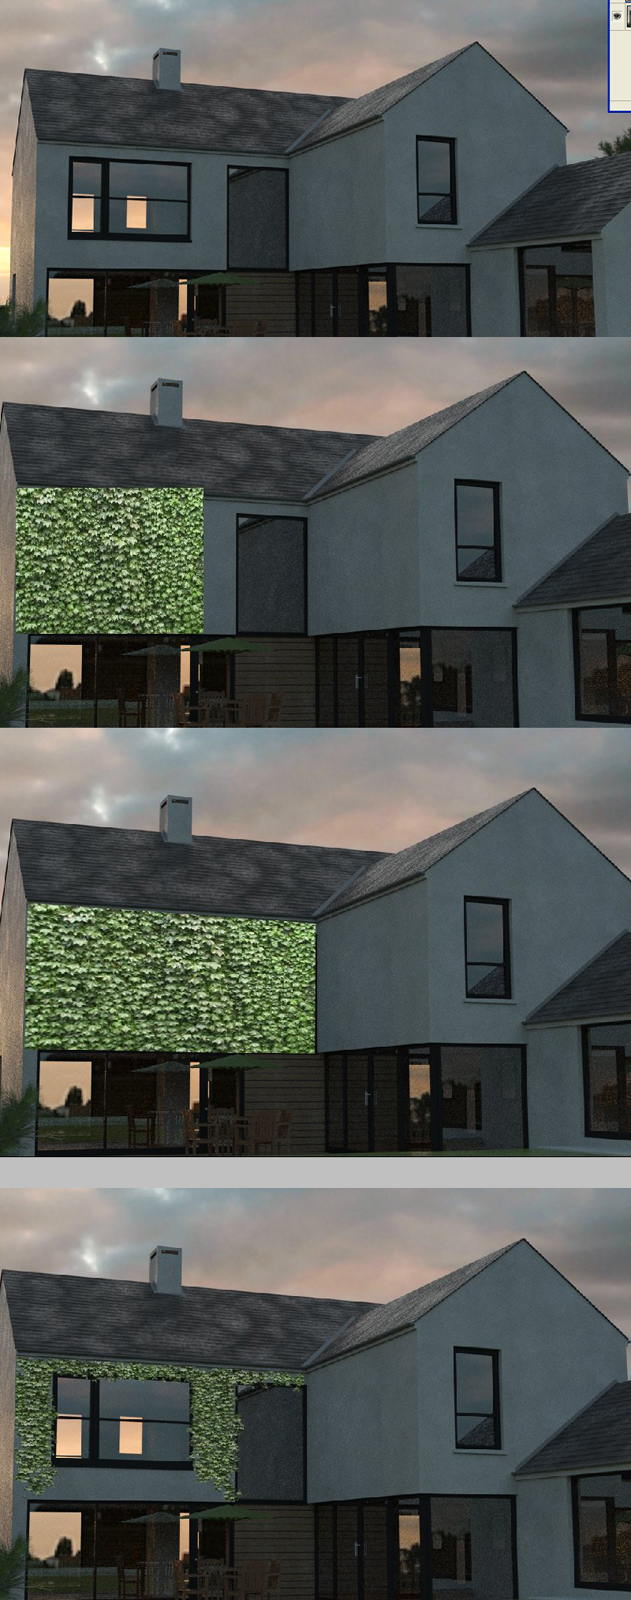
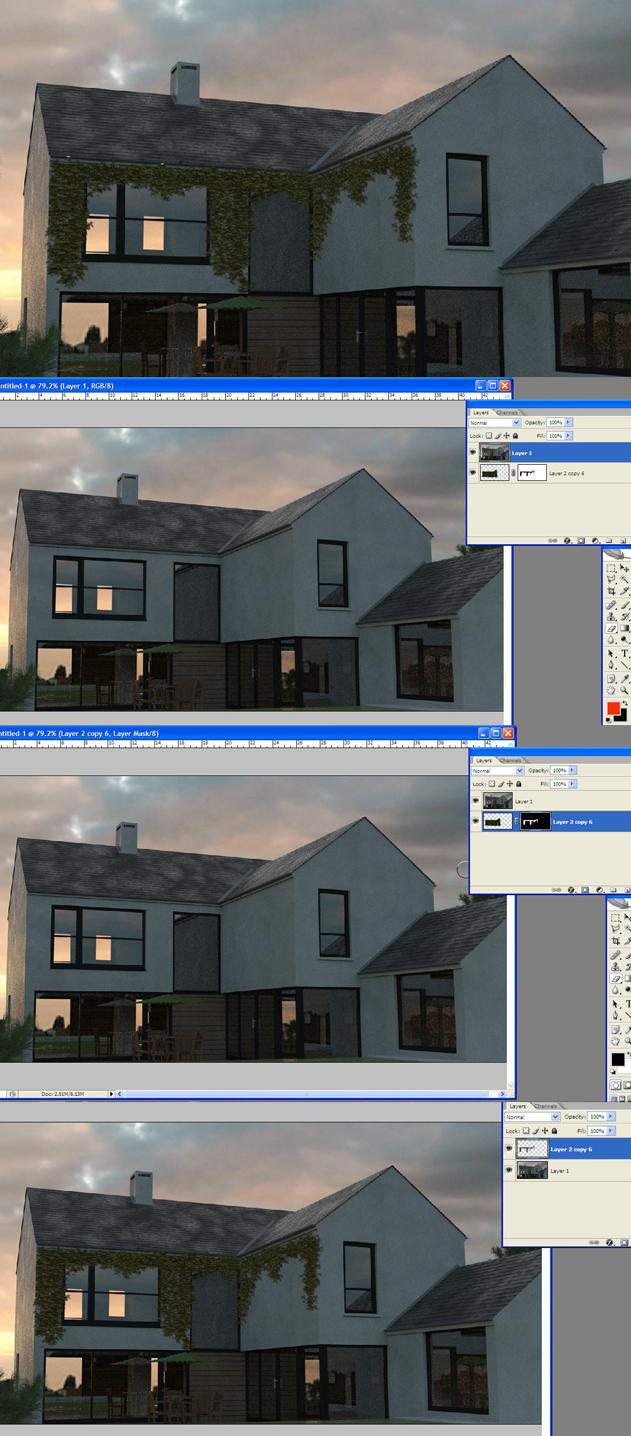
      Then its all about blending the individual layers using either a mask or an eraser with a low opacity so you dont get a hard edge from one piece of vegetation to another.You dont have to look too close too see this effect in the image but I feel when taken as a whole,it works very well.This masking/blending also means you dont have to have crisp edges on your trees/planting as everything sort of almagamates into one (thats the idea anyway!)

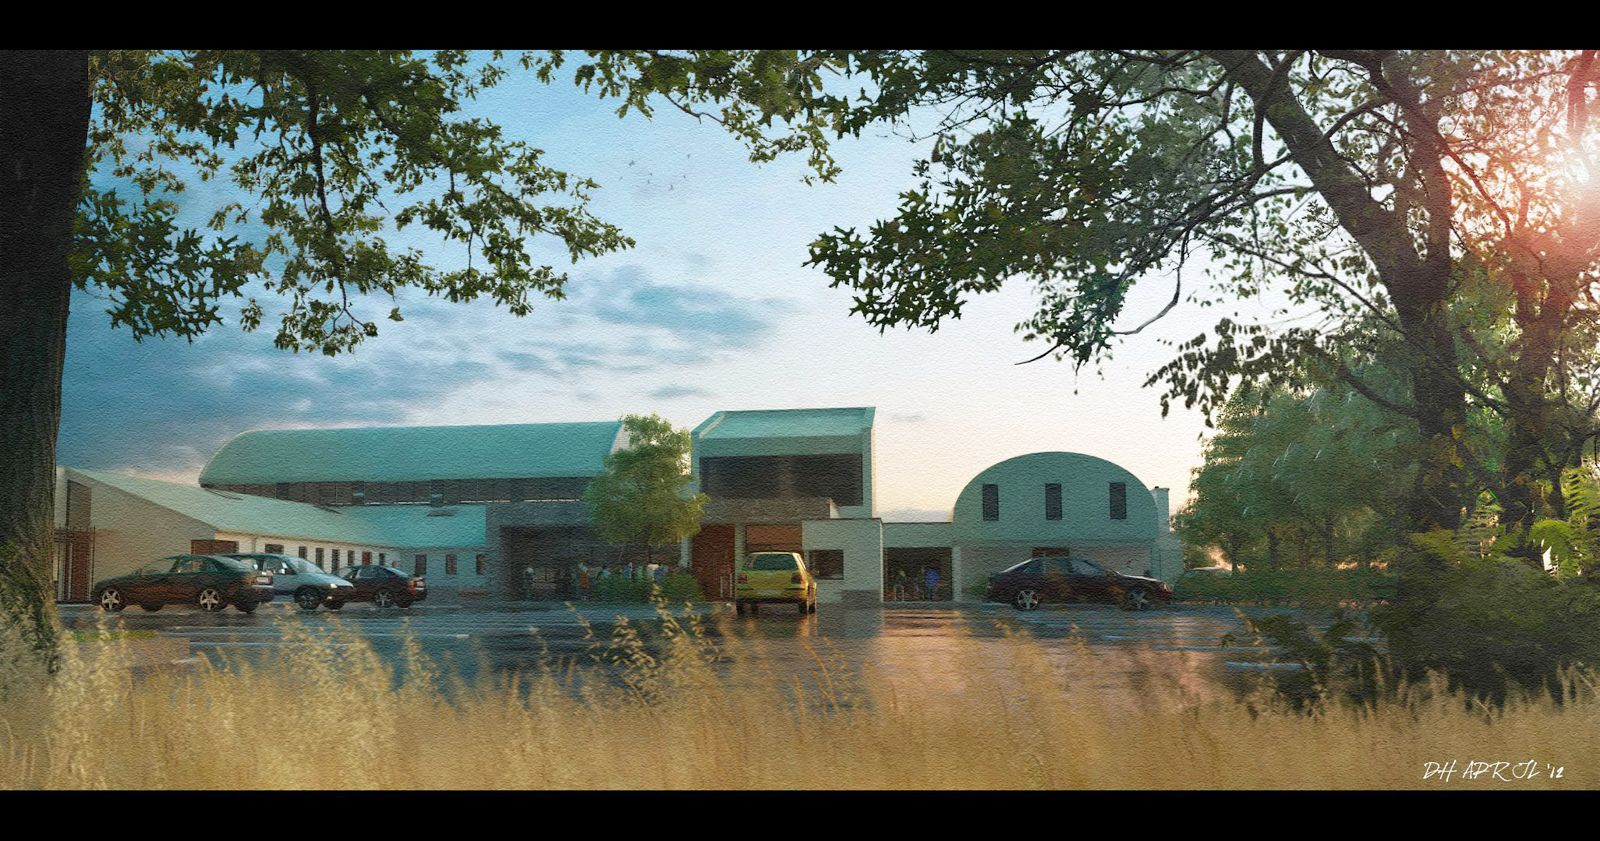
      Below is a second version where I moved around some of the middle ground planting and added some additional grains.I also added some trees on either side darkening them a little to try and pull them more to the front.(you can see the grey stones in the middle are actually bleeding into the surrounding planting,a bit too much I think,but as all planting is photoshop it wouldn't take long to revise it)


      View across country2.jpg

      posted in Gallery
      D
      davidh
    • View across country

      Attached is a view across the adjacent fields,at close to noon.There are about 30 layers of vegetation in the photoshop file,with different elements layered over each other and local masking done to allow them to blend together.


      View across country.jpg

      posted in Gallery
      D
      davidh
    • RE: Evening shot

      One more close up shot.The black car at front is out of place and is too strong in the image so I may re-render without it.
      I'm happy with the right hand side of the image,paricularly the lighting on the car and the ground surrounding it,which is more what I was looking for regarding the overall lighting tone.


      Evening shot CLOSE UP 02.jpg


      Evening shot CLOSE UP 02 crop.jpg

      posted in Gallery
      D
      davidh
    • RE: Evening shot

      A close up shot with some additional light reflections .


      Evening shot CLOSE UP.jpg

      posted in Gallery
      D
      davidh
    • RE: Evening shot

      The ground is indeed wet ,and I added some reflection to the tree leaves on the right to suggest wet foliage.

      Attached is the original render (still post processed but before I softened the image up to get a more NPR effect).I have also colour toned this image to try and get a more golden light.It sort of works but I think it needs some more bright tones particularly in the grass at foreground.
      The people at the back are actually low res Dosch models and you can see that the faces are incomplete/slightly warped.Thats why I normally only use these low res models towards the back of the image.


      Evening shot 02.jpg

      posted in Gallery
      D
      davidh
    • Evening shot

      Another NPR ,this time an evening shot.Again Im trying to get a much looser feel to the image with a lot of soft edges.


      Evening shot.jpg

      posted in Gallery
      D
      davidh
    • RE: Night shot

      Attached is the raw mawell render.

      Most,if not all of my recent renders are NPR(Non photorealistic).I like to take an original render and play with it,adding the planting etc,I much prefer this to a straight forward realistic approach.Here,I edited the parking lines and added the sky,moon,trees etc and played around with the lighting/saturation/curves.

      As I have said before,most of my work is rendering straight forward high sun/noon images and while I understand why the client wants to show off the building on its own,I like to "creep up" on mine and see them as if you have just discovered them.The main problem I find is that a lot of the projects I work on are urban so most of what I upload are buildings out of their place,but there is something I really love about landscape and trees and water.This is why so many of my images are the same building but in a more rural environment(in this case the real car park is about 100 meters long and the trees shown in the first image are way,way back).

      The 3 main elements as far as I'm concerned are composition,lighting and movement.By movement I mean lots of conflicting angles i.e. diagonals.In this instance the perspective is one angle,the parked cars are one,the central green car pointing towards the building is one,and the number of people gathering at the front of the main entrance is another.The only thing that isnt working is the car on the right hand side that is moving out of frame,it should ideally be moving into frame.Thats why ,to obscure this, I added a tree to the right hand side.

      As much as I like adding vegetation/planting,in this instance I wanted to bring the attention to the center of the image.I tried adding a dark vignette but it left the edges of the image very bare.By adding the trees and plants and darkening them it helps to frame the building more organically.(helped by the main branches pointing towards the entrance).I also lightened/burned the leaves on the left to suggest some reflected high-lights from the main lighting.


      NIGHT  02 raw.jpg

      posted in Gallery
      D
      davidh
    • Night shot

      A night shot ,rendered in maxwell and post processed in photoshop


      Night shot 2.jpg

      posted in Gallery
      D
      davidh
    • Summer riverbank

      Its been a few months since I uploaded any images due to a combination of work and health issues.All is good now I and I hope to upload some new images of some newer projects,once I get the go ahead from the clients.I would also like to continue with the post processing tips.

      The image below is one of a project I used quite a few times in the past,in fact its the same render but with different planting etc.Again it was modelled in sketchup,rendered in vray and post processed in photoshop and fotosketcher.

      I wanted to get a much looser feel for the watercolour effect compared to earlier versions uploaded.
      I havent done an image like this in 3 months and its amazing what you forget when youre not doing it consistantly.A lot of the entourage of planting,birds etc were used in previous images but this image was all about trying to get back into the groove again.


      Riverbank summer final.jpg

      posted in Gallery
      D
      davidh
    • RE: High Meadon

      Hi Tadema,
      Brilliant as usual.I am currently working on a scheme that has 12 of these type of detailed buildings(a refurbishment).I hope to finish modelling soon and then the fun will start with the rendering,if my computer can handle it.

      posted in Gallery
      D
      davidh
    • RE: Beach House

      Hi Allan,
      What I would do is take the view from a lower angle,more eye level than first floor,as it looks at the moment.In fact,as the first floor of the building is hidden behind the timber screen,drop the view right down to ground level/close to worms eye view and use the verticals of the building to create a more dynamic view.

      It may mean that the verticals are almost converging but it would offset the horizontal emphasis that the building currently has.If you can bring something in from the left such as an overhanging tree or a small part of an on-comming car,then it helps the eye by stopping the viewer "leaving" the image.As it is the image is all vertical and "diagonal bottom right to left".The more opposing diagonals you have,the more the eye is led around the image.

      posted in Gallery
      D
      davidh
    • New tips to come

      Its been a while since I last posted a tip,but my workload has been unceasing since christmas.

      I have noticed though that there hasn't been many if any new tips for post processing.I have a couple of new ideas that I haven't had the time to work through but I will upload once I'm happy with them and how they work.

      These will be a bit more complicated than the previous uploads I have done ,but trying to break them down into a simple step by step is not as easy as I thought.They will involve:

      Adding people and shadows and their reflections.
      Adding vehicles-(particularly reflective metal) and faking reflections from the photoshop environment.
      Copying the radiosity(light/colour) of the original raw render from vray,maxwell etc so the raw image "sits "better with the lighting in the environment.

      I'd like to thank all who have replied to this sub -forum and if you will bare with me,I will upload the new tips as soon as I can.

      posted in Post Processing
      D
      davidh
    • Any more tips?

      I think I have uploaded pretty much all my tips for post processing.Most,if not all of my images contain everything that I have shown.There are some small tweaks and colour toning that I do,but,all in all this is what I do for my images.

      I hope that you have gotten something from these and maybe someone will upload something different or a more efficient way of doing things.
      I will,of course,continue to upload images to the gallery.

      Thanks for the interest.

      posted in Post Processing
      D
      davidh
    • Adding rain and splashes

      This is a very quick and easy step by step.There are a lot of brushes for photoshop out there for creating rain but I have created a section and attached it here.Just use it with blend setting of "SCREEN" over your render and it will come through.

      For the splashes the process is as follows:

      1.Open the render and create a new layer called splashes.
      2.Using one of the default "star" brushes(see attachment for which one to use)paint a line of stars along the top of the walls.
      3.Add a motion blur at 90 degrees of between 30 and 40.
      4.Add a gaussian blur of about 7
      5.play around with the opacity of the layer but thats really it.The effect is that of rain hitting the surface and bouncing back up.Be careful in the strength of the effect that you use,it should be less for softer rain than for a heavy rainfall.

      You can use the same technique on vegetation (if you lighten the areas locally where the rain hits the leaves it can make the effect more pronounced,as if the leaves are so wet they are almost fully reflective)

      Hi Irwanwr,yes pretty much done with the holidays now but it was great while it lasted.


      rain.jpg


      adding rain and splashes part 1.jpg


      adding rain and splashes part 2.jpg


      brush setting.jpg

      posted in Post Processing
      D
      davidh
    • Adding ivy

      This process is exactly like that of adding grass but instead of a grass image under the raw render you place an ivy image.You also use an ivy brush rather than a grass brush(ivy brushes available here:
      http://browse.deviantart.com/resources/?qh=&section=&q=ivy#/dqfng8)

      1.Open the raw render
      2.Copy the ivy image into a new layer below the raw render.
      3.Distort the ivy image so the perspective aligns with the base wall.
      4.Add a layer mask to the raw render
      5.Paint on (again in black) the layer mask and the ivy will begin to come through
      6.Adjust the lighting on the base ivy image so it matches the render.
      7.Copy the base ivy image around the building re-matching the perspectives on the second wall.
      8.Repaint on the layer mask using the ivy brush.
      9.These steps are optional:
      a.drag the layer mask from the raw render to the ivy image.This layer mask is now associated with the ivy.
      b.invert the mask(it should now be white on black instead of black on white)
      c.APPLY LAYER MASK-You should now have the ivy as a completly shaped and formed element without any layer mask(These steps can also be added to the grass process.)


      adding ivy part 1.jpg


      adding ivy part 2.jpg

      posted in Post Processing
      D
      davidh
    • Adding any and every type of grass

      This topic was covered in the tutorial section earlier this year but I have decided to re-upload to this forum where it should be.

      Its a very simple process but can really help create strong images.Grass is one of the hardest elements to render as you normally need a lot of processing power to get the detail.This method allows for a quick insert,keeps the detail and can also create something unique if used correctly.

      1.Open the raw render
      2.Locate a field of grass that you want to copy.Be careful that the perspective lines are pretty mush in keeping with the model and try not to use an image of rolling hills if your area in the render is flat.
      3.Copy the grass image into the original file belowthe raw render layer.
      4.Add a layer mask to the raw render.
      5.Using the BRUSH tool load a grass brush(available for free download eg.http://qbrushes.net/plants/photoshop-grass-brushes/ or http://www.atulperx.com/photoshop/free-brushes/20-free-photoshop-grass-brush-sets-for-download/)
      6.Paint on the layer mask associated with the raw render(ensure black is the colour of the brush).You will now see the grass below coming through but with the profile of individual blades of grass intact.
      7.Lighten or darken the lower grass layer to match the lighting on the raw render.

      The main benefit of this technique is that it is fast and once you are finished painting the layer mask, you can copy in other images of grass and the layer mask will apply to them as well.(see the last 3 images,same layer mask but 3 different grass images below)

      TIP:When painting with the grass brush start off with a large brush at the foreground and as you get further back reduce the size so the blades of grass get smaller and so retain the correct perspective.


      adding grass part 1.jpg


      adding grass part 2.jpg

      posted in Post Processing
      D
      davidh
    • Adding sun bursts/volumeteric lights

      Attached is a step by step for adding sun bursts/god rays emanating from the sun.This can also be used for faking volumetric light to a certain degree.

      1.Open the image.
      2.create a new layer called "sunburst".
      3.pick the gradient tool and use the settings shown.
      4.using the ANGULAR GRADIENT,drag from the top left corner to the bottom right.
      5.Desaturate the gradient and ad a small motion blur of between 4 and 5.
      6.change blending mode to SCREEN.
      7.you can also add some colour variations to the gradient,in this case a warm yellow/red.
      8.To really get the effect working,place a tree in the foreground and add a lens flare at the center of the gradient effect.
      9.This is optional-If the effect of the gradient/sun burst is too strong add a layer mask and fade the gradient/sun burst from the top.this has the effect of the sunburst being stronger at lens flare and gradually diminishing as it travels to the bottom.(see third image "faded sun burst")

      The effect can also be used internally to show sun bursting thru a window.(see last image of bedroom)


      part 1


      part 2


      faded sun burst


      internal sun burst

      posted in Post Processing
      D
      davidh
    • RE: LAKESIDE

      A closer look to the building,also an image with very little post pro - only the trees and shrubs and a colour tone added.

      We haven't decided whether to go for standing seams on the copper or full panel open joints,my preference is full sheets.


      poolhouse patio.jpg

      posted in Gallery
      D
      davidh
    • RE: LAKESIDE

      A few more variations.The first is just a set of cropped images from some previously uploaded,the second a few different versions of the water and the third a close up of the actual building.

      The large timber clad building is actually a new pool-house with a 2 storey copper-clad and a single storey stone-clad structure attached.

      There are some photoshop brushes available for free download which enables you to create different water effects(see these images previously uploaded http://forums.sketchucation.com/viewtopic.php?f=81&t=28631)
      I hope to put together a step by step for creating rivers/streams for the post pro forum later.


      Multiple images 01.jpg


      Multiple images 02.jpg


      poolhouse overcast  001.jpg

      posted in Gallery
      D
      davidh
    • RE: LAKESIDE

      A revised version with much less intense water.


      forest stream water 03.jpg

      posted in Gallery
      D
      davidh
    • 1
    • 2
    • 9
    • 10
    • 11
    • 12
    • 13
    • 24
    • 25
    • 11 / 25