As its the festive season,Ive added some Christmas lights to the night scene.
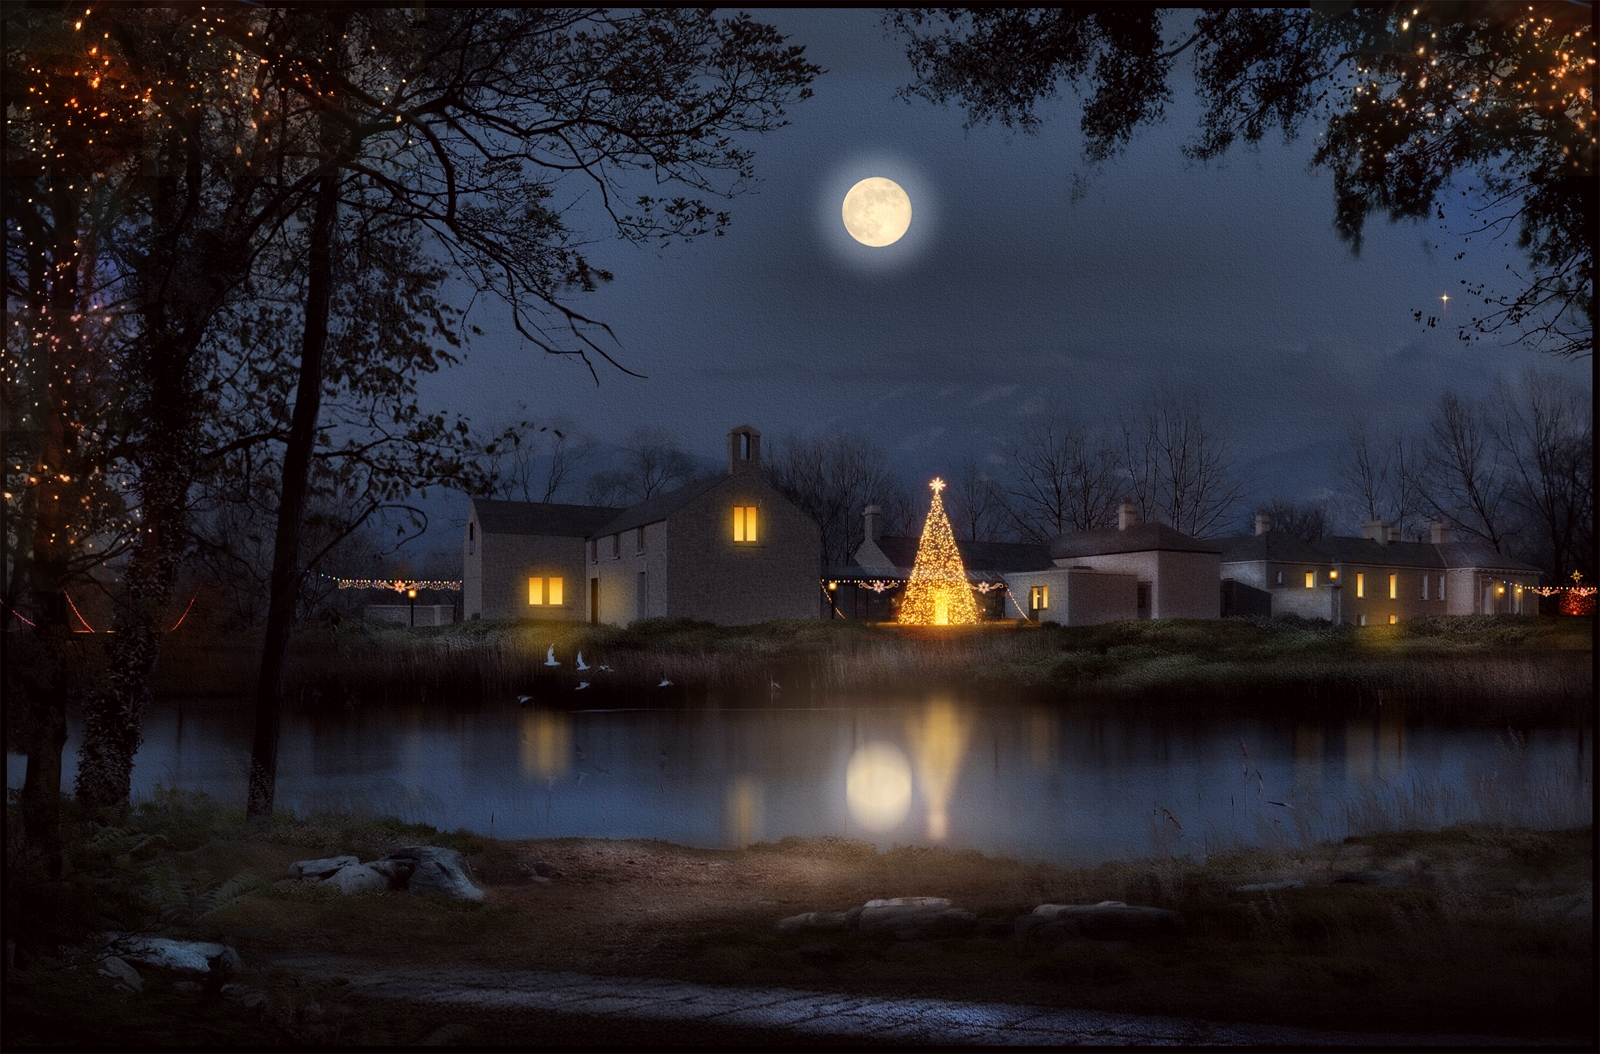
As its the festive season,Ive added some Christmas lights to the night scene.
Sorry,when I said remove areas not needed,I meant to crop as close as possible to the tree.It dosent matter if there is some white left but by using the multiply blend in photoshop all the white parts disappear.
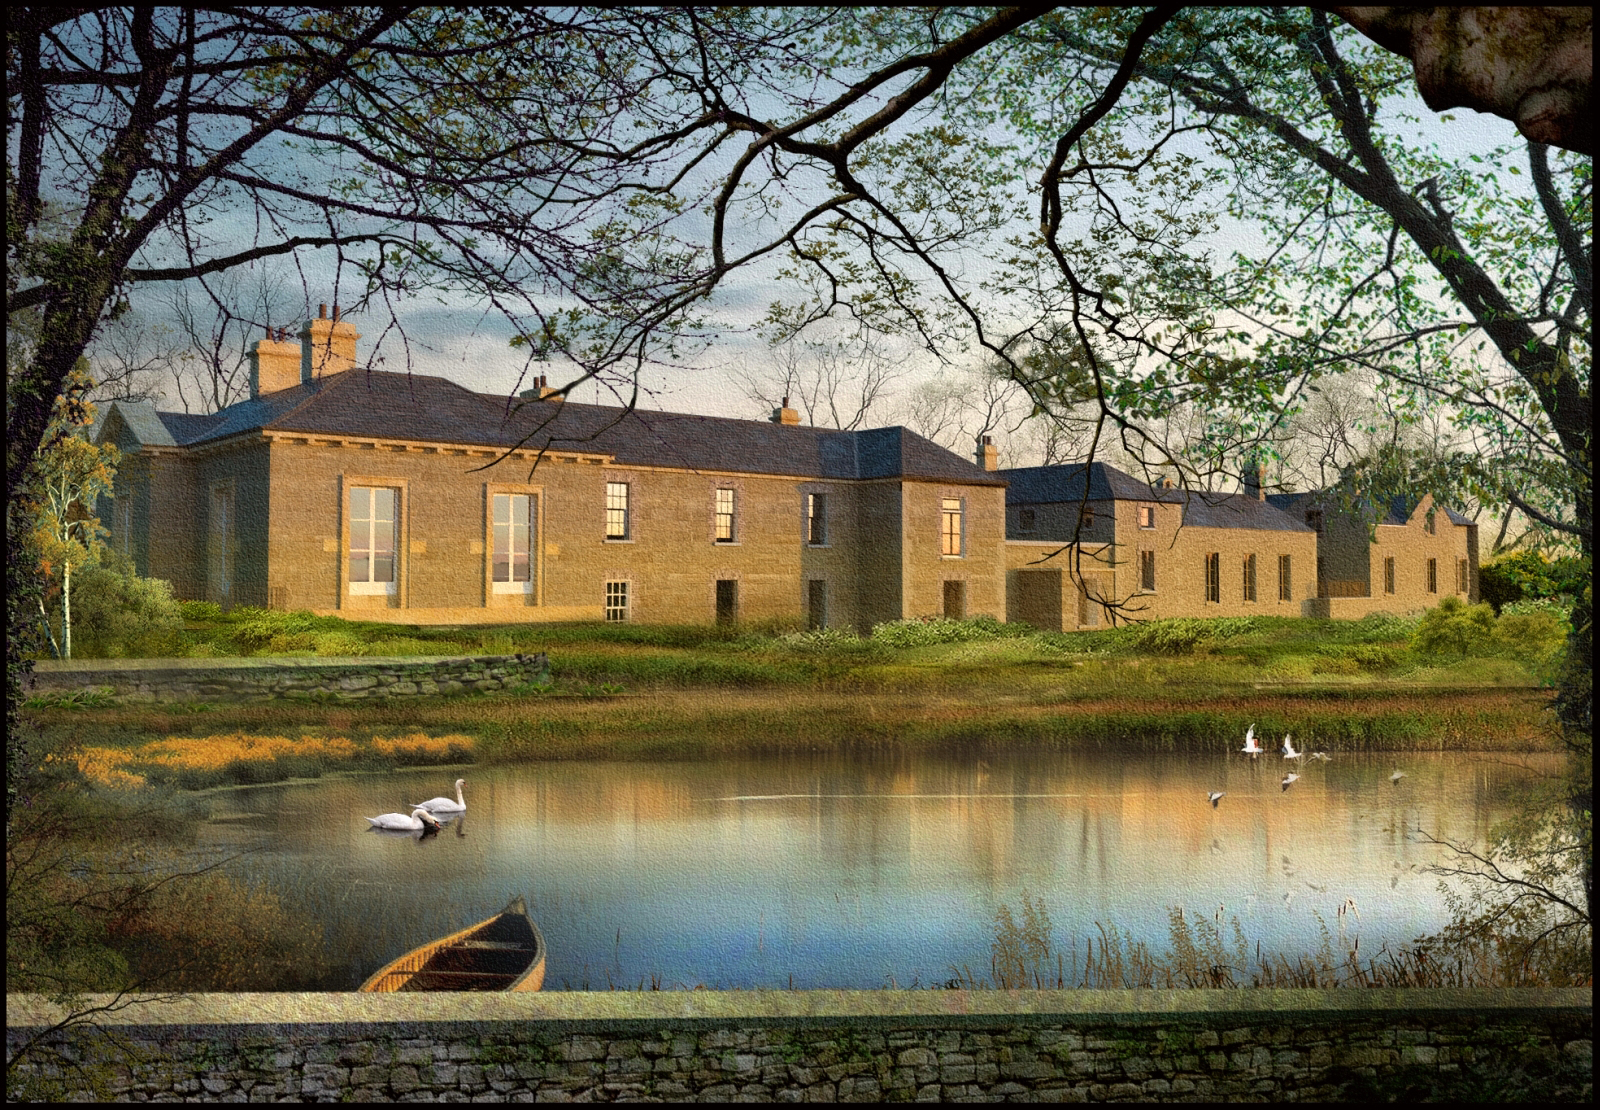
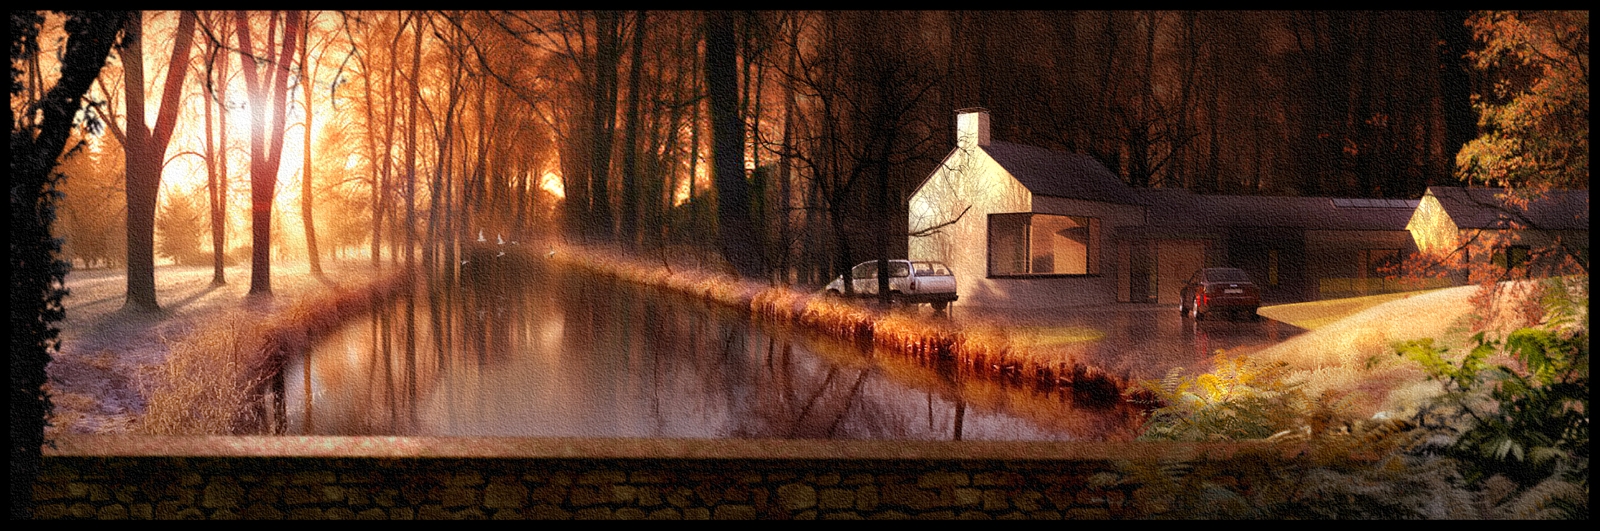
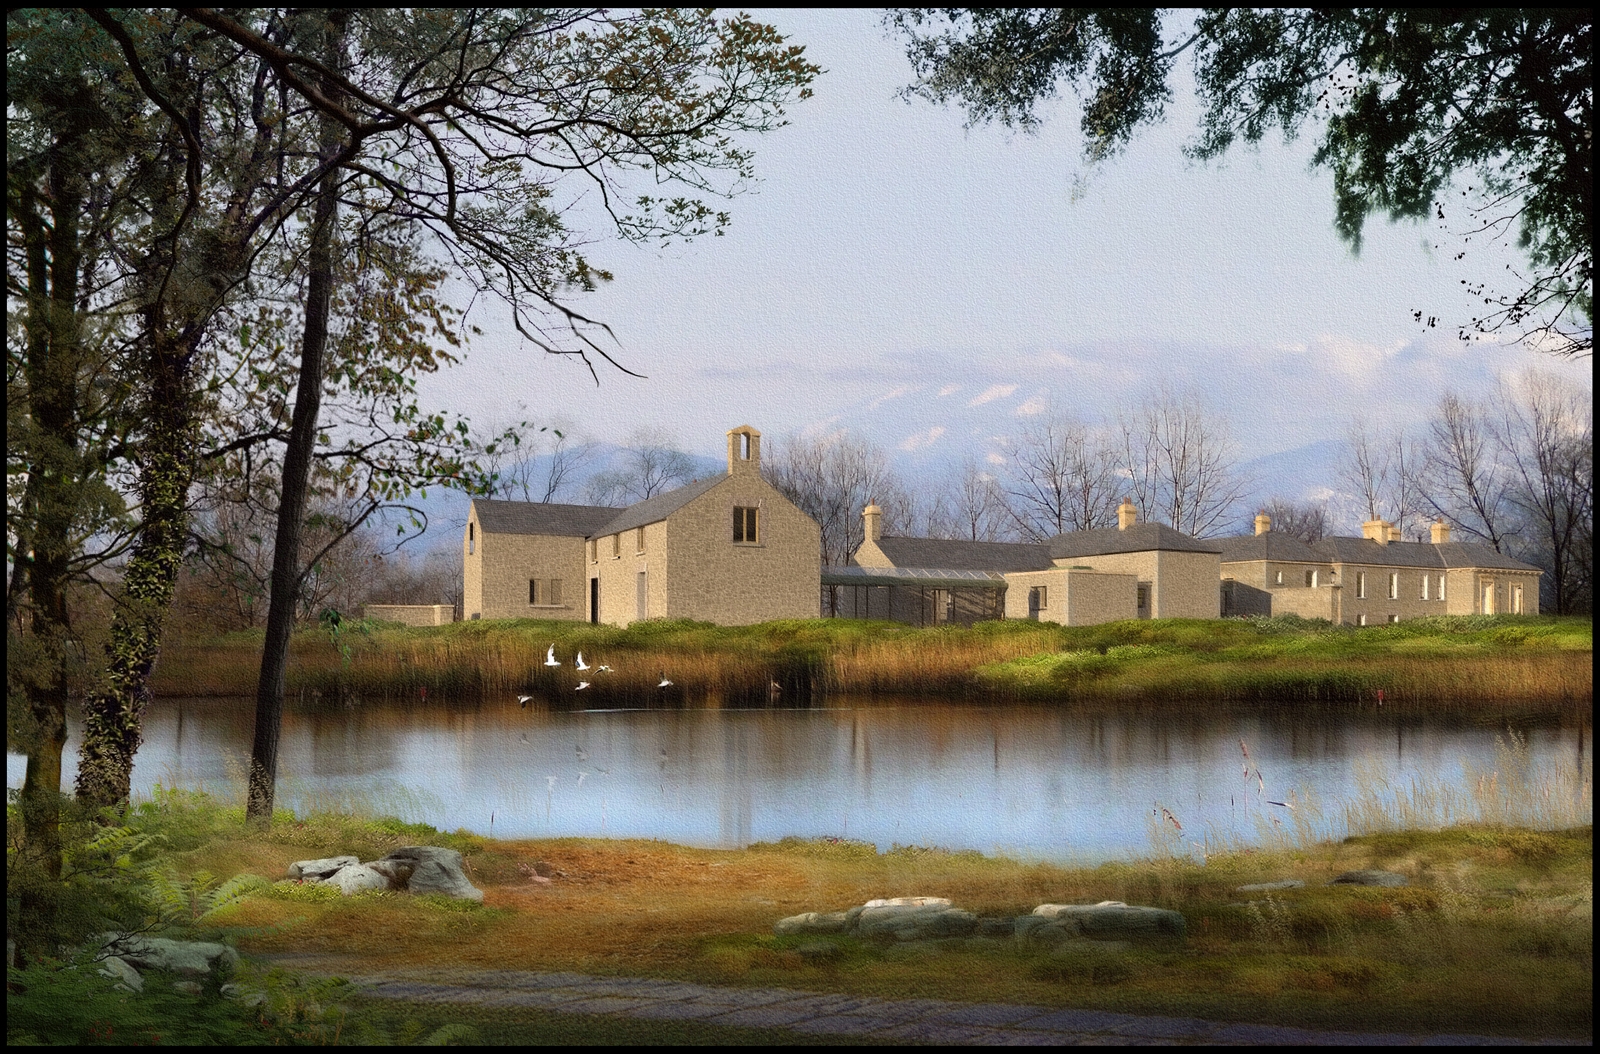
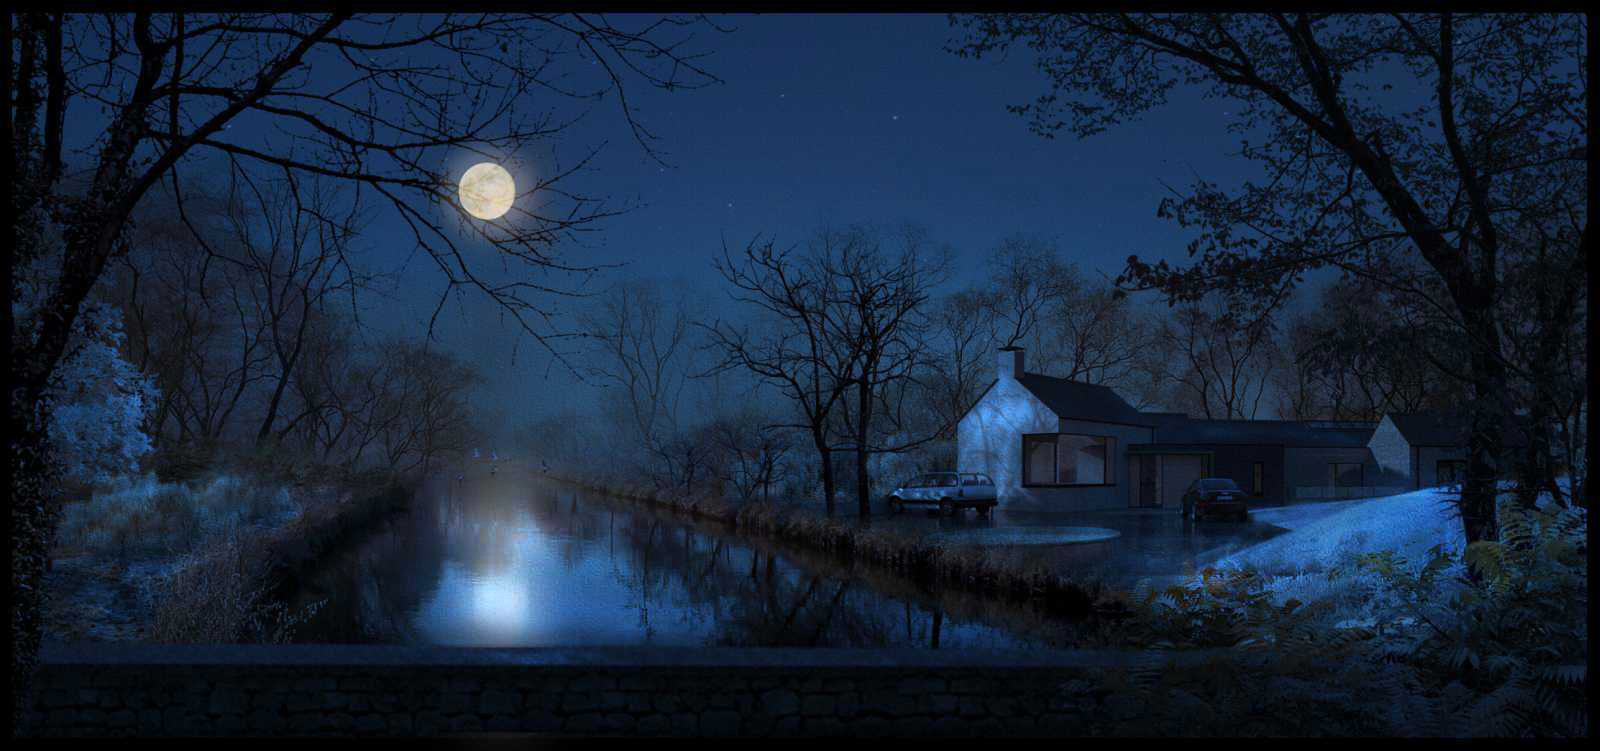
2 more from the lake side.The night shot is the daytime shot taken thru the step by step process I recently uploaded to the post-processing forum.The lights were painted in and copied around.
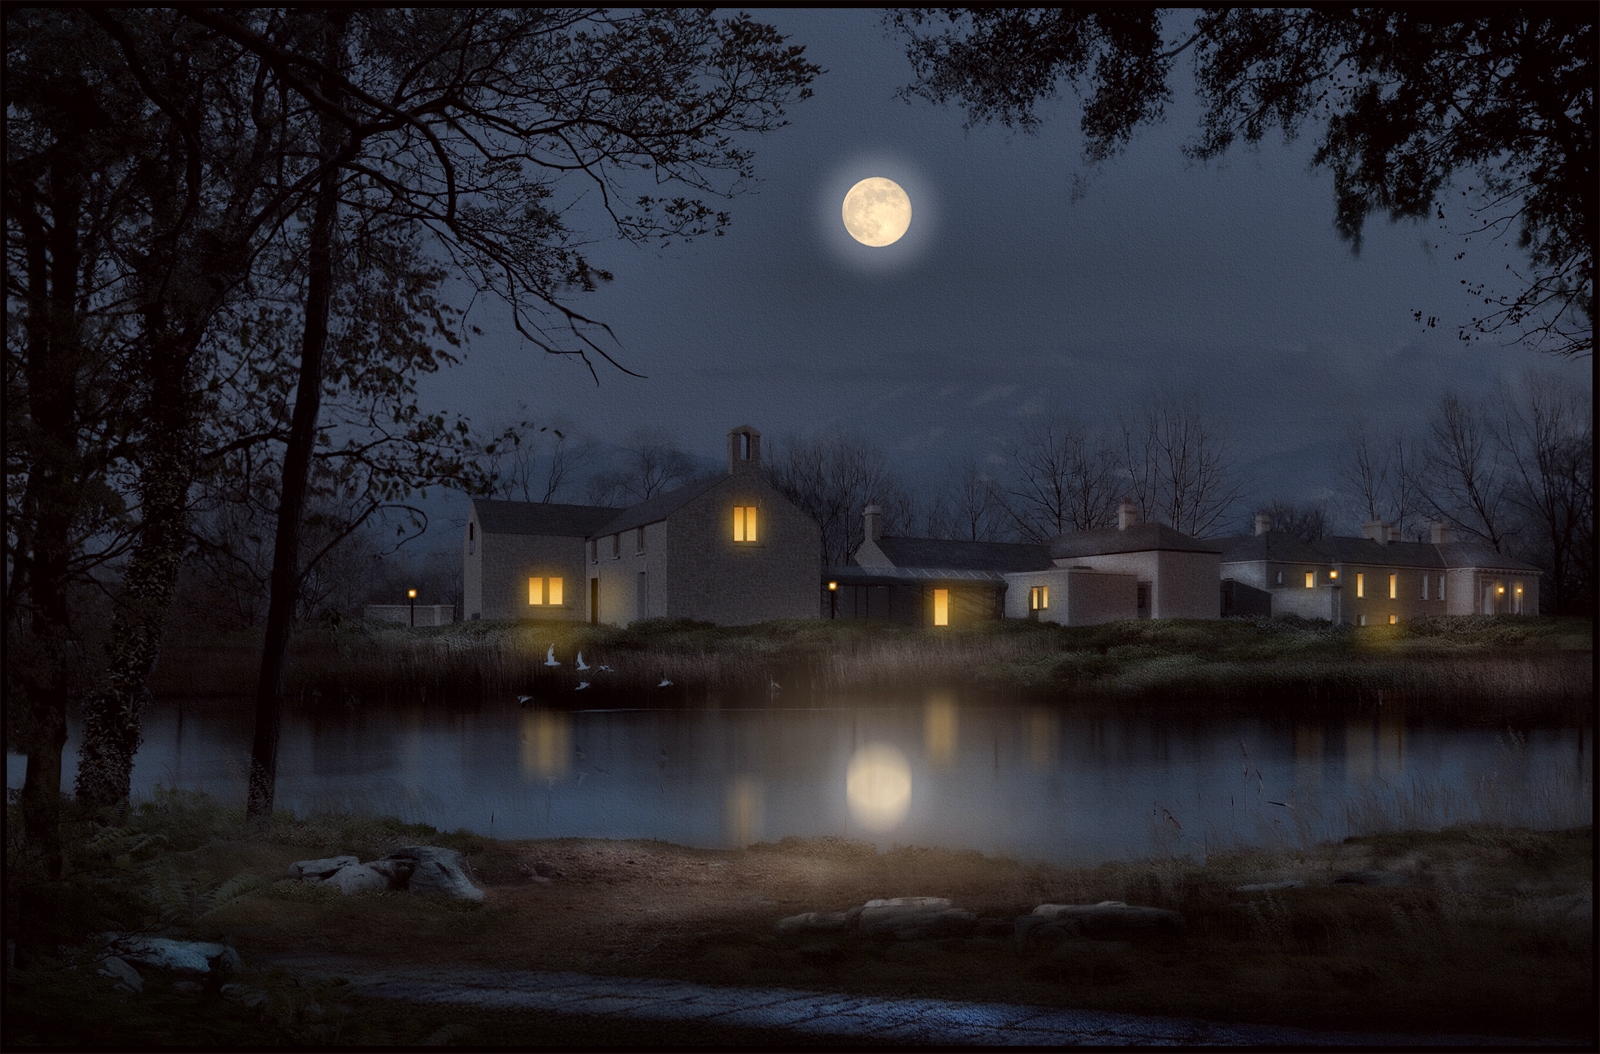
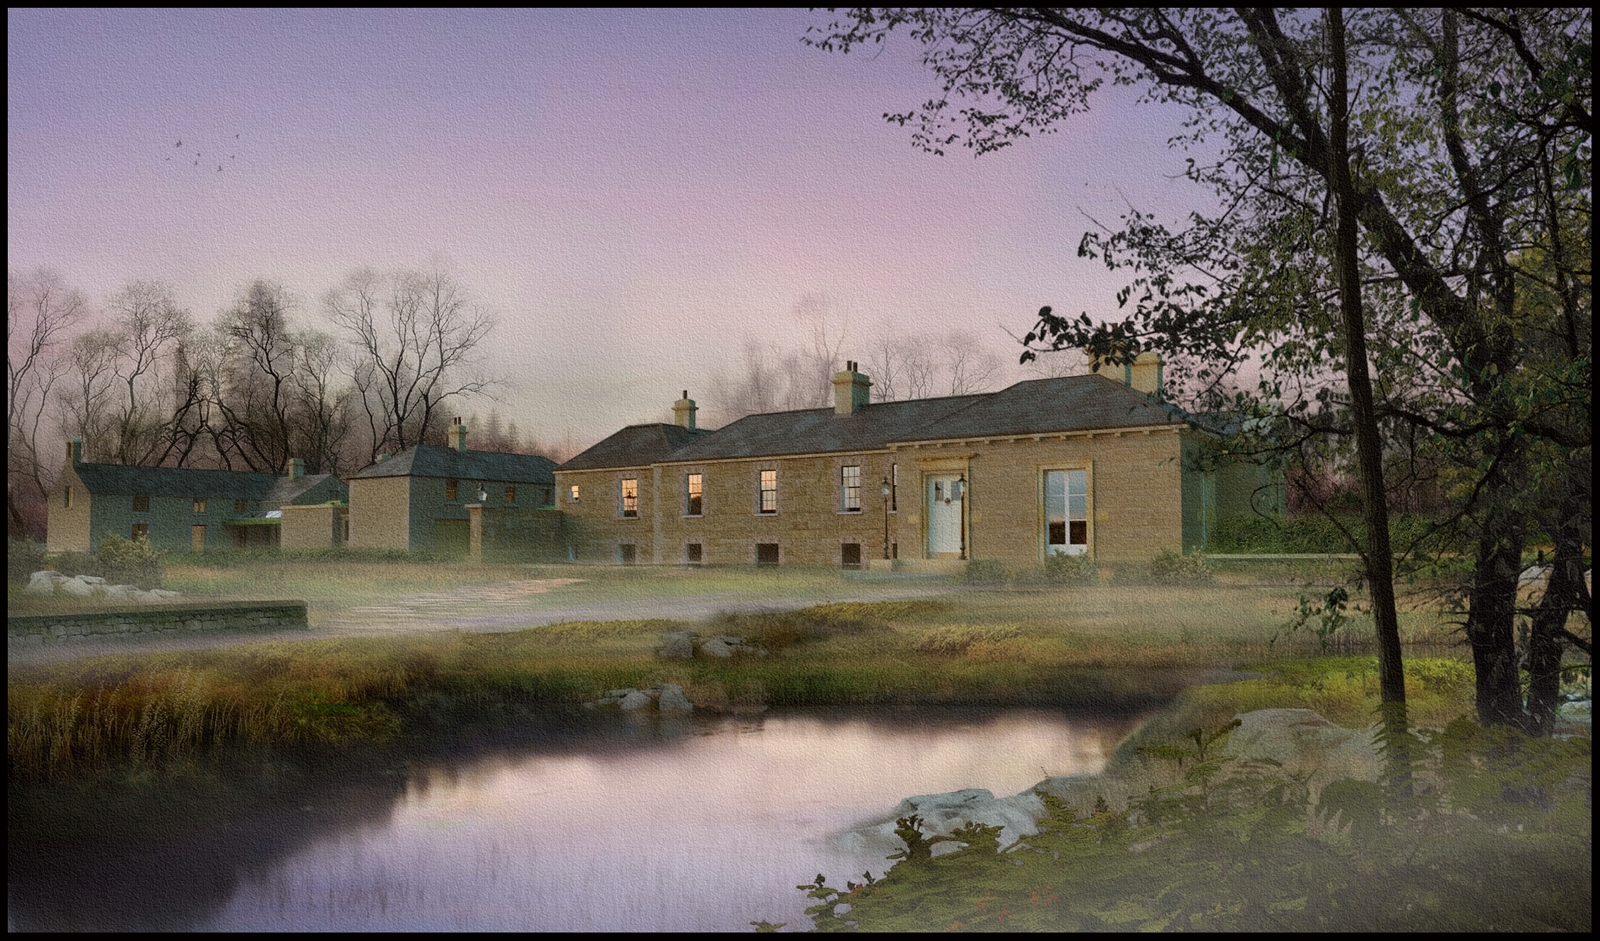
As I have said before,It really is all about mood for me,and every time I do one of these images,I am always amazed at how a small tweak to the overall colour tones can alter the mood drastically.
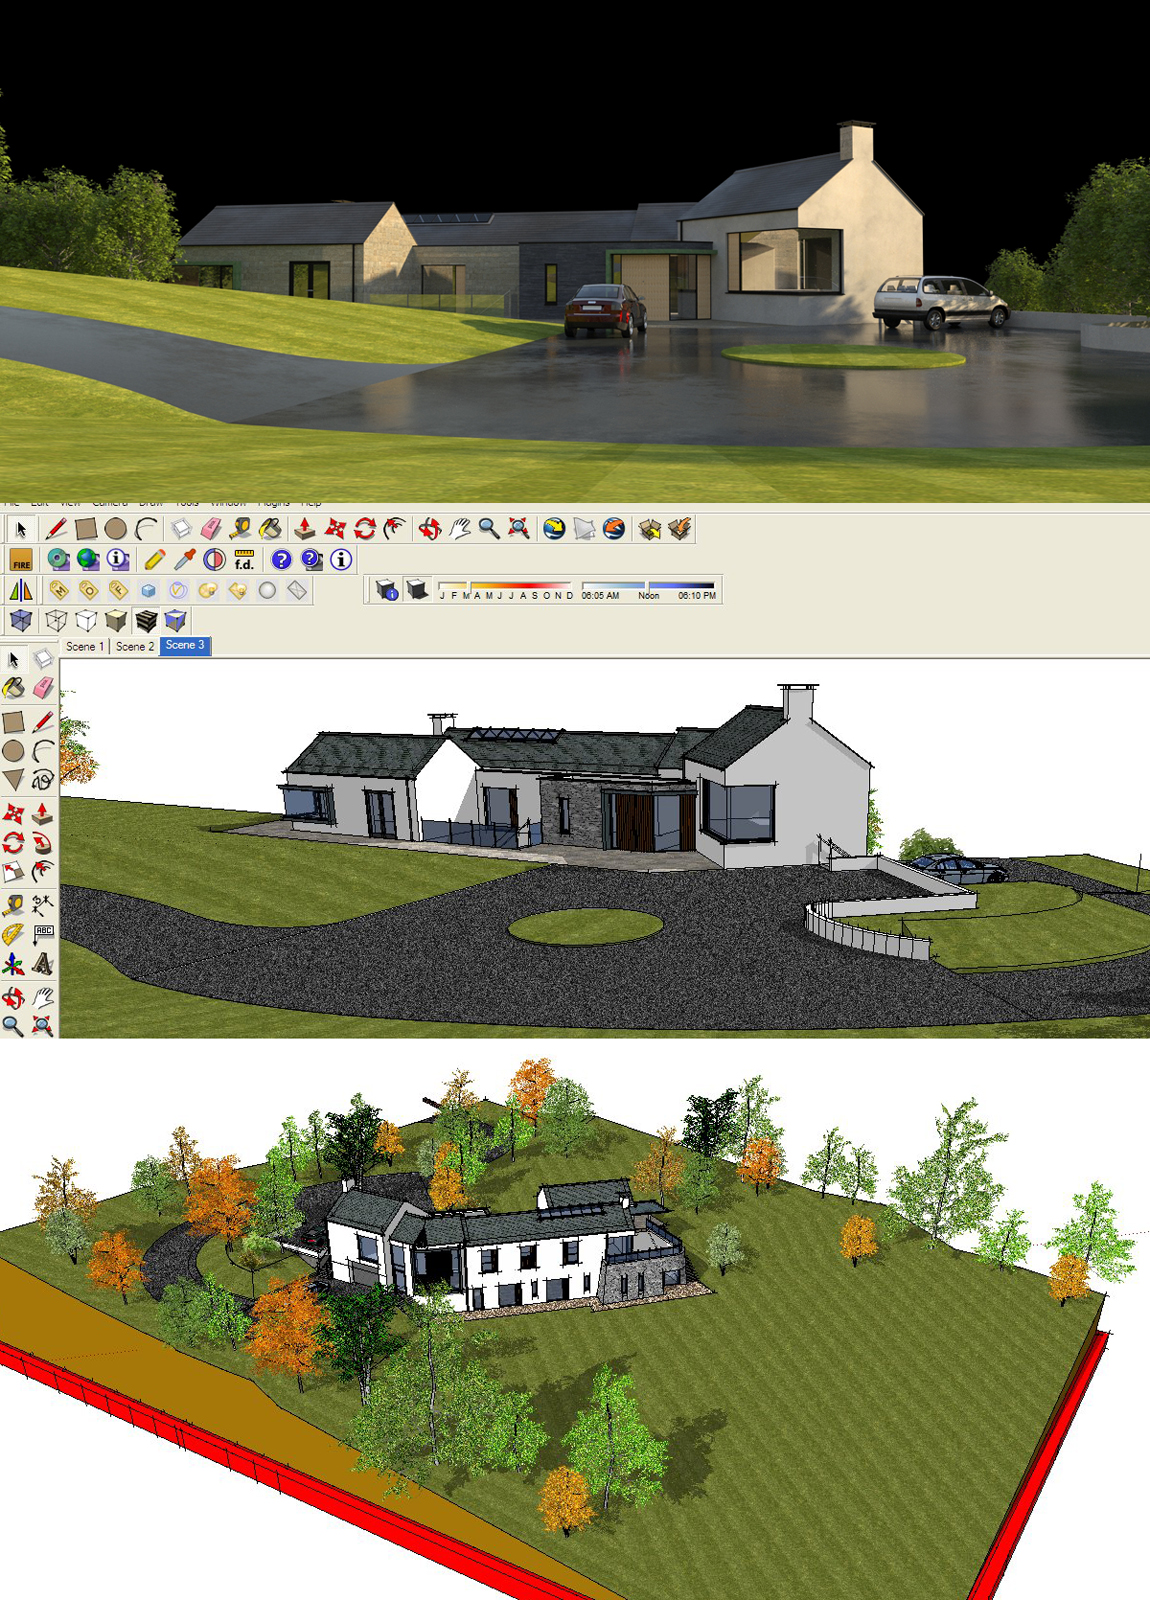
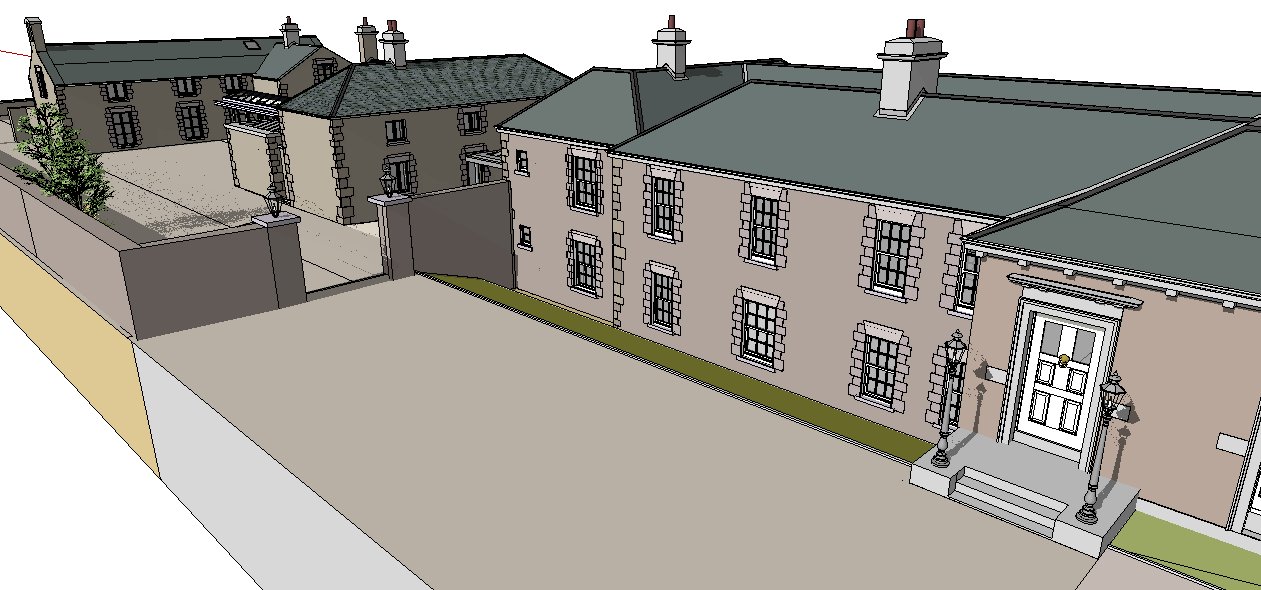
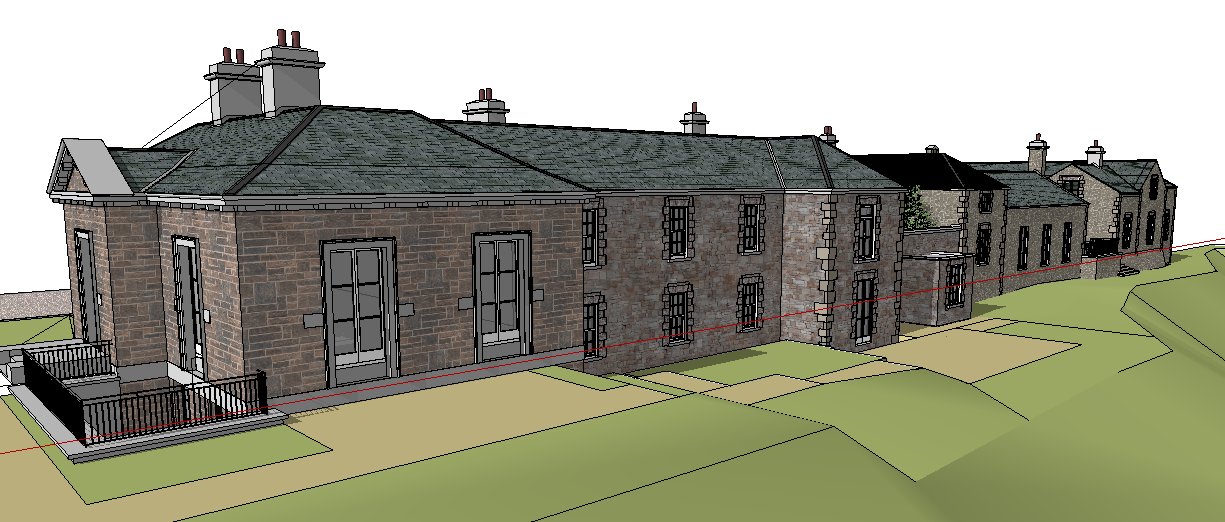
The house is actually on a couple of different levels.I have attached 2 screen snaps showing the Sketchup model.Screensnap 1 is the side in this render.
A variation on the previous image.I have revised the sky and added an additional foreground tree,also revised is the overall colour tone.
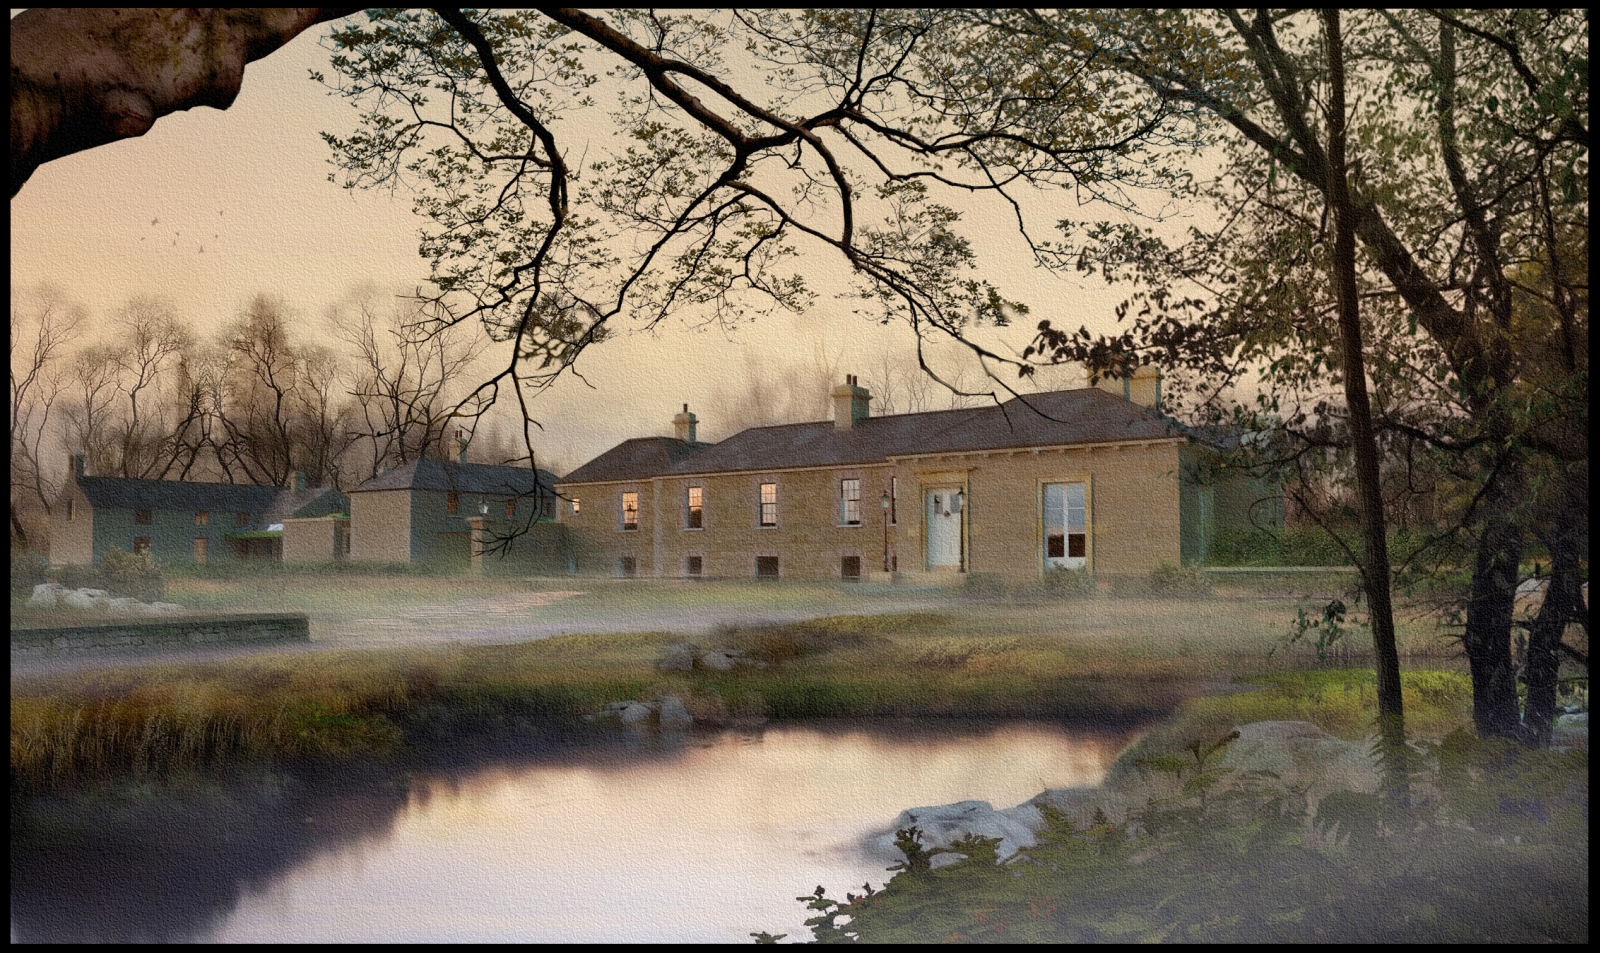
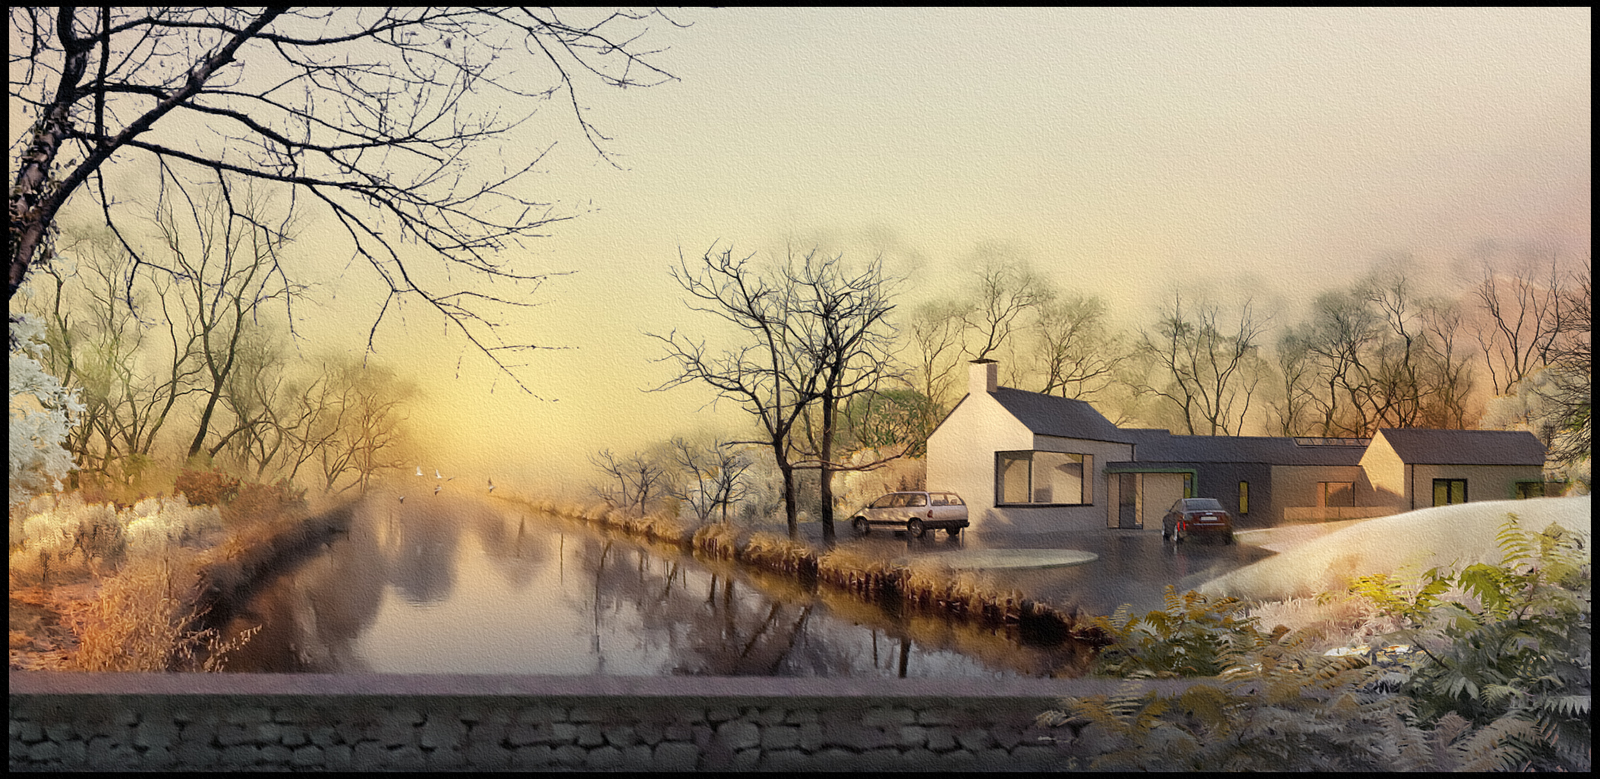
A Manor house at dawn with some low level mist.I'll upload a step by step soon on creating the mist.
And here's the corrected version.
The benefit of having all elements on their own layer means its easier to change colours.
Its good to see so many people looking at the post processing tips,not so good that so few have uploaded - apart from tallbridgeguy .(much appreciated)
Maybe this can also turn into a "how would you do?..." forum as well.
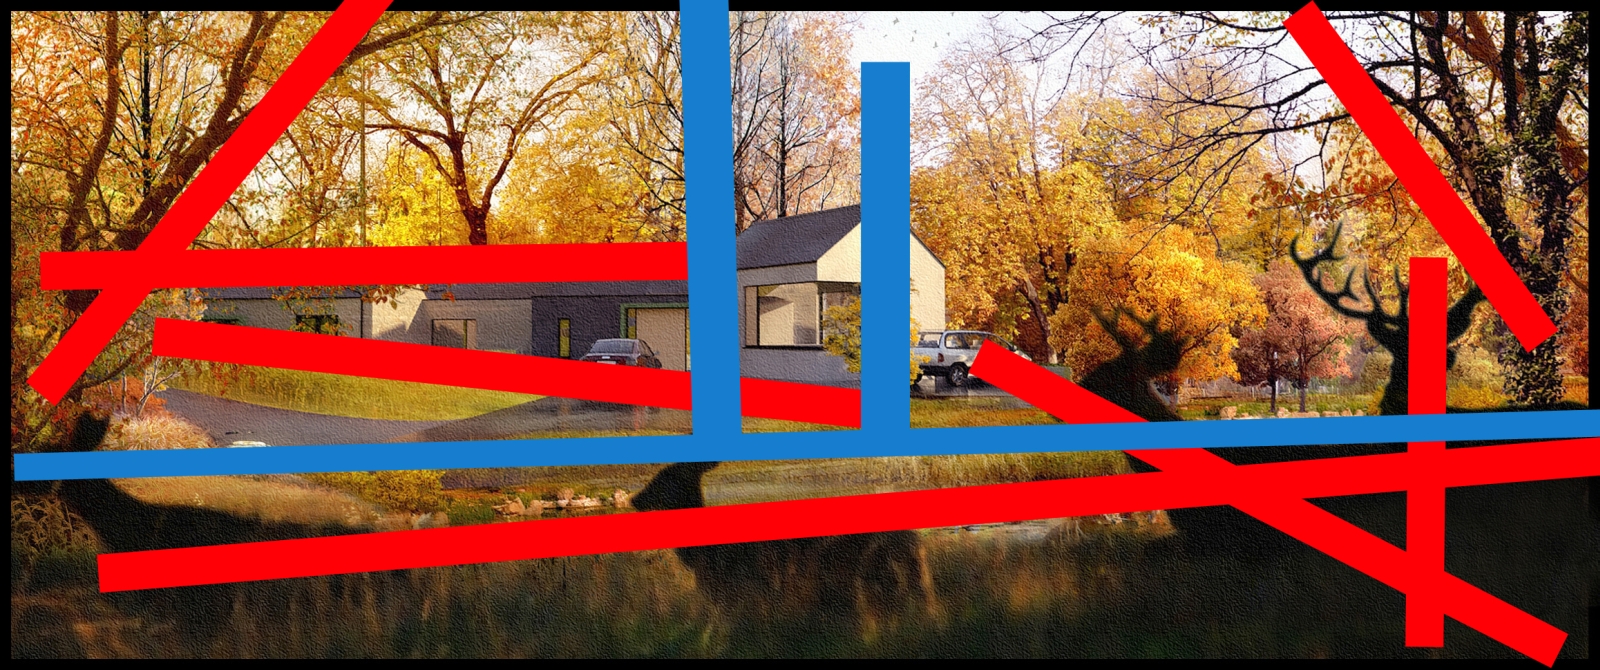
From my point of view,due to current workload,I will probably not be uploading another tip this side of christmas,But maybe we can help in the new year.On that note I have attached an image showing how diagonals will really help an image.The more diagonals you have,the more interesting the image,but keep the main vertical lines(blue lines should be the dominant lines,and if you have a main horizontal line,keep it within a few degrees of horizontal)
Post pro is not for everyone ,but ,from my own point of view, it can save a huge amount of time in rendering elements that are not needed at that time.
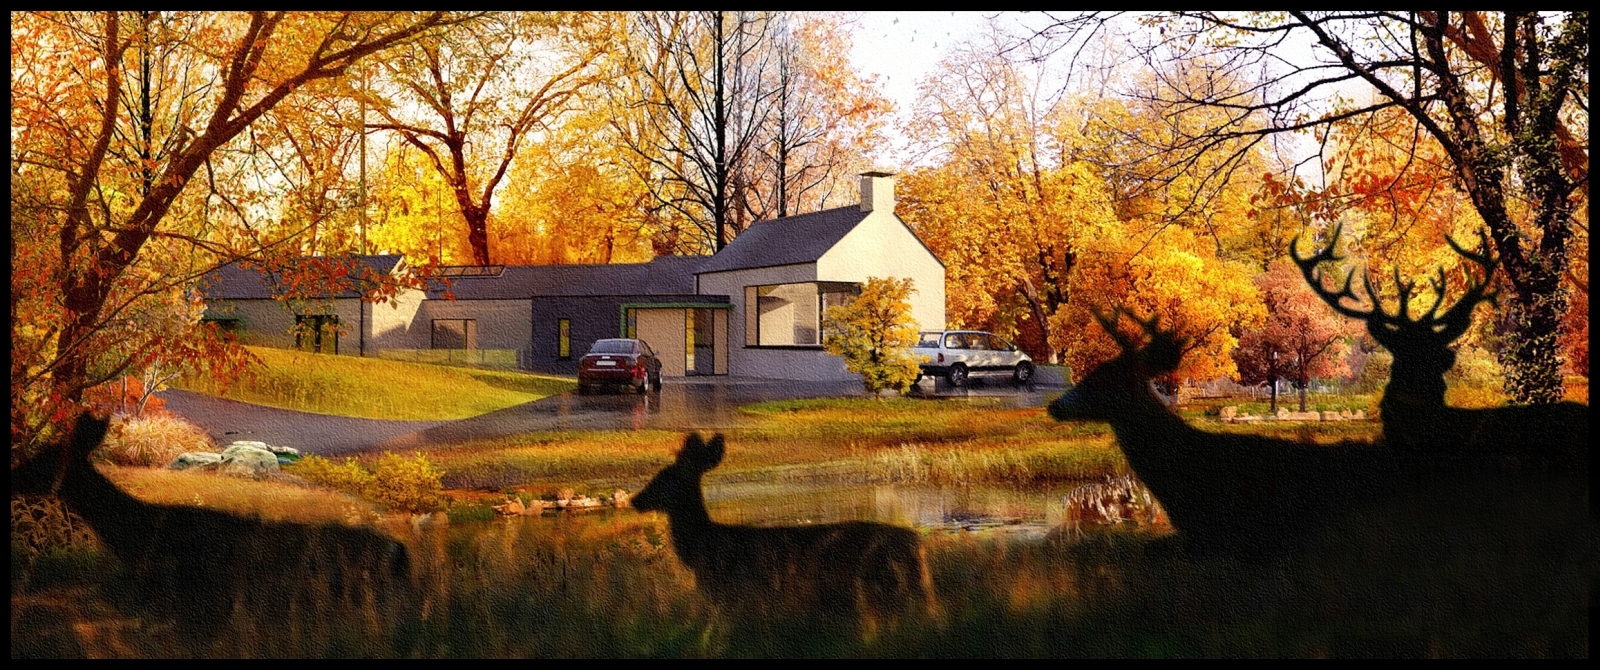
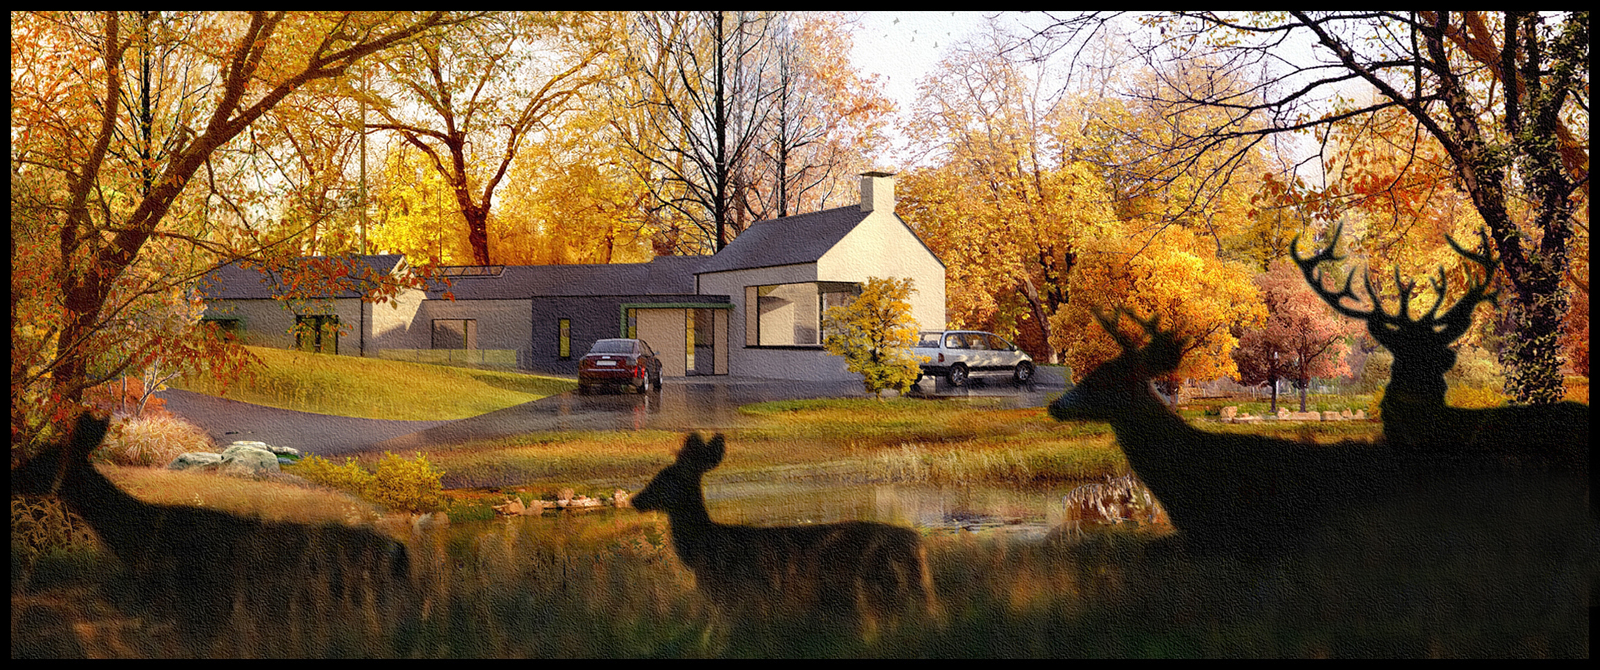
I uploaded an image to the gallery recently and then added a foreground element of the deers.While this post is not a tip in how to do it,it shows how light interacts with shade.
(TIP - Found a couple of images of deers,merged,copied and because they were quite dark,then used multiply)(I guess I lied)
We use a digital medium and its very easy to model and render an image,but,as I have said many times before,composition and light can really alter a render.From my point of view,its not enough to place a building on a horizon line and add entourage,its all about sitting a building in a real environment - and then adding something extra.
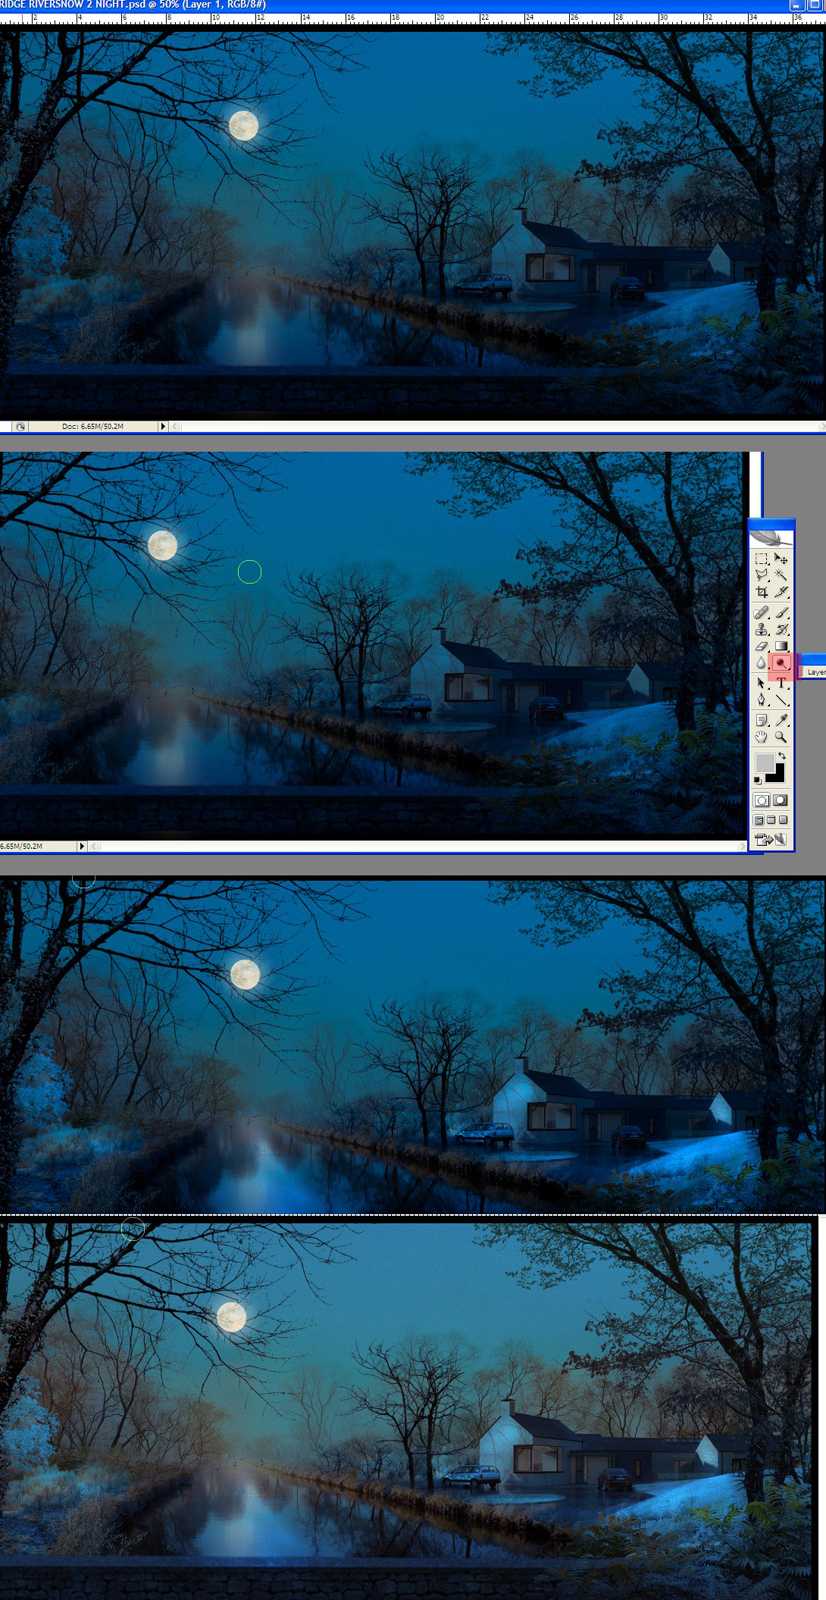
A very quick night version of the previous image.The only new element is the moon and stars,everything else was colour toned from the daylight shot.I will add a step by step for turning day to night in the post pro section later.
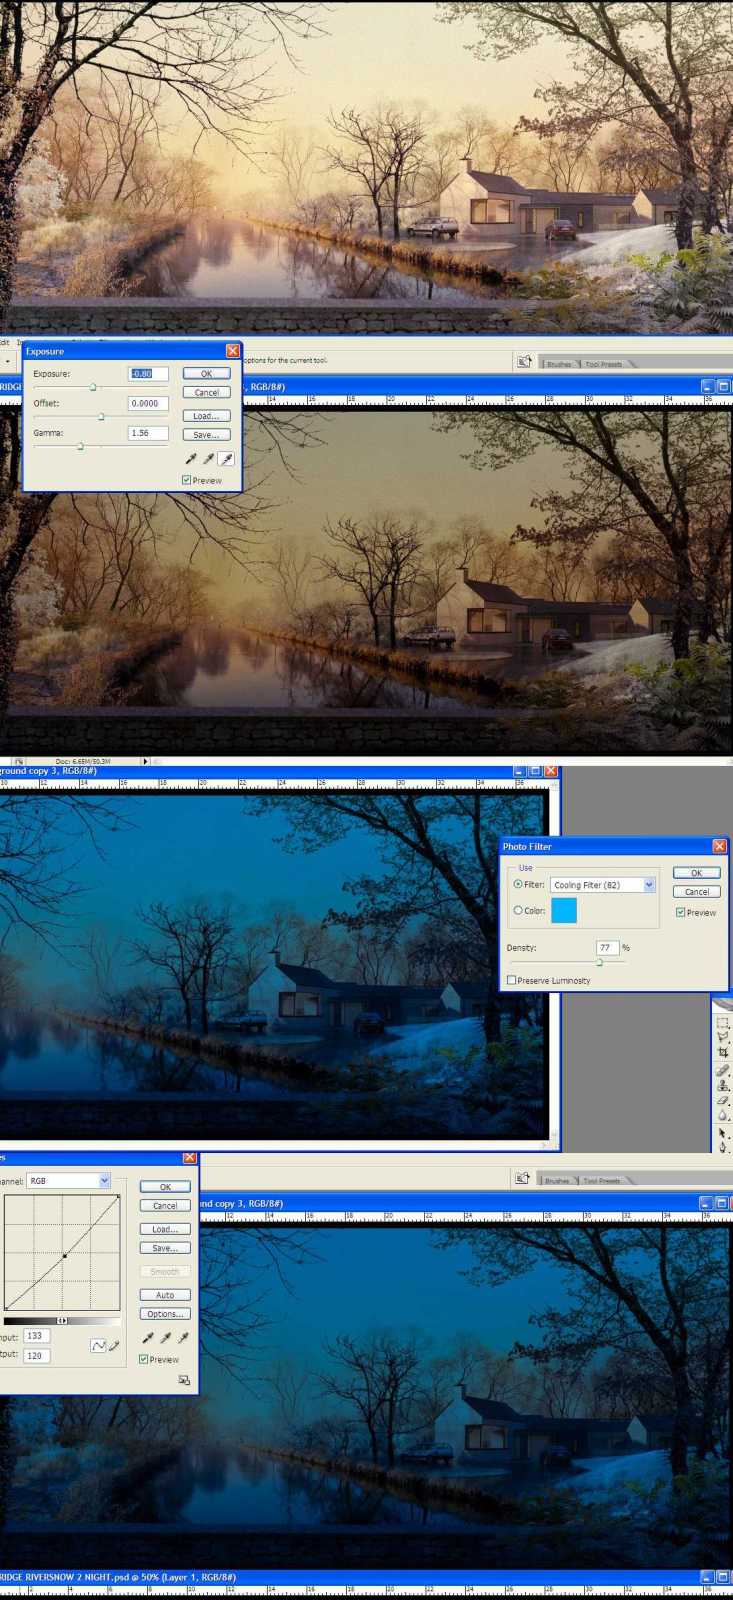
Attached is a step by step showing how to change a daylight image to a night time image
1.open your daytime image and duplicate it and call it night layer.
2.change exposure to -0.80,gamma to 1.5 - (IMAGE/ADJUST/EXPOSURE)
3.add a cooling filter- ((IMAGE/ADJUST/PHOTO FILTER)
4.adjust Curves -this is optional if you are happy with the brightness of the image.
5.Here I've added a moon layer,recently uploaded in this section.This was then copied,flipped vertically and motioned blurred to get the reflection.
6.Use the dodge tool (indicated in red on the tool palette) and start highlighting areas where the moonlight would reflect.
7.OPTIONAL STEP:if the image is too dark reduce the opacity of your night layer so the original base image comes through slightly.Be careful as normally at night,particulalrly in moonlight,most colours are desaturated,so you don't want too much of the daytime colour showing.
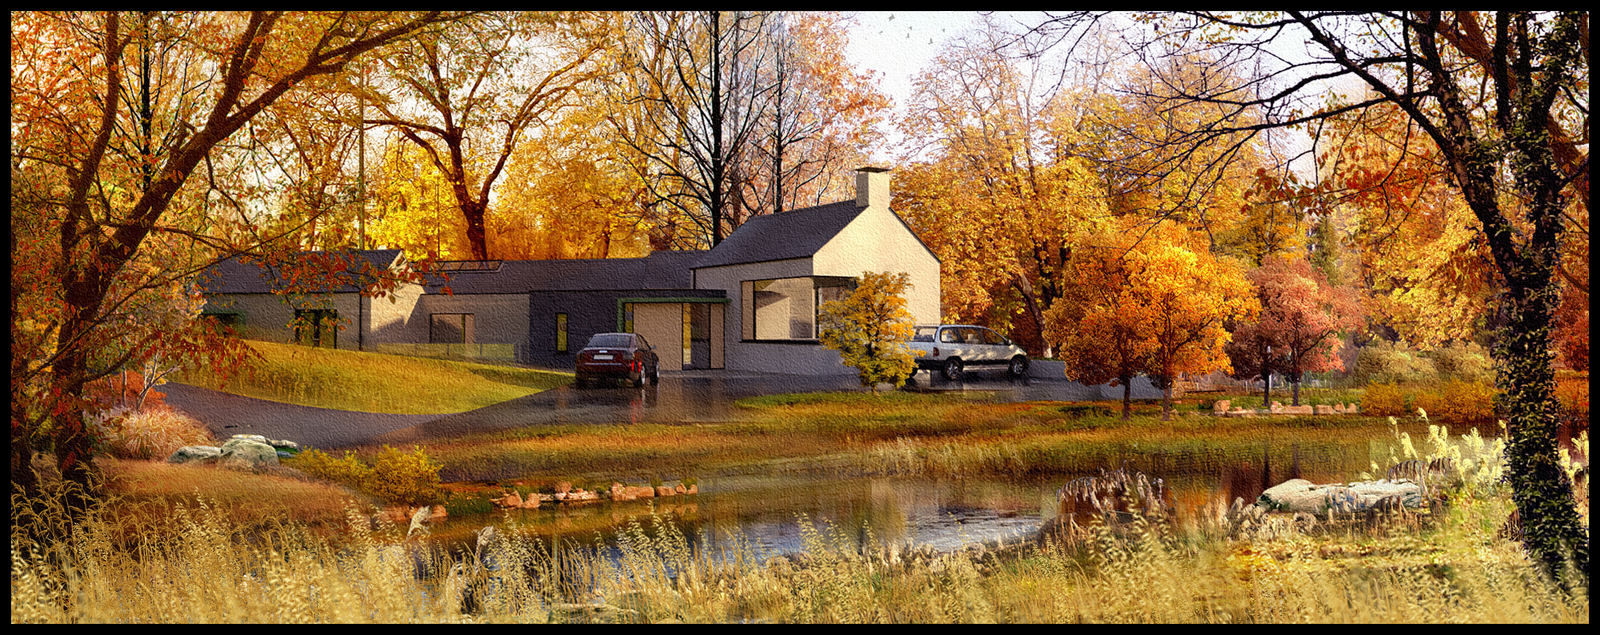
A revised version.I have added additonal trees to the riverbank and one at the right foreground.I also added a shadow from the central tree on the gable.I wasn't too happy with the colour tone of the previous version so I have added a slight orange/brown tone to the overall image to tie it together better.
A lot of my recently uploaded images have contained water in some form ,but I think you can get some wonderful effects from the reflections.

The same house as uploaded in previous images,this time a riverbank version.If there is one thing that I have learned using this method of post processing ,its that there is no limit to how you can present the same raw render.
While there are areas in this image that have elements overlapping and some bleeding from one part into another,its not a problem for NPR images.For photo-realistic images this loose method would need to be more controlled.
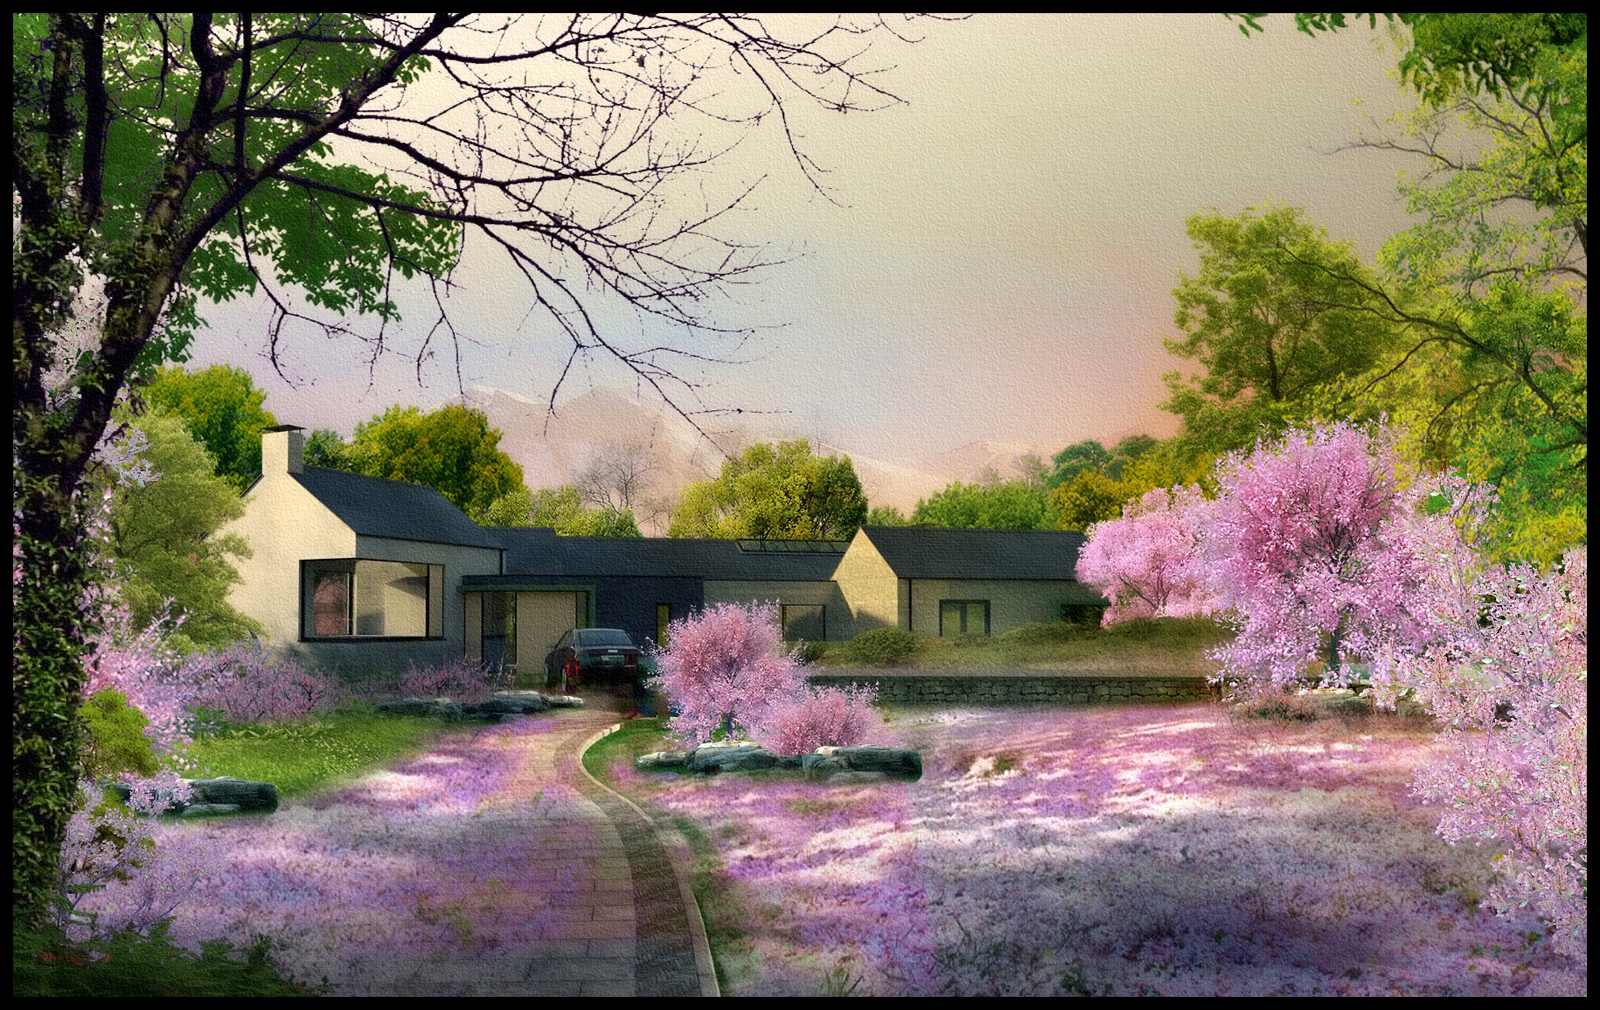
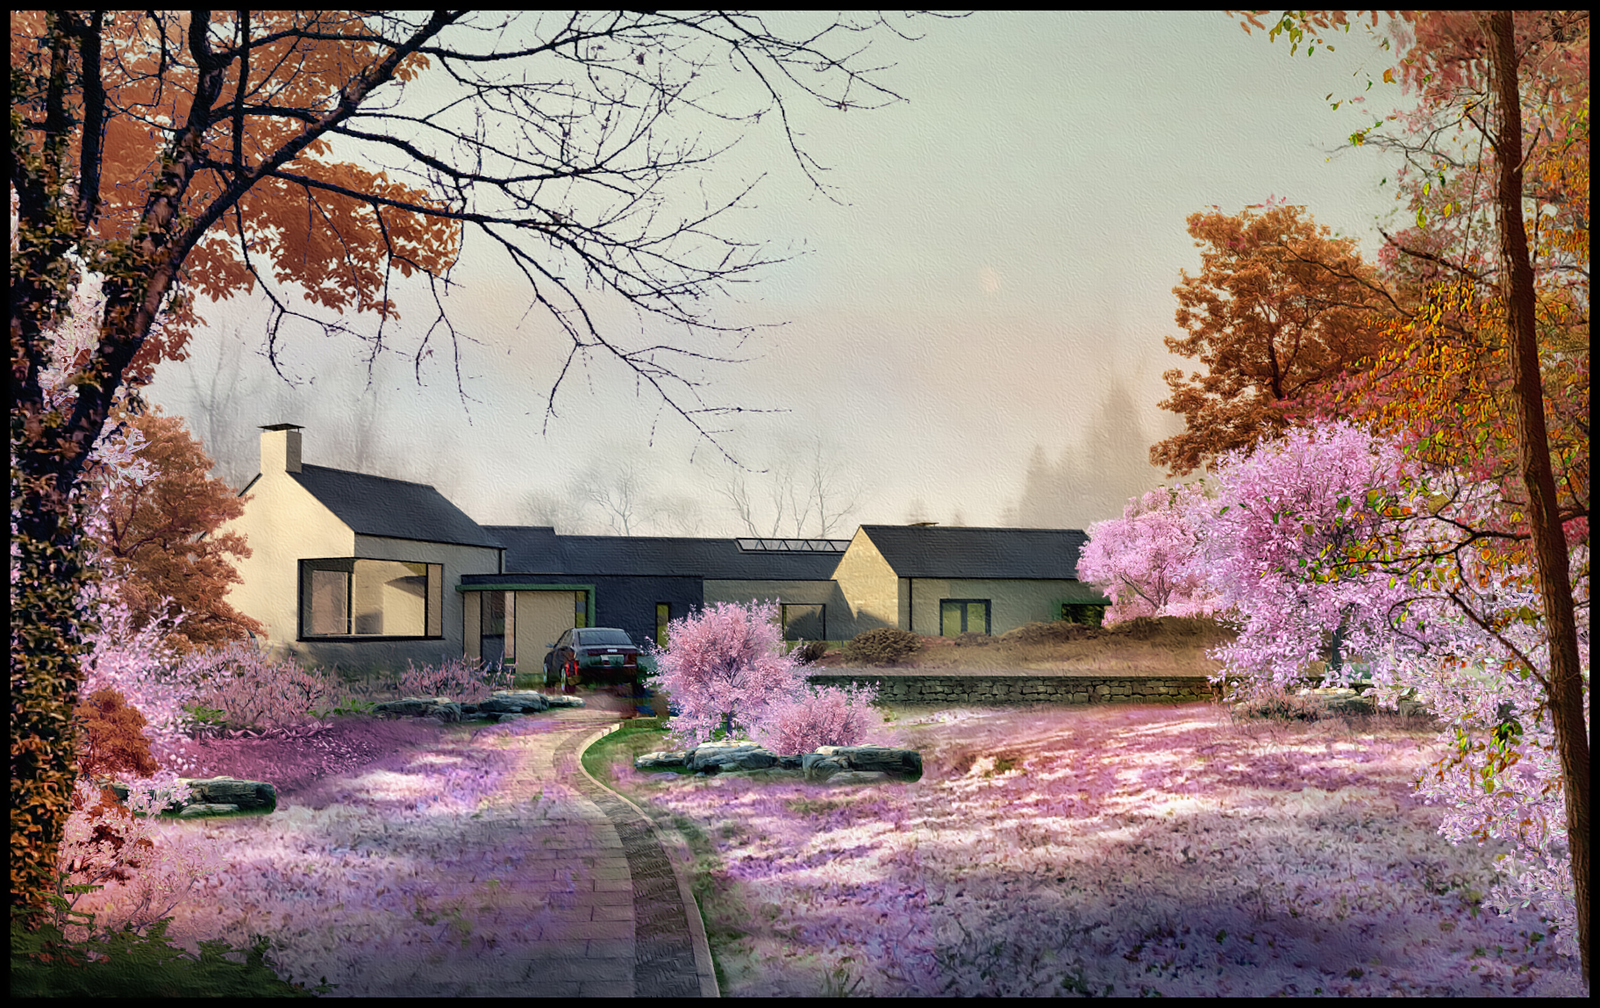
Attached is a first attempt at a cherry blossom garden.The colours are not quite yet there but I'll try again and upload later.
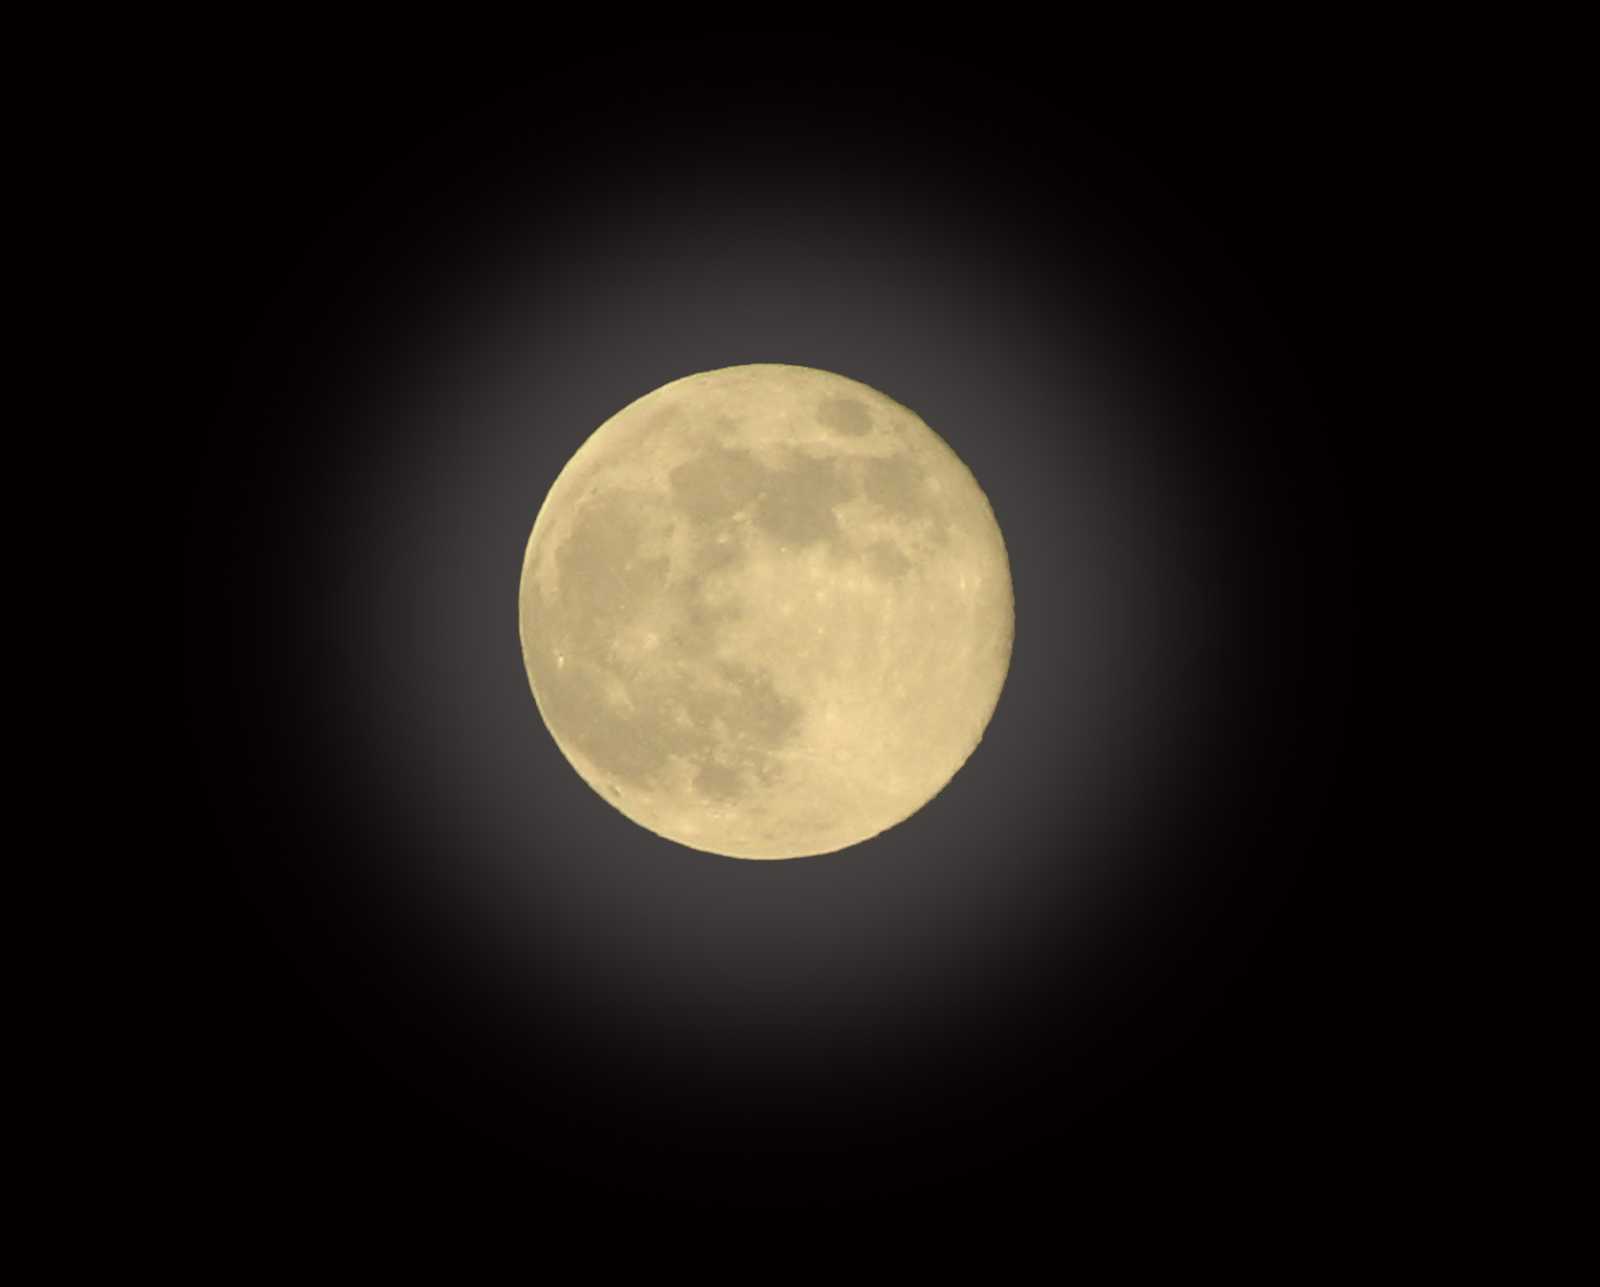
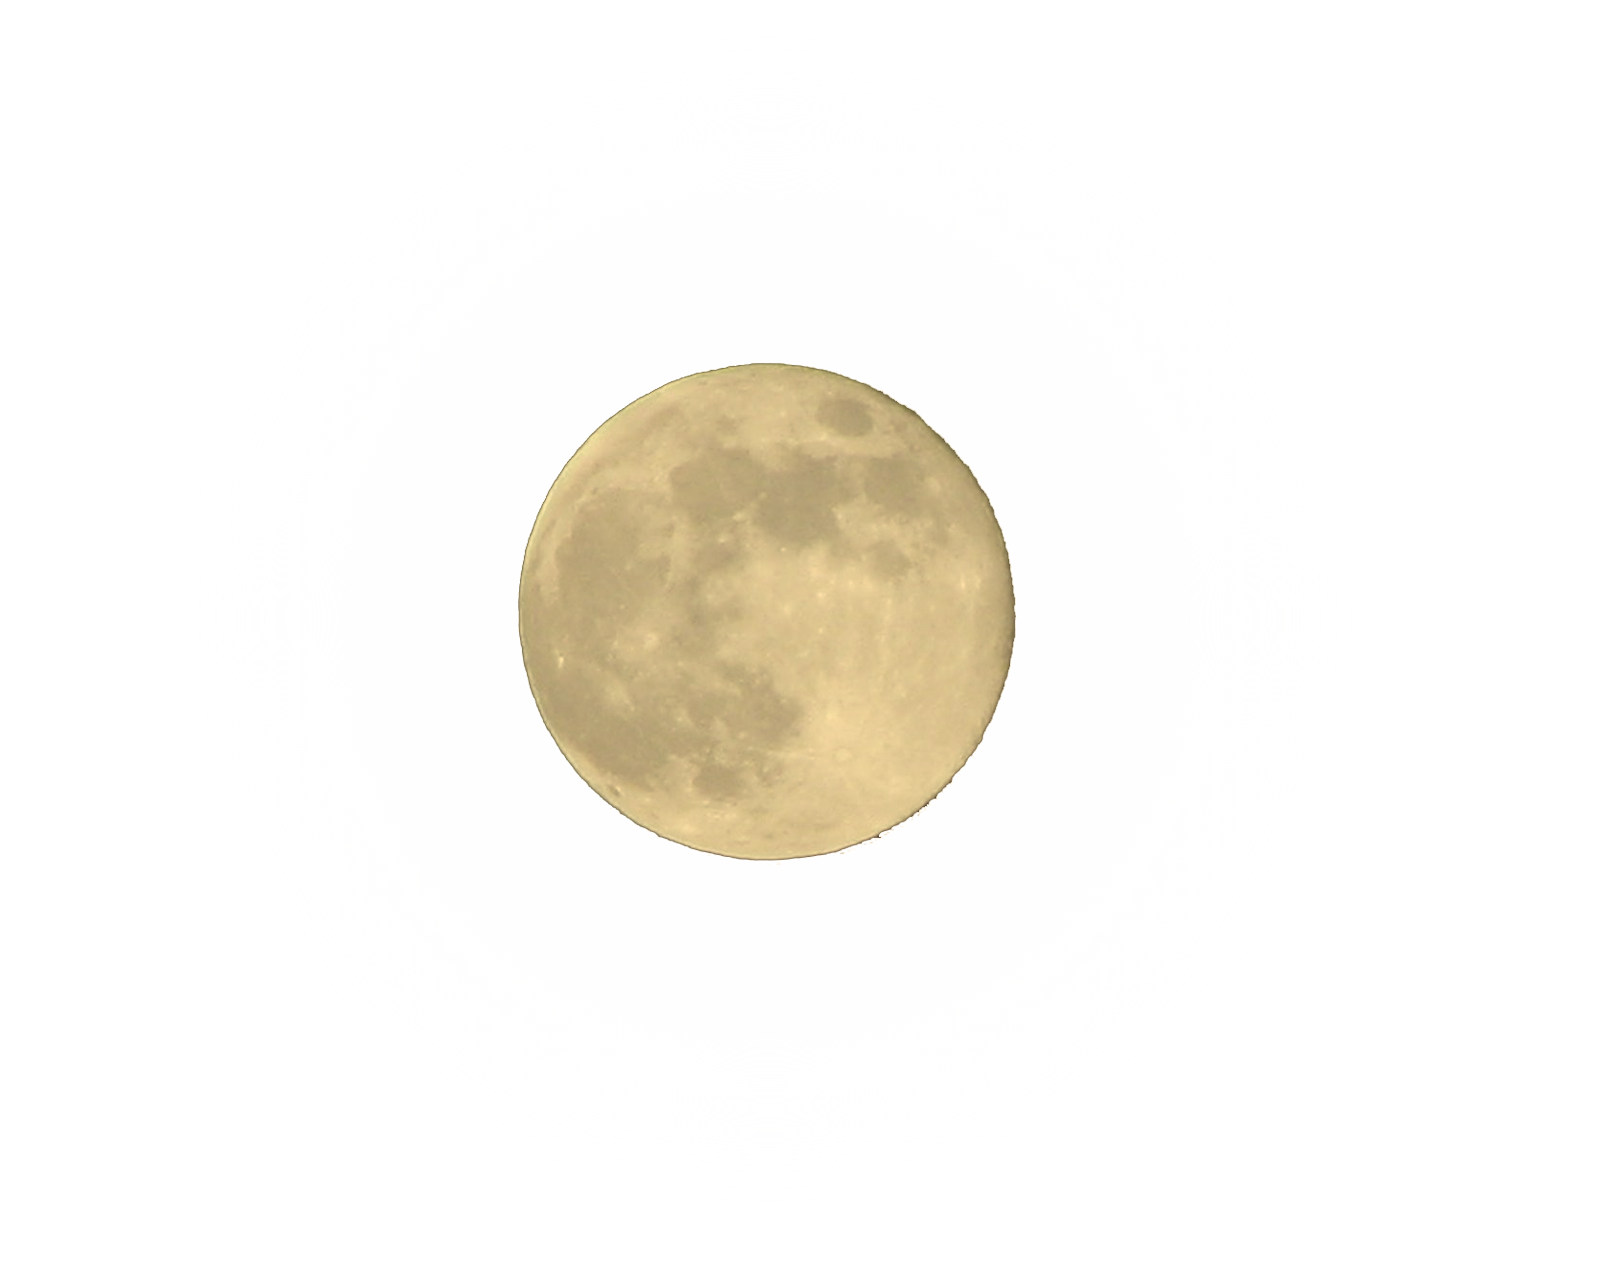
Ive attached 2 images for use in post pro.The first is a moon .png which I have uploaded before but deserves re-uploading to this forum.I have attached a jpeg showing how it looks on a night sky - basically don't just copy an orb of the moon and plonk it down on the sky - this.png has the halo around the moon bright as well.
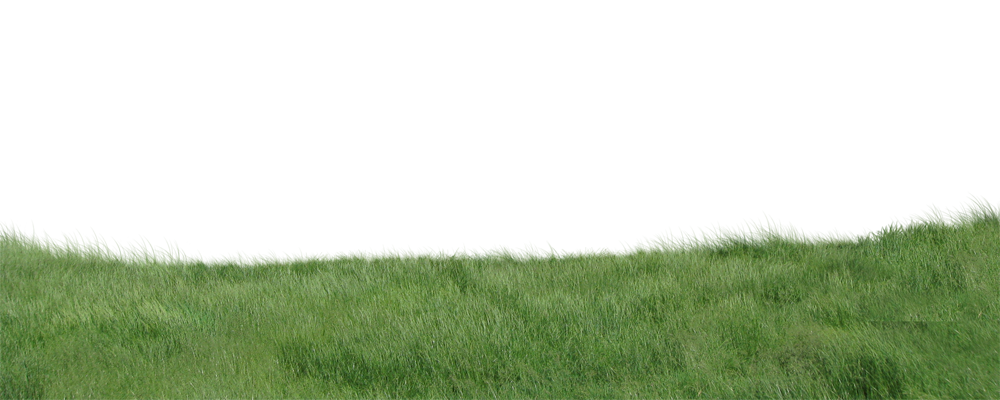
the second image has also been previously uploaded but I think this forum should be the place for entourage elements used in post pro.This one is is a grass foreground that can be dragged and dropped.