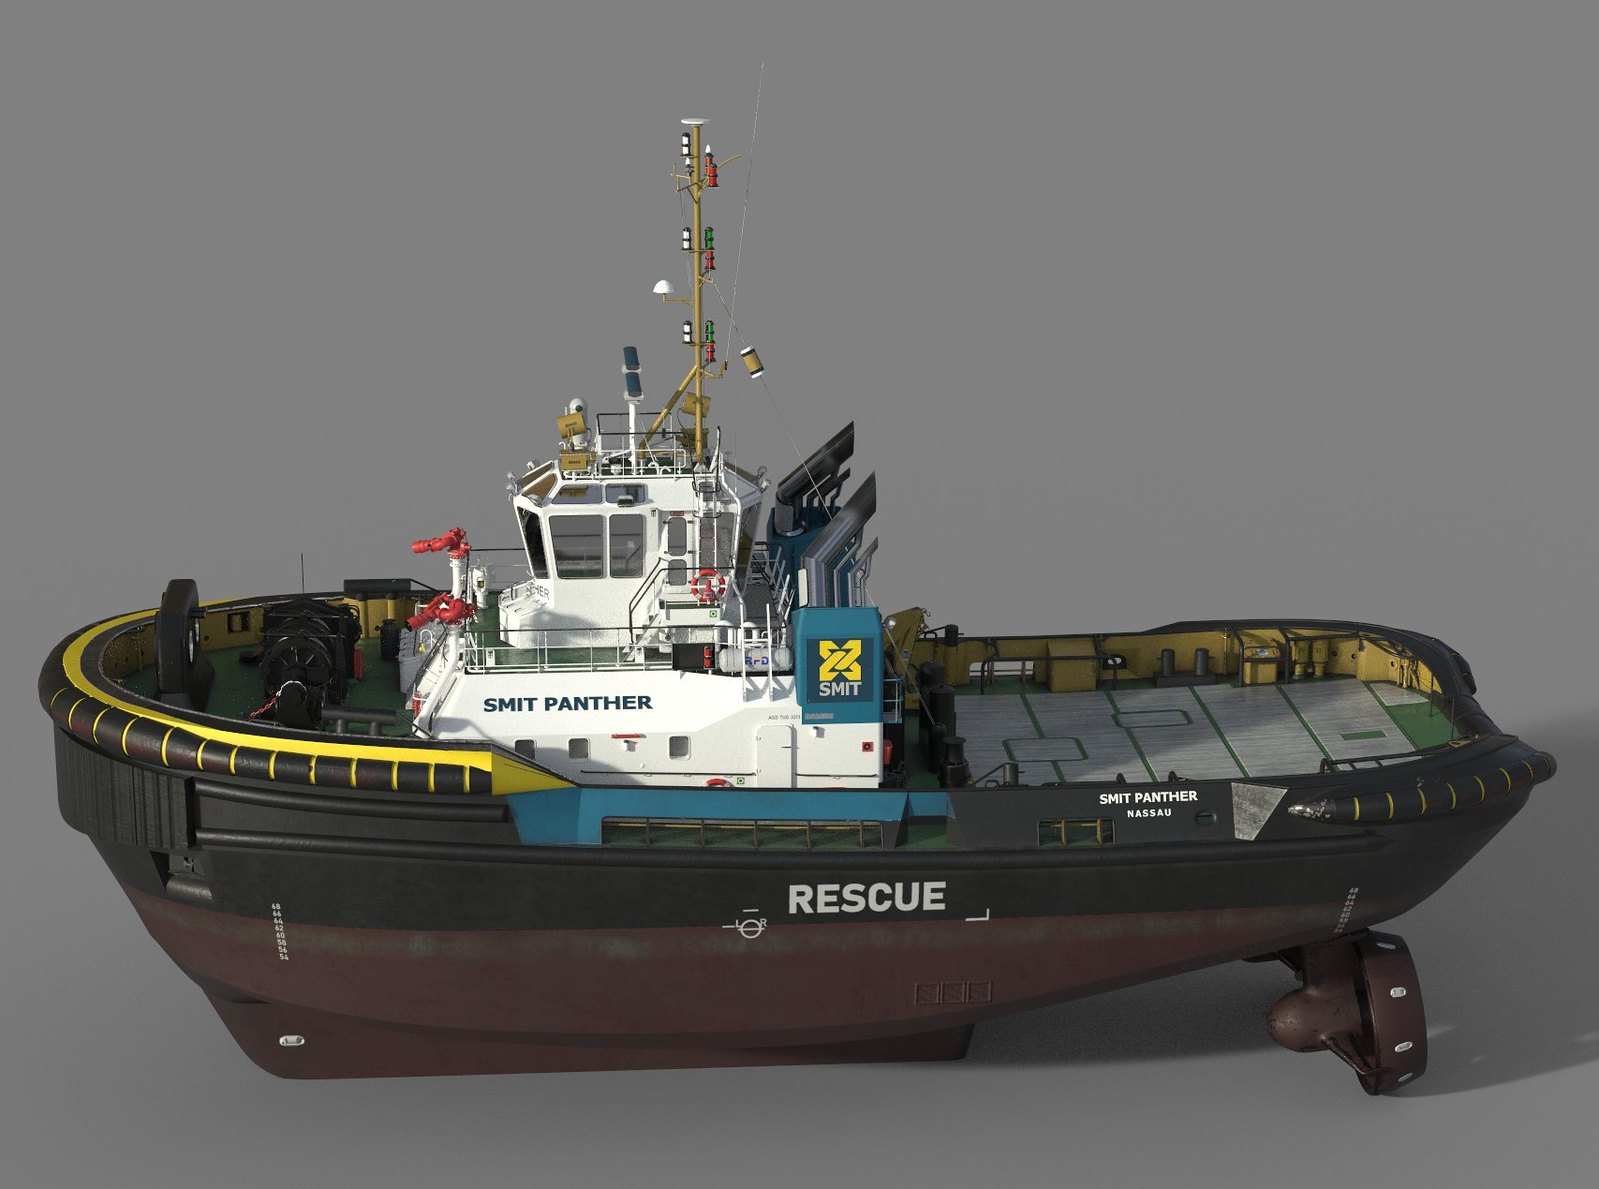
Smit Panther ASD Tug
-
I'm blown away by your modeling. And inspired. Hardly touched SU in two years, but I'm starting to get the itch again.
-
Thanks axeonalias.
That was a good explanation of your hull modeling.
When you subdivide and smooth, what are you using?
-
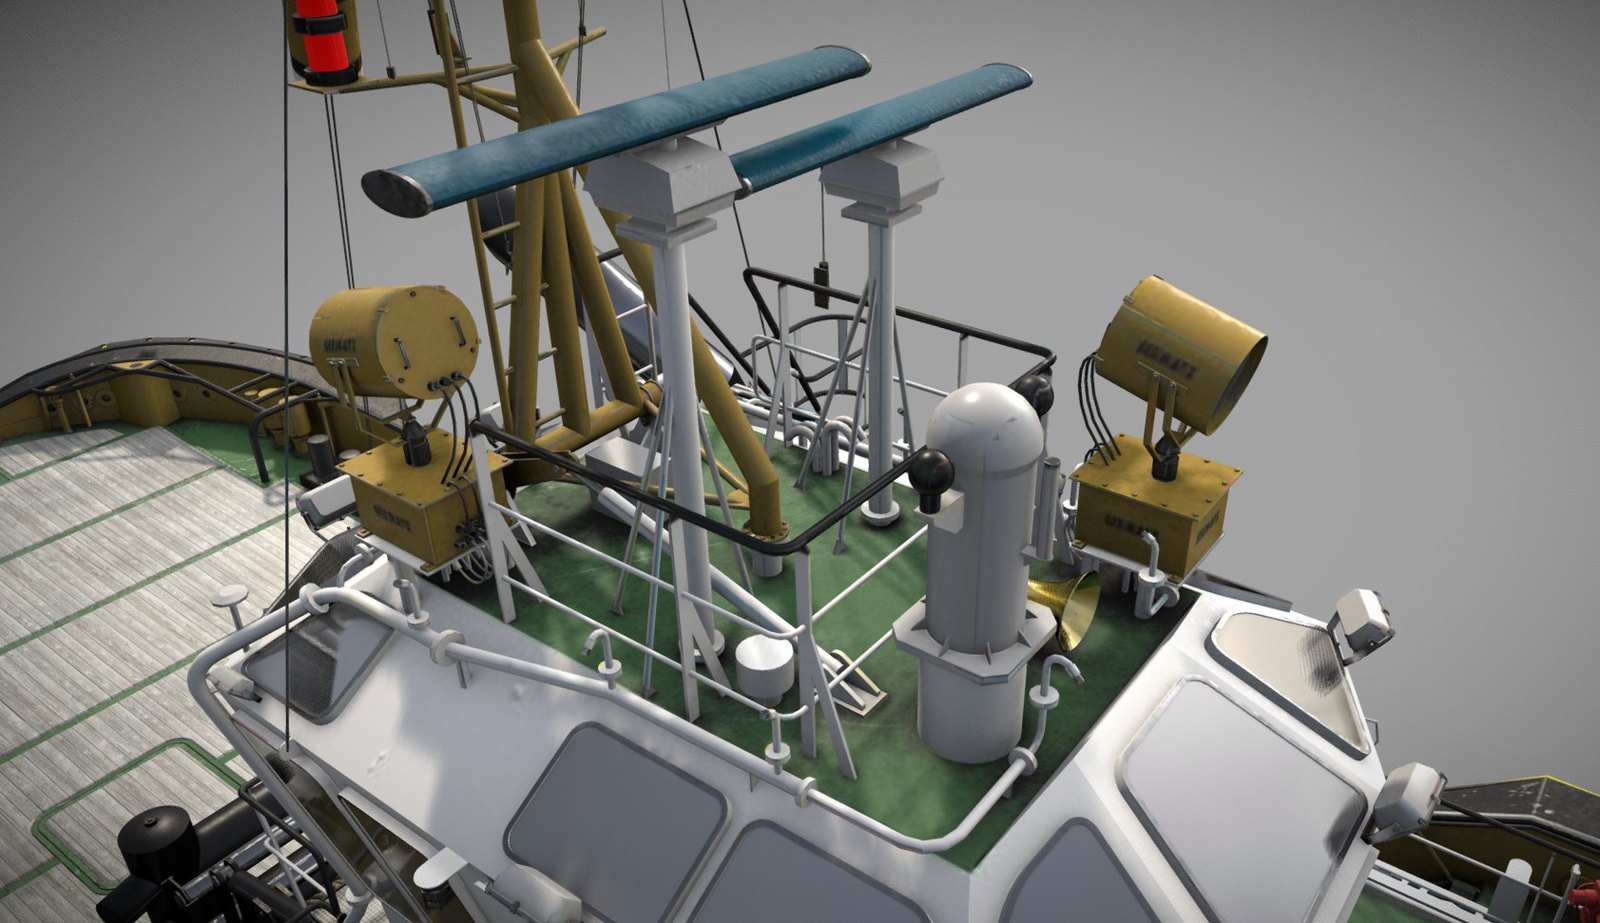
Alright I dragged my feet abit with this one, but shes finally done, the lack of accurate info for the interior left me demotivated, but after the birth of my first son I decided, I better get this one out while he is asleep!, it still took another 3 weeks to complete the exterior but im happy with the result, im going to fiddle with getting it into VSF but I have my doubts, she has 53 separate 4k textures ( made up of Diffuse, AO, Rough, Metallic, Spec and normals ) so I have my doubts that VSF will be able to render her correctly
If you want to have a look at her in 3d, heres the link : https://skfb.ly/6WAyG
Sorry for the oversize images, just zoom out with your browser to 75% and you will see the whole image.

71R by mariusmoolman, on Flickr

72R by mariusmoolman, on Flickr
73R by mariusmoolman, on Flickr

74R by mariusmoolman, on Flickr

75R by mariusmoolman, on Flickr

76R by mariusmoolman, on Flickr

77 by mariusmoolman, on Flickr
[url=https://flic.kr/p/2k8A9Xj:1m0fwj62]

[/url:1m0fwj62][url=https://flic.kr/p/2k8A9Xj:1m0fwj62]78[/url:1m0fwj62] by mariusmoolman, on Flickr
[url=https://flic.kr/p/2k8A9Rx:1m0fwj62]

[/url:1m0fwj62][url=https://flic.kr/p/2k8A9Rx:1m0fwj62]79[/url:1m0fwj62] by mariusmoolman, on Flickr
[url=https://flic.kr/p/2k8wjrz:1m0fwj62]

[/url:1m0fwj62][url=https://flic.kr/p/2k8wjrz:1m0fwj62]80[/url:1m0fwj62] by mariusmoolman, on Flickr
[url=https://flic.kr/p/2k8AEfZ:1m0fwj62]
[/url:1m0fwj62][url=https://flic.kr/p/2k8AEfZ:1m0fwj62]81[/url:1m0fwj62] by mariusmoolman, on Flickr -
Brilliant ! Bravo

-
Completely marvelous and a great inspiration.

-
As professional as it gets.
No game, movie or engineering company could do better.
-
... do we have a "SketchUp Hall of Fame" somewhere here ?

-
What a great project and well executed. Love the details. Bravo.
-
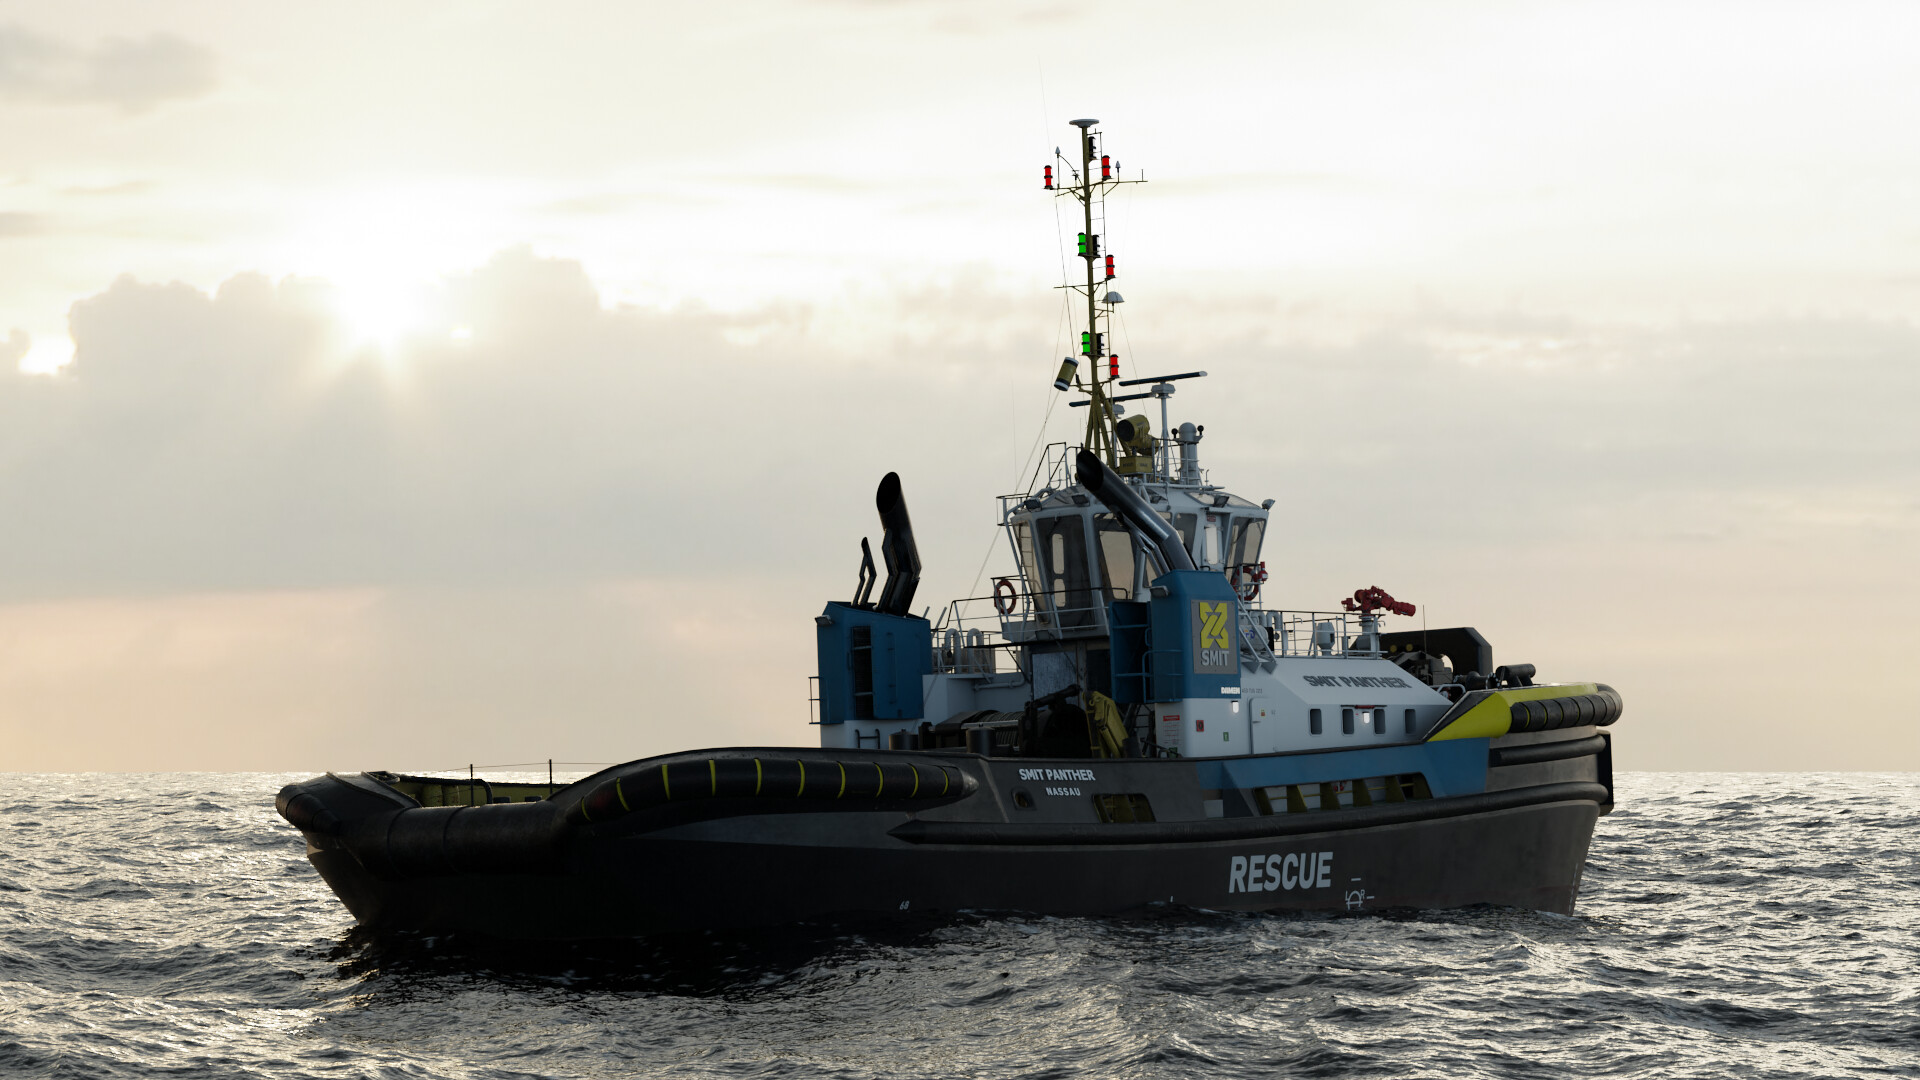
Did a few Blender Ocean render with Panther :


-
That's insane levels of detail. Your dedication is impressive.
-
Brilliant. Wow indeed.
-
Wow! Well done!
-
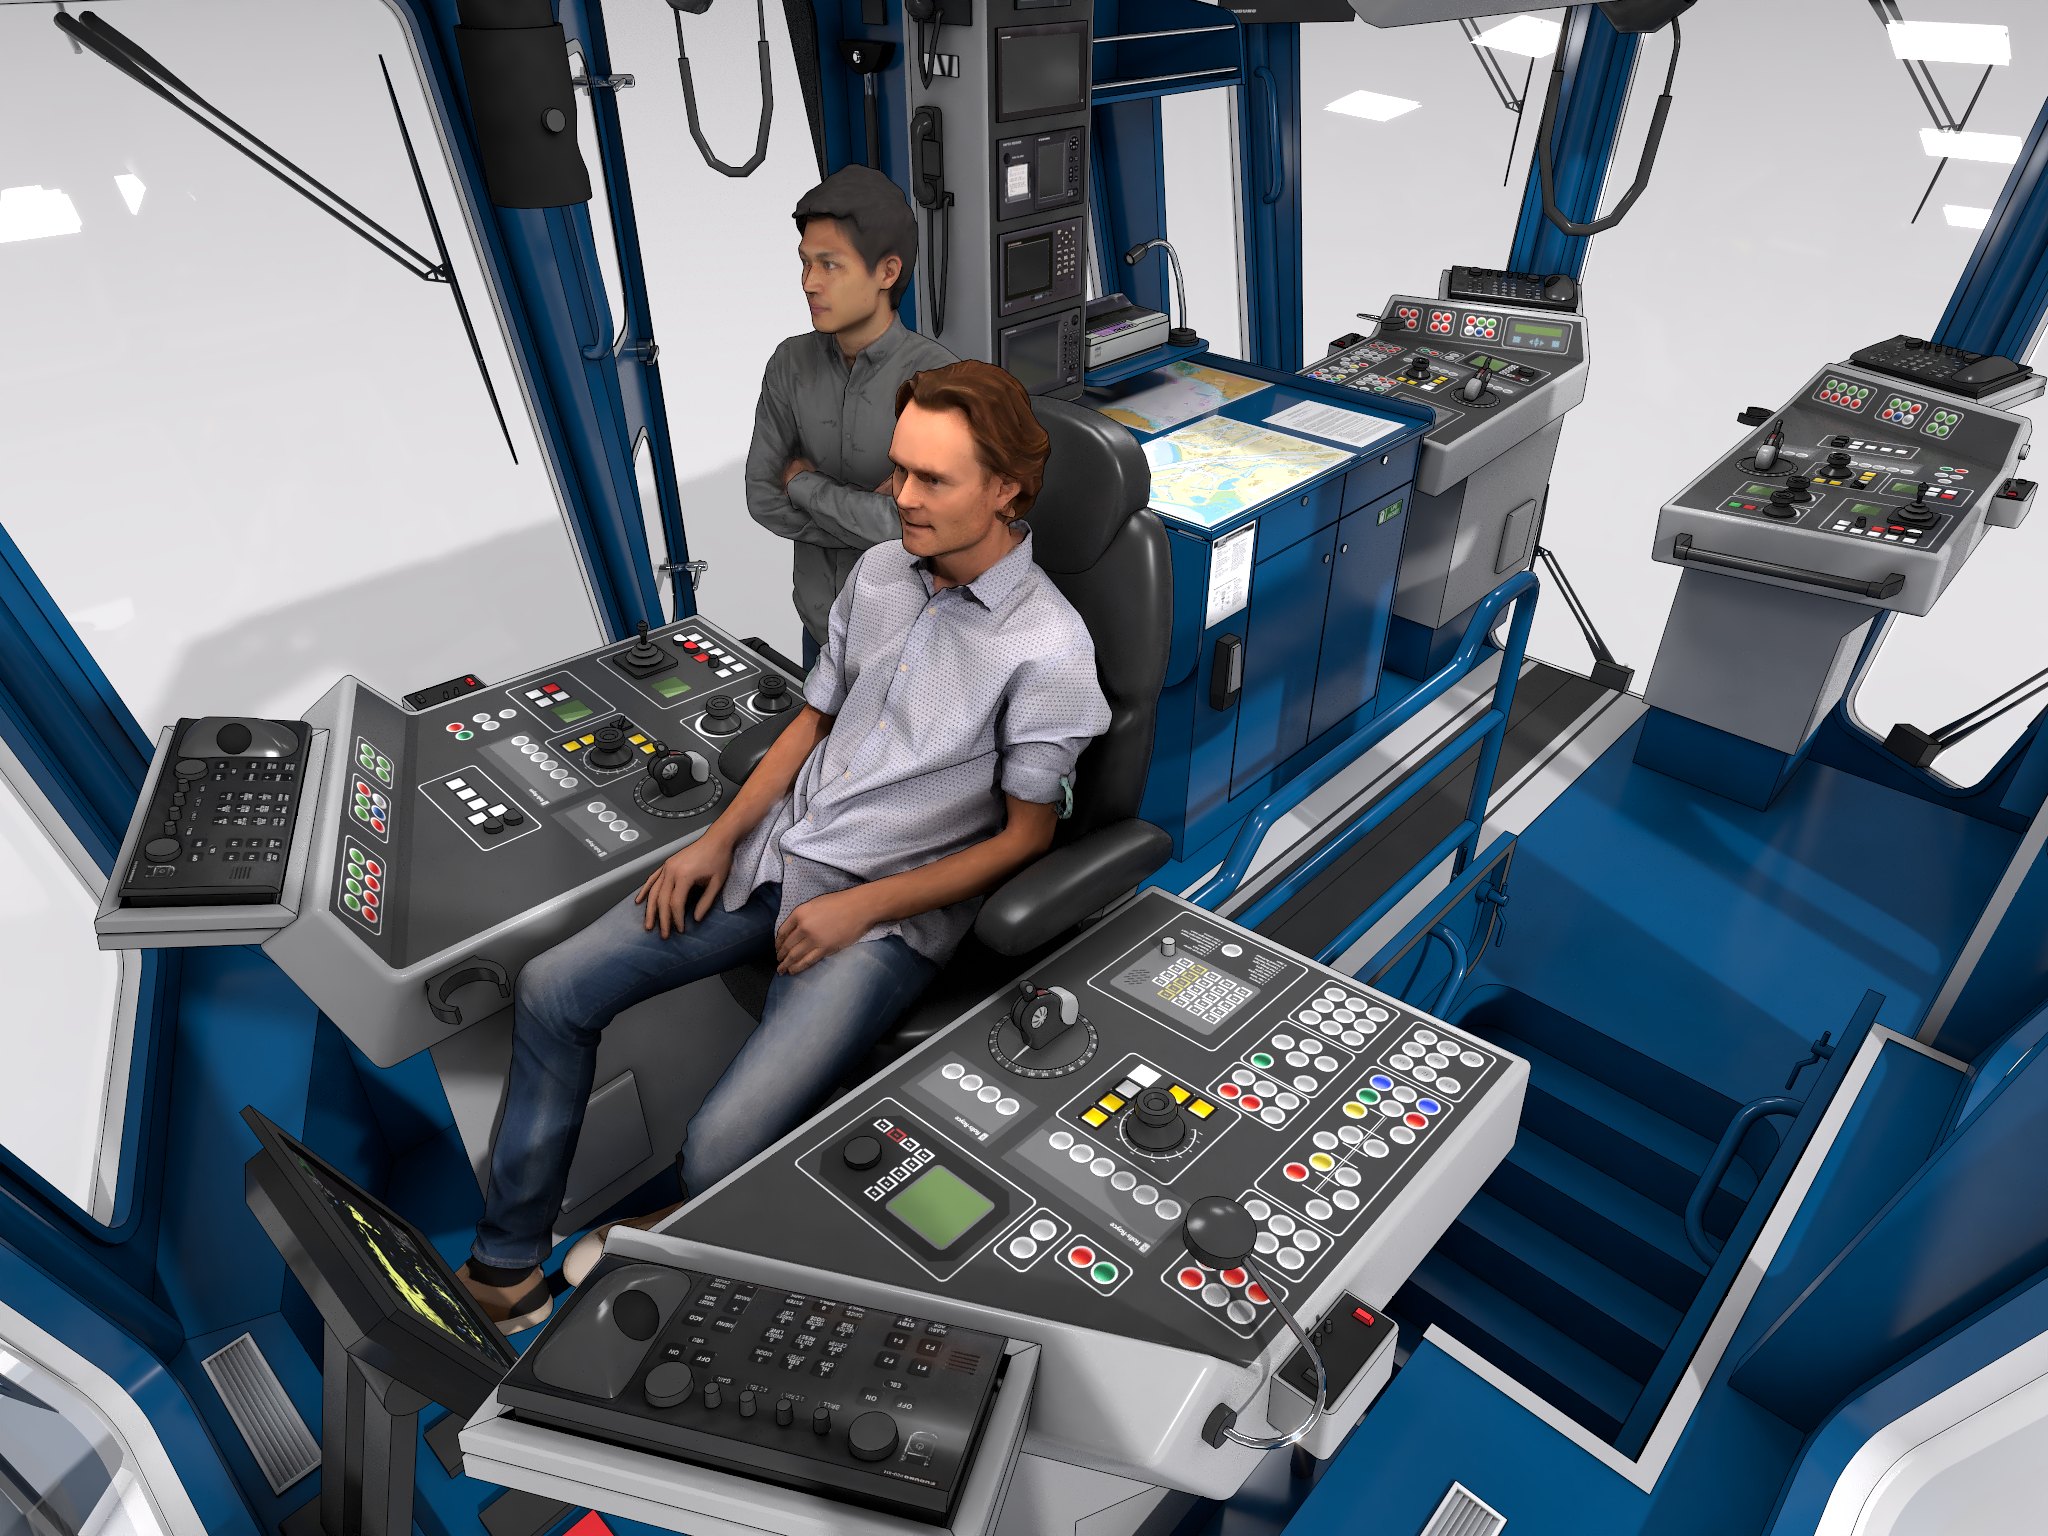
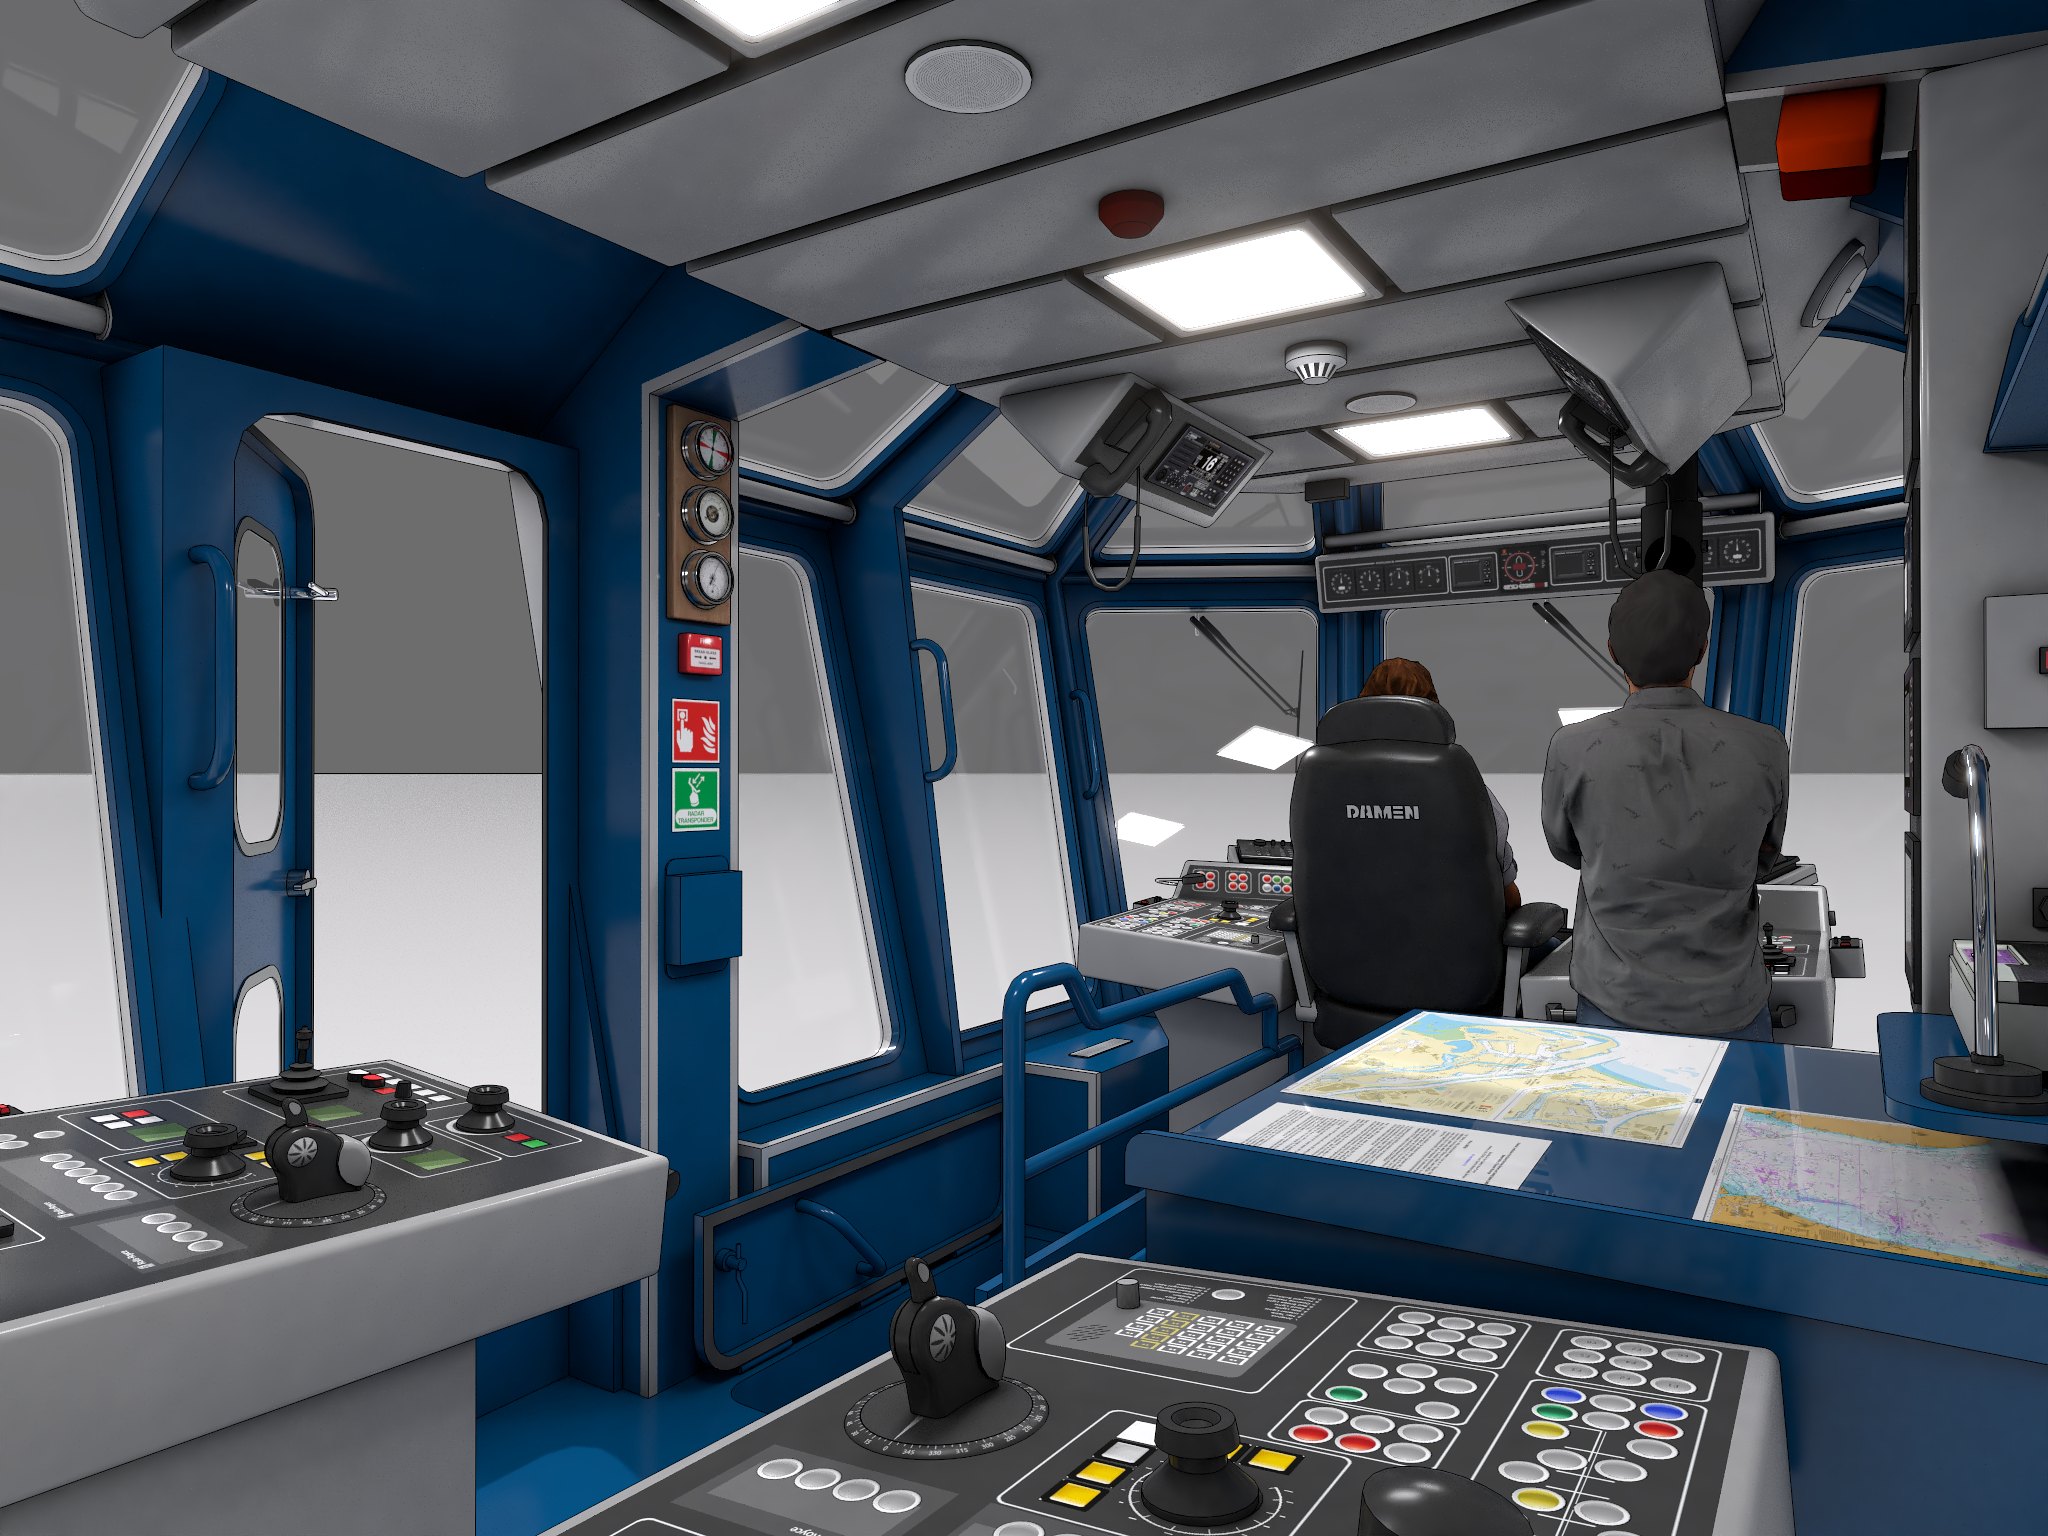
Took 4 years but better late than never!
Smit Panthers bridge is complete, ready for testing in game before proceeding to unwrapping:


-
-
Simply brilliant.
-
Top notch work!
It also looks like a spaceship! Very cool!
-
What a beautiful model you have drawn
-
Amazing!
Hello! It looks like you're interested in this conversation, but you don't have an account yet.
Getting fed up of having to scroll through the same posts each visit? When you register for an account, you'll always come back to exactly where you were before, and choose to be notified of new replies (either via email, or push notification). You'll also be able to save bookmarks and upvote posts to show your appreciation to other community members.
With your input, this post could be even better 💗
Register Login


Advertisement