SubD examples and models
-
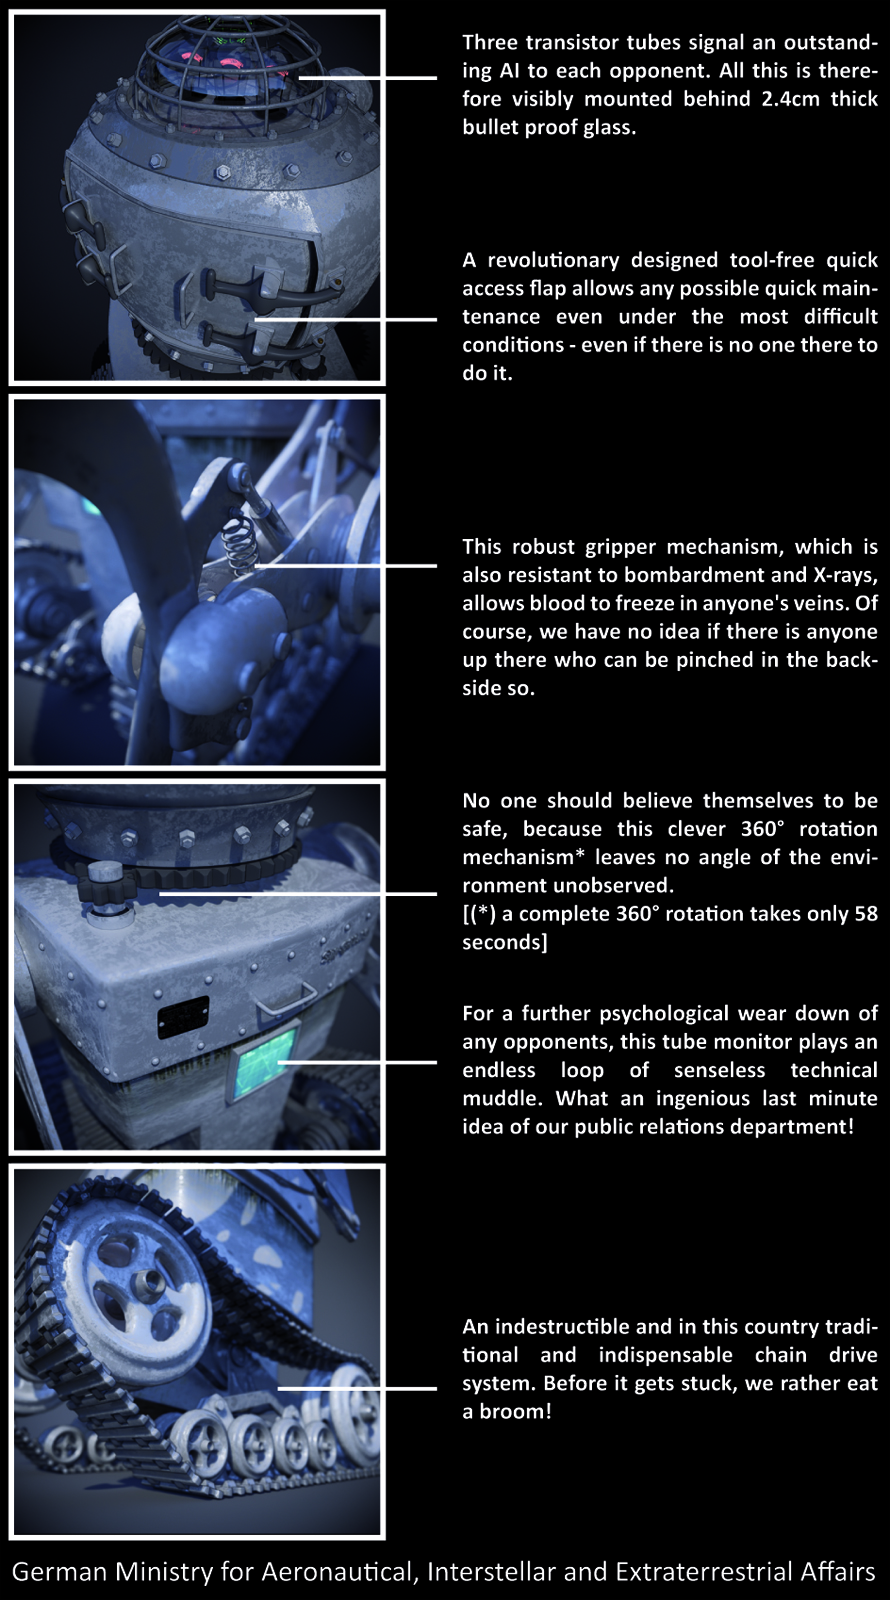
German Technology conquers Foreign Planets!
InSight Mars Lander, Opportunity, Curiosity, Chang’e 4, etc… All Nonsense! Here comes the ultimate German Technology to conquer foreign planets. Robust, enduring and indestructible, made of thumb-thick steel instead of cola can sheet metal and carbon fibre something. Why a little glue only, where instead hundreds of thick screws are better. Microprocessor controling, developed in Japan or USA - also nonsense! This challenger here is controlled by THREE transistor tubes, that’s enough!
NASA, ESA, Roskosmos, China´s Space Agency etc. They should All dress warm!Although I think my monster is cooler than all the competitors named above, all this is just fun of course and the only real nonsense here
 and I´m only playing a little with some funny more visual clichés - this steel monster, stuffed with an incredible amount of so pointless and useless detailings is a just for fun exercise only, which stretched out of control a little but was so much fun to do - Enjoy!
 (Again: rendered with Enscape and Shaderlight)


-
Some recent SubD examples...
-
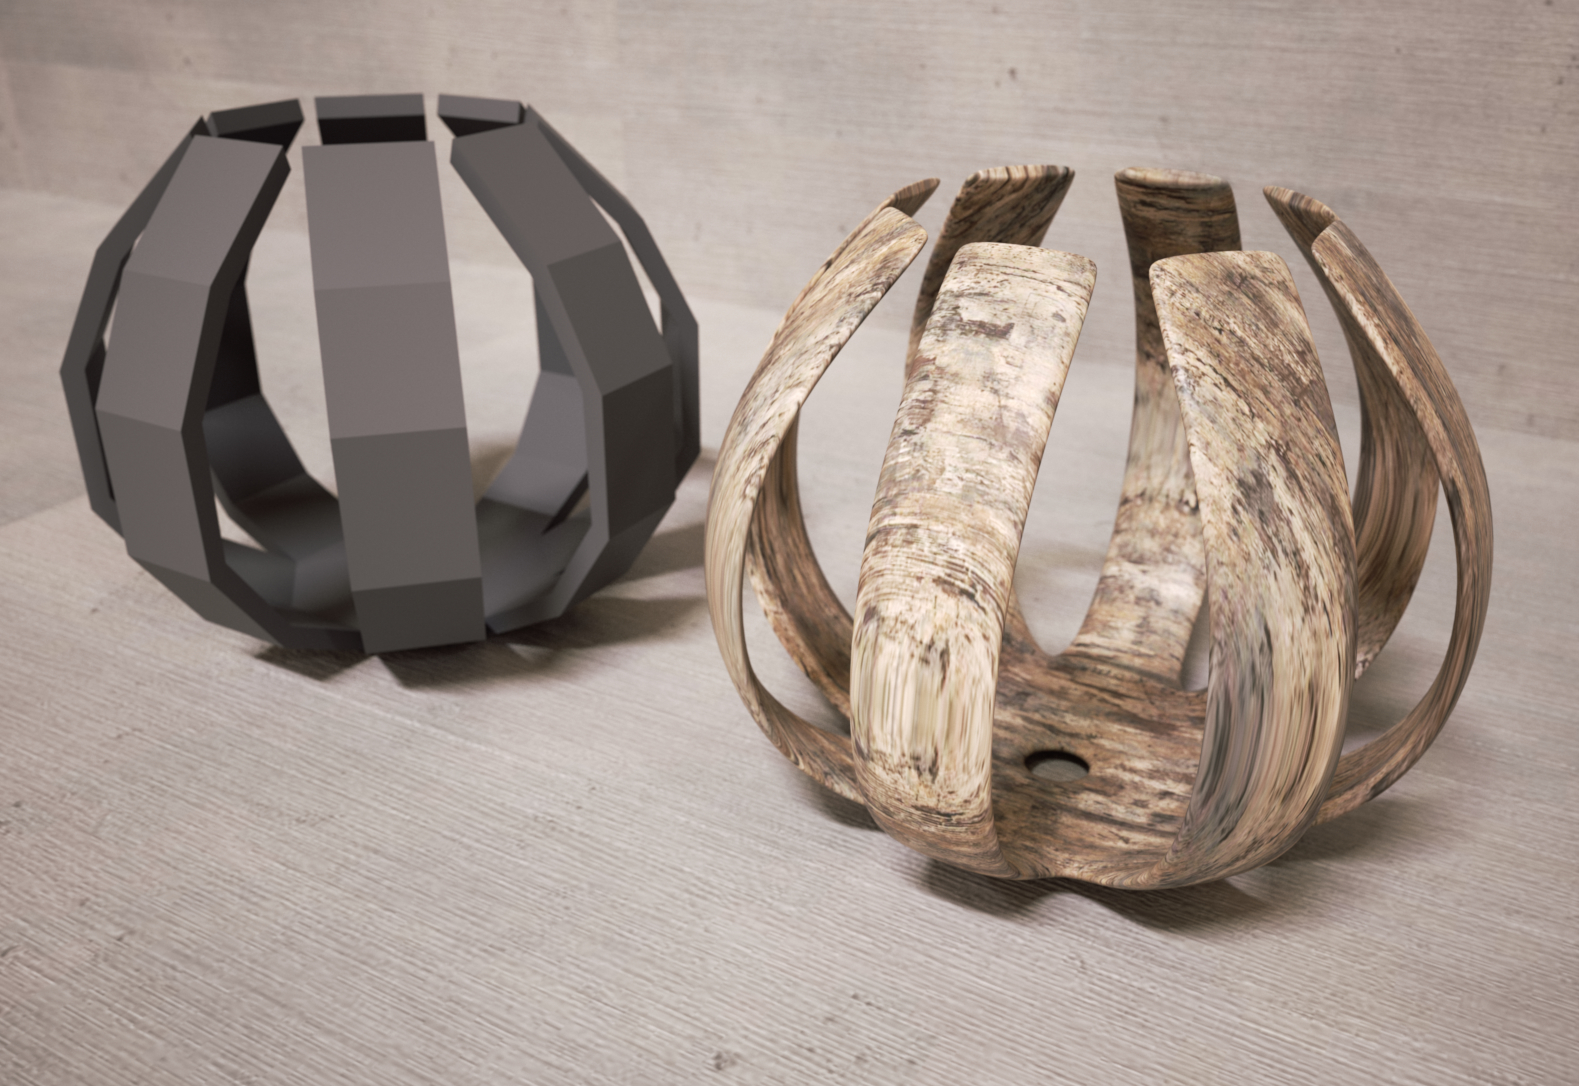
 love these all! One example is more beautiful than the other - And I notice, that, as always before, the marvelous representation of wood (first picture) is a mark of your renders...
Thanks for sharing! -
Beautiful work as always, Cotty! Do you mind me asking what render program you're using? Very crisp.
-
Thank you, those are rendered with Indigo Renderer.
-
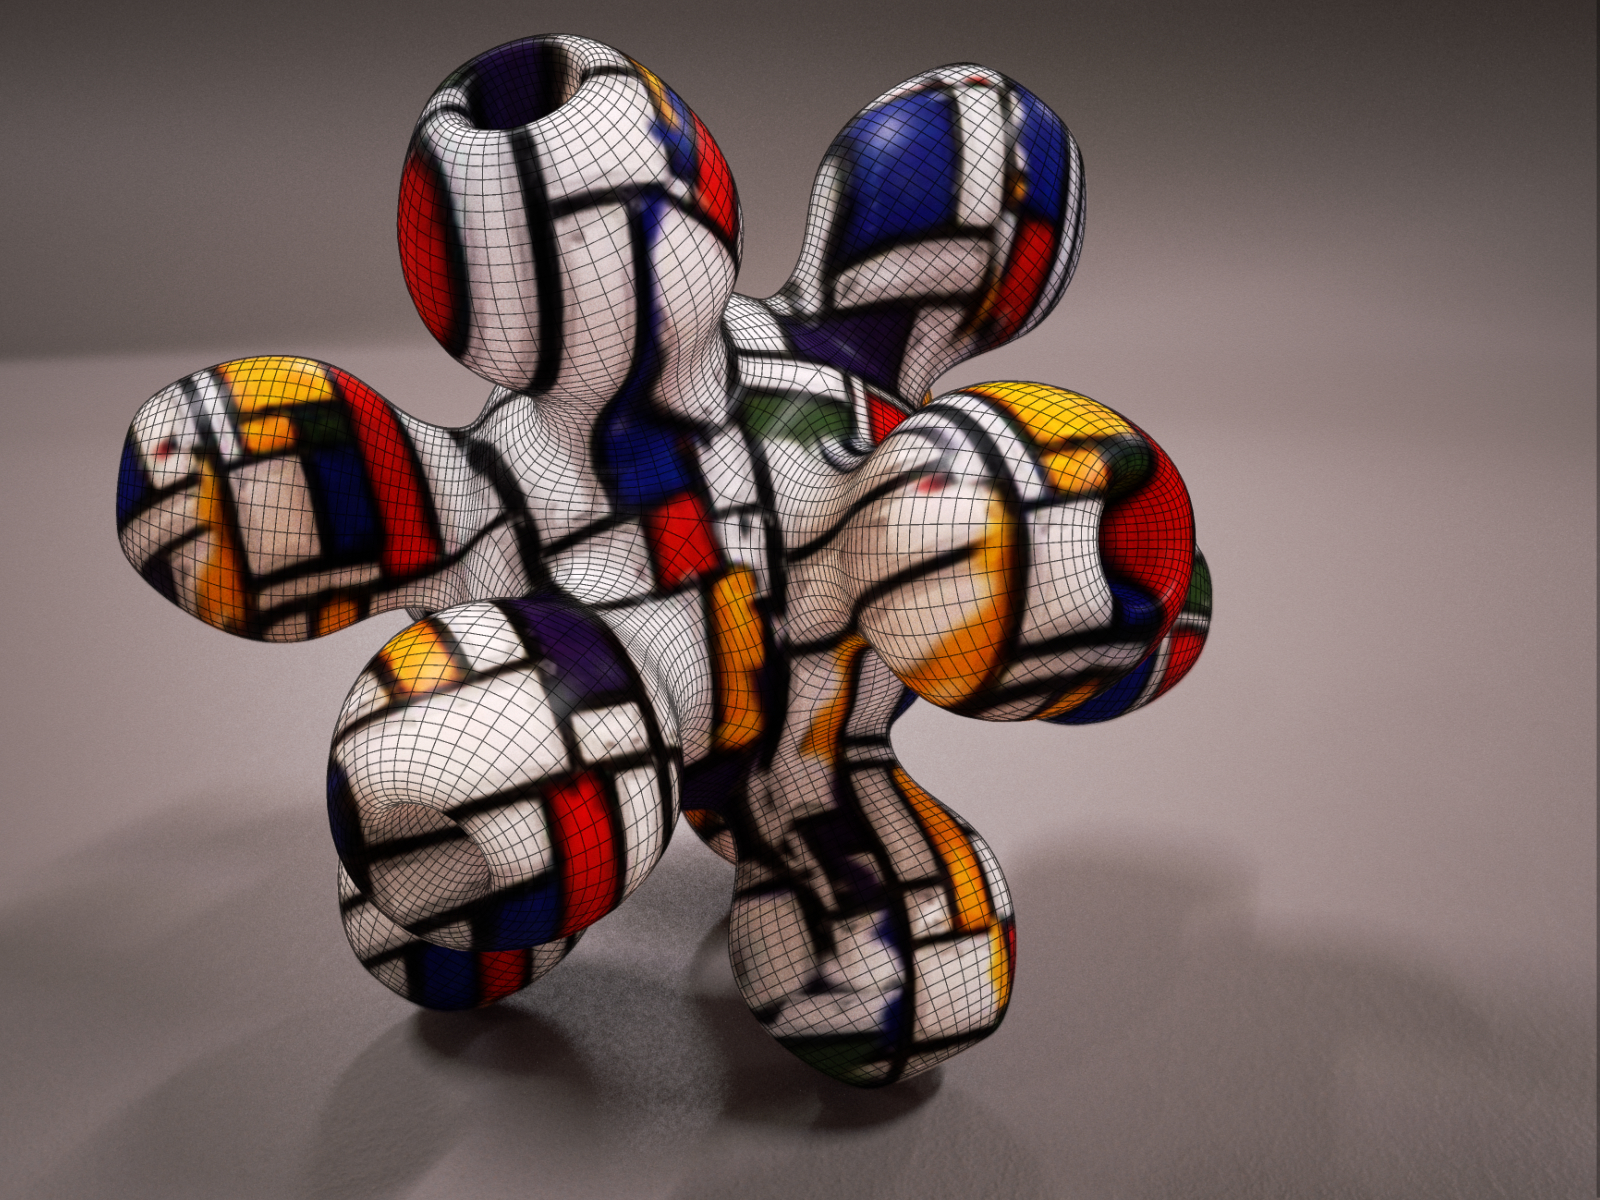
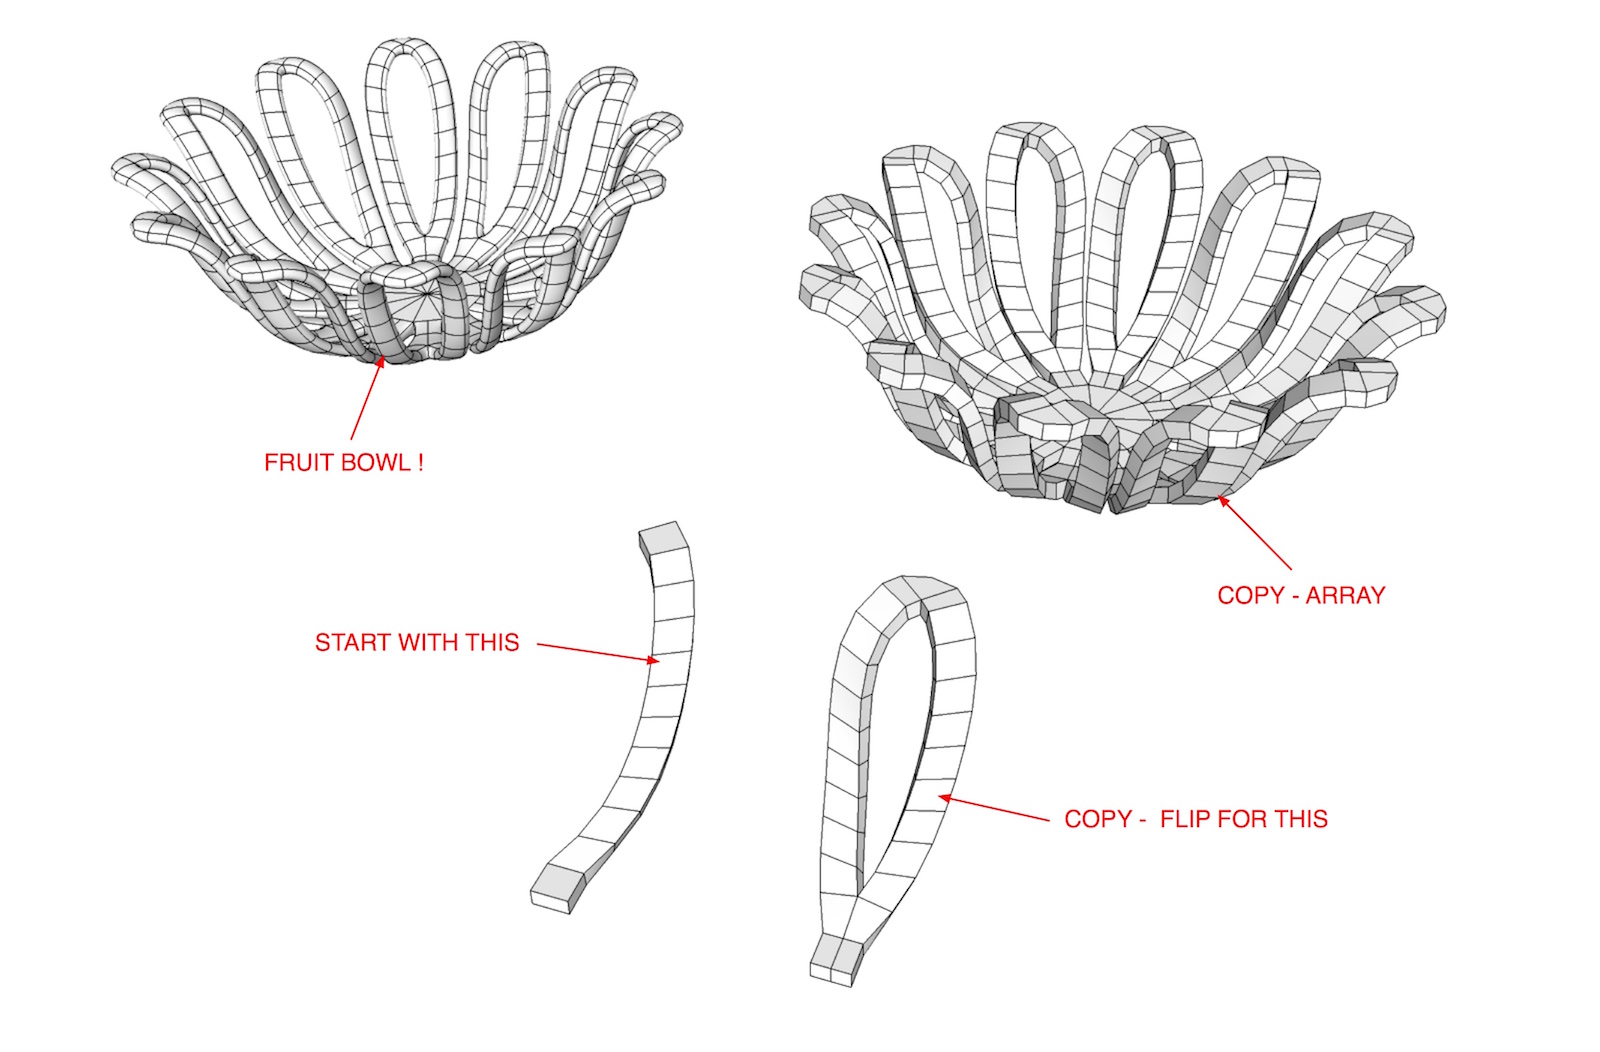
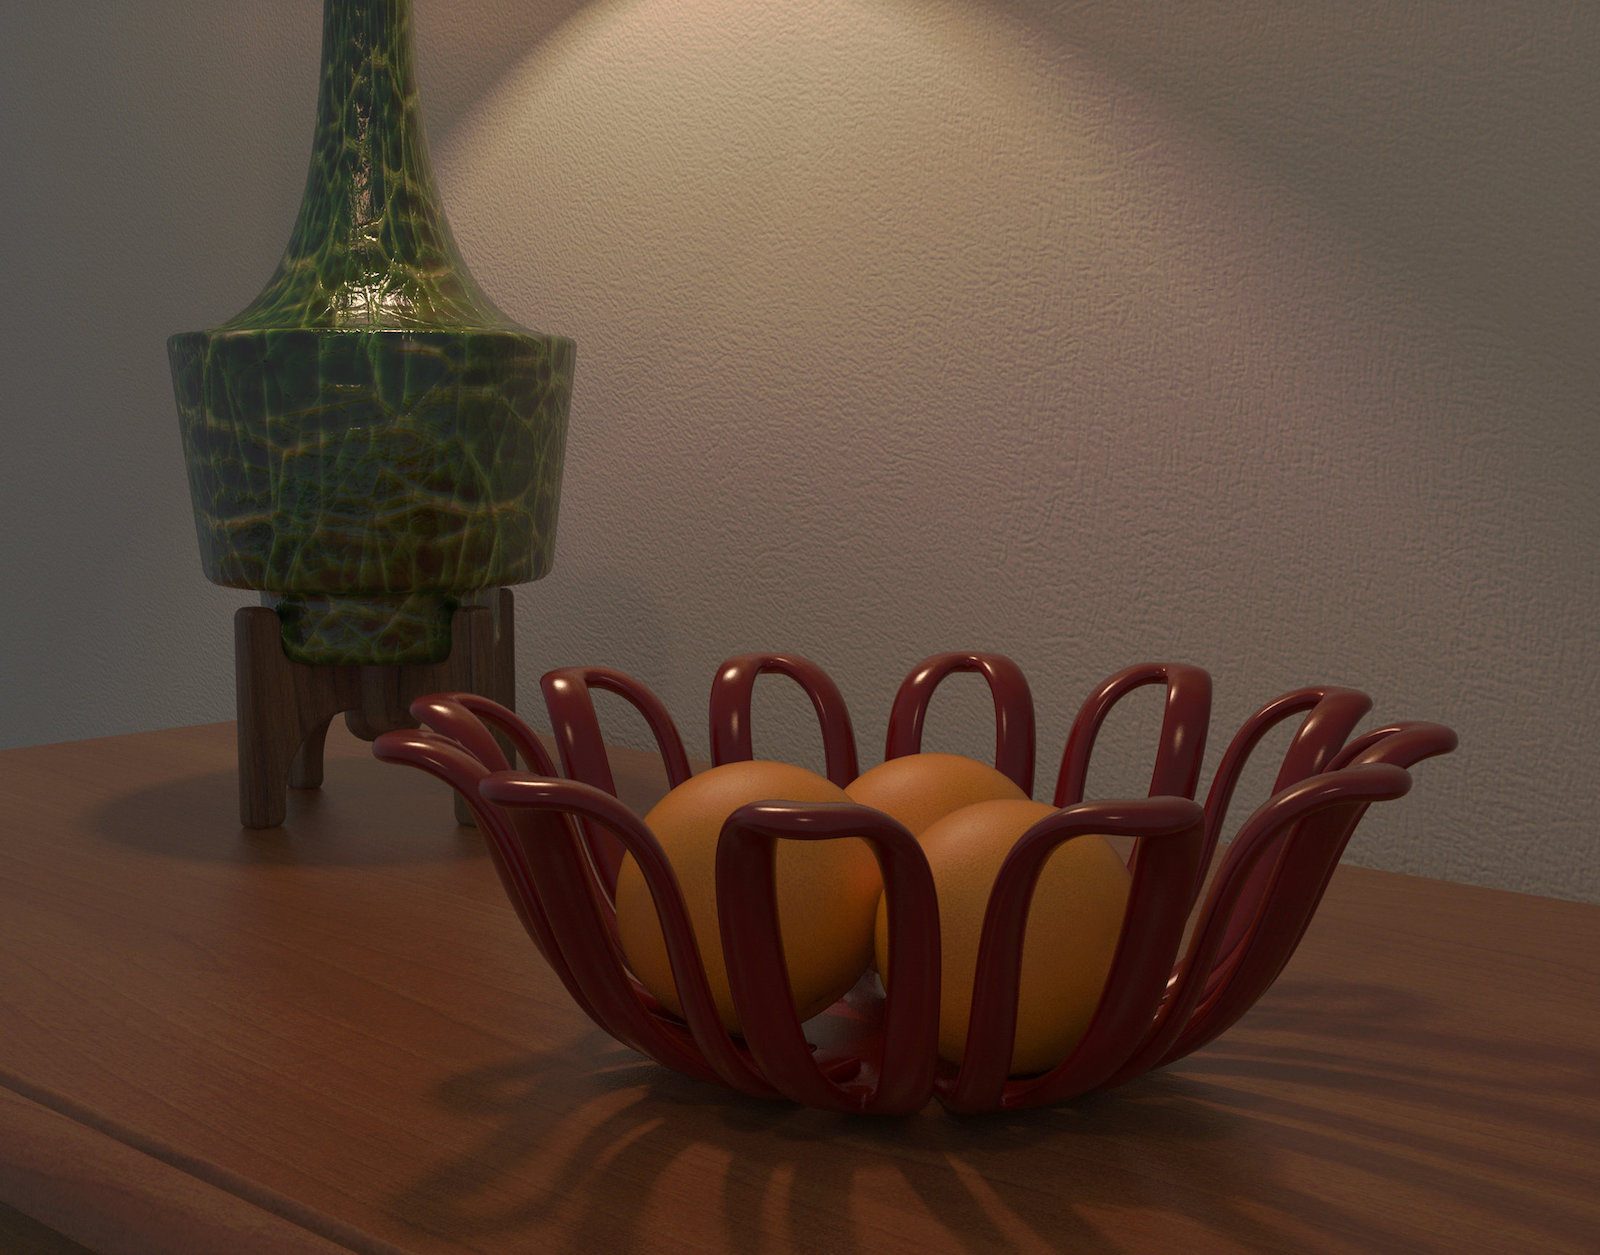
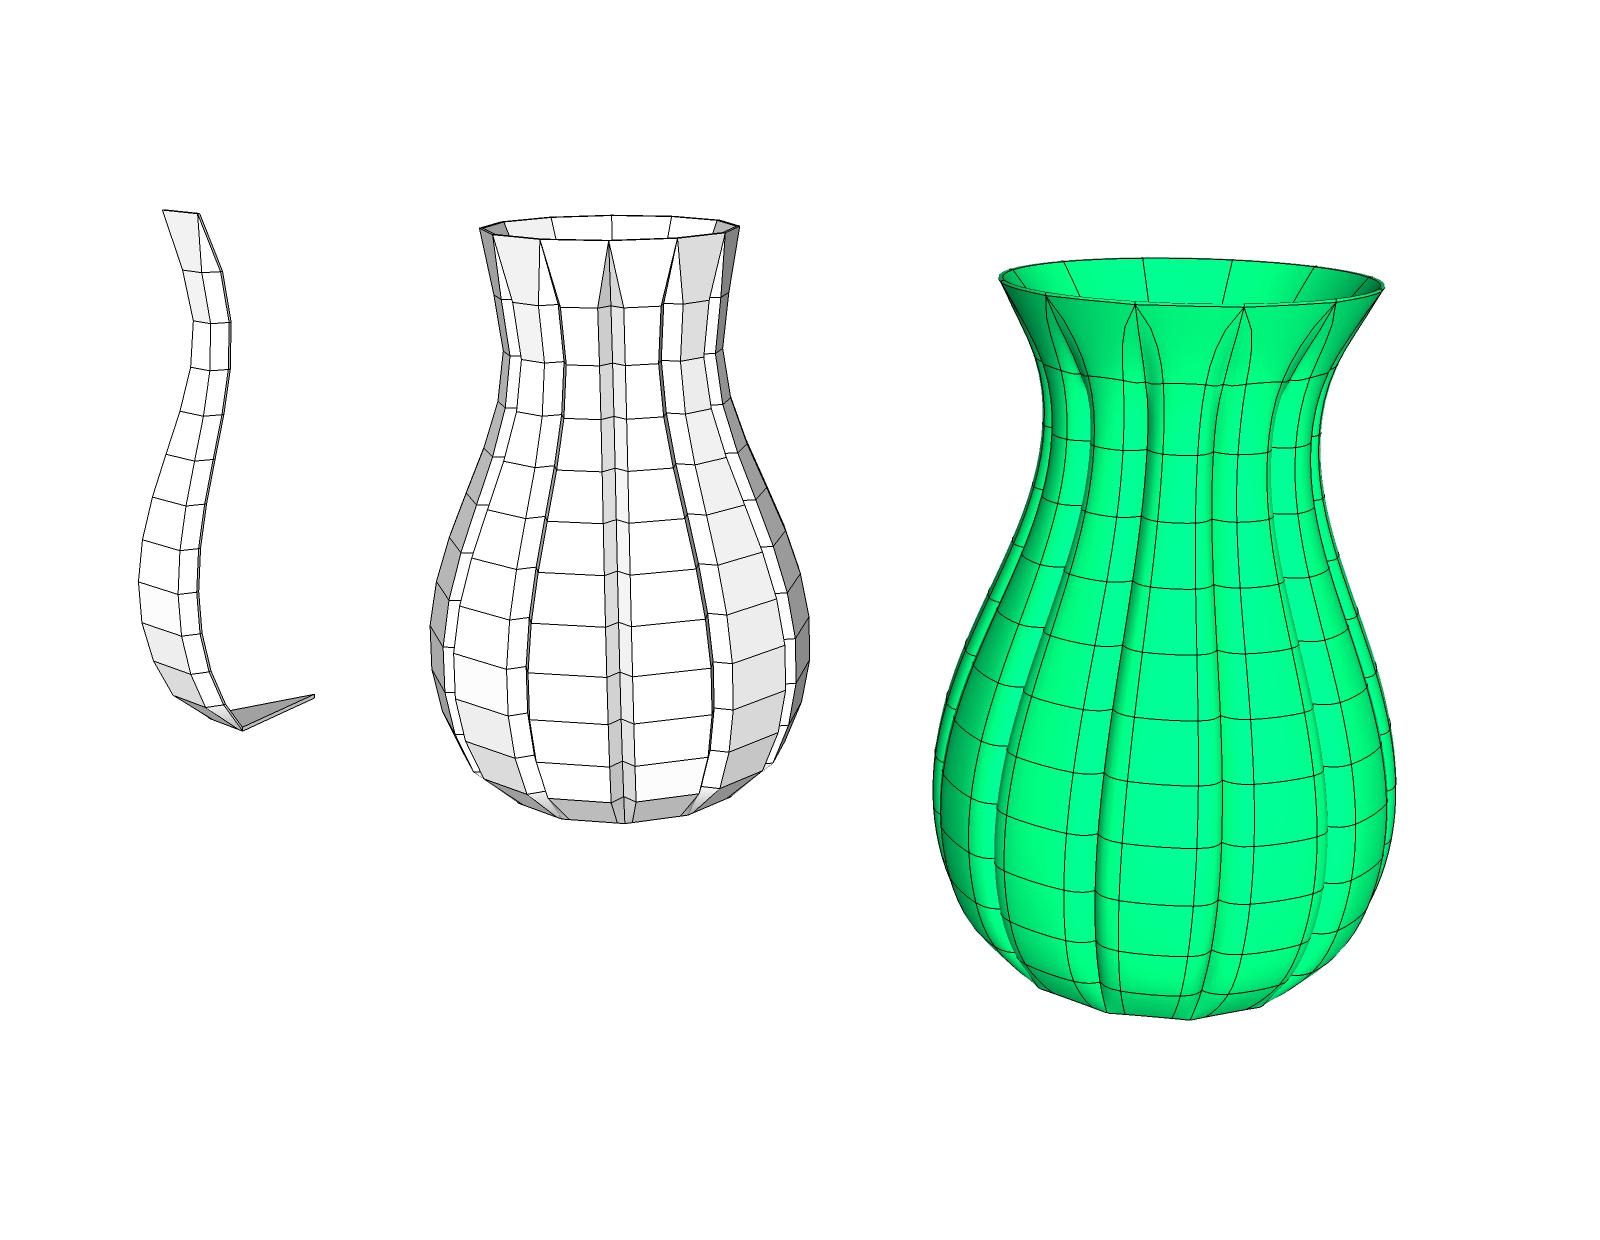
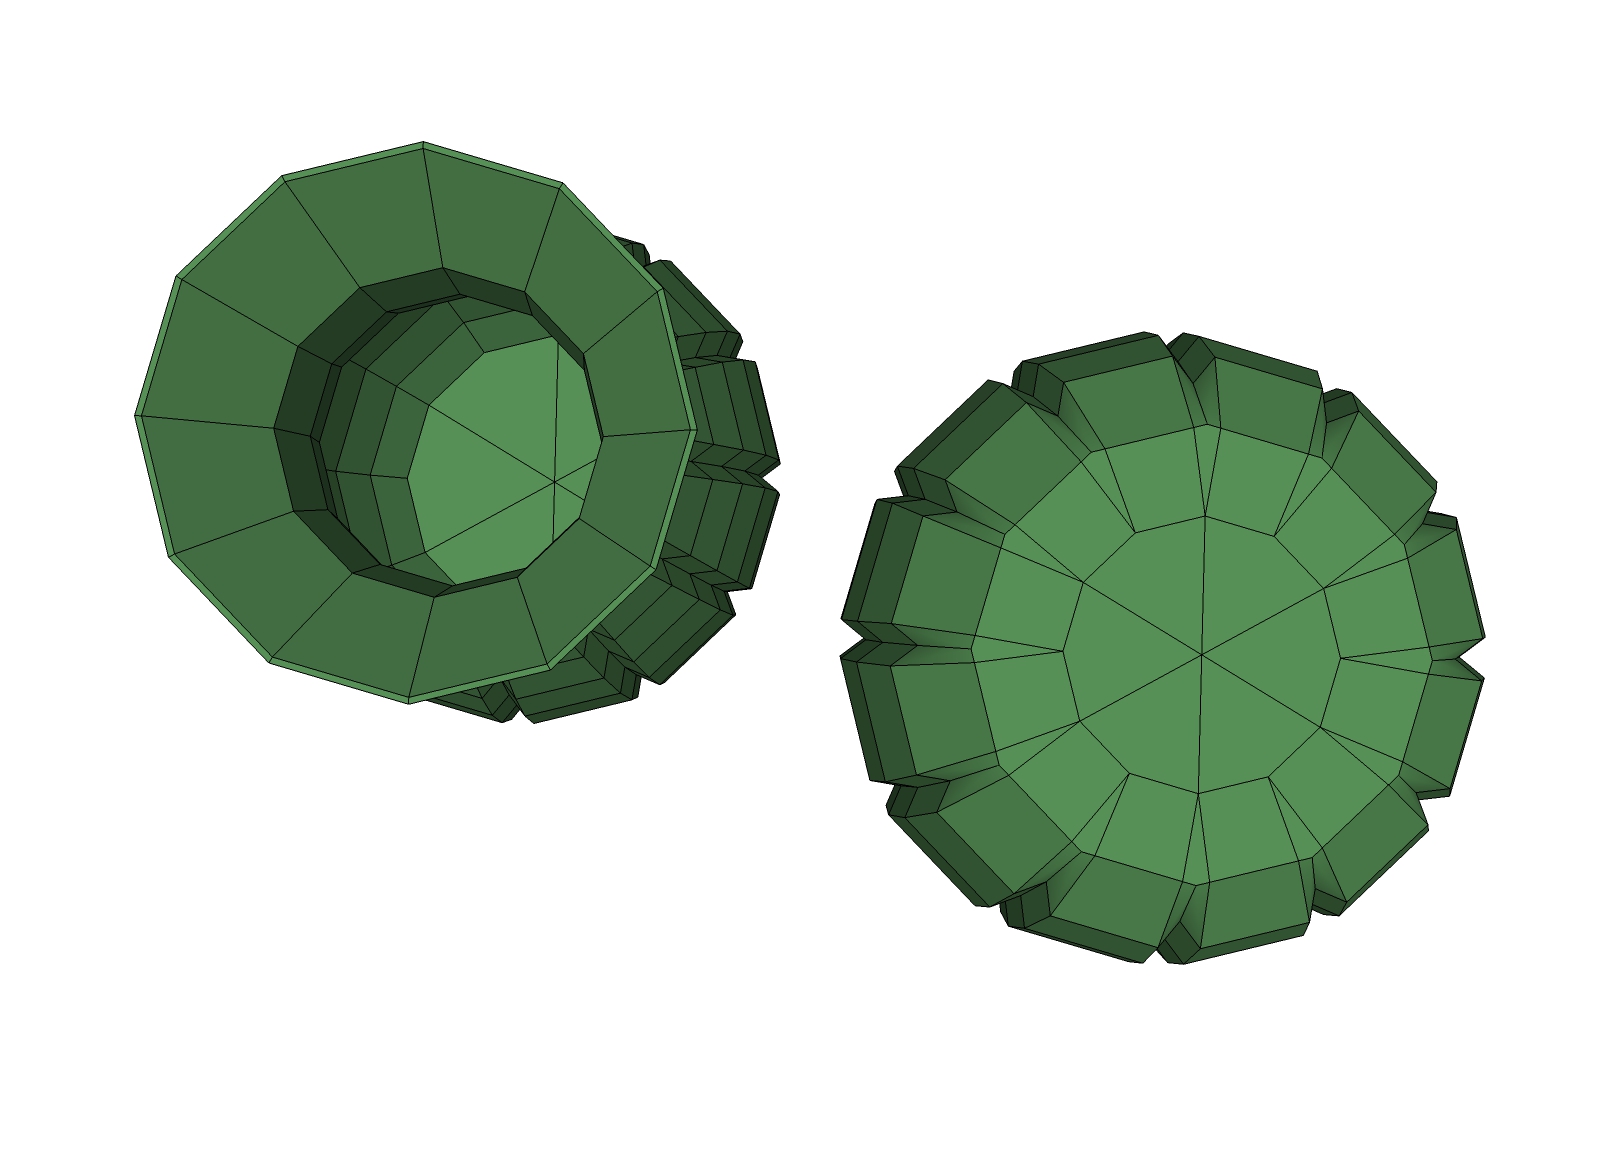
A little late night messing about..... Made the little curved piece down front, follow me then Vertex tools to get the twist... Now what ???? Copy around and you get a kind of crazy flower shaped fruit bowl !
-
love this "messing"
(btw "Messing" in German is the metal alloy brass ) -
@hornoxx said:
") love this "messing"
love this "messing"
(btw "Messing" in German is the metal alloy brass )Thanks HornOxx. Curious would "fooling about" translate better

-
@thomthom said:
Btw, do you have some quad that are not fully QuadFace quads? I see some unexpected uneven edges in the back there:
[attachment=0:1mfg7n1x]<!-- ia0 -->2019-01-19_13h26_35.png<!-- ia0 -->[/attachment:1mfg7n1x]
This is the same strange behaviour I got last year with some meshes. Dunno why, but it seems that some vertices react as a 1.0 crease when subdivided although they are 0 when checked with the crease tool.
I usually delete the problematic edges and redraw the geometry from scratch when that happens. -
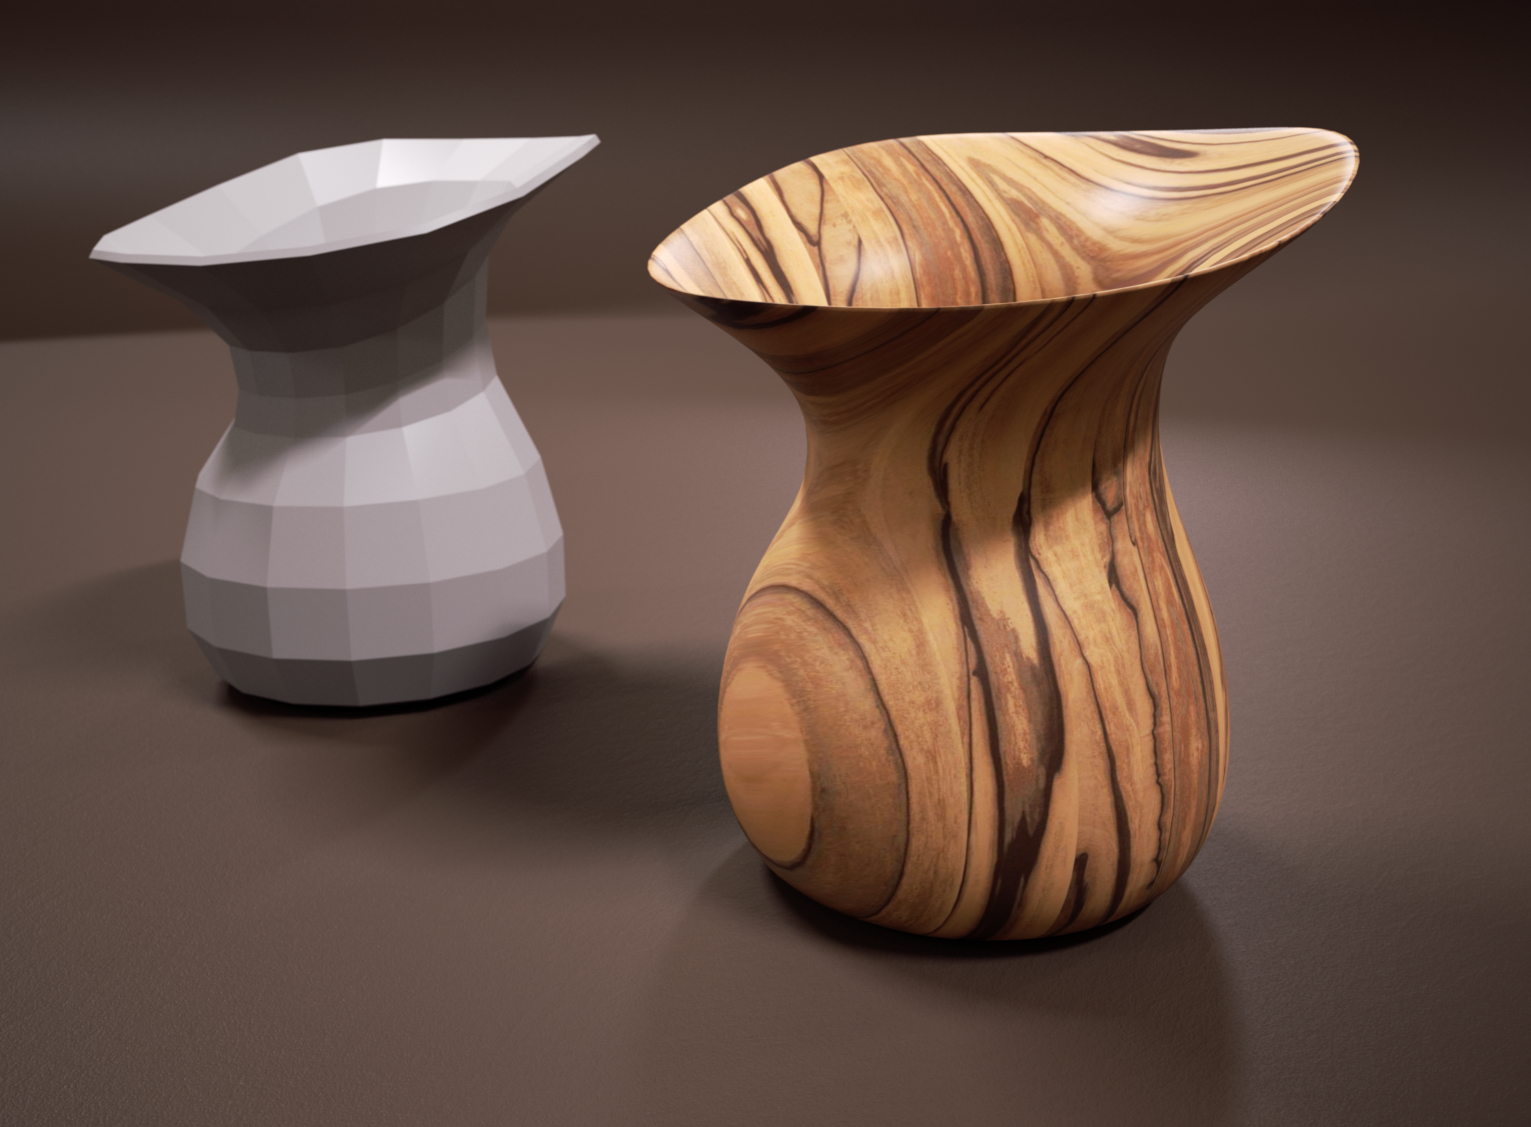
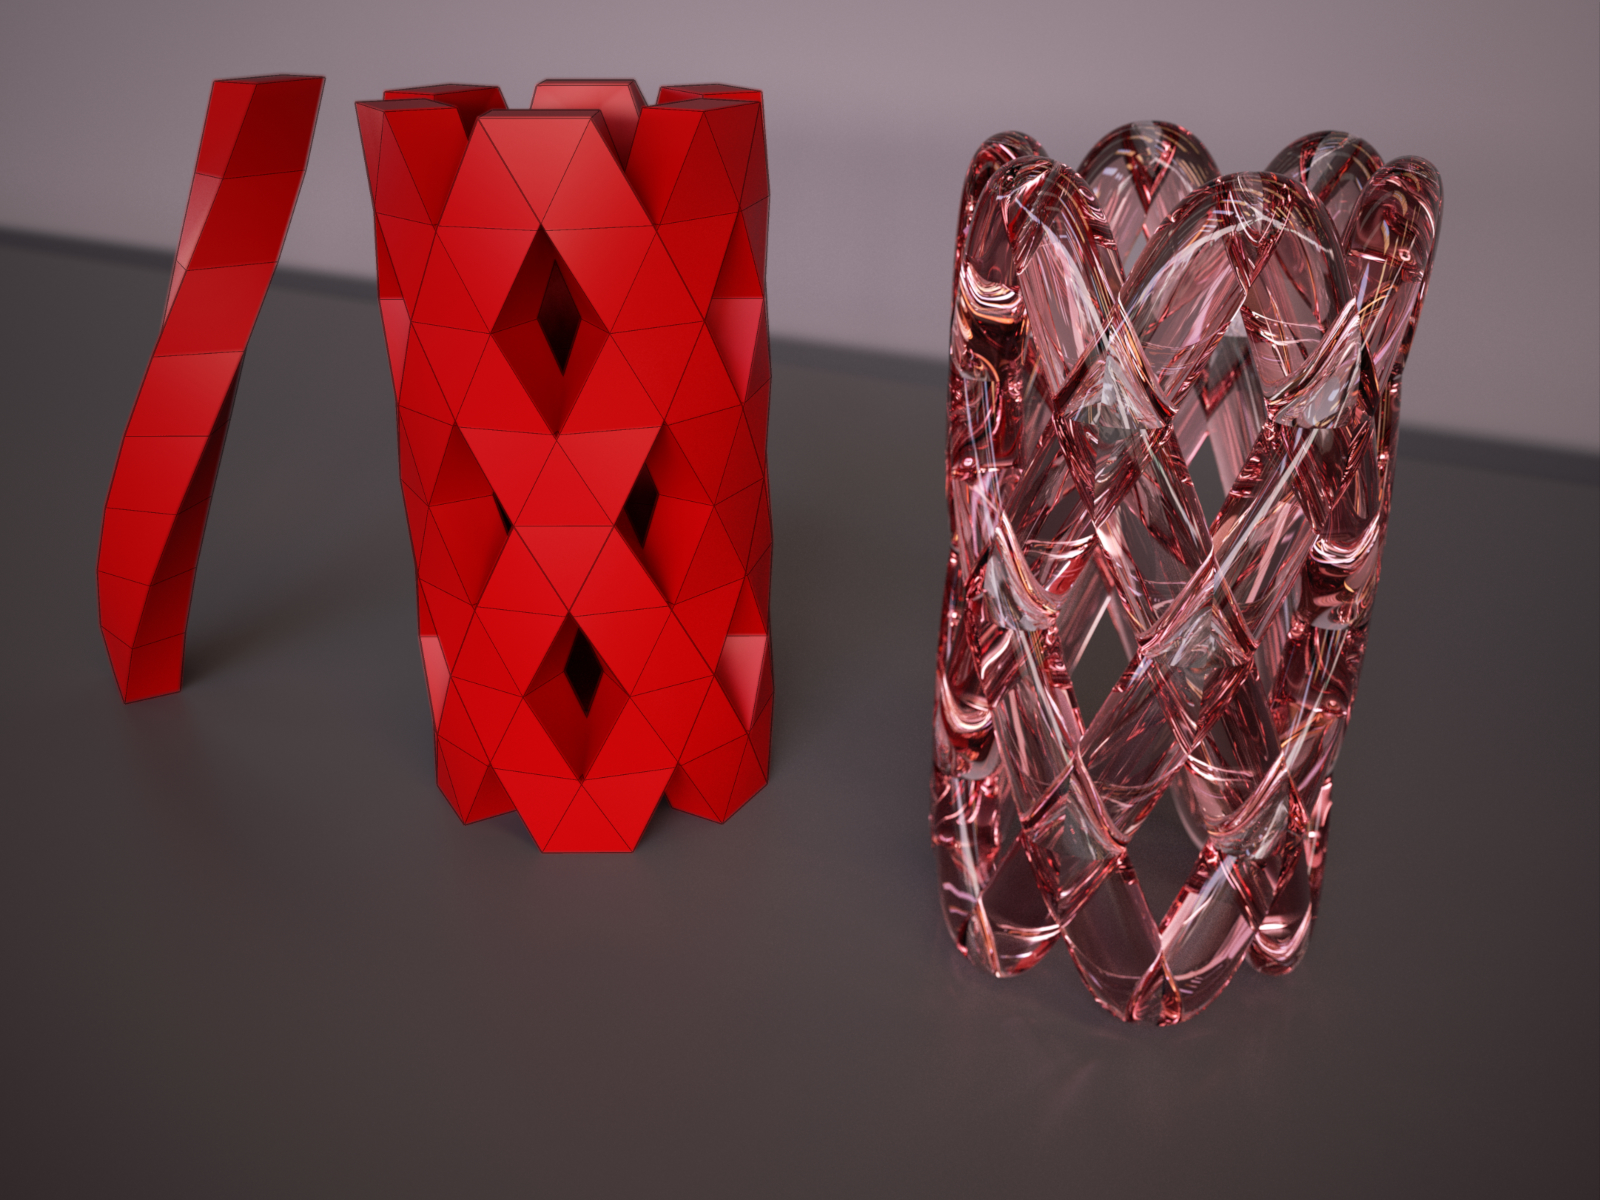
More late night fooling about / practice. Seem obsessed with what I can make out of copies of one piece. Made the piece on the left, copy _ array twelve times. Exploded and regrouped. Cleaned up the internal bits with Solid Inspector. Decided to flare the top a little more, as always Vertex tools makes it easy. There you have another crazy vase.
-
@tuna1957 said:
...Seem obsessed with what I can make out of copies of one piece...
 be careful - there is such a high addiction factor again a so nice (not fooling!) practice !
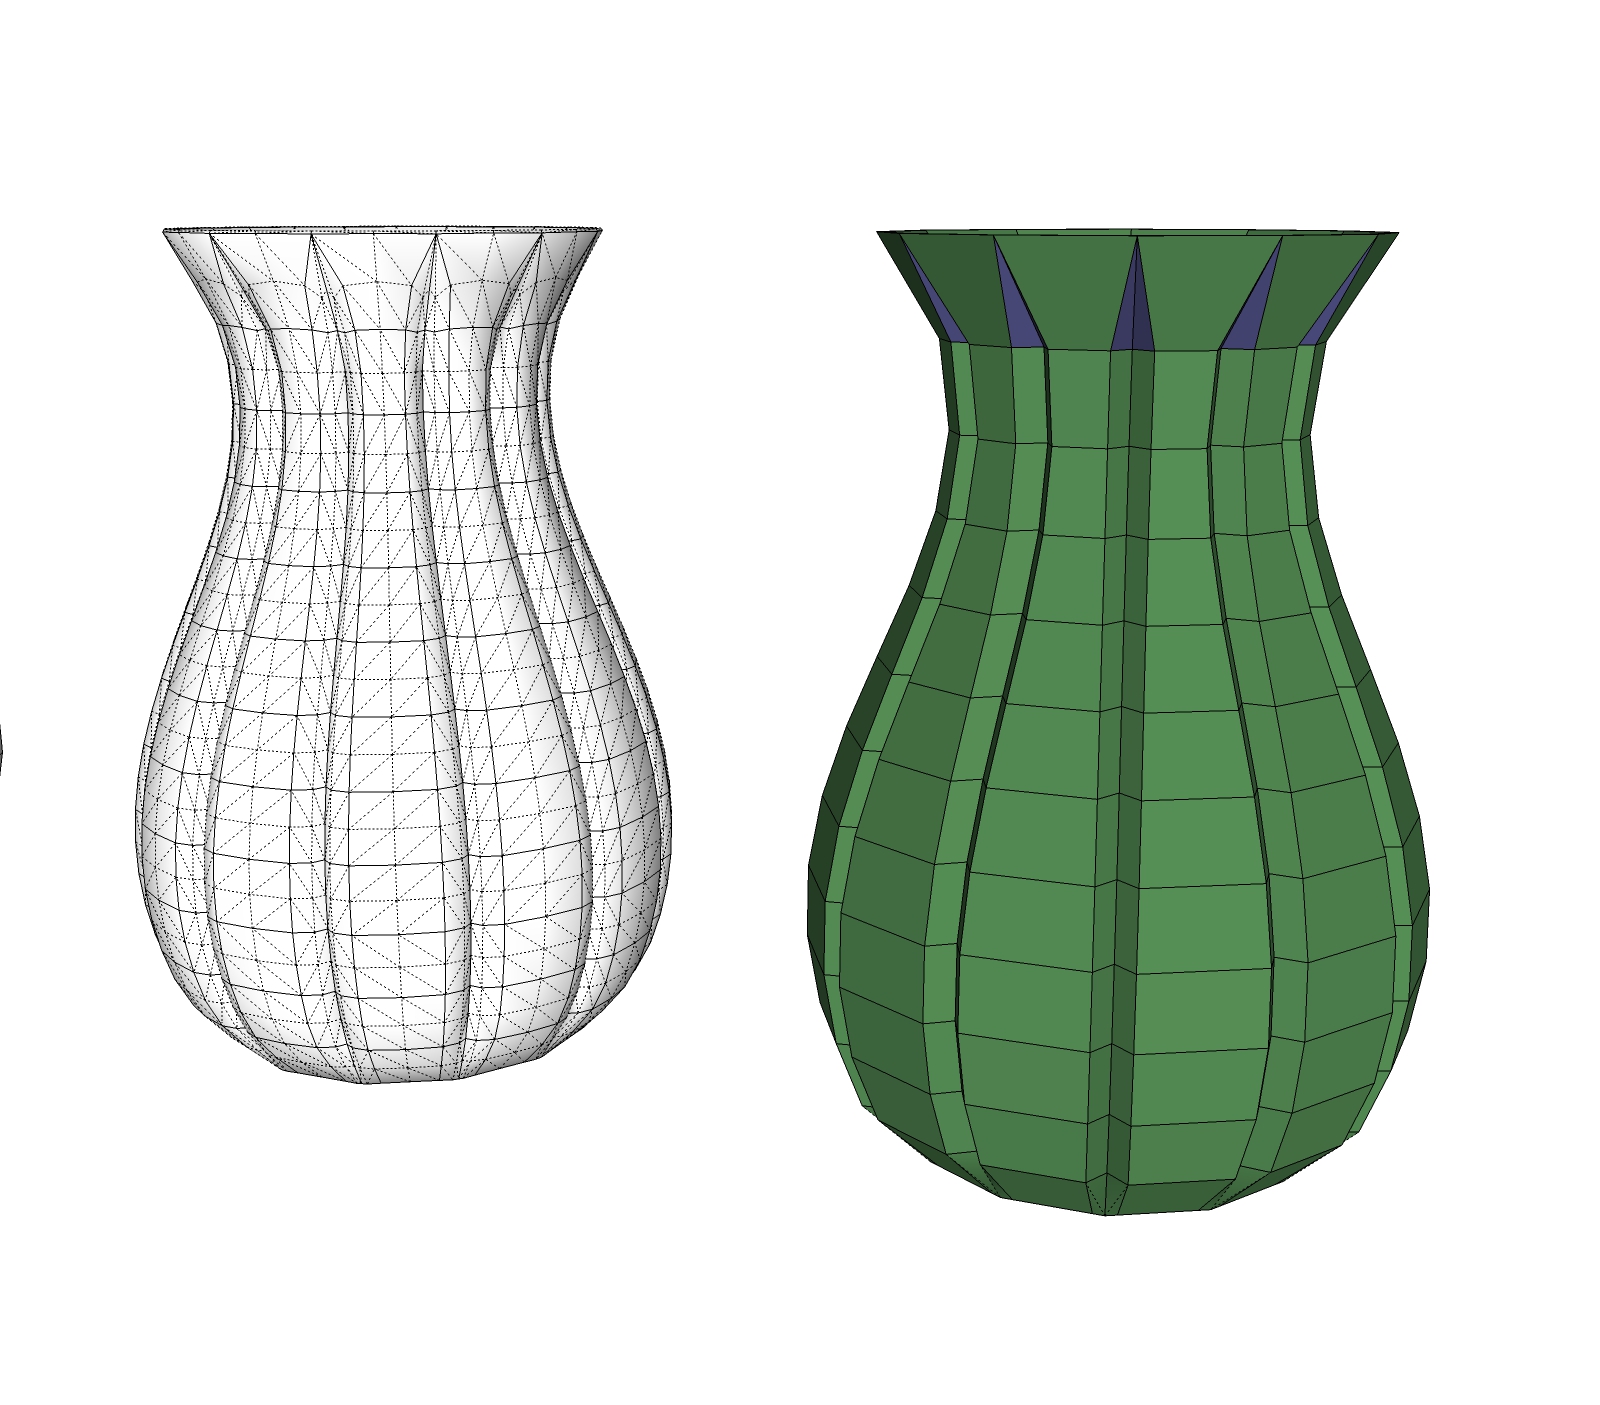
(in the throat(?) above you end up with a triangle - I still do not really understand correctly whether triangles are no longer an obstacle in this kind of workflow, which they were at the beginning of SubD) -
Next you'll start twisting them, then all is lost.
You'll have to start on the twelve steps and put your faith in a higher power...
.
.
.
.
.
.
.
.
.
.
Box -
@box said:
Next you'll start twisting them...and put your faith in a higher power...
.
. wunderbar !! -
Thanks Box , HornOxx.
HornOxx, you asked about triangles..... After I exploded the twelve pieces I erased and redrew the flat bottom inside and out so they were all quads. The pairs of triangles at the top just bellow the rim I could eliminate by " soft, smooth, no cast shadows" but I lost to much definition of the crease that way. Leaving them as triangles kept a better look to the vertical grooves. It seems you can cheat on the quads a little sometimes and still get a nice result.
-
thanks for these Infos - yes, you are geting a better shape so
This Green-Blue look is this quadface tools live mesh analysis feature - I always forget about this good feature -
HornOxx, your correct the green, purple colors are from Quadface tools analyze function. I forget about it myself sometimes
. -
@optimaforever said:
@thomthom said:
Btw, do you have some quad that are not fully QuadFace quads? I see some unexpected uneven edges in the back there:
[attachment=0:gkjocs9z]<!-- ia0 -->2019-01-19_13h26_35.png<!-- ia0 -->[/attachment:gkjocs9z]
This is the same strange behaviour I got last year with some meshes. Dunno why, but it seems that some vertices react as a 1.0 crease when subdivided although they are 0 when checked with the crease tool.
I usually delete the problematic edges and redraw the geometry from scratch when that happens.If you send me one of these models I can have a look into what is going on.
-
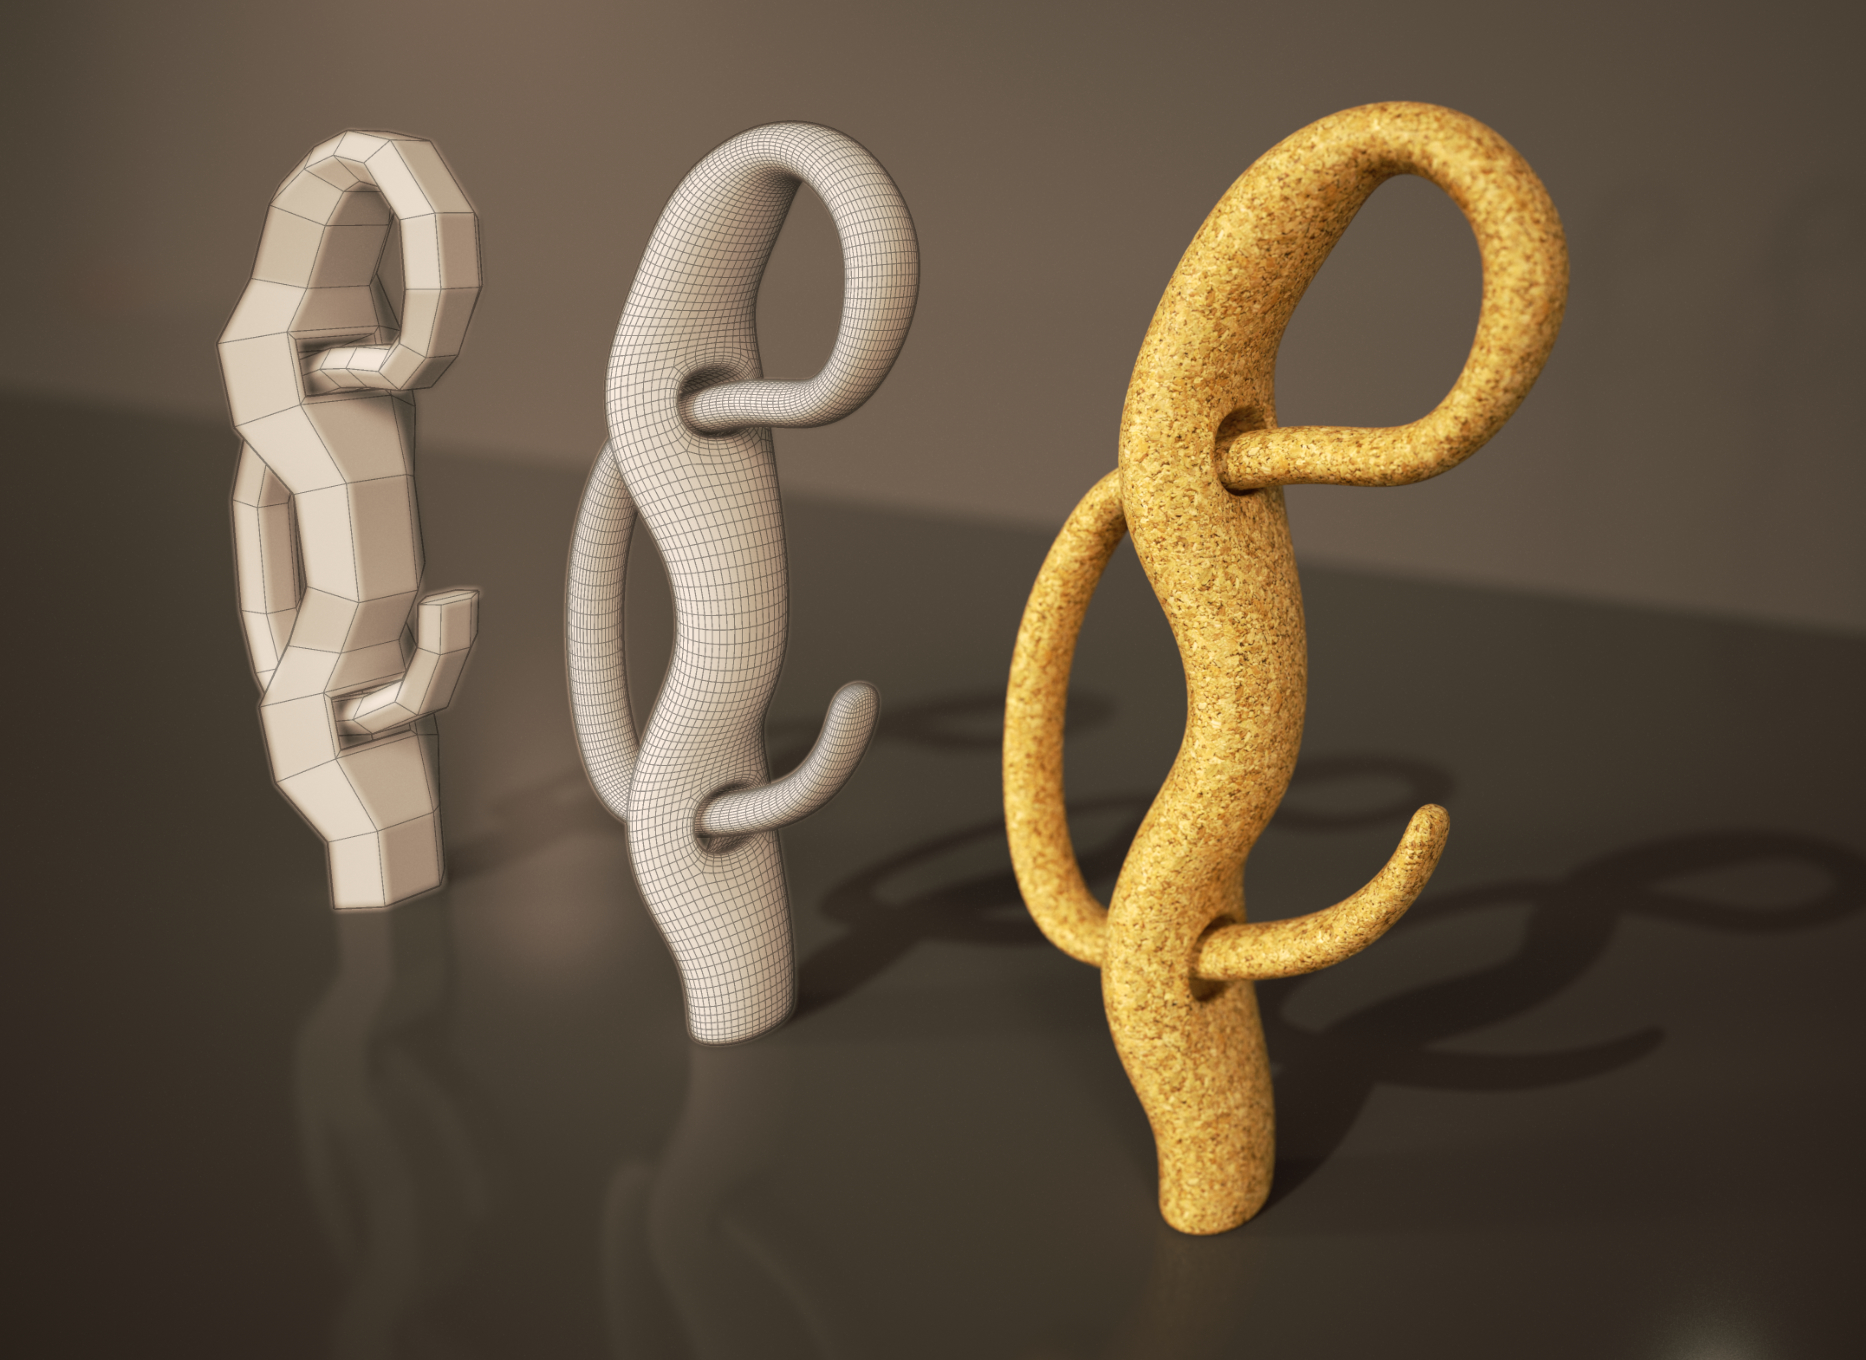
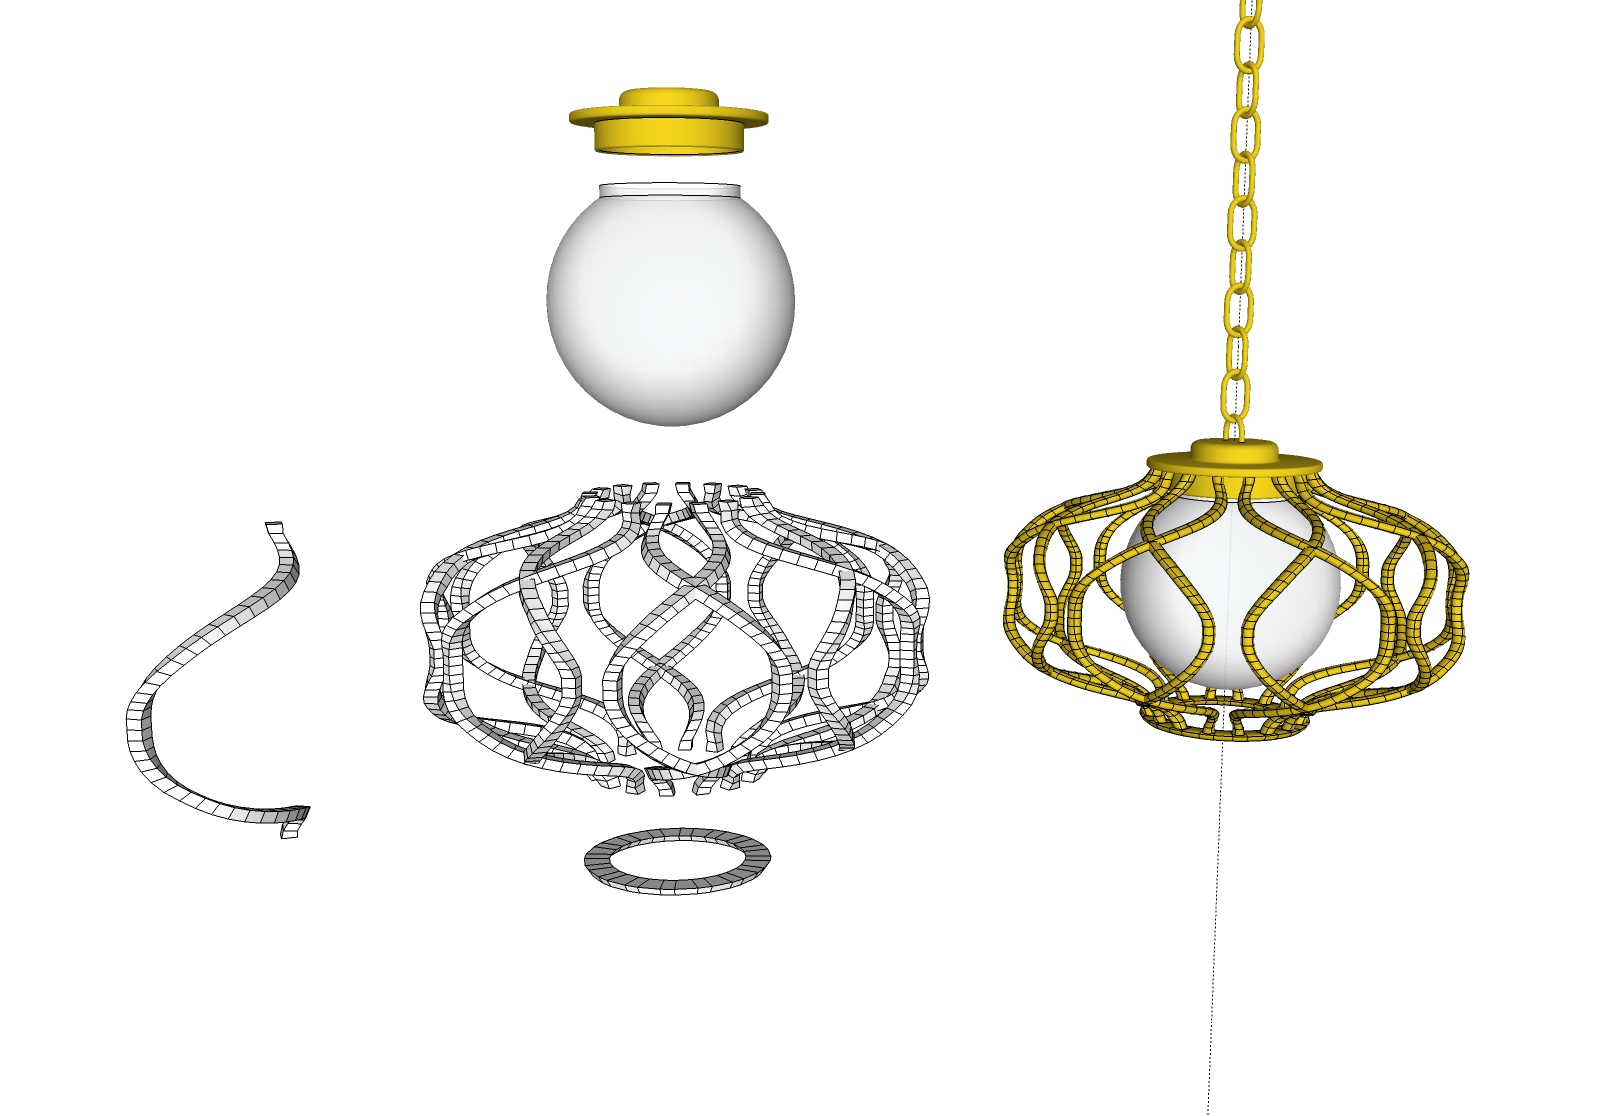
Some more of my weird Vertex tools and SubD stuff. Twisted up the piece on the left, did some copy - array business. Add a few more bits and pieces and I ended up with a hanging lamp. SubD on the twisty bits and bottom trim ring the rest native SU.....
-
Not by me!
-
A couple of sinks I knocked up as an example.
Simple
Somewhat more complex

Hello! It looks like you're interested in this conversation, but you don't have an account yet.
Getting fed up of having to scroll through the same posts each visit? When you register for an account, you'll always come back to exactly where you were before, and choose to be notified of new replies (either via email, or push notification). You'll also be able to save bookmarks and upvote posts to show your appreciation to other community members.
With your input, this post could be even better 💗
Register Login


Advertisement