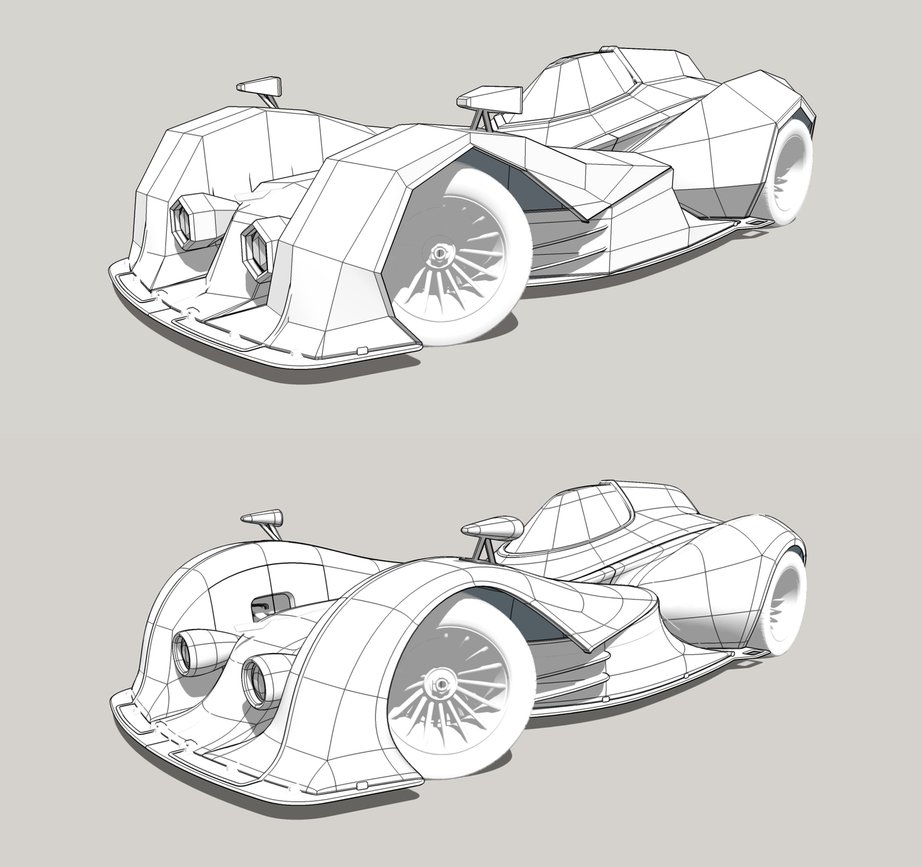
SubD examples and models
-
Playing around with Visualize

-
Stool - a pefect example for "subdeeing"

-
Olaf the Snowman
recently I discovered this cute snowman Olaf on YouTube and since the weather was cold and wet, I decided to make this guy as an exercise. The most difficult challenge was to make the shape of Olaf's head. So I googled some images which seemed suitable as template. One template, I placed in the background for modeling in SU´s X-Ray mode. A copy of this template I placed next to it in order to have always a clear view on Olaf's face. The interior of Olaf´s mouth I made outside of the head - for this I copied the lip line, then I created a new shape by moving and scaling it with VertexTools. This mouth-shape I placed back in OLAF's head after it was finished.
(there is no post pro, the render is done with shaderlight)


-
[edg3d:1ulca68t]WHznhEOWtLJv18x[/edg3d:1ulca68t]
-
@rich o brien said:
[edg3d:2yrc4iqy]WHznhEOWtLJv18x[/edg3d:2yrc4iqy]
[attachment=0:2yrc4iqy]<!-- ia0 -->sub-d-coffee-cup-tex.skp<!-- ia0 -->[/attachment:2yrc4iqy]
Jealous....


-
Nice color taste

BTW who makes the Thomtom's toolbars? -
@unknownuser said:
BTW who makes the Thomtom's toolbars?
It's the Vextex Tools plugin for move, rotate, scale individualy or in groups points of a 3D Model!
-
No, Pilou. I triedto ask Rich whether he was involved in Thomtom's toolbar design.
I see something common in the penmanship. -
Got nothing to do with them.
I know for QFT he uses an icon pack which he credits in his docs.
-
@rv1974 said:
No, Pilou. I triedto ask Rich whether he was involved in Thomtom's toolbar design.
I see something common in the penmanship.I create the icons myself.
@rich o brien said:
know for QFT he uses an icon pack which he credits in his docs.
Not the toolbar icons. They are modelled after 3dmax though, but all created from scratch.
-
-
-
very impressive!
-
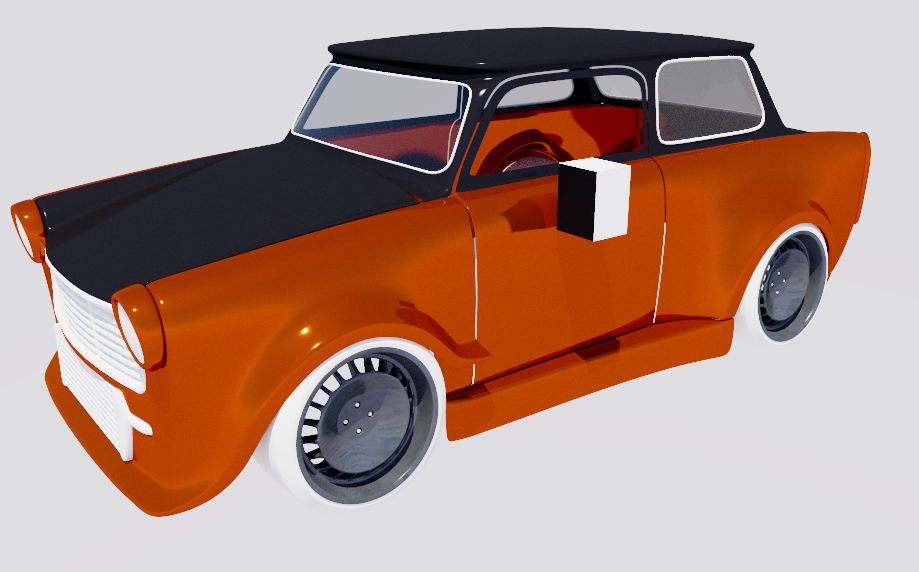
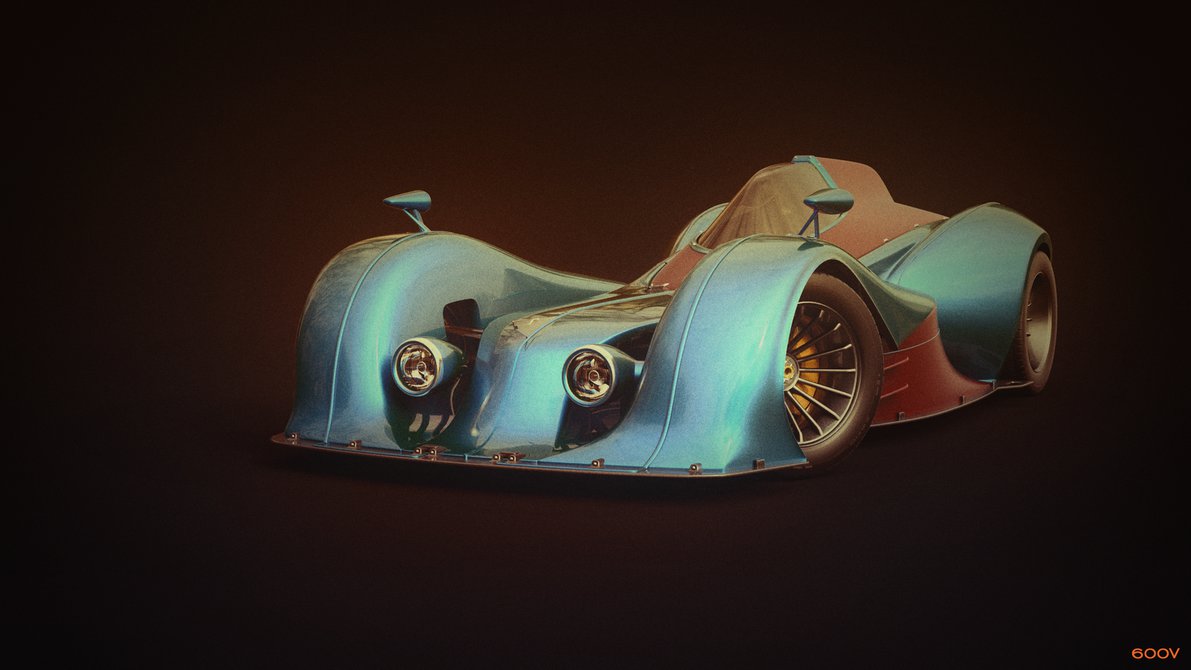
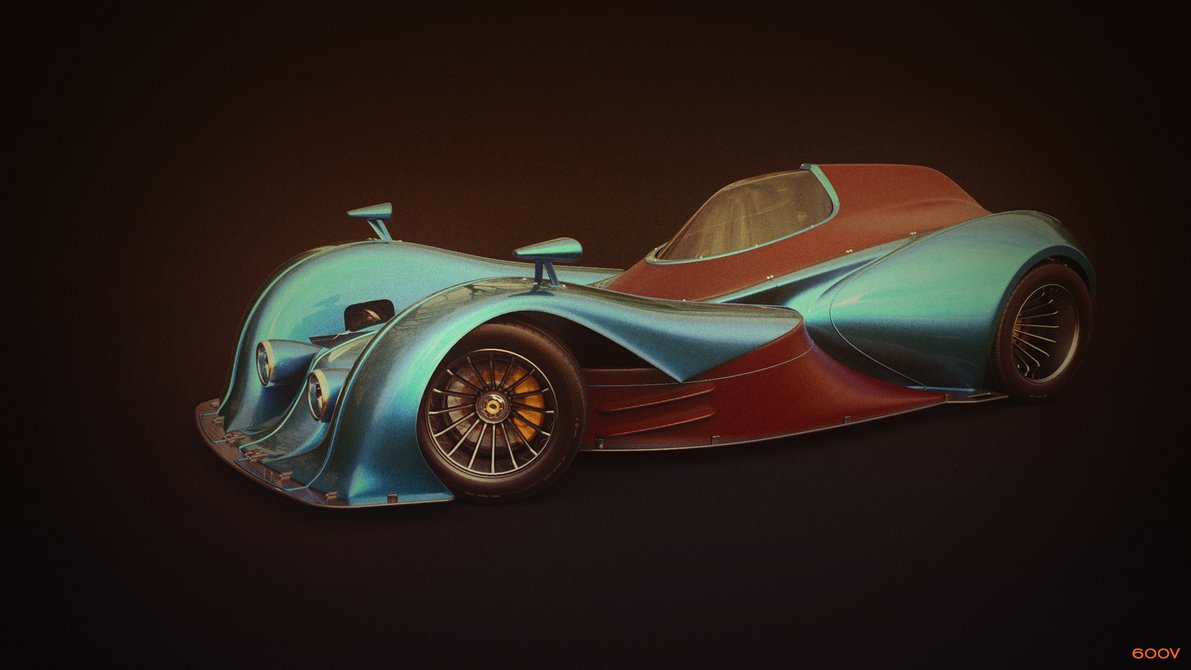
Bruh! 600v is one of my favorite SketchUppers!
-
Ixlrlxi was yet a master modeler, so with SubD it will be a super master!
-
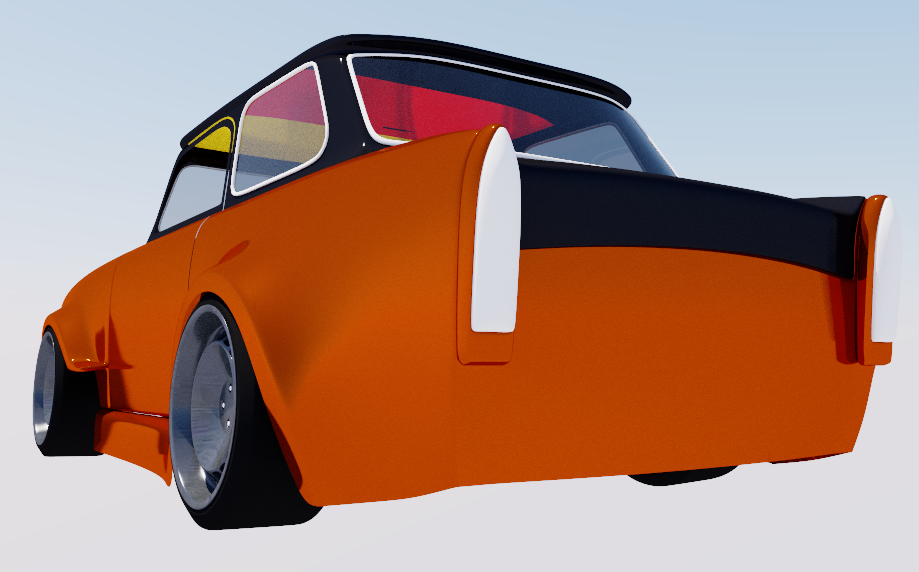
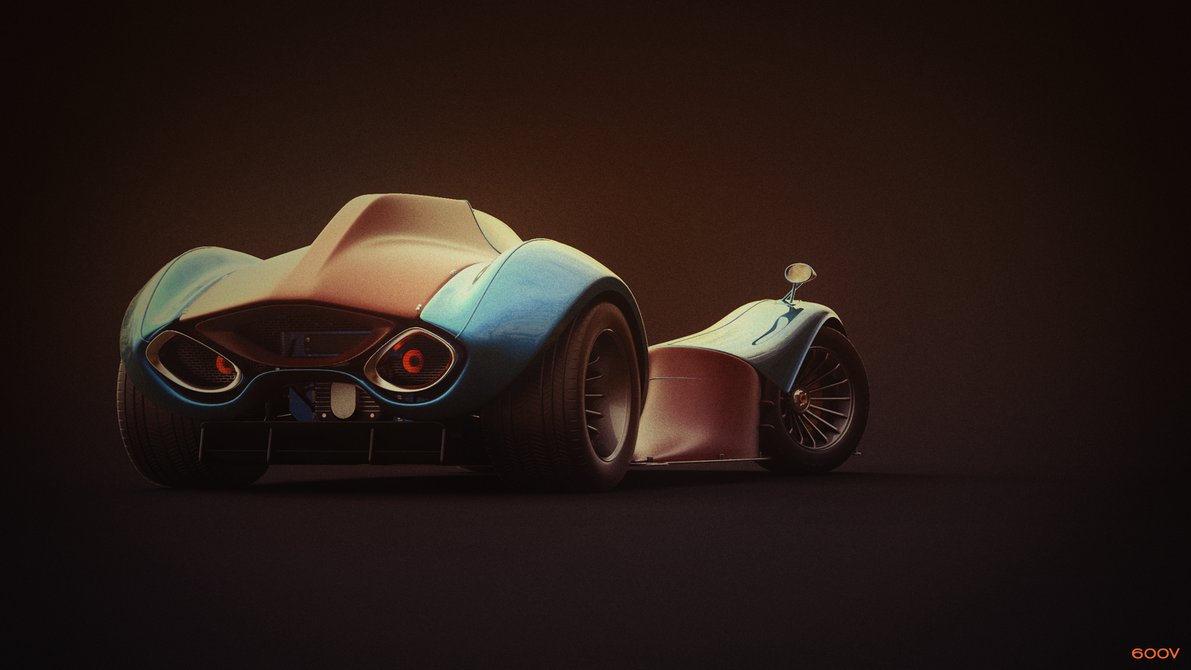
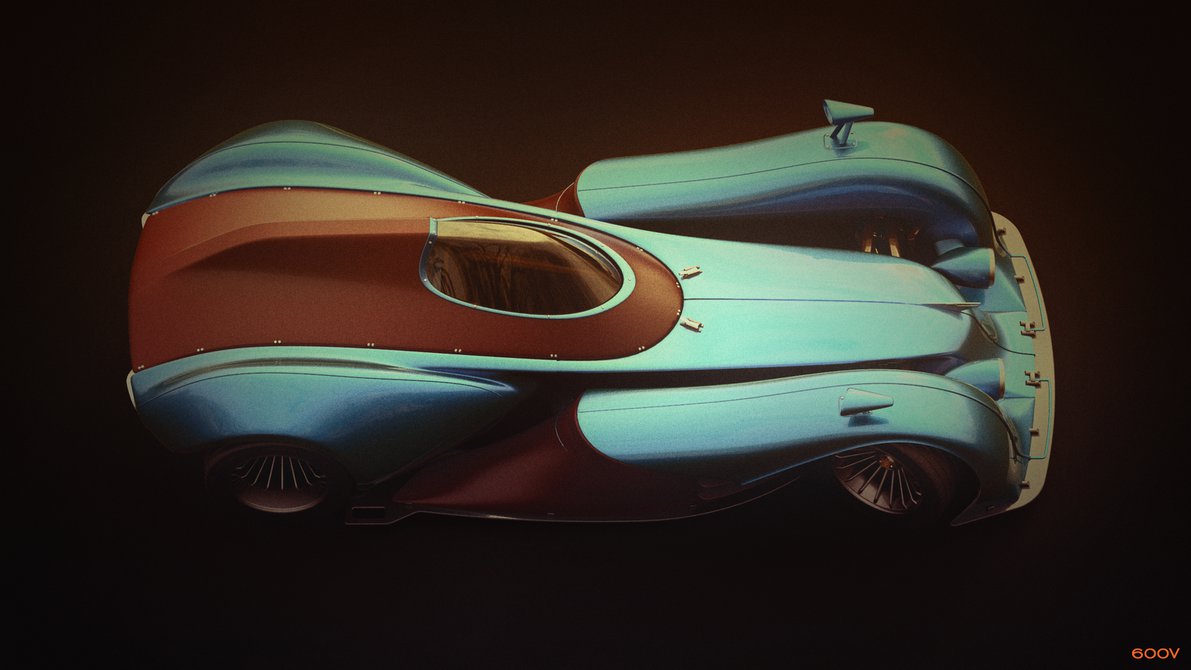
the rear end of that car is so emotive. love it.
-
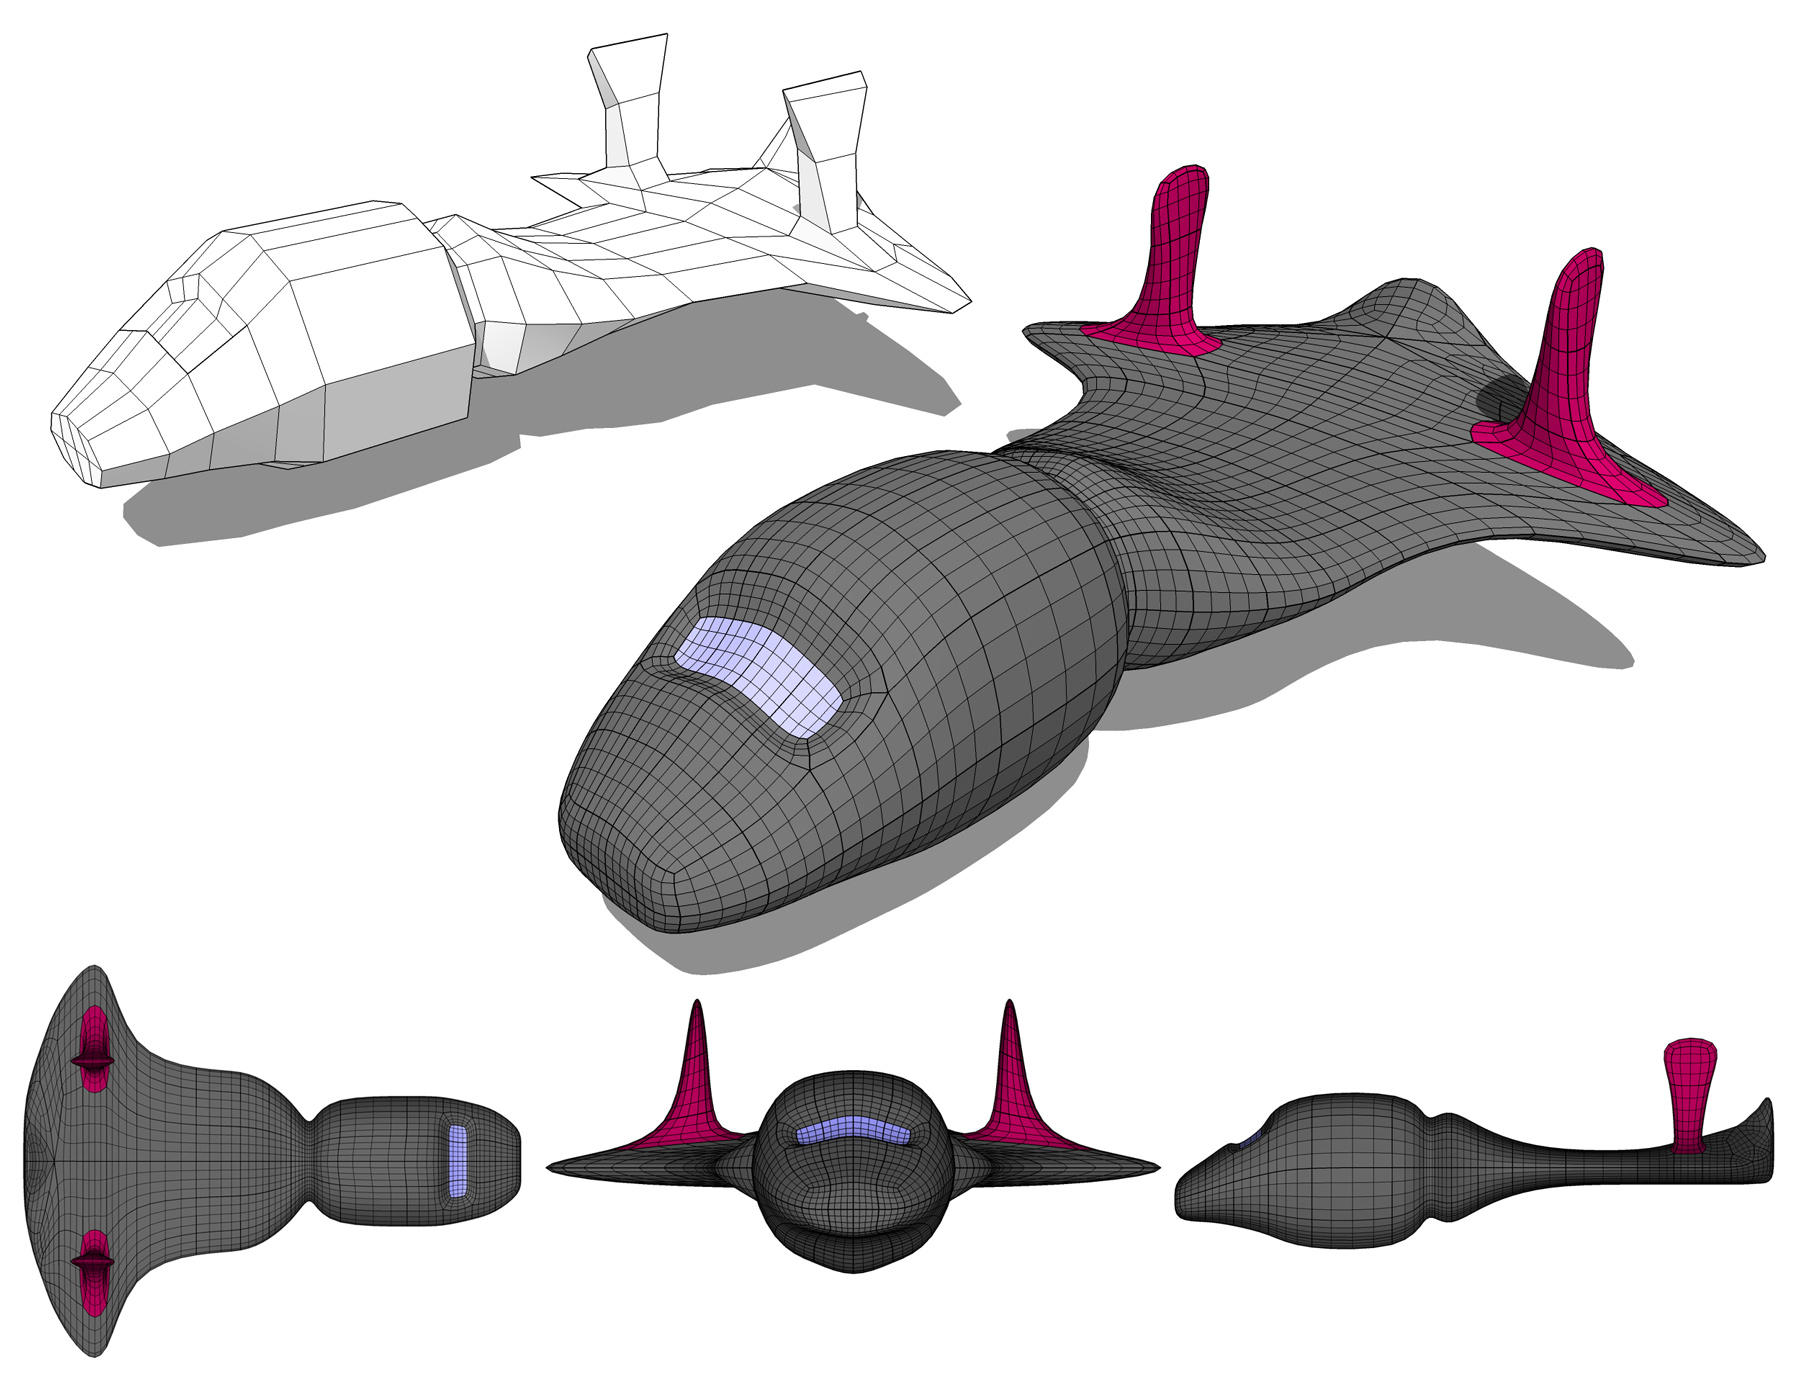
He's a simple Dolphin if anyone wants one.
It's only very quick and straight out of my head so may offend the aesthetic sensibilities of any passing Aquatic Mammal specialists.
Saved the proxy back to 8.
-
a great idea and model for this place - thanks for that -
Very nice Box - good basic example of how to use the tools.
-
Well, here comes mine:

and after a little bit of Thea and Photoshop, this is the result:

Hello! It looks like you're interested in this conversation, but you don't have an account yet.
Getting fed up of having to scroll through the same posts each visit? When you register for an account, you'll always come back to exactly where you were before, and choose to be notified of new replies (either via email, or push notification). You'll also be able to save bookmarks and upvote posts to show your appreciation to other community members.
With your input, this post could be even better 💗
Register Login


Advertisement