SubD examples and models
-
Great
 . Just the bird's tail should be a little different
 -
@alvis said:
Great
. Just the bird's tail should be a little differentWondered who’d noticed the sideways tail
 . Worked from a photo of a piece from the 1960’s and that’s how the tail was done go figure ? Might change it might not.... haven’t made up my mind yet. Would be a pretty quick change
  .
. -
@tuna1957 said:
... knocking off the rust. Mid century modern style sculpture....
wunderbar! A so nice small work (and a good metal representation in the render by the way!) -
@tuna1957 said:
Call me the king of simple stuff
 .
.Nice. What a good reminder to keep it simple. SUbD does most of the work if we just keep it proportional. A good presentation that took a simple model to another level. Thanks for posting
-
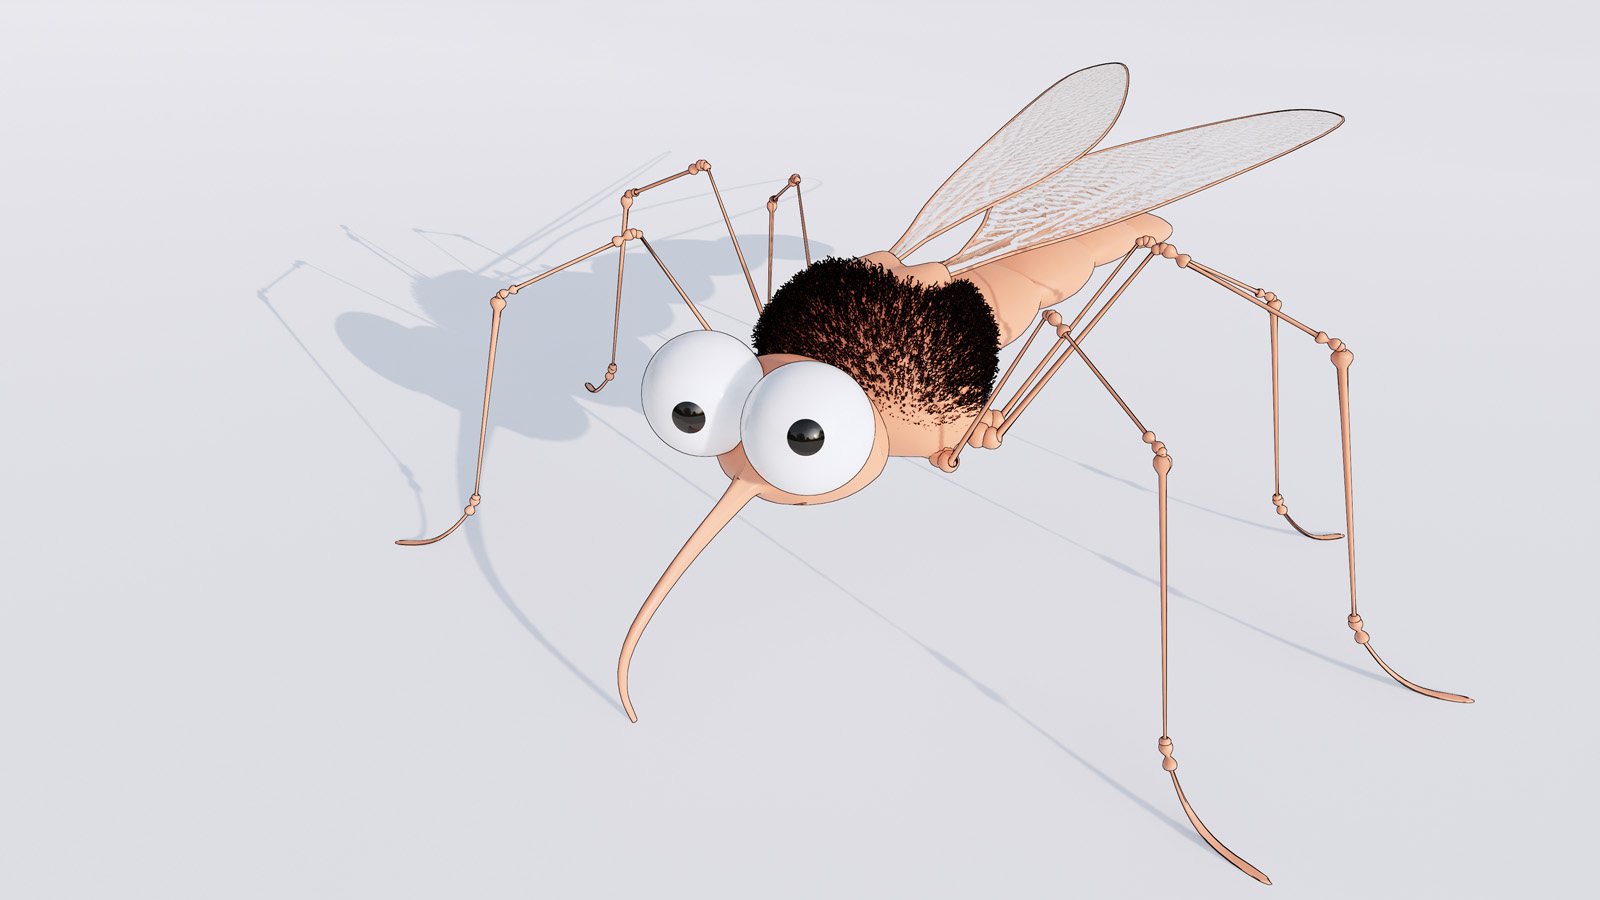
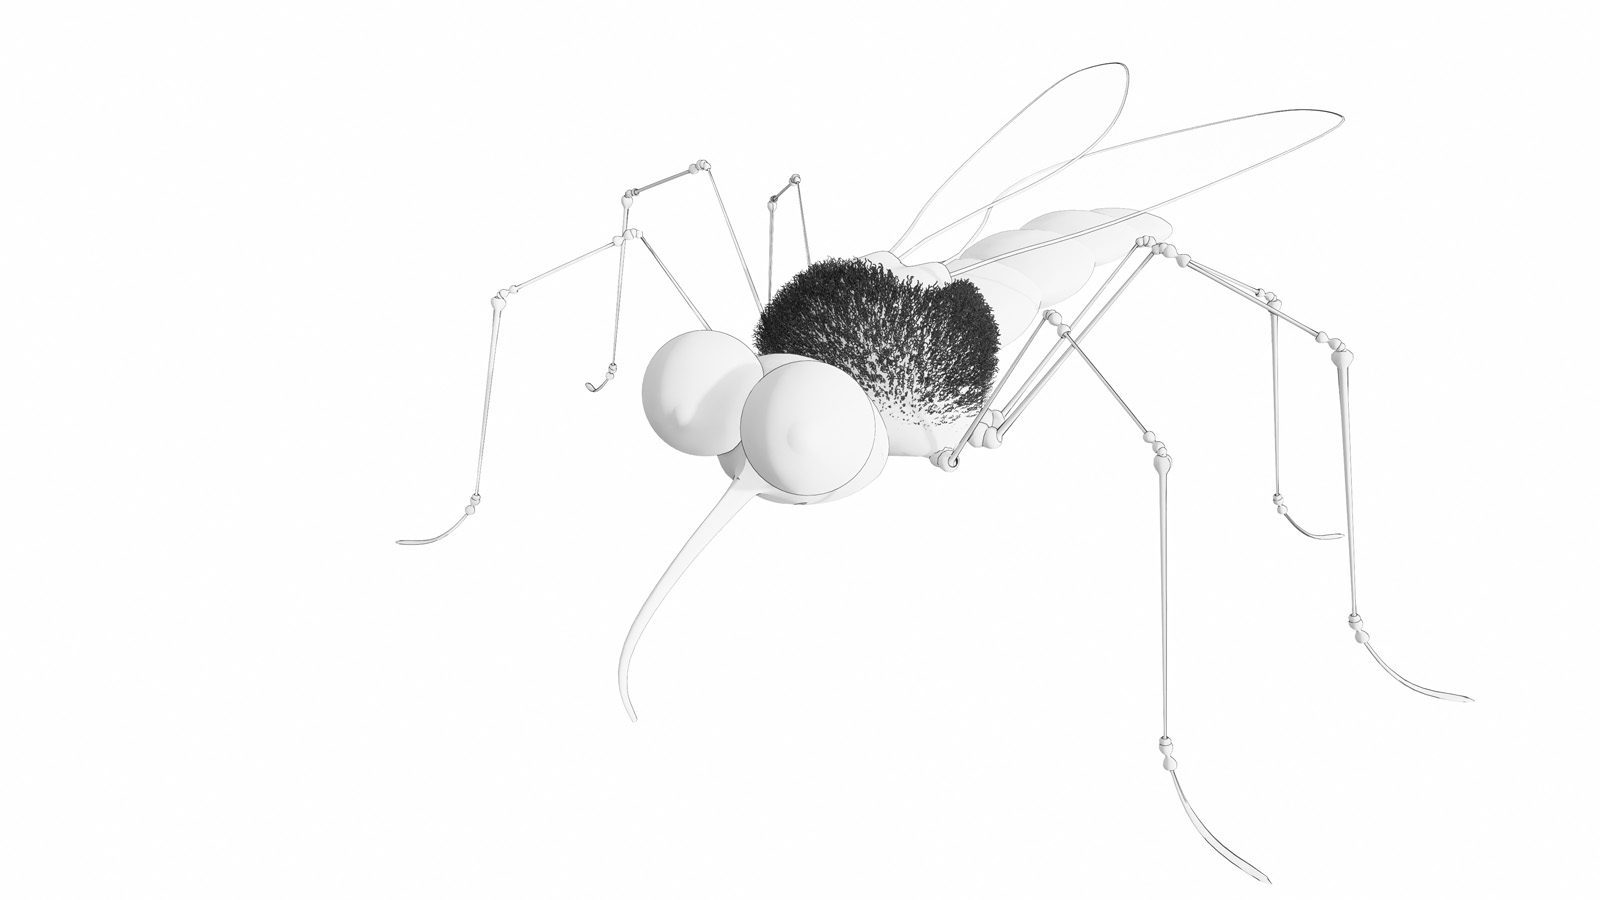
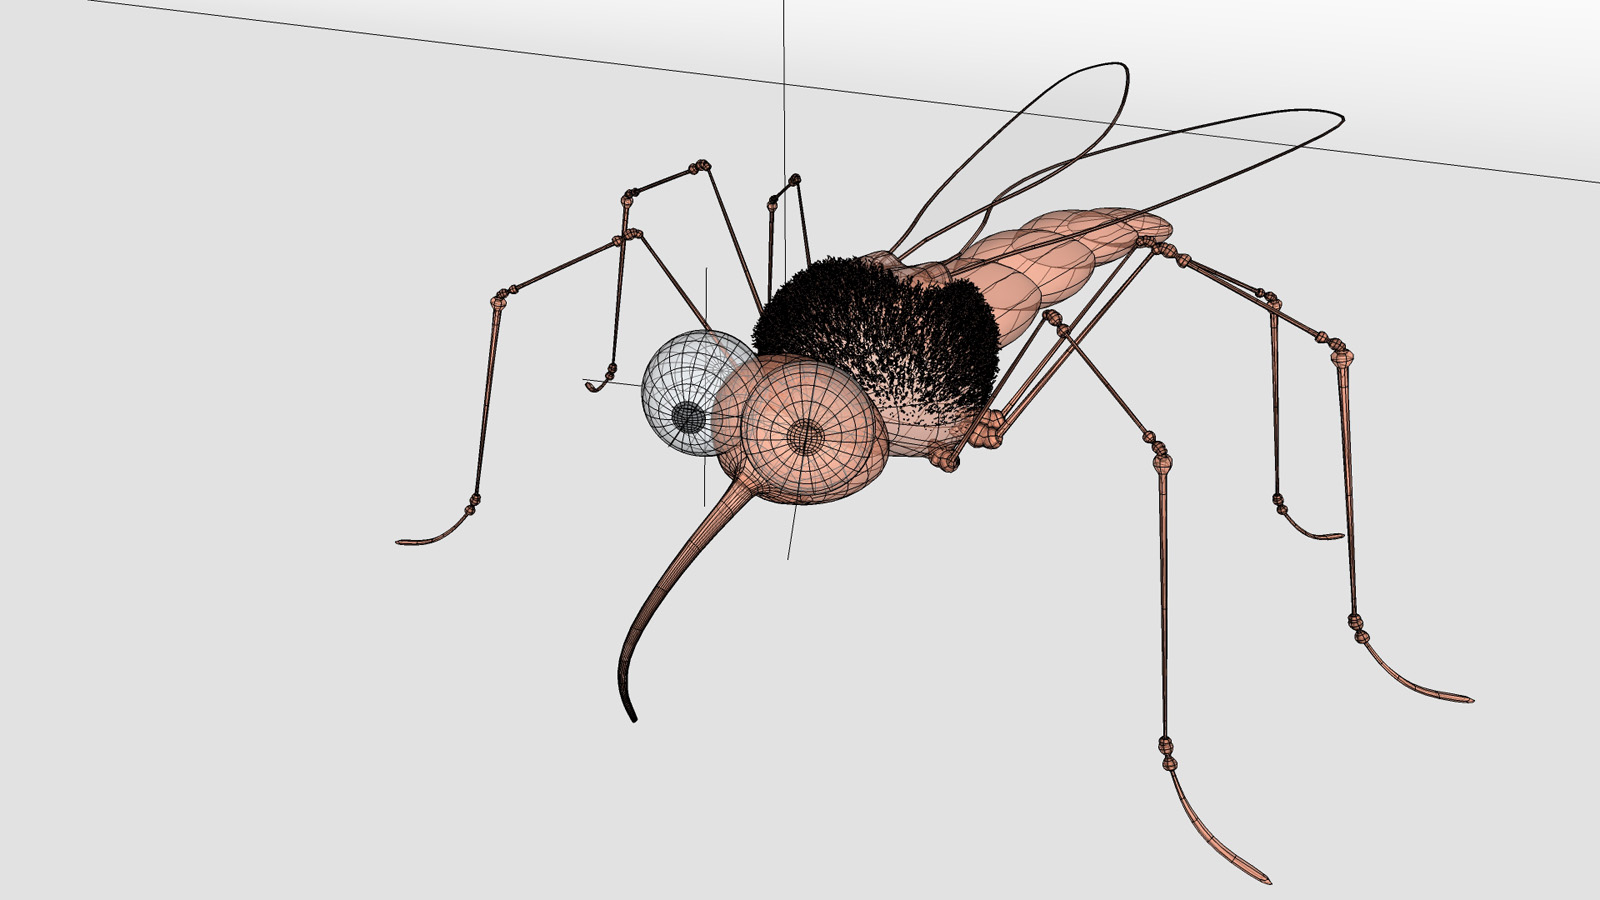
Mosquito - A little just for fun moddeling
[SkUp 2017 Make / SubD / Skatter / Enscape]
http://3dwarehouse.sketchup.com/model/56816d2a-0088-419f-89cc-131bbc02d8d2/Mosquito

-
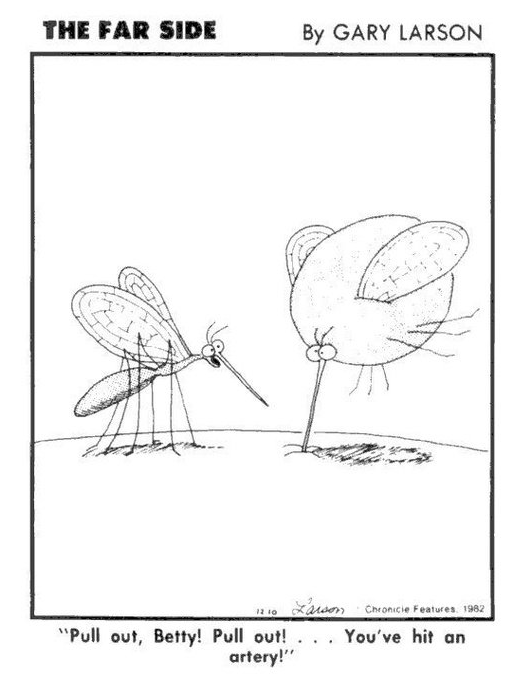
Nice one! Reminds me of this classic.
-
-
-
Fantastic and fun bug HornOxx
-
very funny

-
Great modeling, use of Subdiv and cartoon render...but just as important, full of character. Love it.
-
Thanks All
I very much appreciate that you like this little simple "character" fun -
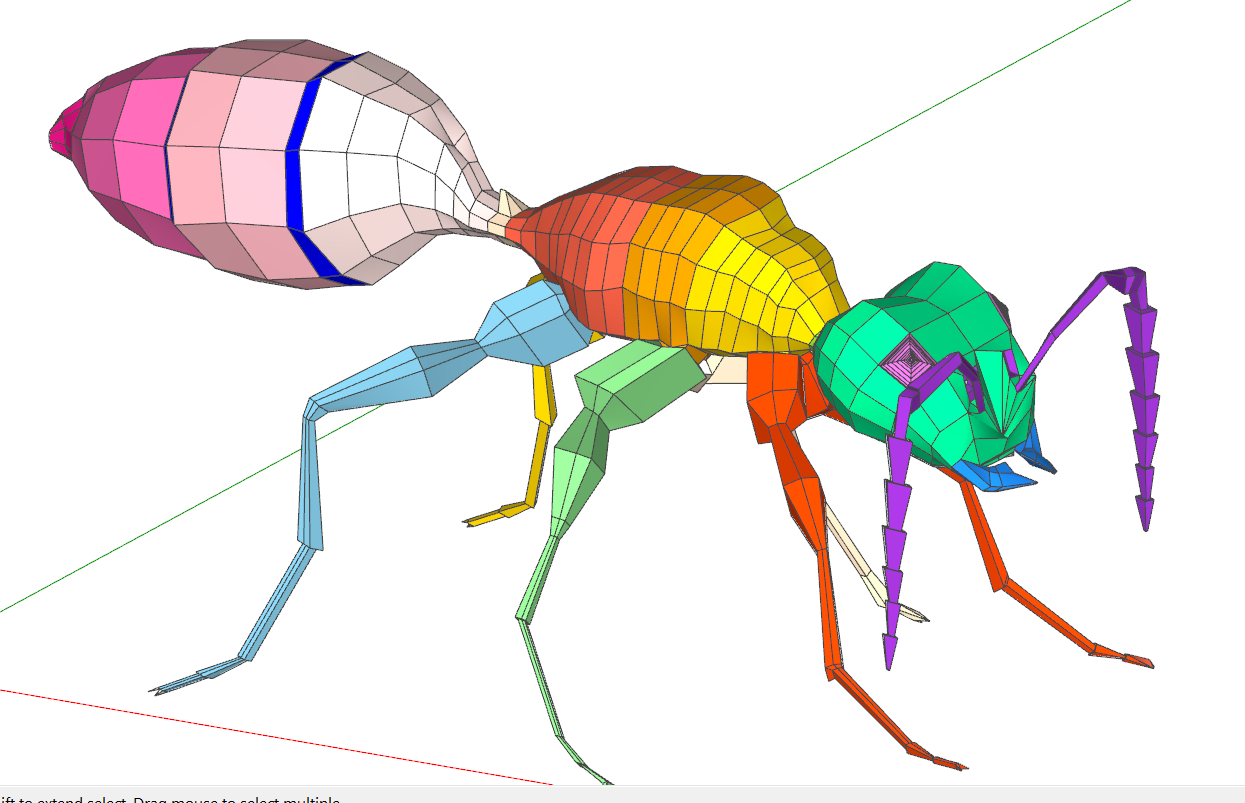
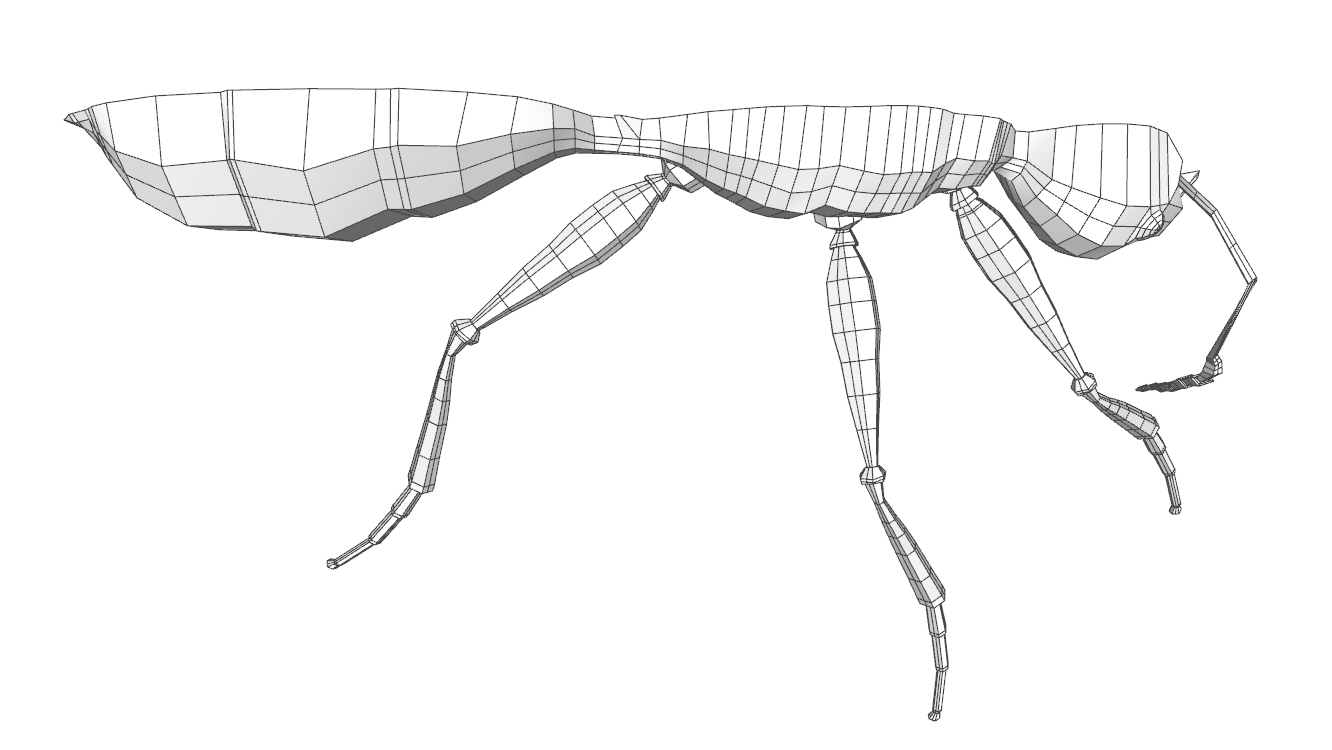
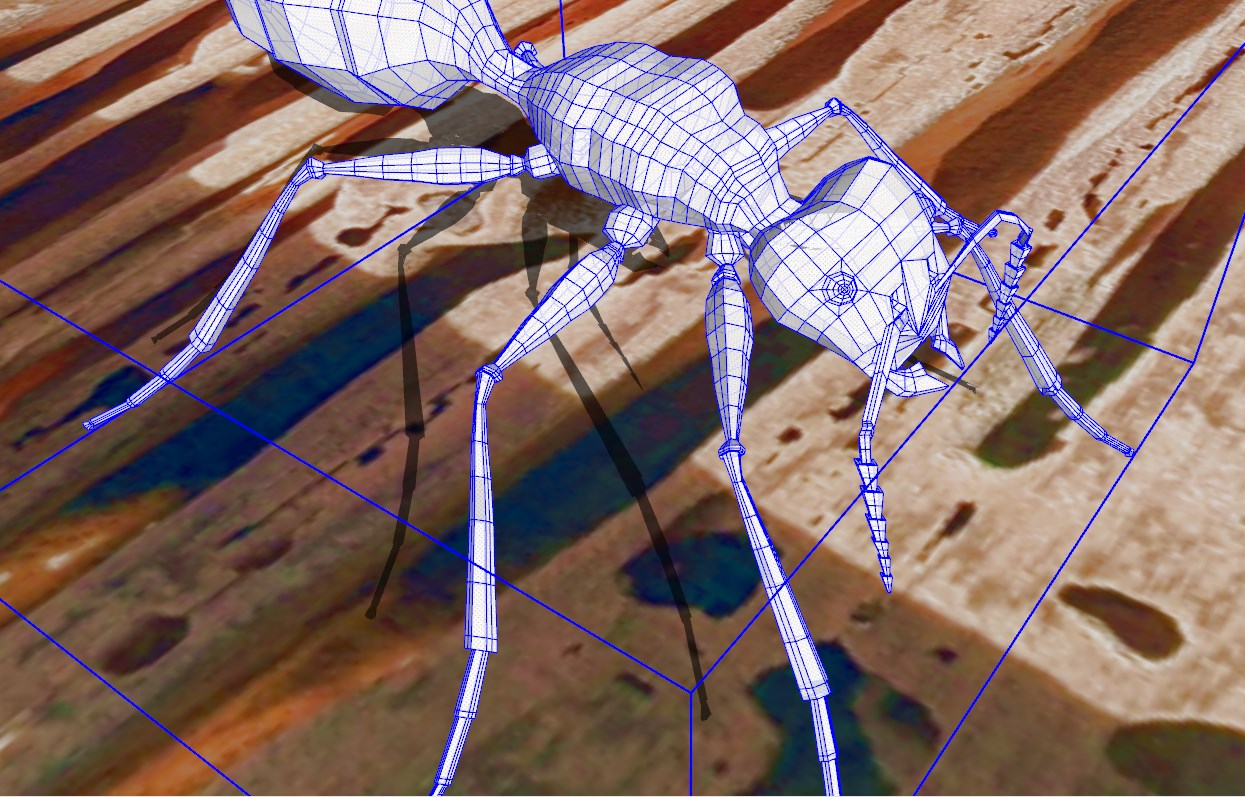
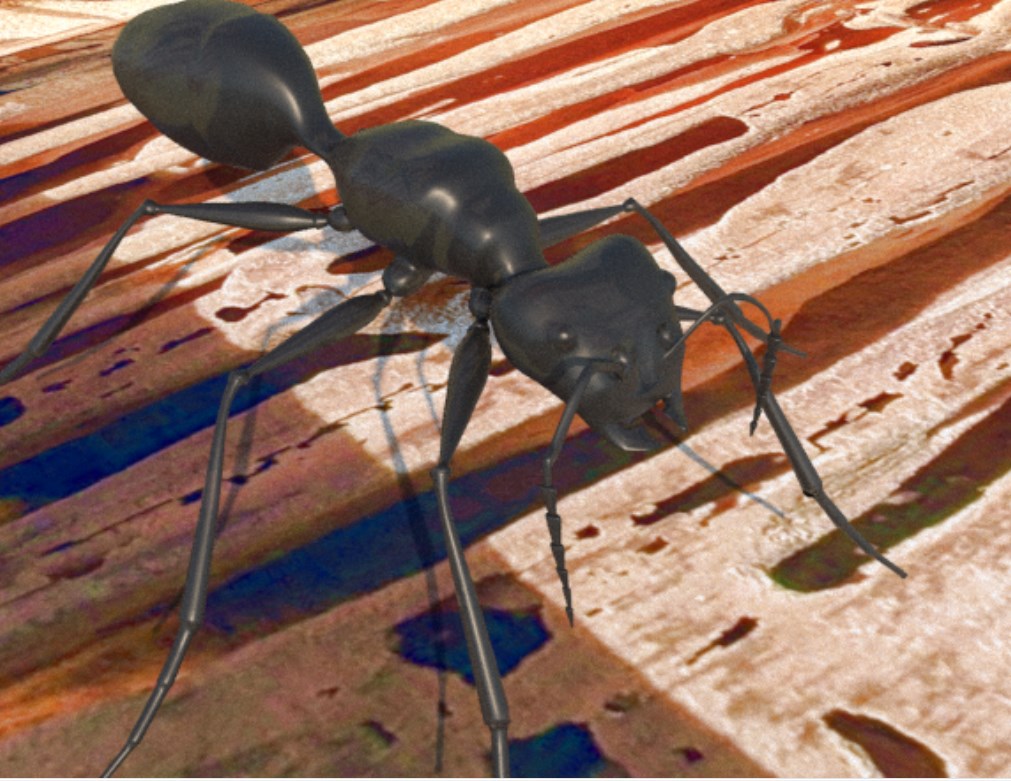
Carpenter Ant
I post my models here because I want illustrate to others who may be interested in Organic modelling that it's quite possible with Sketchup, largely because of the amazing extensions (QuadFace Tools, Vertex Tools 2, and SUbD) that ThomThom developed. The more I work with them the greater appreciation I have. Model on!
The painted low poly model was later edited to improve on the leg detail. You can see in the Substance Painter example below how the legs had lost their definition after subdivision. I later used QuadFace Tools to add loops to maintain shape.
Substance Painter
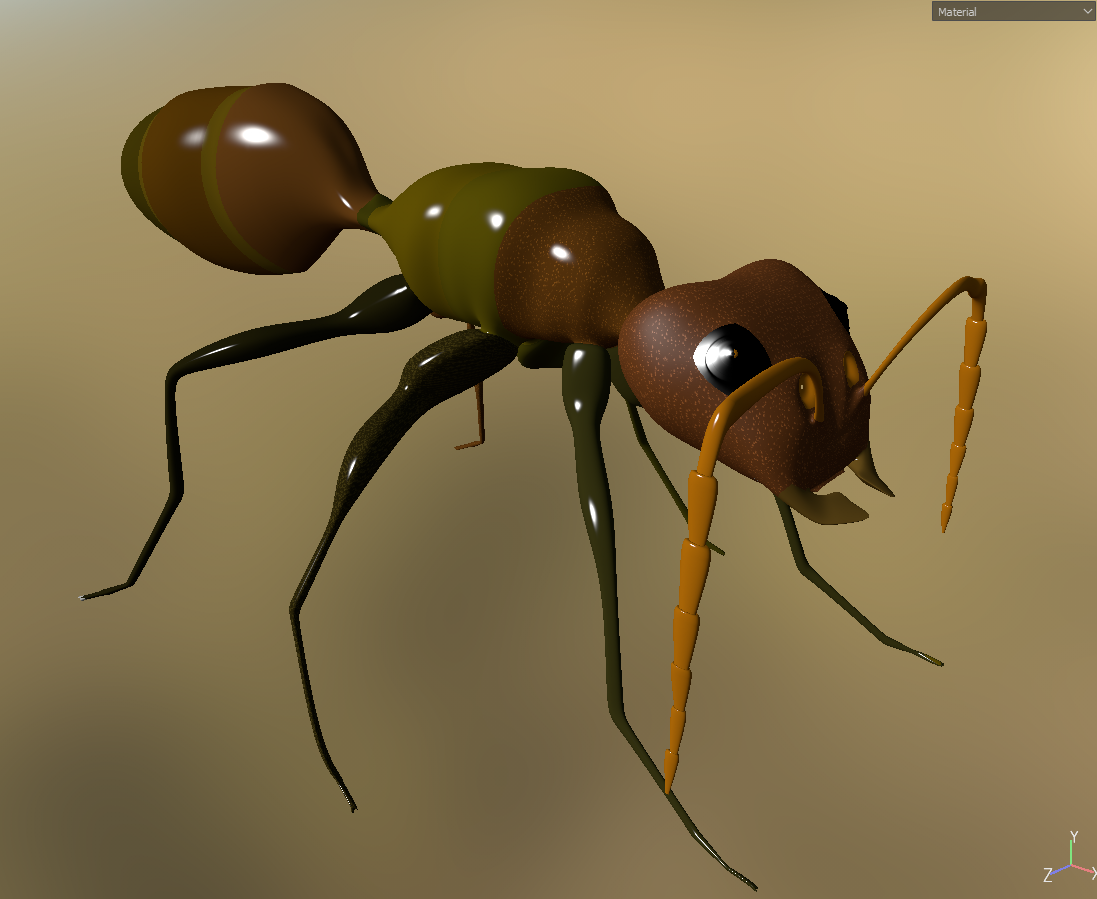

I used the free trial of V Ray and Substance Painter to add some realism. I have not had any prior experience with either so the results are not good, but they do help to add some realism.
V-Ray
-
Klasse!
Great work again. (I love these SketchUp illustrations even more than the rendered versions) -
A short biology lesson
. Nice -
@hornoxx said:
Klasse!
Great work again. (I love these SketchUp illustrations even more than the rendered versions)Thank you HornOxx. I tend to agree with you. The thing I like about Substance Painter is being able to stay in 3D. But I know what you mean about the raw modelling illustrations. Cheers
-
@alvis said:
A short biology lesson
. NiceToo funny
The reference photo helped me to redraw the legs to keep their shape and definition -
Don’t really like ants. But your ants “bitchin ” !
-
@tuna1957 said:
Don’t really like ants. But your ants “bitchin ” !
A compliment of the highest order hahaha. Thanks tuna1957
-
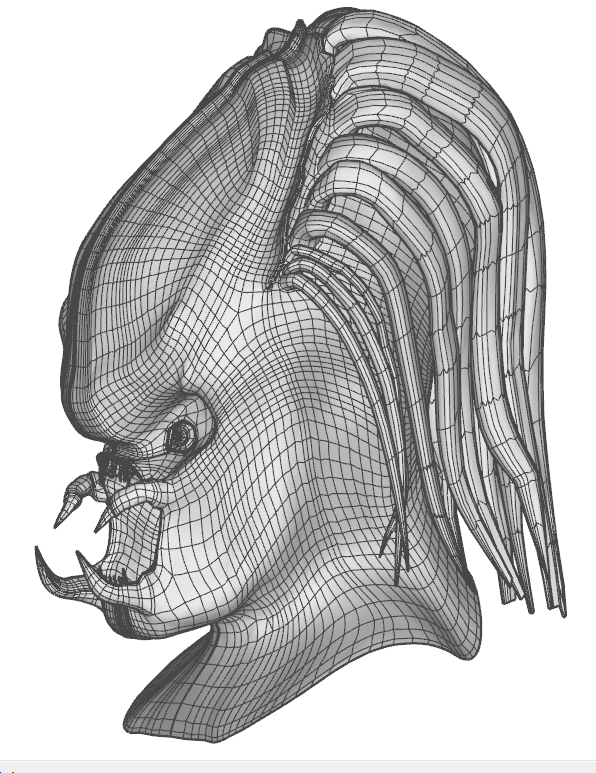
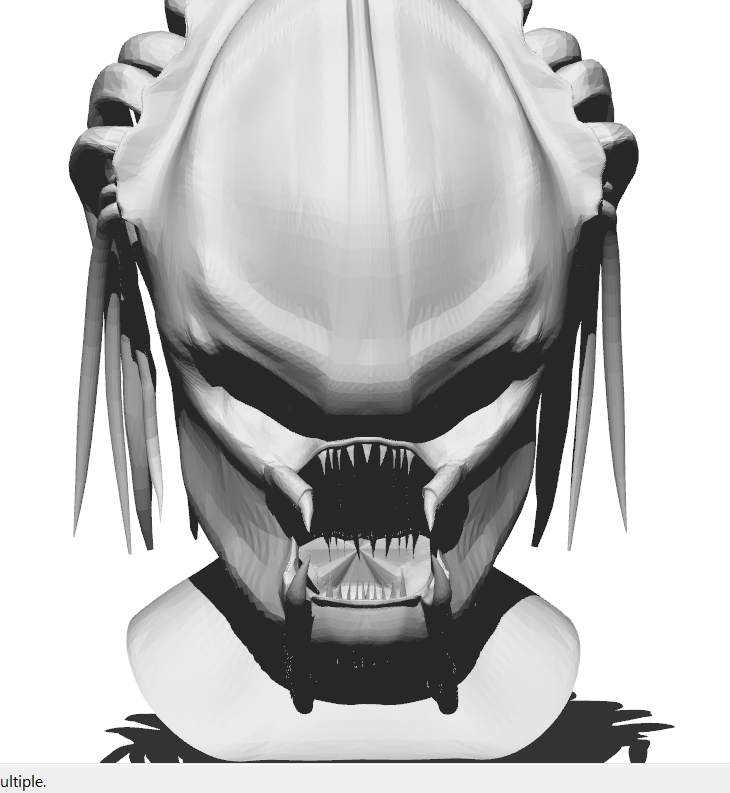
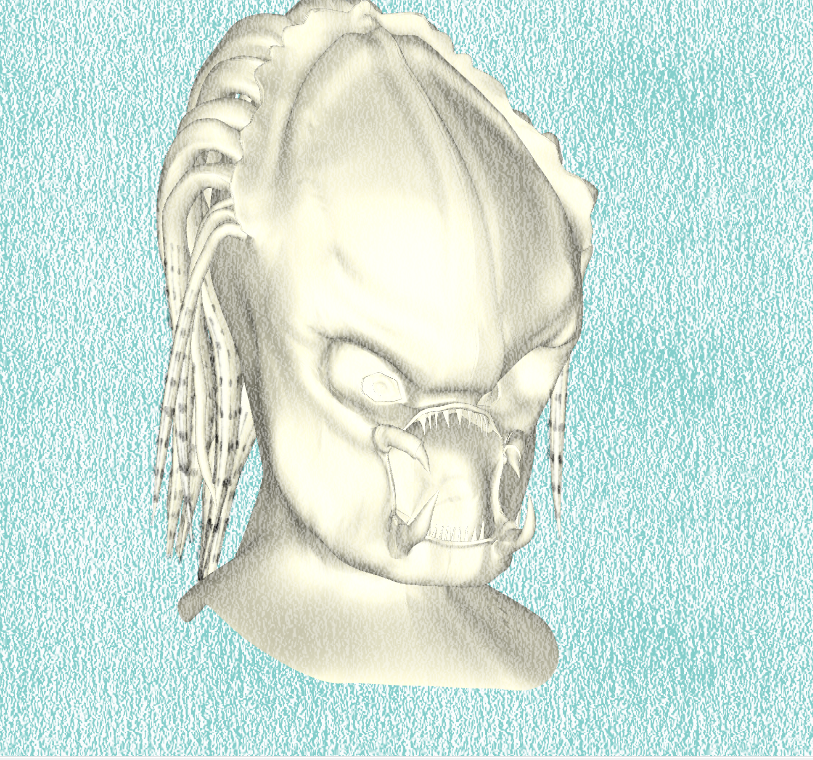
My favorite Sci-Fi character
Hello! It looks like you're interested in this conversation, but you don't have an account yet.
Getting fed up of having to scroll through the same posts each visit? When you register for an account, you'll always come back to exactly where you were before, and choose to be notified of new replies (either via email, or push notification). You'll also be able to save bookmarks and upvote posts to show your appreciation to other community members.
With your input, this post could be even better 💗
Register Login


Advertisement