Making Grass on a Contoured Plane using Displacement?
-
@jiminy-billy-bob said:
Mingjae, is the grass plane isolated alone in a group or component ?
Also, you can try to untick the "Keep Continuity" option in your grass material.I don't think the displacement would render if it wasn't...
My suggestion would be to subdivide your faces much smaller. When you have larger faces, the triangulation that vray does to load the geometry into the plugin can show up in odd ways, especially when the triangles are very big.
-
@andybot said:
I don't think the displacement would render if it wasn't...
I thought so, but I found out that it does in some cases. (Even though I don't know exactly when... But it seems to be more gentle when the connected geometry is in default mat)
-
@jiminy-billy-bob said:
@andybot said:
I don't think the displacement would render if it wasn't...
I thought so, but I found out that it does in some cases. (Even though I don't know exactly when... But it seems to be more gentle when the connected geometry is in default mat)
interesting. I never tried ungrouped displacement next to default geometry. It does look like it is merging with the walls...
-
thx for all ur responses,
no Mr.Andybot, i was had the same problem without another models attached, only a smooved plane and some case it render the displacement flat at the edge, but on random edge not all side edge (similar to the 1st pic case)
and today i test the render using the same diffuse map and displacement map and appear another issue:

yesterday i was using 3, and got better grass result, but today the displacement look like a slime grass, but i do the render setting identically, i dont touch anything..

this is 2days ago:

even the grass at the rectangle plane behind was better than yesterday, the amount i use is also 3..
i was trying set the tile larger even smaller using texture>position but no result similar to the first day test..
and yes, i was trying sketchup fur but for me this one is more realistic..
but now im stressed...

-
Well, if you are capable with Photoshop, I can suggest adding grass after the rendering by using a Material ID mask, as I explain here:
http://charlottesvillearchitecturalrendering.com/?p=127 -
I agree with Andy on this one. This is the best method for realistic looking grass without render times that look like grandma's driving. But if you have a sloping terrain, it could start to look fake with this method. So I see where you would want displacement grass.
I would just use Noise in the texture slot with white in one color and black in the other and a scale set at .005. I wouldn't think you would have to go higher than 5-8 on the displacement amount. 20 seems very high to me.
Make sure your grass object is separated out on it's own group and not nested inside any other groups. Set your displacement on the grass to have Use Globals off and 1 on the edge length if you have a lot of processor horesepower, 2-3 if not. The results are pretty good. It's just not as fast as Andy's method. This small 800 pixel image took 15 minutes to cook.
The thing about grass is that you need high subdivs and low edge length to get really convincing looking grass. That just means render time. If you got it, use it. You can use more conservative values but the cost will be loss in the detail of the effect. This is where it starts to look like what I call "cake icing grass".
The other issue I have is where grass meets a sidewalk or some other cut in the grass group. The edge always looks funky and you can see through to the underneath of the grass object. I usually fix what I can see in Photoshop with a cloner. Not sure if anyone have any tricks for this.
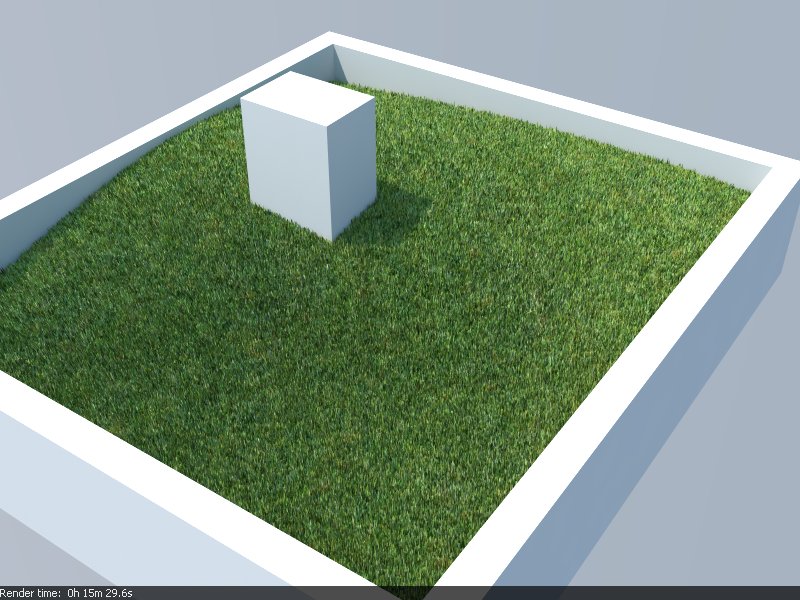
-
oh my god! master shifu valerostudio!
yours is fantastic to me.. let me be your student pls..as soon as i read this post, i try to render a test with your setting,
this is my setting:
i insert the diffuse click 'm' as texNoise and insert the grass material in color A and let color B 'm' untouched,
and the displacement map at the displacement 'm'and this is the result:

do not know why the displament wont appear even i check it, all the plane are exploded,
and where to setting scale to 0.005 btw? is it the size below colorB?
i also change the value from 1 to 0.005 but the noise is flat and still no displacement to render..
btw, are these method trying to make the slope from the texNoise so the contour was random right?
-
@andybot said:
Well, if you are capable with Photoshop, I can suggest adding grass after the rendering by using a Material ID mask, as I explain here:
http://charlottesvillearchitecturalrendering.com/?p=127really thanks Mr.Andybot!
actually i'm not familiar with photoshop works but the tutorial motivate me..
btw this Alpha.jpeg always appear as i save a render scene:

so i need to replace the white coloured to a grass.jpeg
and how to make the overlay grass pic in photoshop if i do a closer view?
(mine, the meet between black and white is straight line) can i make them grassy line? -
My diffuse is just a grass texture map from the web, not noise. It's the displacement map that's using noise and makes the grass spikey. White as color A and black as color B and the size is set to .005. That's all I did. My displacement settings are 8.0 on the amount and 256 subdivs and 1.0 on edge length. Turn off Use Globals so this doesn't get overridden. Your light cache will take a while to calc, so turn that down to like 200 sudivs to do your test renders.
Make sure your faces are forward facing and the grass object is its own group outside of any other groups. In other words, not nested into a site group or something like that.
For a nice grass texture, just look on CG Textures for one. Best site for textures in my opinion. http://www.cgtextures.com/
Now give it a try my student, and post your render! When the class likes what they see, share your vismat for all to enjoy!
-
Here is my second pass at it. 45 min render time on this one.
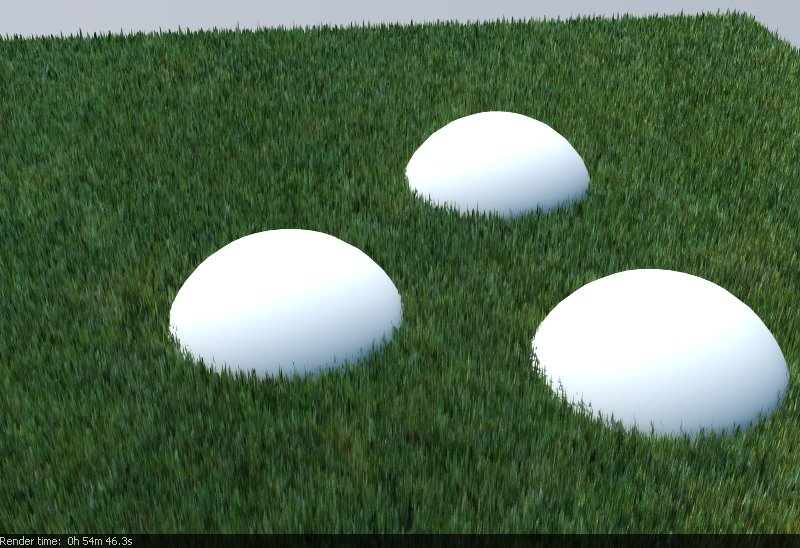
-
From my years of experience , if your surface is not
- A golf course
- A straight large plane with little bits of curve
Then
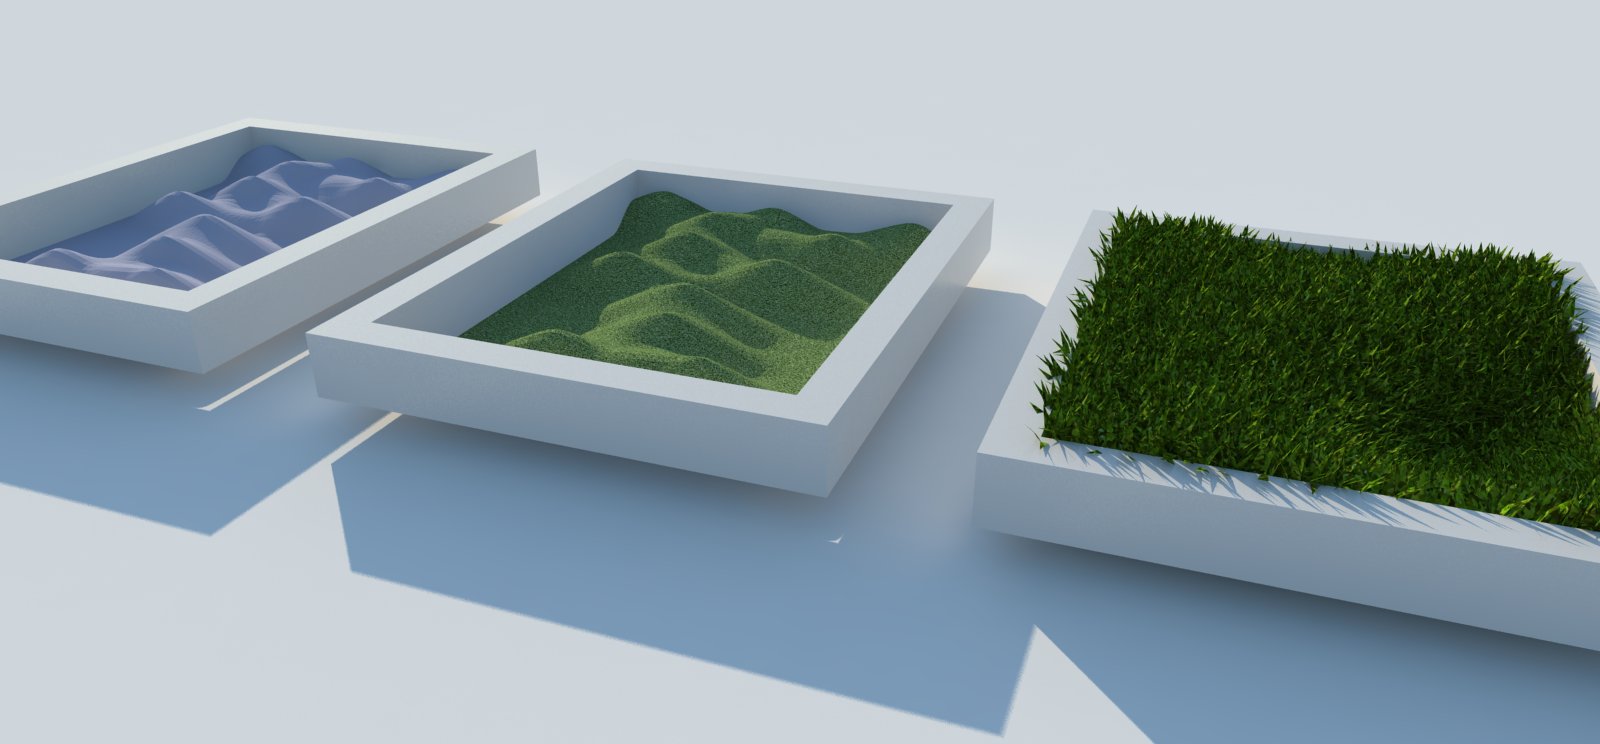
Go for make fur plugin. Its works well with short and small corners, giving it that realistic look
Below are some attachments.
This took 2 mins to render. Not sure why you took 45mins
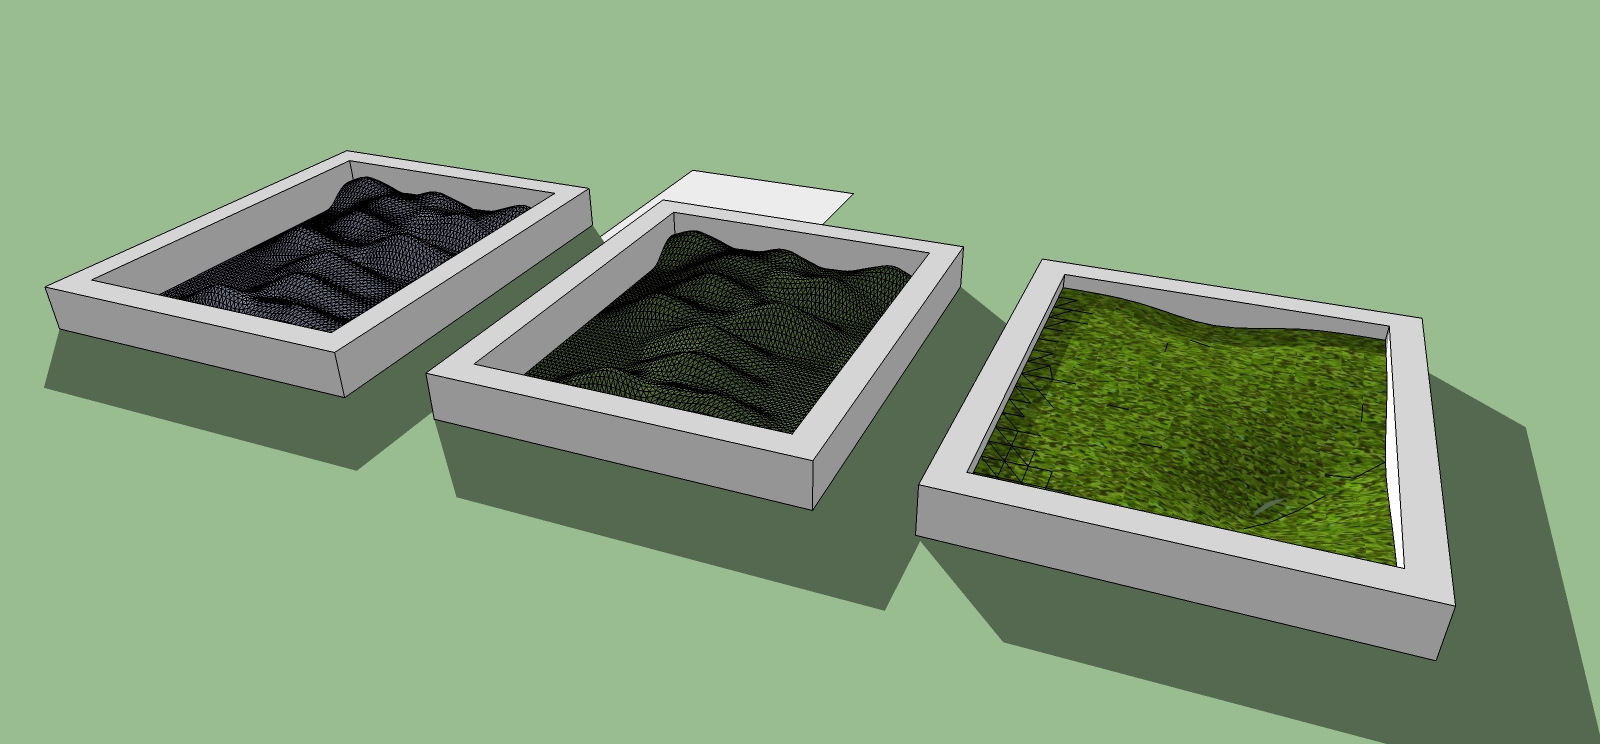
Afer Vray and plugin --->
-
Fur is great, but I have issues trying to fur an entire front lawn.
-
@valerostudio said:
Fur is great, but I have issues trying to fur an entire front lawn.
True. The trick is to only place grass from where you intend to render, Hence in this photo there is no grass/fur plugin used(Behind the house) since that plane is hidden.

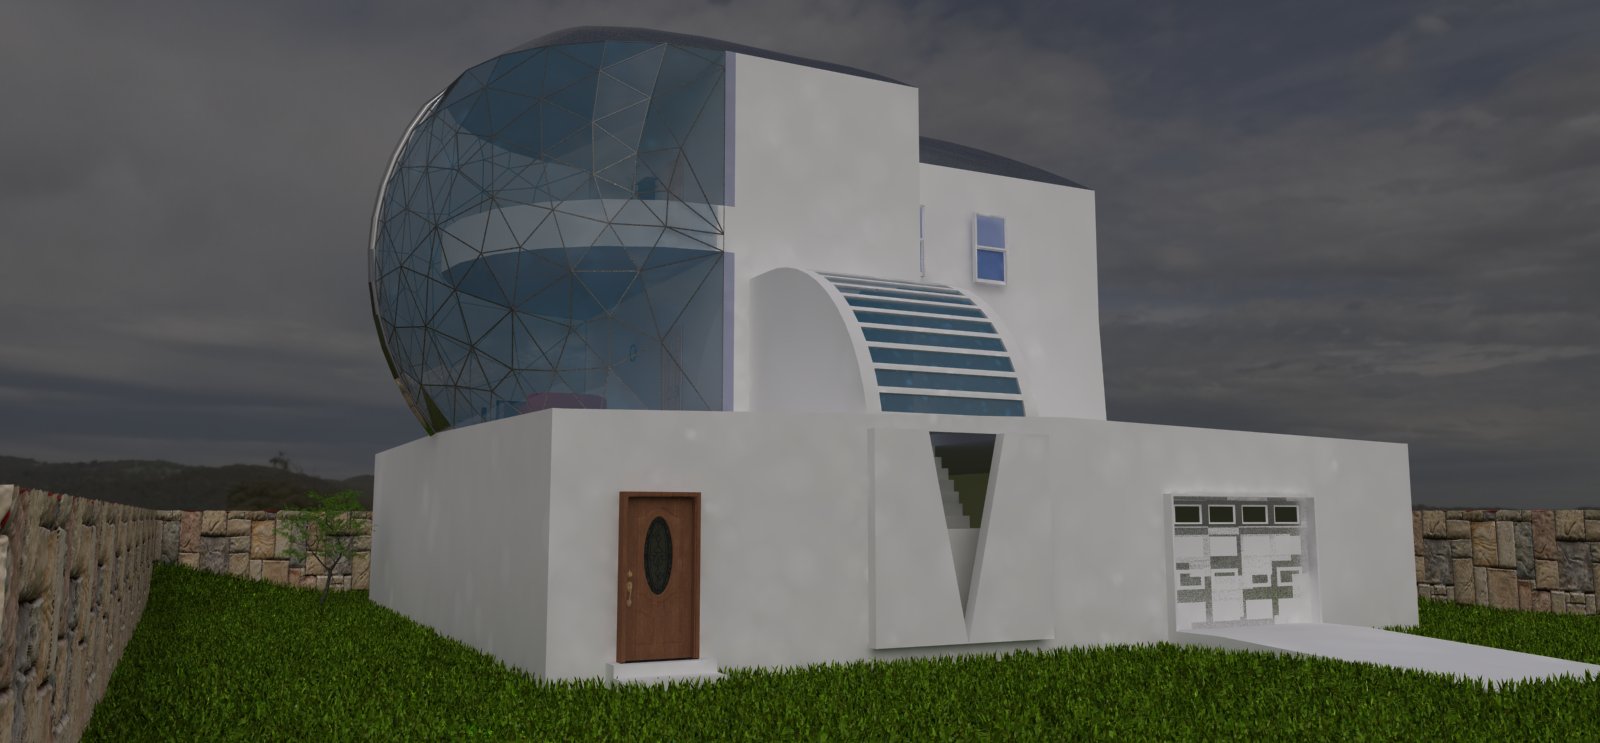
-
What we really need is VRay Fur inside of SketchUp!
-
@fuzzion said:
@valerostudio said:
Fur is great, but I have issues trying to fur an entire front lawn.
True. The trick is to only place grass from where you intend to render, Hence in this photo there is no grass/fur plugin used(Behind the house) since that plane is hidden.

[attachment=0:2fvsrfcp]<!-- ia0 -->Futzer2.jpg<!-- ia0 -->[/attachment:2fvsrfcp]
unfortunately, the scale is way off there. That's much coarser than real grass. To get it fine enough, you would run out of memory pretty quick.
-
I have to agree with Andy on this one. The only way to really render grass is proxies or something like VRayFur. Watch this and dream of having these abilities one day in SU!
-
@andybot said:
@fuzzion said:
@valerostudio said:
Fur is great, but I have issues trying to fur an entire front lawn.
True. The trick is to only place grass from where you intend to render, Hence in this photo there is no grass/fur plugin used(Behind the house) since that plane is hidden.

[attachment=1:18jit4q3]<!-- ia1 -->Futzer2.jpg<!-- ia1 -->[/attachment:18jit4q3]
unfortunately, the scale is way off there. That's much coarser than real grass. To get it fine enough, you would run out of memory pretty quick.
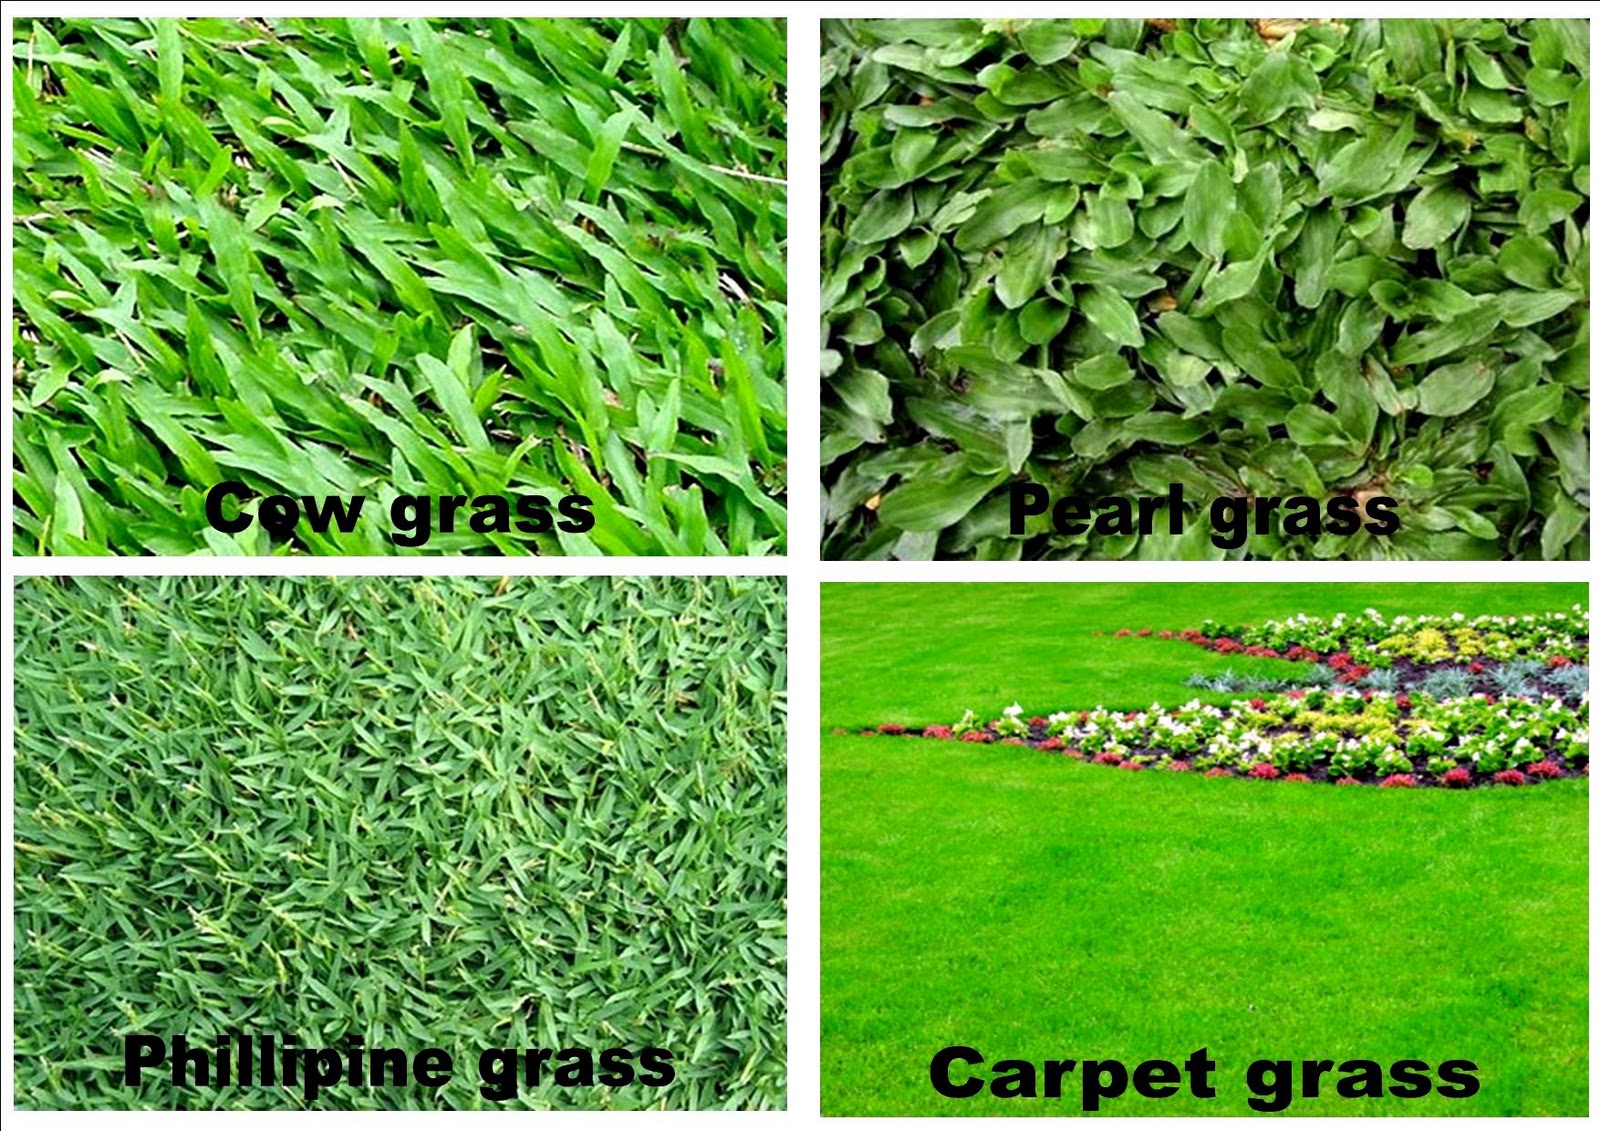
Its called cow grass

[attachment=0:18jit4q3]<!-- ia0 -->Rumput 1.jpg<!-- ia0 -->[/attachment:18jit4q3]
-
-
Hello! It looks like you're interested in this conversation, but you don't have an account yet.
Getting fed up of having to scroll through the same posts each visit? When you register for an account, you'll always come back to exactly where you were before, and choose to be notified of new replies (either via email, or push notification). You'll also be able to save bookmarks and upvote posts to show your appreciation to other community members.
With your input, this post could be even better 💗
Register LoginAdvertisement


