[Plugin] [$] Artisan (1.2.3) - Feb 28, 2014
-
Hi unclebim,
@unclebim said:
I also have some component related items graying out like Explode, which happens with Tgi3D loaded. I have to cleanup the pligins obviously.
Could you please give us more details about the problem you mention when Tgi3D is loaded? You can also write to our Support team from our website.
We have not observed such behaviour ourselves. Could you please uninstall Tgi3D only and see if the problem goes away? We would appreciate your feedback so that we can resolve the issue, if any, quickly.
-
Thank you all, I have managed to get both Artisan and Tgi3D working without graying out context menu items, I have installed the Alex M script that TIG pointed to and deleted two dozens of files from the Plugins folder. So there is no problem with Artisan or Tgi3D.
Regards
Serafim
-
Just ordered!

Artisan is a great addition to Sketchup.
Thanks! -
Congratulations on releasing this plugin! I can't imagine how much dedication was required.
Thanks for providing an upgrade for what seems like a totally different kettle of fish, and it is good to get an evaluation period. Six days left and a bit of work to do.....
will be signing up as soon as my latest work cheque clears.
Regards
Sam
-
Dale,
Great plugin and the upgrade price from SDS was very economical.
I have a slight problem though which I hope I can describe. I make a proxy from a group and then copy the component for use in another part of the model. Everything's fine and when I update the proxy with higher iterations the component off to the side updates accordingly. However, when I close SU and then return to the skp and update that same proxy the component shoots off to one side and can sometimes be mirrored or even up or down along the z axis.
Am I doing something wrong and/or has this been touched upon anywhere in Sketchucation?
Anyone else encounter this or has an answer would be appreciated.
Thx.
-
Amazing plug in, my trial is almost over but will definitely buy this one, it is so much fun and really calls up a different level of creativity-- like having SU on steroids.
THANK YOU!
-
Patrick, where will that cool thing fit on your street of house? Are you going to put in on the front lawn?

-
@dave r said:
Patrick, where will that cool thing fit on your street of house? Are you going to put in on the front lawn?

I guess it could but you got me thinking. Baking some foolishness now.

-
Let me know when it's finished.

-
@gus r said:
Dale,
Great plugin and the upgrade price from SDS was very economical.
I have a slight problem though which I hope I can describe. I make a proxy from a group and then copy the component for use in another part of the model. Everything's fine and when I update the proxy with higher iterations the component off to the side updates accordingly. However, when I close SU and then return to the skp and update that same proxy the component shoots off to one side and can sometimes be mirrored or even up or down along the z axis.
Am I doing something wrong and/or has this been touched upon anywhere in Sketchucation?
Anyone else encounter this or has an answer would be appreciated.
Thx.
That's weird. I'll have to test it out. Thanks for the report!
-
@whaat said:
That's weird. I'll have to test it out. Thanks for the report!
Hi Dale. It happens when you put them in a group. Try an experiment with the attached skp.
-
Update the iterations for the proxies in the foreground and as you can see the components in the background update accordingly.
-
Group the components in the background and go back to changing the iterations with the proxies and the components continue to update accordingly.
-
Save this file with the grouped components with a different name such as "aritsan test 02.skp".
-
Start a new SketchUp file or close SketchUp.
-
Open "aritsan test 02.skp" and now when you update the iterations on the proxies the components will flip to a different location.
This happens when I either group or create a component.
-
-
Hi,
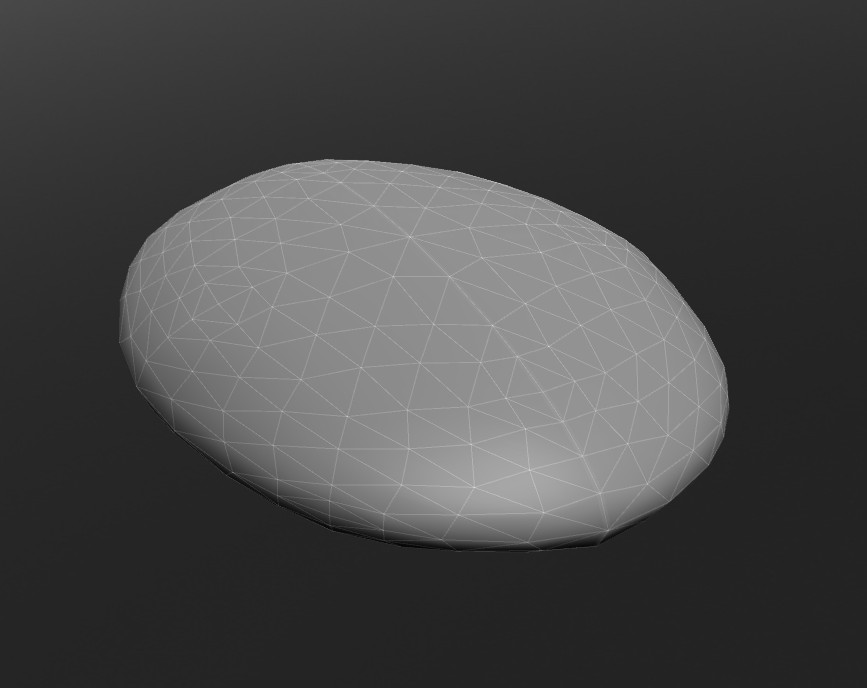
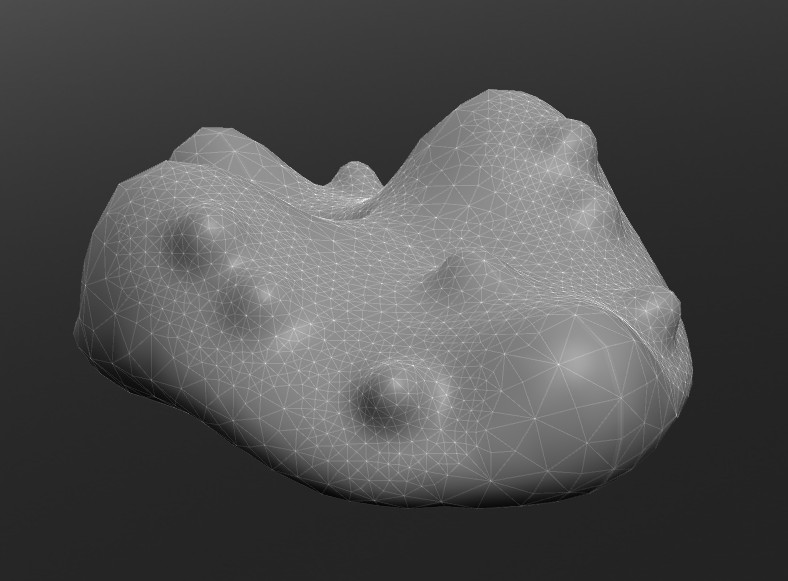
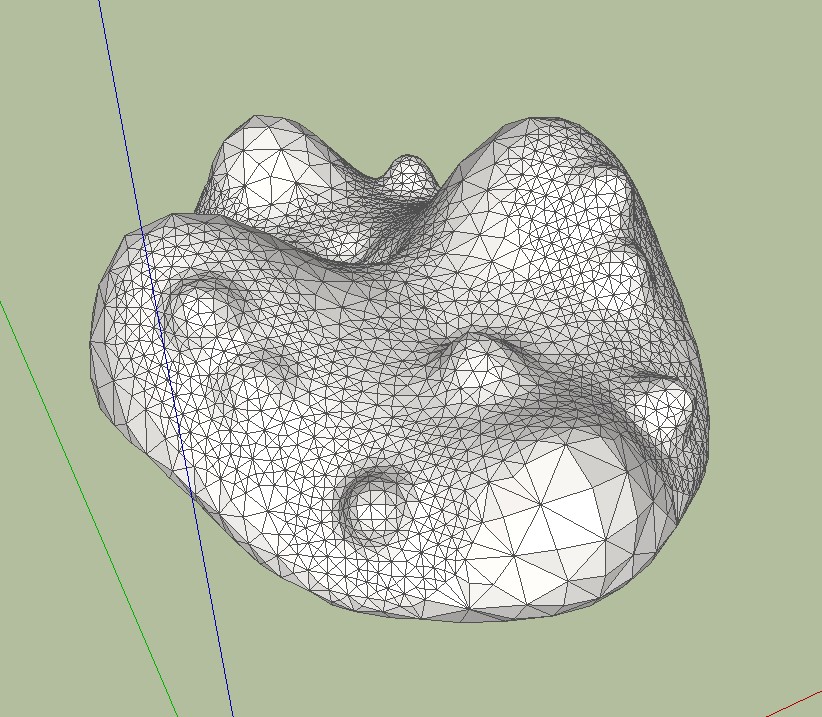
I have not yet worked with Artisan. But I find the best free alternative to generate organic forms is Sculptris and Sketchup. As far as I can judge the demonstrations is all this possible also with Sculptris. Comments are welcome, maybe I'm wrong.
Charly
-
About Sculptris & Su see this thread By Simon le Bon

-
Hi,
I know this is strange but I don't know why.
I have installed this tool (15 days trial) and when I was trying to use the subdivide and smooth tool, it failed.
There is no Iterations to be set and the geometry doesn't turn into mesh like what shown in video.
Any idea? Thanks!
-
@laucity0513 said:
Hi,
I know this is strange but I don't know why.
I have installed this tool (15 days trial) and when I was trying to use the subdivide and smooth tool, it failed.
There is no Iterations to be set and the geometry doesn't turn into mesh like what shown in video.
Any idea? Thanks!
Make sure you are either first selecting faces or are selecting a group or component that contains faces (not nested groups and components)
Also, please check for error messages in the Ruby Console (Window->Ruby Console)
Thanks!
-
@charly2008 said:
Hi,
I have not yet worked with Artisan. But I find the best free alternative to generate organic forms is Sculptris and Sketchup. As far as I can judge the demonstrations is all this possible also with Sculptris. Comments are welcome, maybe I'm wrong.
Charly
Sculptris is a great program but like any external app, you can quickly run into workflow problems if you need to make changes to the geometry after you have already imported it into SketchUp. It is always nice to keep everything in the same application.
Also, I don't think Sculptris is tailored very well to landscape and terrain modeling (I could be wrong). Artisan really excels at this. How would you even do this with Sculptris? For example, when modeling a real-world scene you need to have all of your references (site plan, surrounding buildings, scenery) visible to provide context as you are modeling
Artisan also has many other tools besides sculpting that are awesome to finally have inside SketchUp (Soft selection, vertex editing, make planar, subdivision surfaces, paint brush, selection brush)
Why not give a try for free and see what you think?
-
@laucity0513 said:
Hi,
I know this is strange but I don't know why.
I have installed this tool (15 days trial) and when I was trying to use the subdivide and smooth tool, it failed.
There is no Iterations to be set and the geometry doesn't turn into mesh like what shown in video.
Any idea? Thanks!
My first question would be is it working though?
In order to see the mesh you have to turn on hidden geometry (Top menu selection: View --> Hidden Geometry). Then:
**1. Select the group containing your proxy geometry.
-
Click on "Subdivide and Smooth" which will generate a default 1 iteration.
-
Now, go back and double click on that same group and a small "Settings" window should pop up where you can set:
a. Iterations from 1 to 4.
b. Auto-update option checkbox.**Hope that helps.
-
-
@whaat said:
@laucity0513 said:
Hi,
I know this is strange but I don't know why.
I have installed this tool (15 days trial) and when I was trying to use the subdivide and smooth tool, it failed.
There is no Iterations to be set and the geometry doesn't turn into mesh like what shown in video.
Any idea? Thanks!
Make sure you are either first selecting faces or are selecting a group or component that contains faces (not nested groups and components)
Also, please check for error messages in the Ruby Console (Window->Ruby Console)
Thanks!
Yes. I did select faces or a group.
 What is nested groups?
I draw a square, pull it up and group it, that's all. It should at least turns the cube into a sphere I guess?
-
"Nested object"s are when one group is inside another group or a component-definition etc...
-
@gus r said:
@laucity0513 said:
Hi,
I know this is strange but I don't know why.
I have installed this tool (15 days trial) and when I was trying to use the subdivide and smooth tool, it failed.
There is no Iterations to be set and the geometry doesn't turn into mesh like what shown in video.
Any idea? Thanks!
My first question would be is it working though?
In order to see the mesh you have to turn on hidden geometry (Top menu selection: View --> Hidden Geometry). Then:
**1. Select the group containing your proxy geometry.
-
Click on "Subdivide and Smooth" which will generate a default 1 iteration.
-
Now, go back and double click on that same group and a small "Settings" window should pop up where you can set:
a. Iterations from 1 to 4.
b. Auto-update option checkbox.**Hope that helps.
Hi, thanks for replying. What is happening now is basically nothing. I follow exactly the instruction but just nothing happen. No change to the geometry, no iteration window etc. Haha.
Erm it probably because I am using the school computer which I don't have the admin right to install anything onto the computer. The installation might not be done properly through the Installer. I copied and paste other plugin directly to the plugin folder... they are all working fine. Probably that's the reason. Otherwise I really can't think of any reason.

-
Hello! It looks like you're interested in this conversation, but you don't have an account yet.
Getting fed up of having to scroll through the same posts each visit? When you register for an account, you'll always come back to exactly where you were before, and choose to be notified of new replies (either via email, or push notification). You'll also be able to save bookmarks and upvote posts to show your appreciation to other community members.
With your input, this post could be even better 💗
Register LoginAdvertisement


