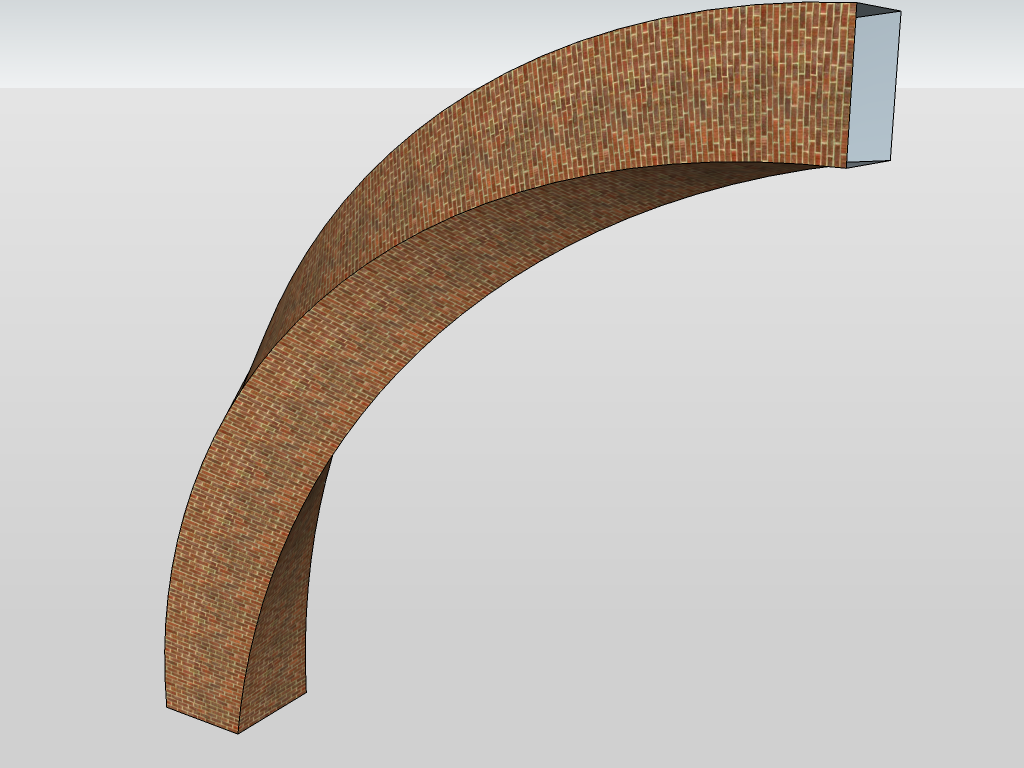
[Tutorial > Texturing] Texturing an arch - #2
-
And it works also with multiple faces selected.
 Even if you will need some adjustment on the corners in this particular case.
-
@massimo said:
Wait...Found it. I'm used to press F4 before bending in order to have subdivisions. If you do that it doesn't work. Thanks for the help.

In the release notes it says that once you add new geometry afterremembering the UV, the data is lost. This is why we need to subdivide first and remember next.
It would certainly be awesome if it somehow could remember UV's after modifying the mesh (by adding/removing faces). Maybe one day...
@massimo said:
And it works also with multiple faces selected.
 Even if you will need some adjustment on the corners in this particular case.
Yeah. I just select all (of the column) and run the plugin on the whole selection (including all sides).
Did I mention that it's an excellent plugin?

Also, it does not only work on quad faces but on triangles, too. This is very important as some operation may add further subdivision by triangulating (imagine a twist for instance)
-
@unknownuser said:
Did I mention that it's an excellent plugin?

Yeah, you did...

@unknownuser said:
It would certainly be awesome if it somehow could remember UV's after modifying the mesh (by adding/removing faces). Maybe one day...
Indeed.

-
Now twisted AND bent.

(This definitely needs pre-triangulation as it would be triangulated by the twist anyway)
Incredible!

-
So Gai now we are waiting for a model of this...


-
Ah, Bernini... I have not always liked that deep Baroque but nowadays I am fine with it...

-
Yeah, I always preferred Borromini (who also worked a bit at that baldaquin anyway).

-
I pitty the brick builder.

-
Sorry to be dumb but how do you subdivide? is it a plugin?
-
I just copied the bottom edges along with a linear array (Ctrl+ )
-
er if i do that it creates faces for each section of the texture, your 2nd image shows it as one face and your first shows dotted lines for the divide my has sild edges?
-
Yes, I softened those edges so that when I turn off hidden geometry (which you can see in the first image as dotted), I can select the whole surface as one. If you select all after the array operation and right click > soften edges, check the "soften coplanar edges" box at the bottom right of the dialog.
-
Ah I get it thanks
-
So how is it going? Let's see some interesting results (I always make boring vaults only although now there is also a sugar cane I made this way)
-
hohum not working, done it all but when i click restore uv it does nothing at all

-
Have you got the original (not-yet-bent) shape?
-
yea got it fine looks exactly as in your tut
-
You mean it looks like the one in the tut before you make the bend and the UV restore or you mean that you could do it finally?
-
i can do the bend its just the uv restore that does not work
-
@dominion said:
i can do the bend its just the uv restore that does not work
If you open the Ruby Console - does it give you an error?
If not, any chance you can do a video capture`?
Advertisement


