[Plugin] UVTools v0.1
-
i tried the ruby , but there is a problem when exporting to Kerkythea ..... it converts the shape to lots of faces whit lots of textures!!!!!!!!!!!!!! would be it reviewed to solve this problem?
yours majid -
Majid,
Whaat have already provided an answer to this...

@whaat said:
This seems to be an issue with non-triangular faces. If you can somehow triangulate the geometry prior to exporting, then the UVs should still be correct.
My 'Polyreducer' script triangulates all of the faces of a mesh. However, it will also reduce some polys. (The minimum is 10%). Once I triangulated your spheres, I reapplied the spherical mapping and then exported to Indigo. It worked perfect! I expect it to work with other rendering engines as well.
Another script that will triangulate faces is my 'SubD and Smooth' script (but it's not free)
Below is made using the SubD and Smooth script and exported using SU2KT...

Works like a charm...!!

-
indeed, just 5 mins using it and i got this result, works great
and its so easy to use! congratulations.
-

 thank you!!! good!!!
 -
Just catching up with all the news here...
Great plugin, thanks a lot!
I discovered however that if you want to UV map something on a reversed face, it gives a bugsplat. No worry about this at all though - at least it will teach everyone the lesson; "always orient your faces correctly"!

-
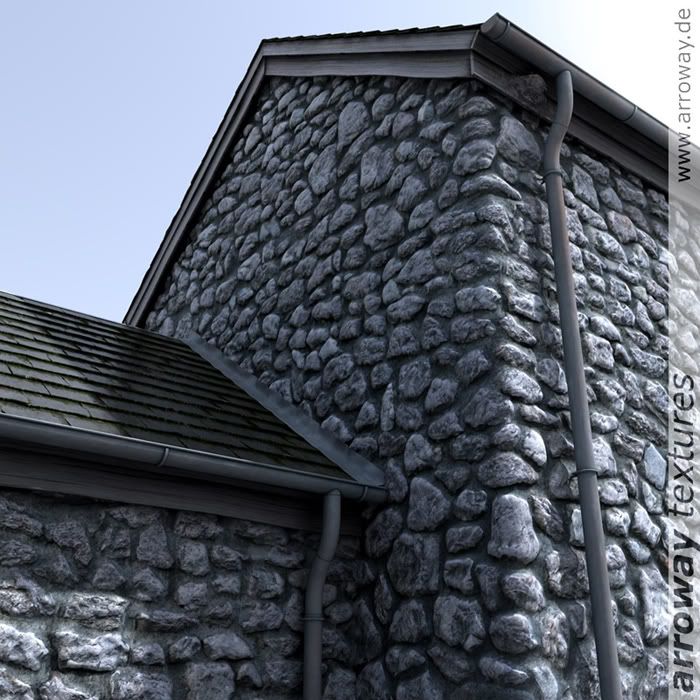
I would love to be able to UV-map textures like in this example, to go around (smooth)corners:
(Do mind that a displacement map was added.)
'wrap around' mapping?:
-
That lead flashing must have been rather tricky to fit!!
-
@kwistenbiebel said:
I would love to be able to UV-map textures like in this example, to go around (smooth)corners:
(Do mind that a displacement map was added.)
'wrap around' mapping?:You can already do this to a limited degree in SU by positioning a texture using the right-click context menu. Then, sample that texture with the ink-dropper prior to painting on an adjacent face. The UV mapping will then be continuous around the edge.
The sample image you posted can already be done in SU. I am sure of it. I will try to recreate a similar scene using displacement mapping with only SU and Indigo to test my theory.
-
Oh cool!
You weren't referring to the projected method are you?
...but to the method to texture a cilinder, right? (as in the video tuorials that once were on the official SU site). -
Like, turning on "hidden geometry", then sample the texture, and paint it on the faces that have appeared due to turning on "hidden geo"?

-
If you smooth the corners (bevel) and apply that awesome arroway texture, would it not work?
-
Maybe. Another way, I guess, might be drawing vertical lines between the corner (which would have to be, errrr, "arc-ular"
 )and the walls it connects. Then use cylindrical mapping on the "corner part". You'd have to sample the texture from the "corner" part prior to painting it to the rest of the walls, I think, as Whaat's plugin seems to mess alittle with the scale of the textures. Hope this makes sense.
 -
I do not have the right texture, however the one I used should do, I used standard SU mapping (not projected) and got the following result.


-
Looks good. Another problem solved.

-
Thanks my friends.
So the easiest texturing tool of all takes care of this. Sometimes Sketchup surprises me
-
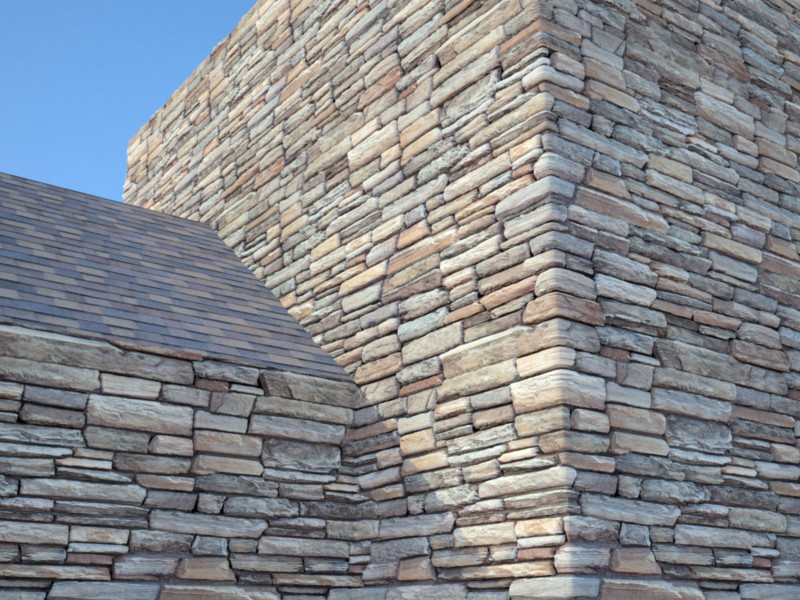
Here's the test I promised.
I only used the built-in SU texture tools as I described in previous post.
Rendered in Indigo 1.1.5 using displacement mapping. Current beta version of SkIndigo may not produce this same result. (This is my unreleased working version)
One extra step that I had to do to keep the edge from 'ripping' apart with the displacement mapping was to 'soften' the edges first in SU.
EDIT: I also should point out that I did not bevel or round the edges at all to get this result.

-
Cool. The "soften" thing's a good tip! Thanks.
-

-
-
I used Vue 6 xsream for the above, I export as .avi and use corel animation suite to create the .gif and optimise.
Hello! It looks like you're interested in this conversation, but you don't have an account yet.
Getting fed up of having to scroll through the same posts each visit? When you register for an account, you'll always come back to exactly where you were before, and choose to be notified of new replies (either via email, or push notification). You'll also be able to save bookmarks and upvote posts to show your appreciation to other community members.
With your input, this post could be even better 💗
Register LoginAdvertisement


