Rayscaper, My trip down the road to adjumacation.
-
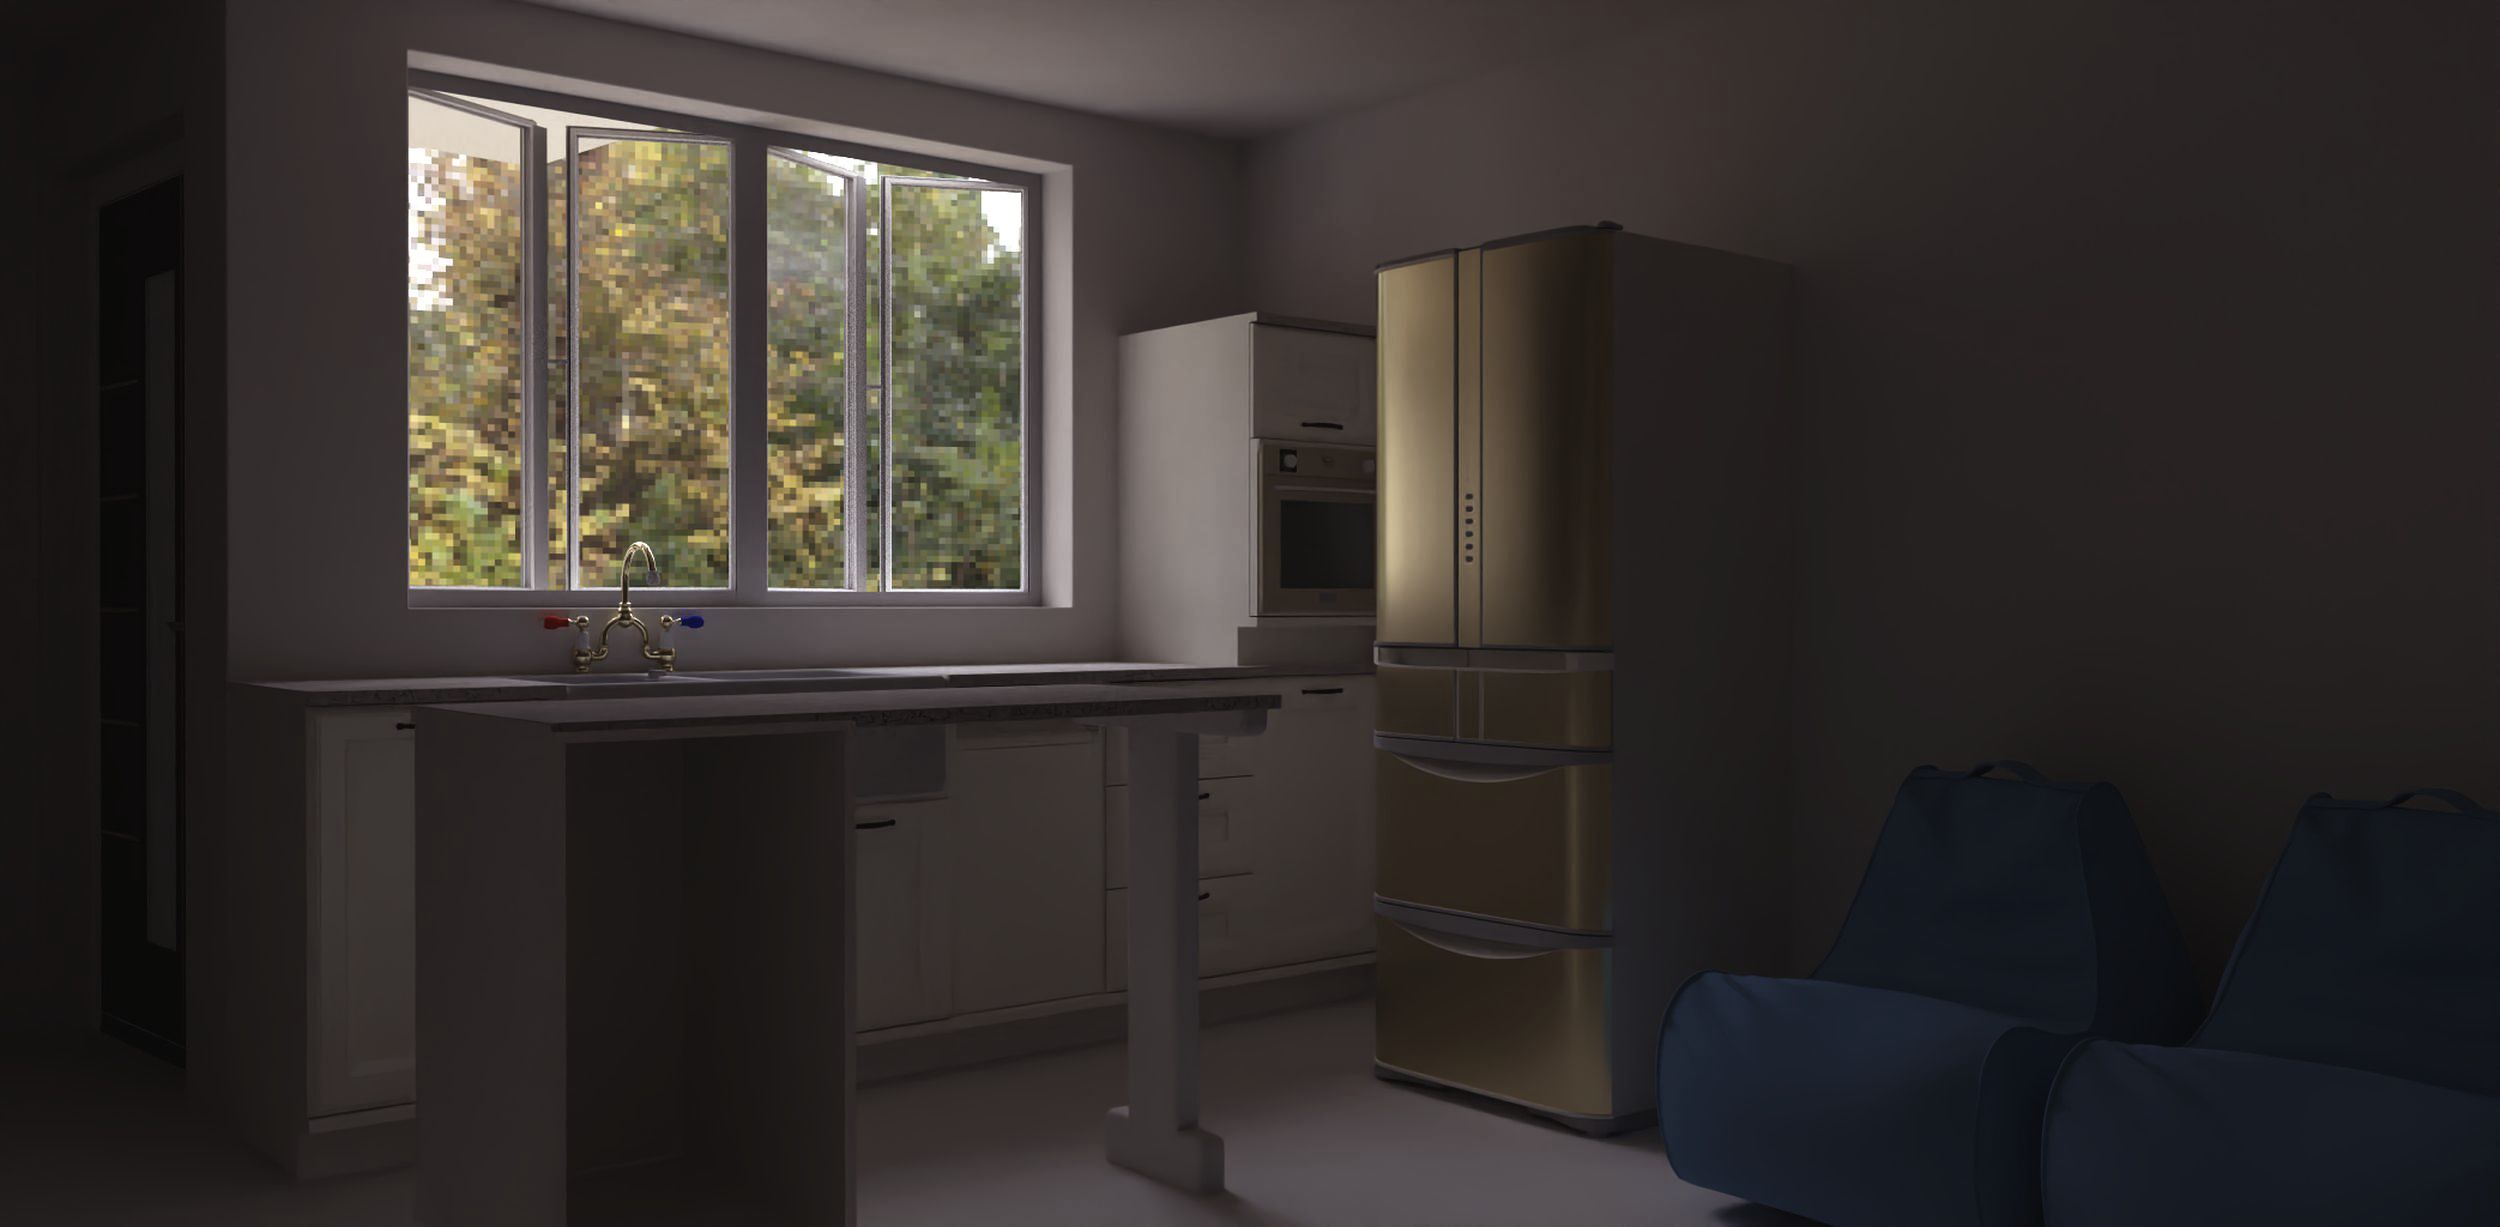
I think a less ;busy' tile texture will work better on this machine and there is no artificial lighting in that render.
Native Sketchup lighting only.
-
I think the tile choice HAS mad a difference. Not a true comparison seeing as this render went to 1000 samples and used the GPU for rendering.
Still no artificial light but the lighter tile bounces rays more effectively.
-
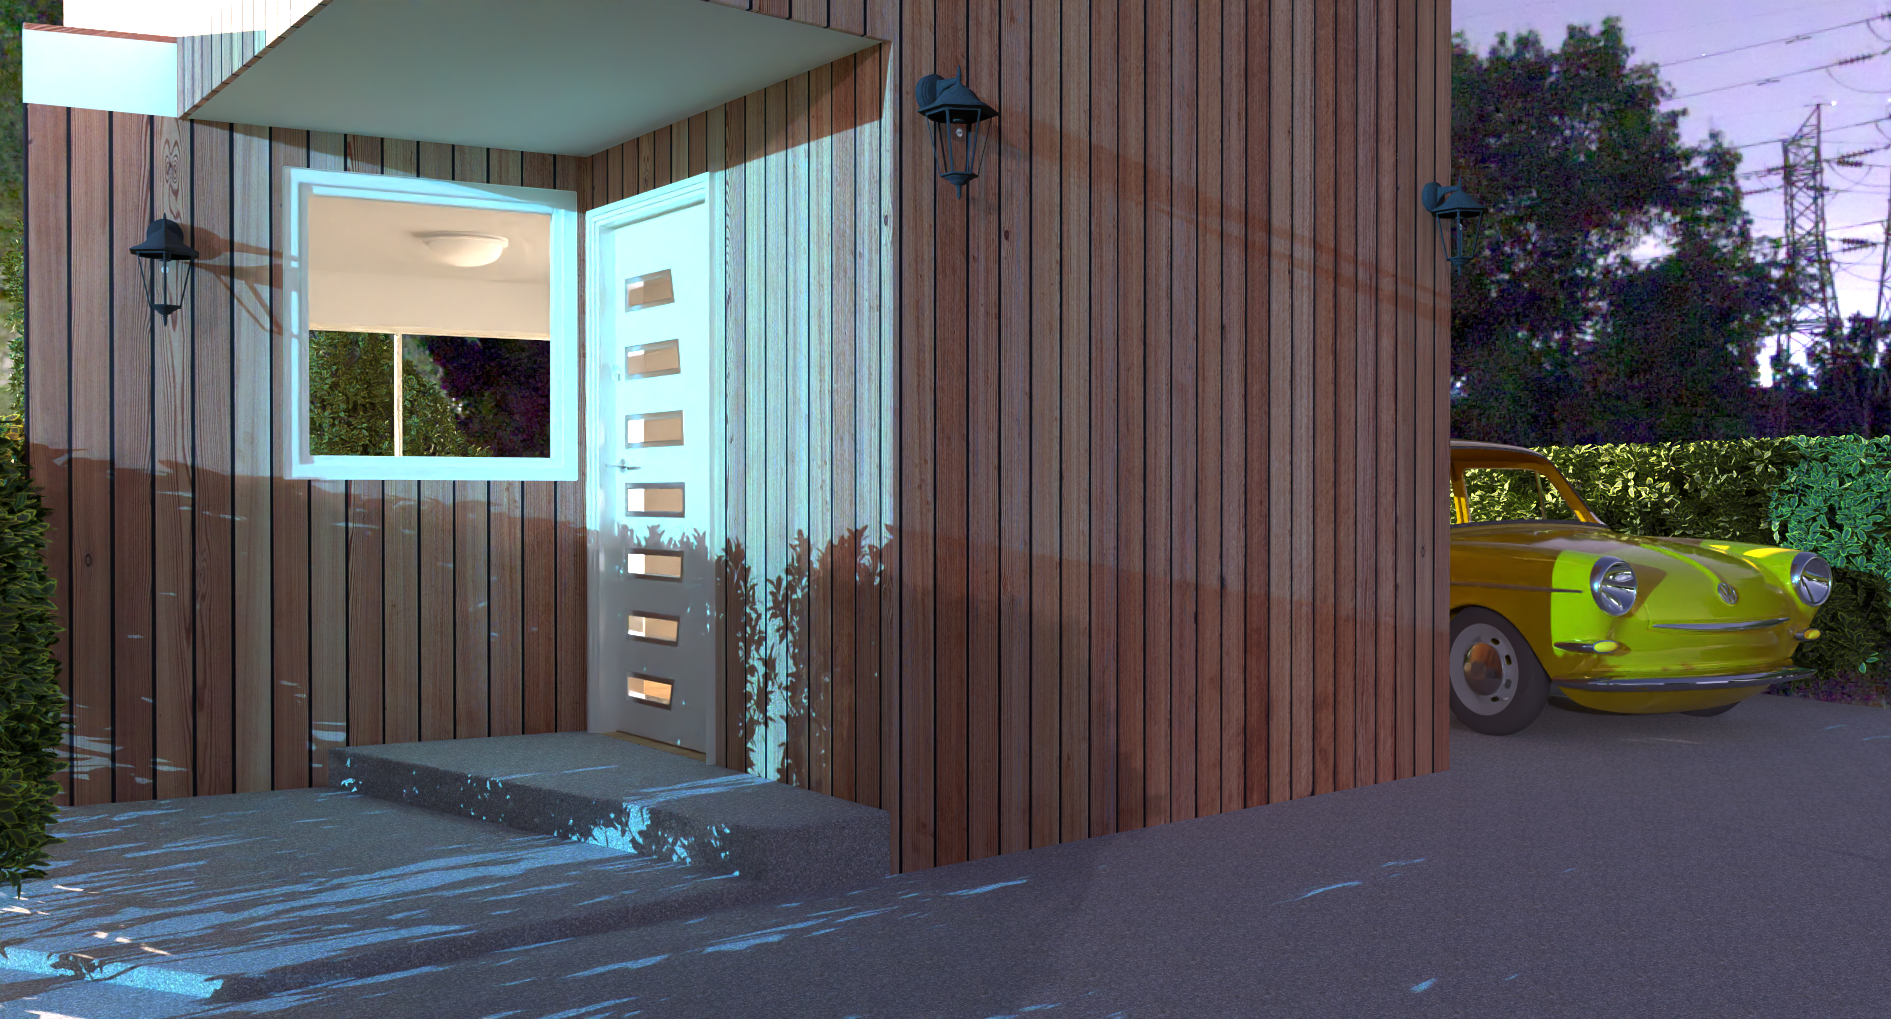
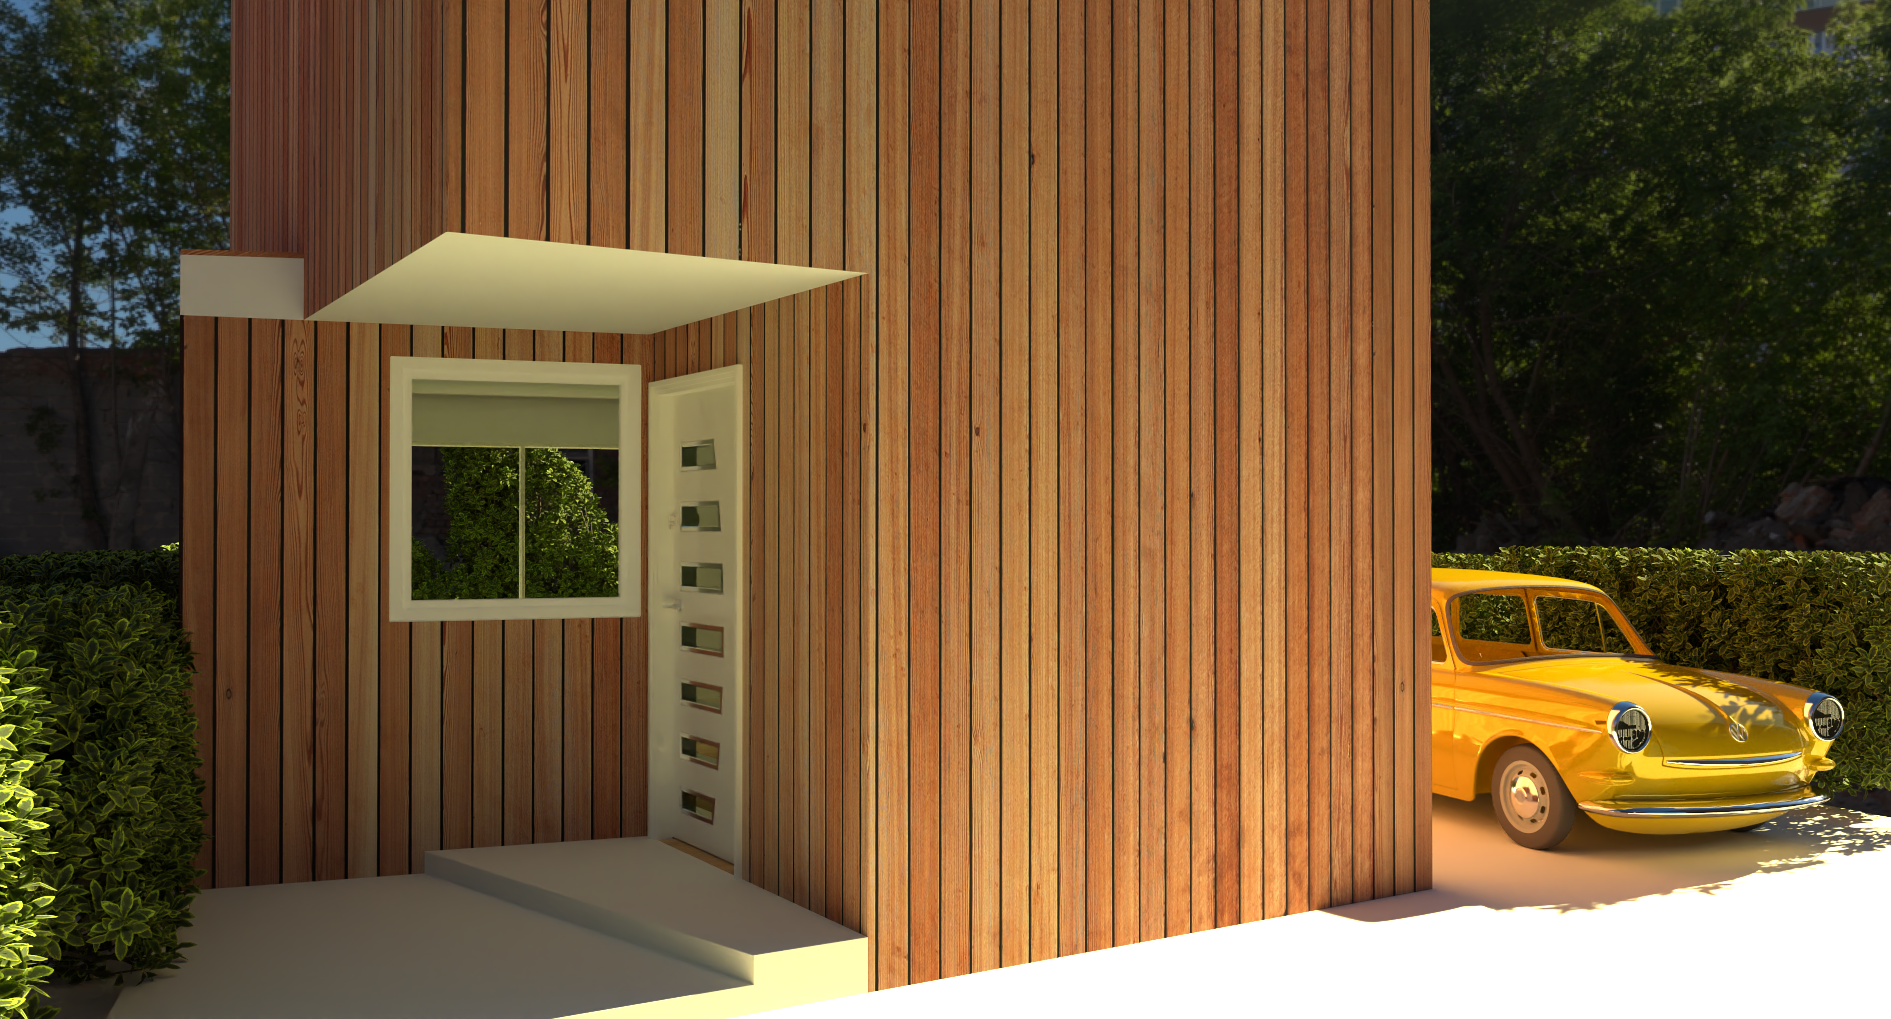
An exterior view of this small home in a hdri.
-
@Mike-Amos very nice, I like the concept.
-
Ta, simple enough which I do like myself. Flat packable too.
-
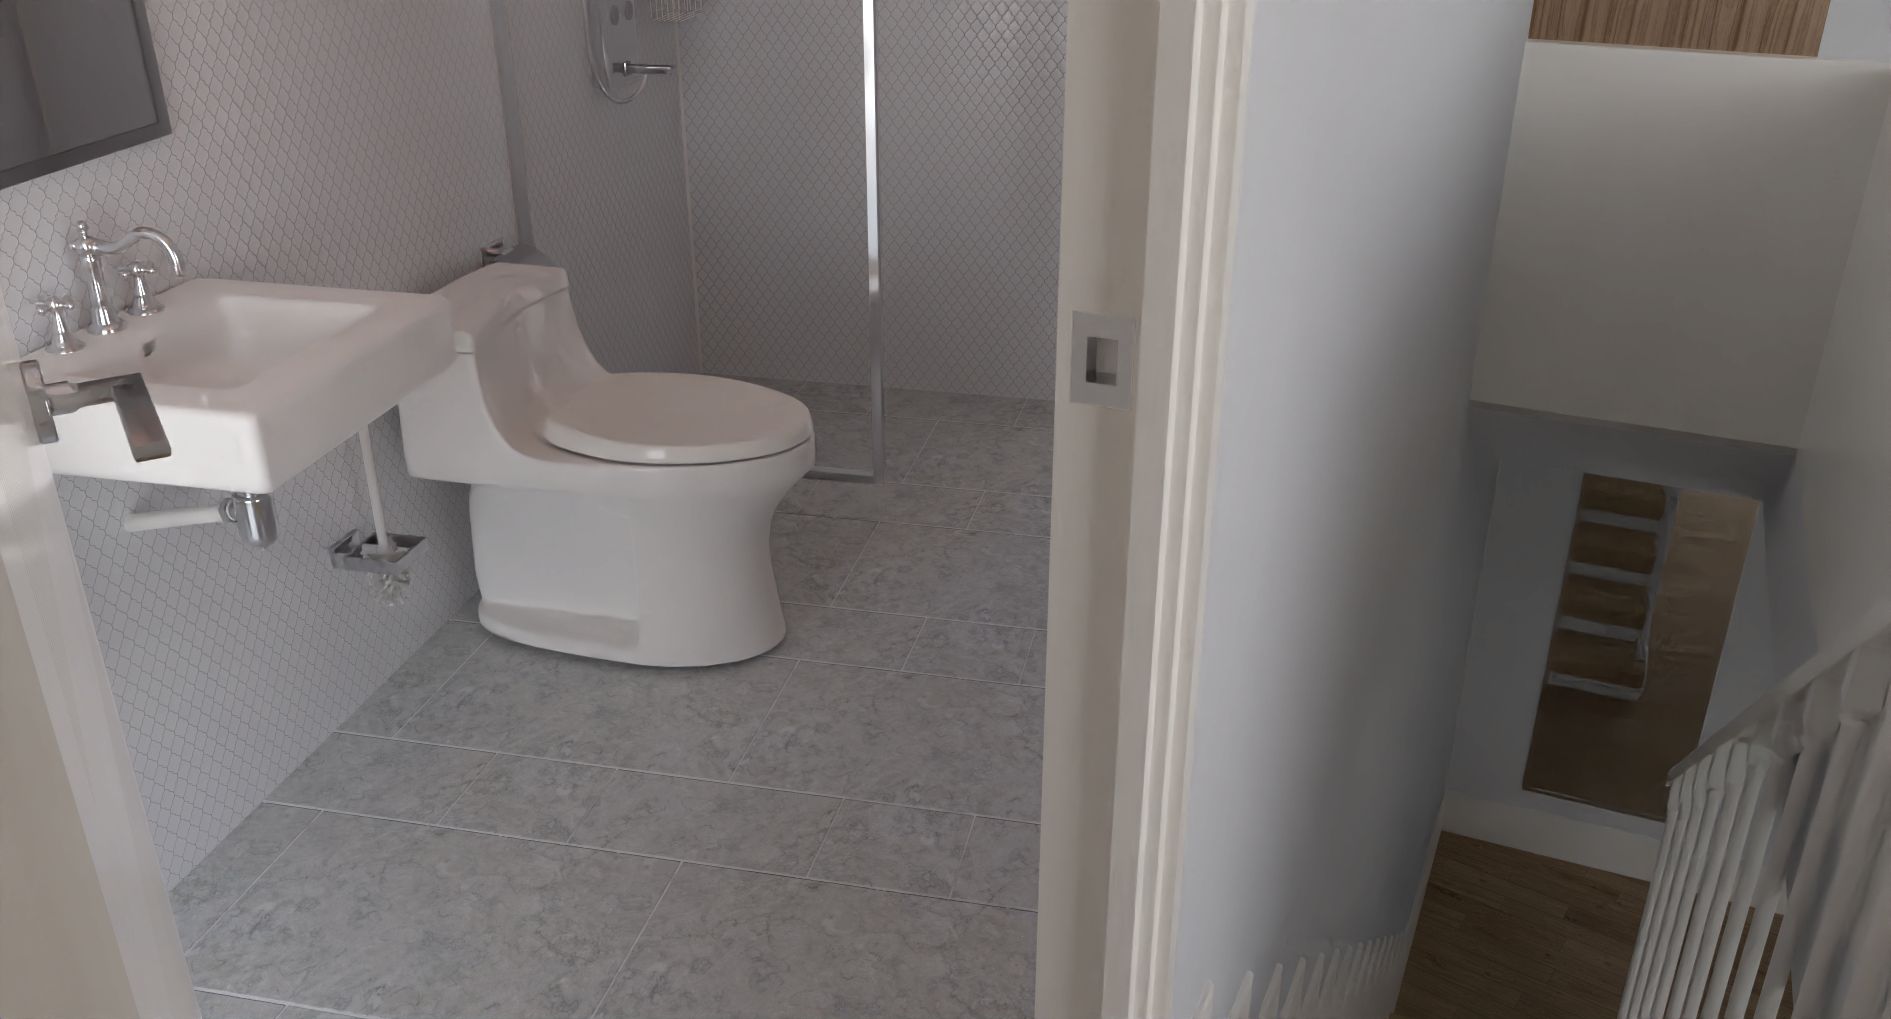
Finally got a render without windoze update screaming up the works.
Exposure set at 2.00 and environment to 1.00 so still playing aorund with the settings here.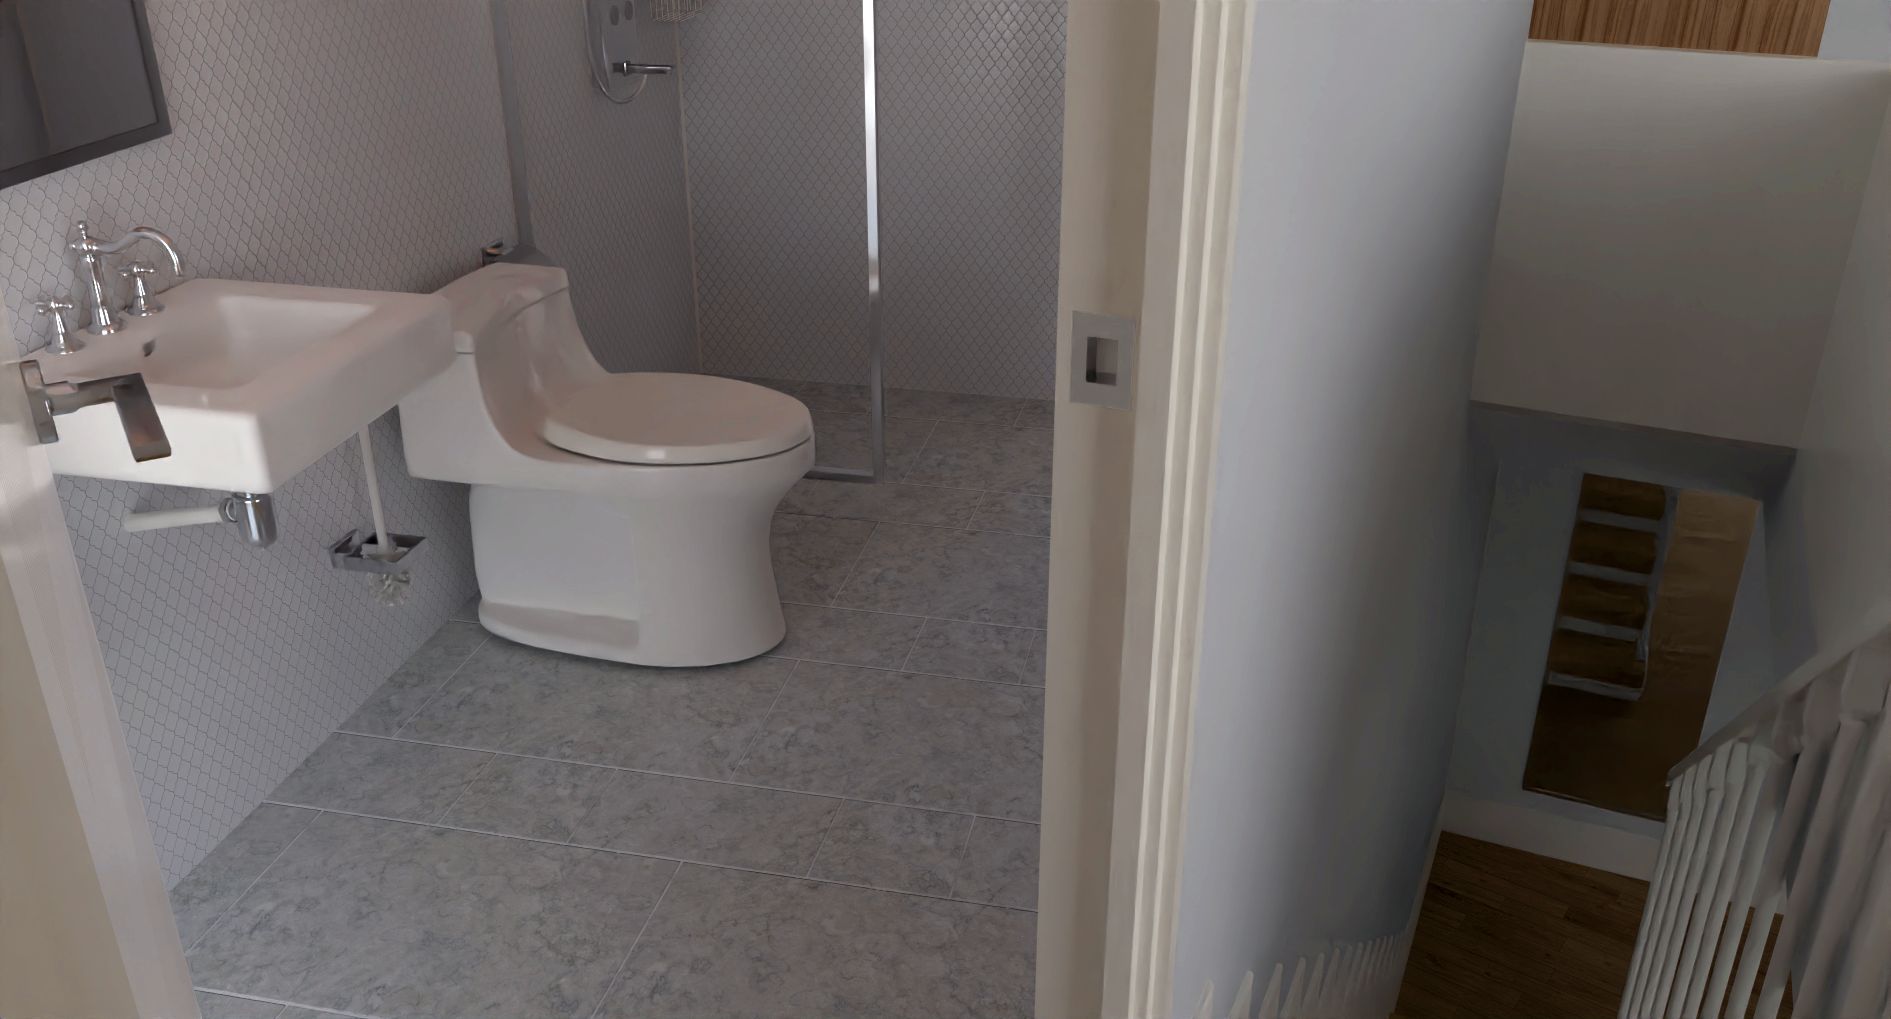
-
Perfect!
-
-
@Mike-Amos Nice result! Those lanterns could use some sphere lights for extra effect.
-
Ta, agreed. As could the interior lights. Another D'uh moment in life's drawer full. I just forgot while setting up the scene which means I should think a bit more or render earlier in the evening.....
Oh well, next time I hope I will remember.....
-
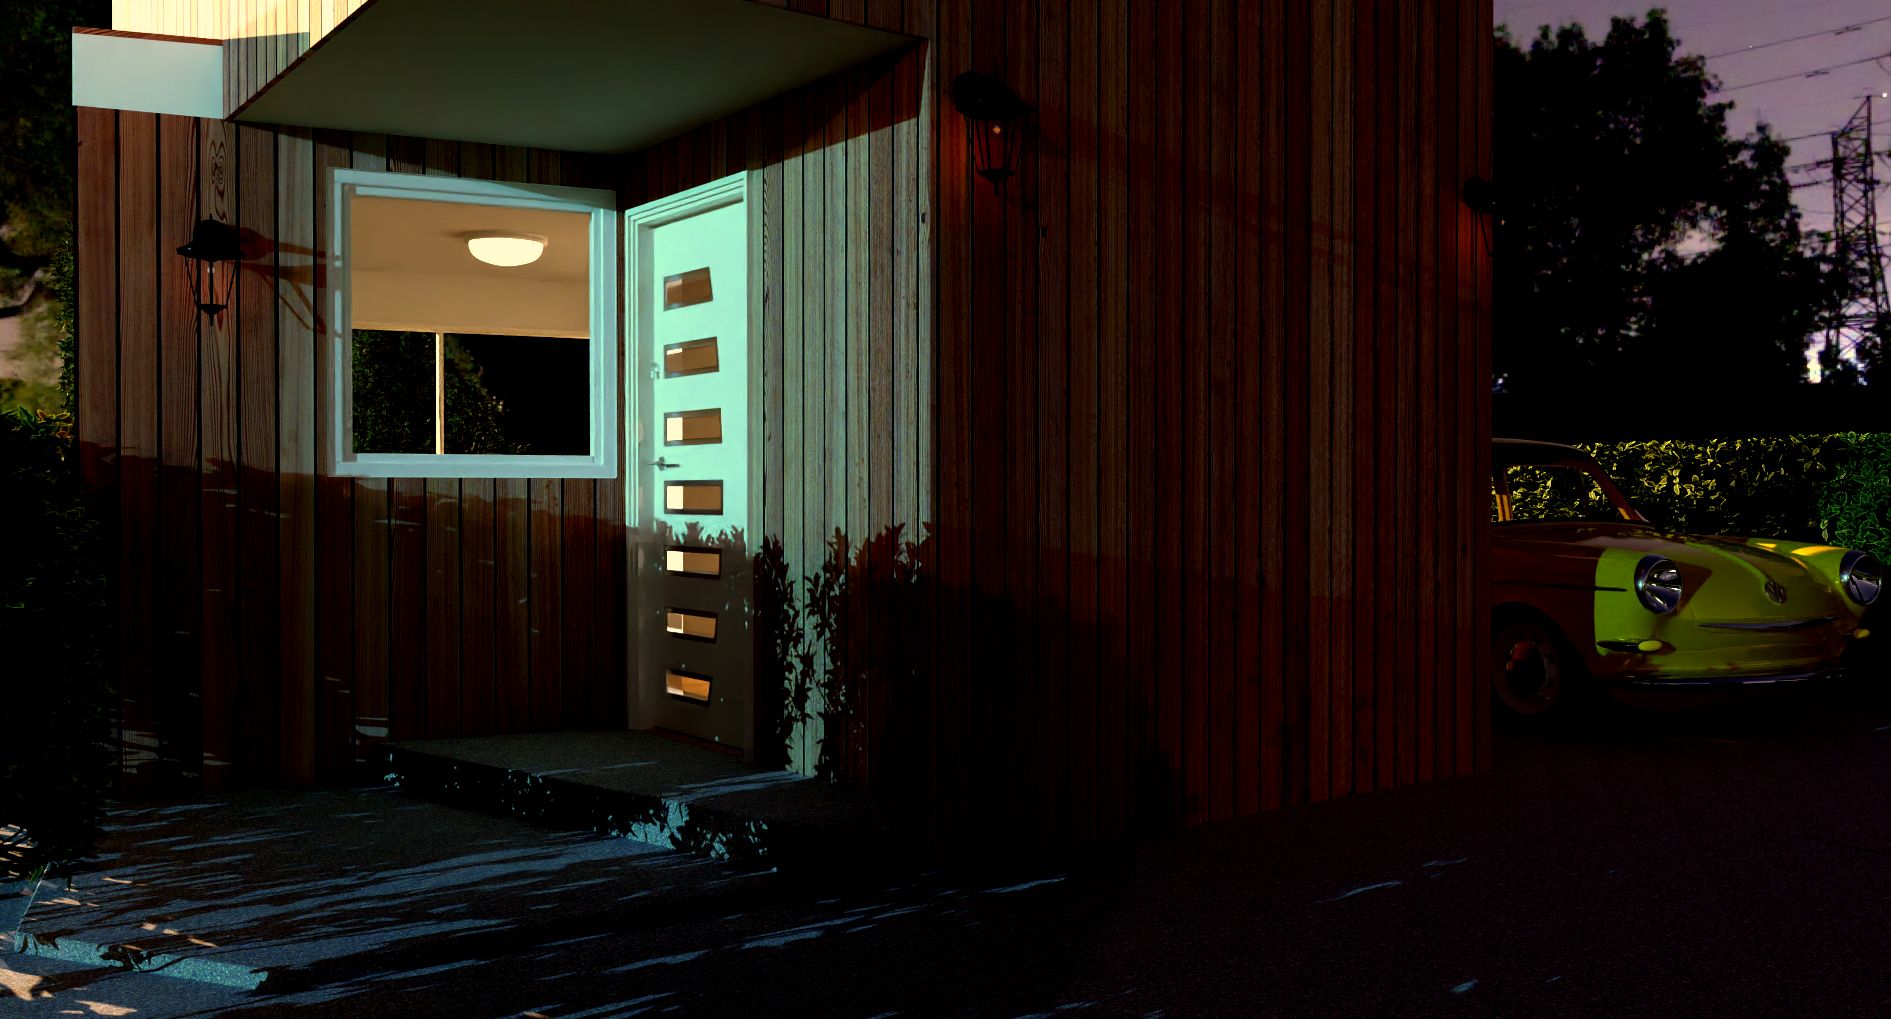
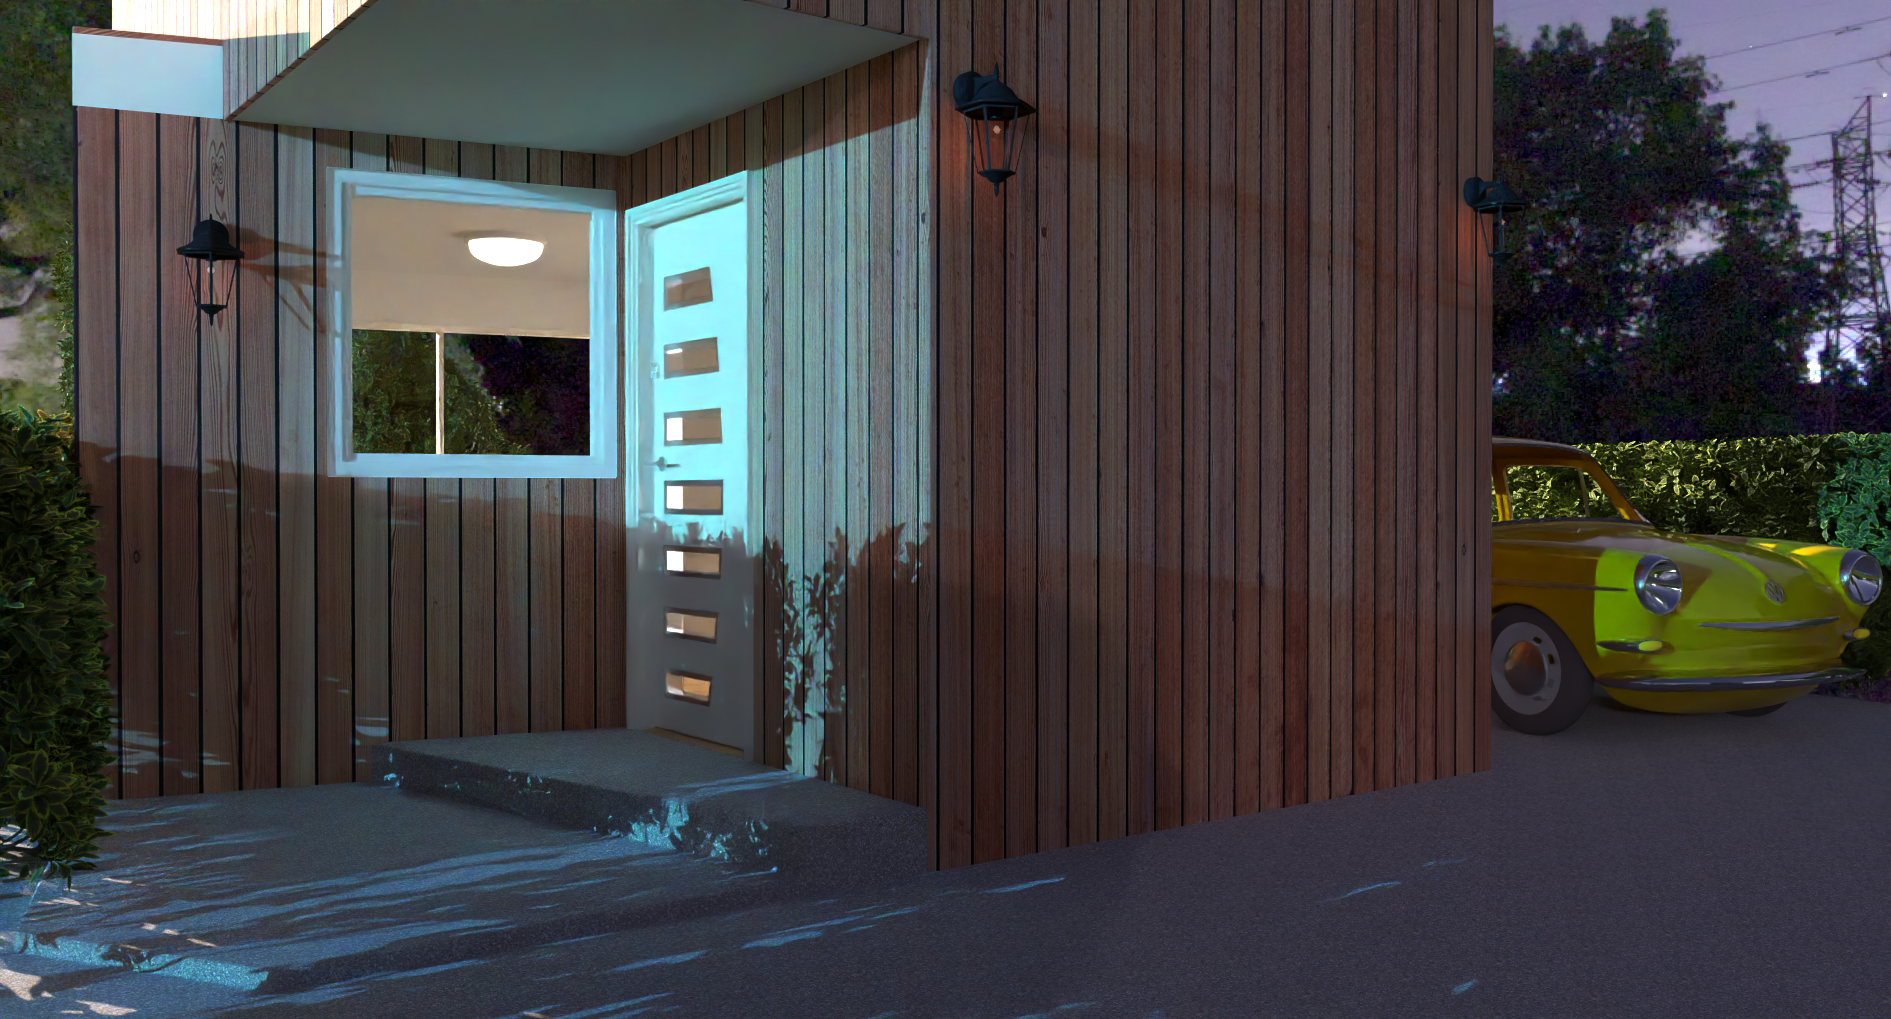
Trying the fake emitter thing on the exterior lights but not much of a result. I placed sphere lights in the same location as the wall lights but limited success so far.
This is how it looks after 70 passes, it will take a couple of hours for the full render. Exposure reduced from 2.00 to 1.00.
-
-
You would want to place the sphere lights (point lights) in the middle of the lanterns. If you place them inside the bulb, then add some transparency to the light bulb.
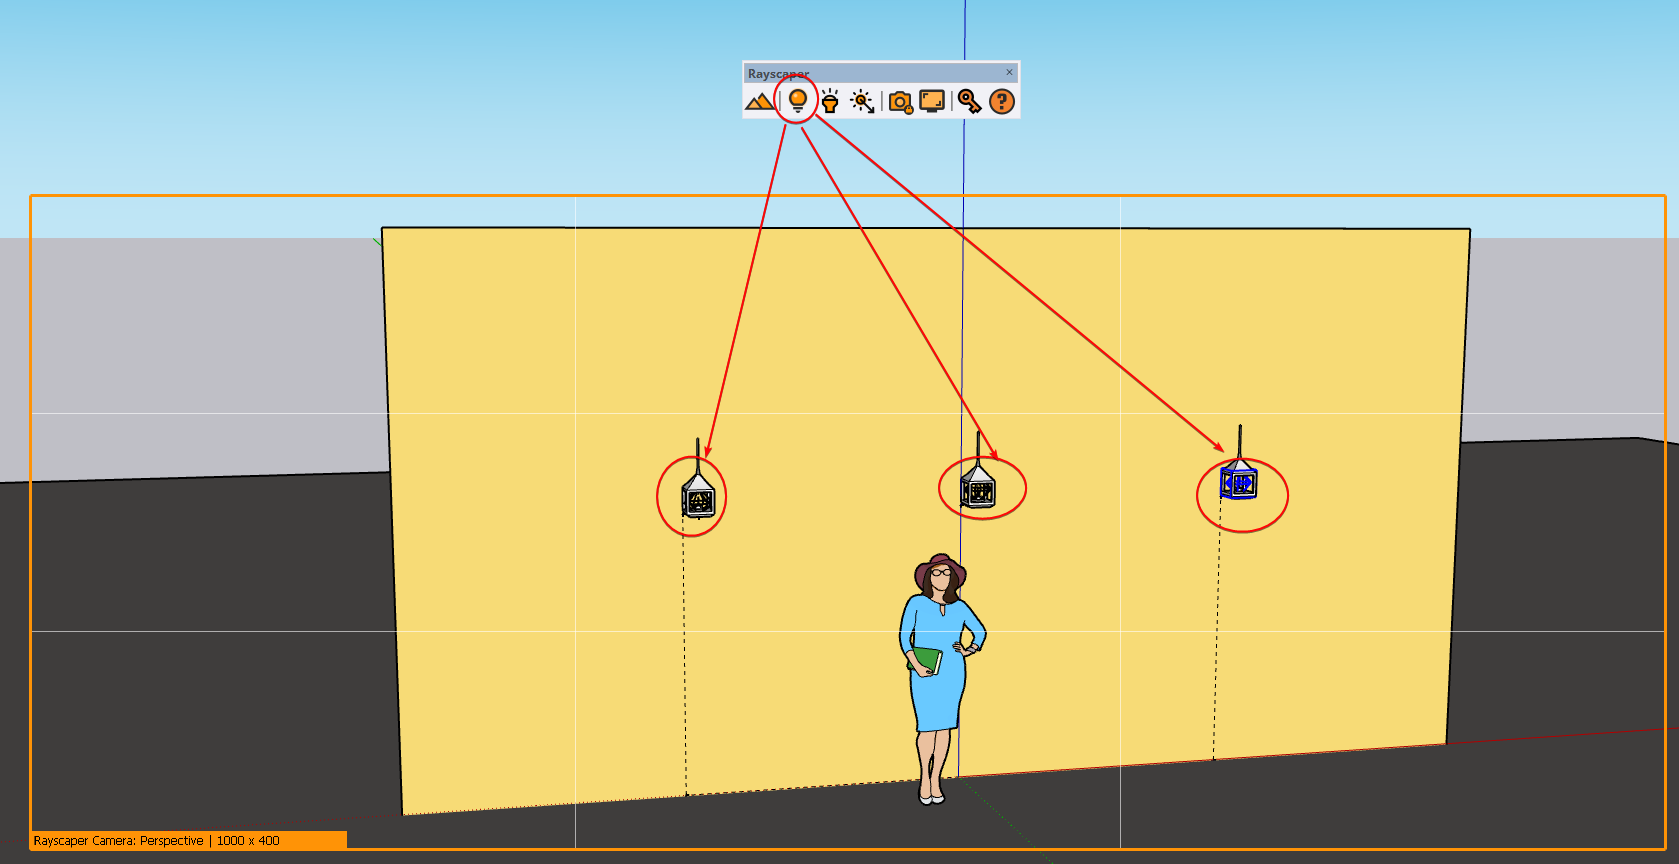
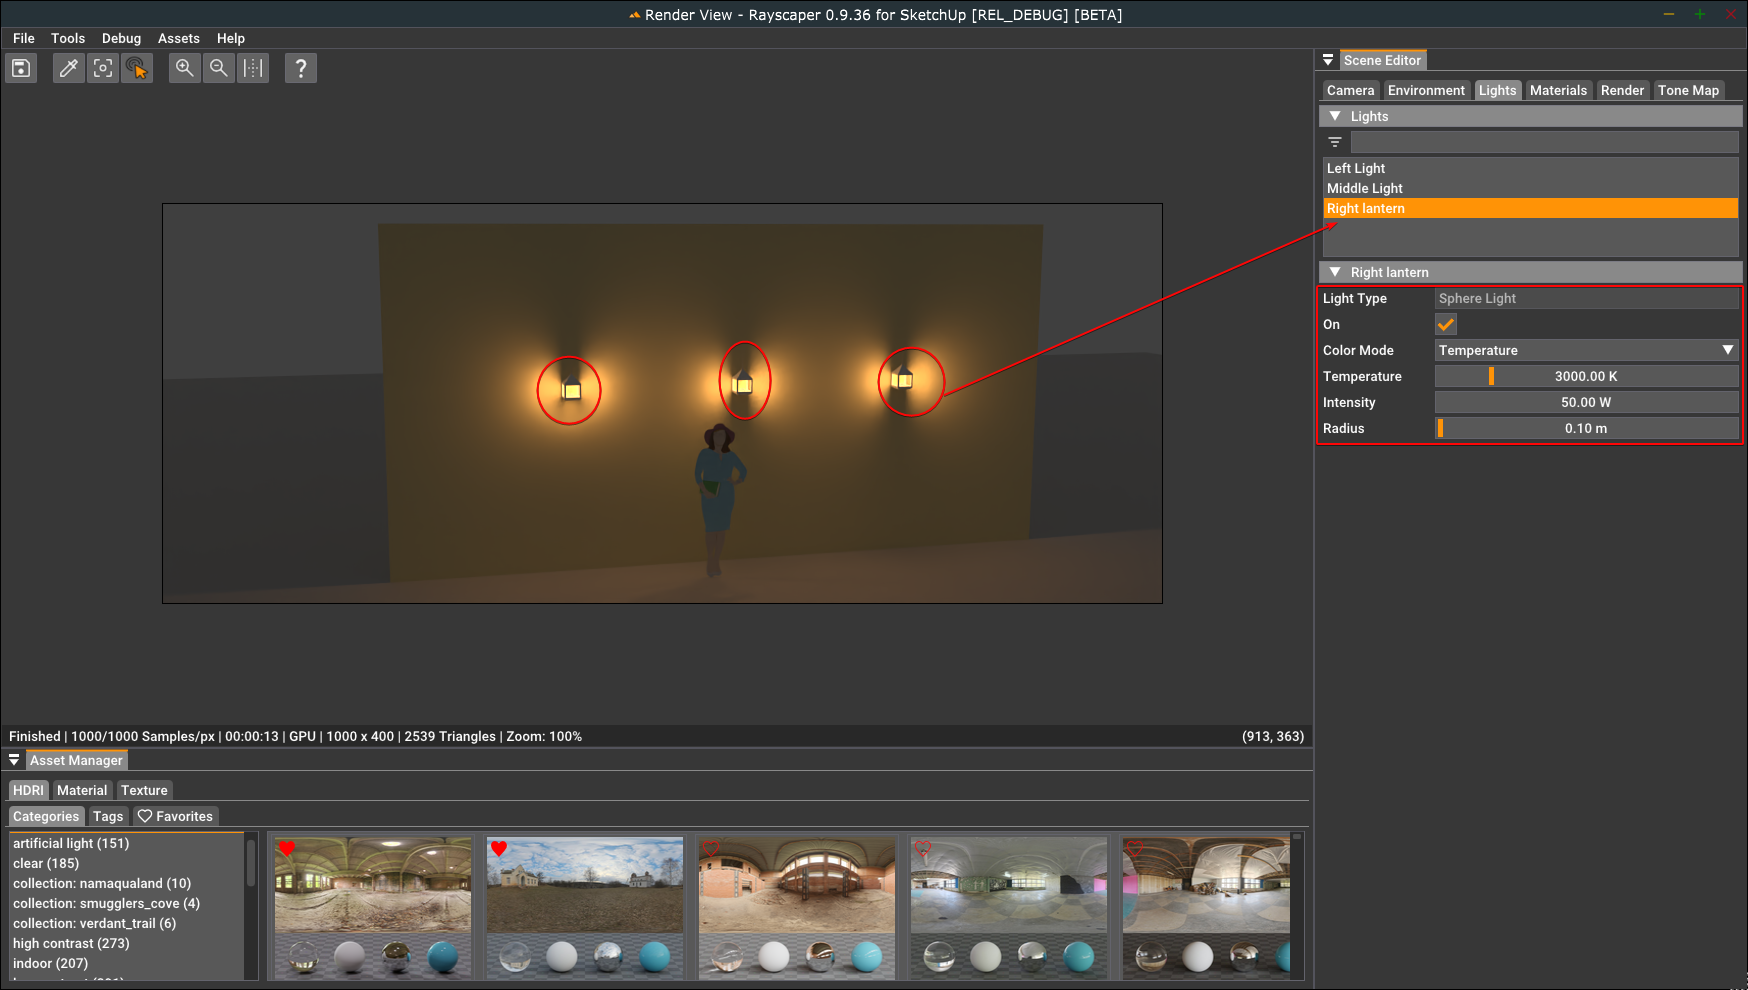
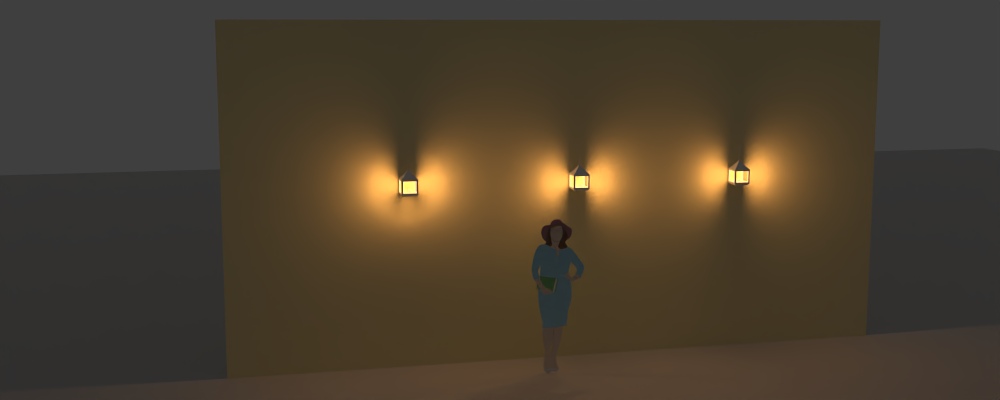
I attached an example (mike_lantern_example.skp) of how to configure sphere lights. In the scene below, I have three lights with the following configuration:
- Light temperature 3000K to get a warm color.
- 50W power for each light.
- Radius of 0.10m to make the shadows softer.
I dimmed the environment to low strength to make the lights stand out.
Light configuration in SketchUp:
Light settings in Rayscaper:
Result:
That should help you tune the lights in your scene.
Regards,
Thomas -
Thanks for that, how did you rename the lights tho'?
-
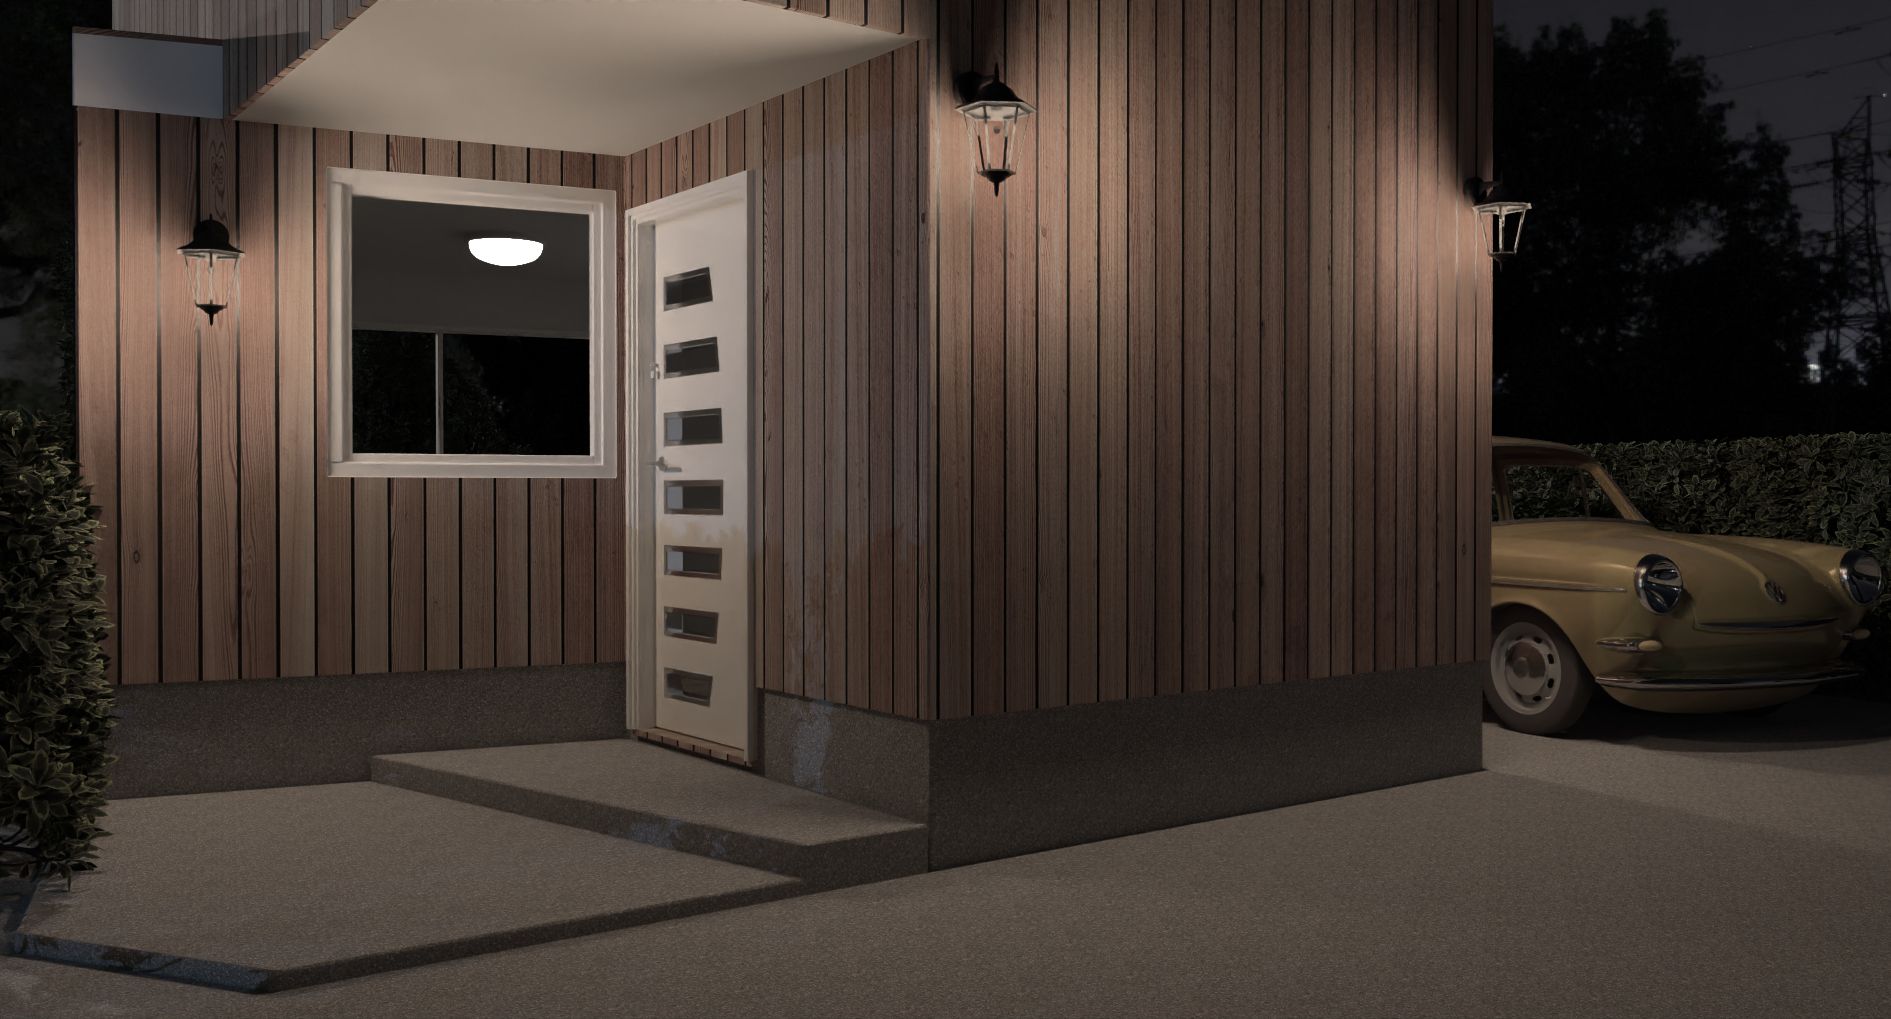
Not a full 500 samples but getting there. I desaturated in Affinity photo.
-
It's getting there. I would pick a warmer light color and make that interior light less strong.
Thanks for that, how did you rename the lights tho'?
Rayscaper takes the name of the light components. You can rename them in the outliner:
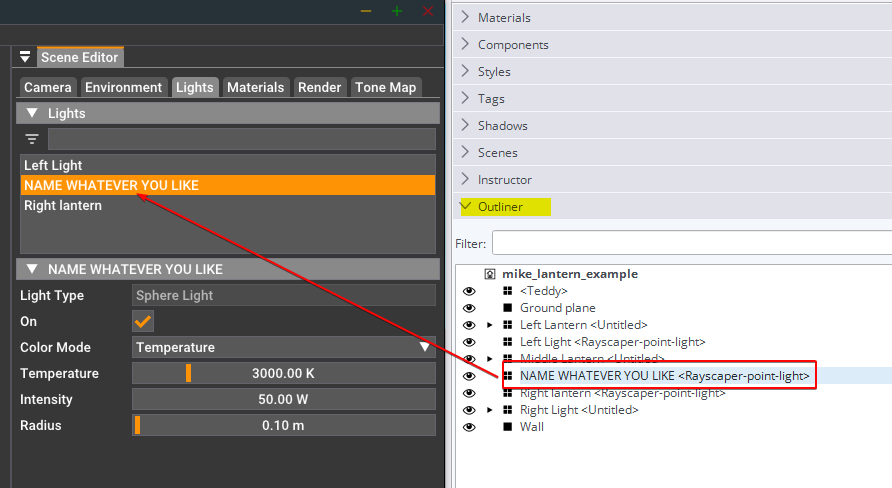
The same for materials, Rayscaper takes the names of the SketchUp materials.
Cheers,
Thomas -
Gotcha, for some reason 'outliner' was missing from my default tray.
I completely missed the absence. Pun intended.
-
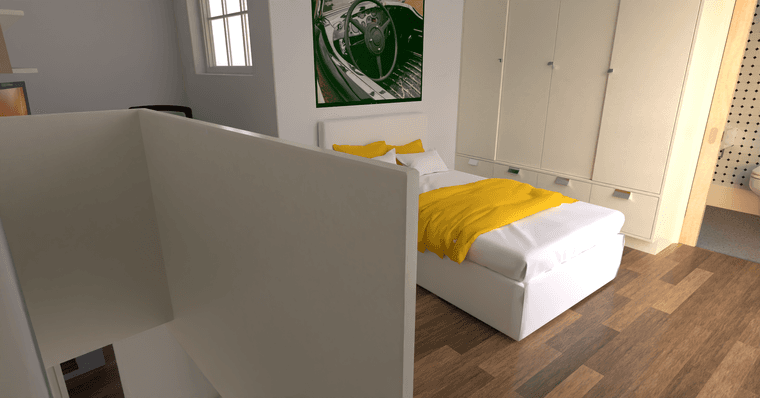
OK, moving on, in a continuous movement.
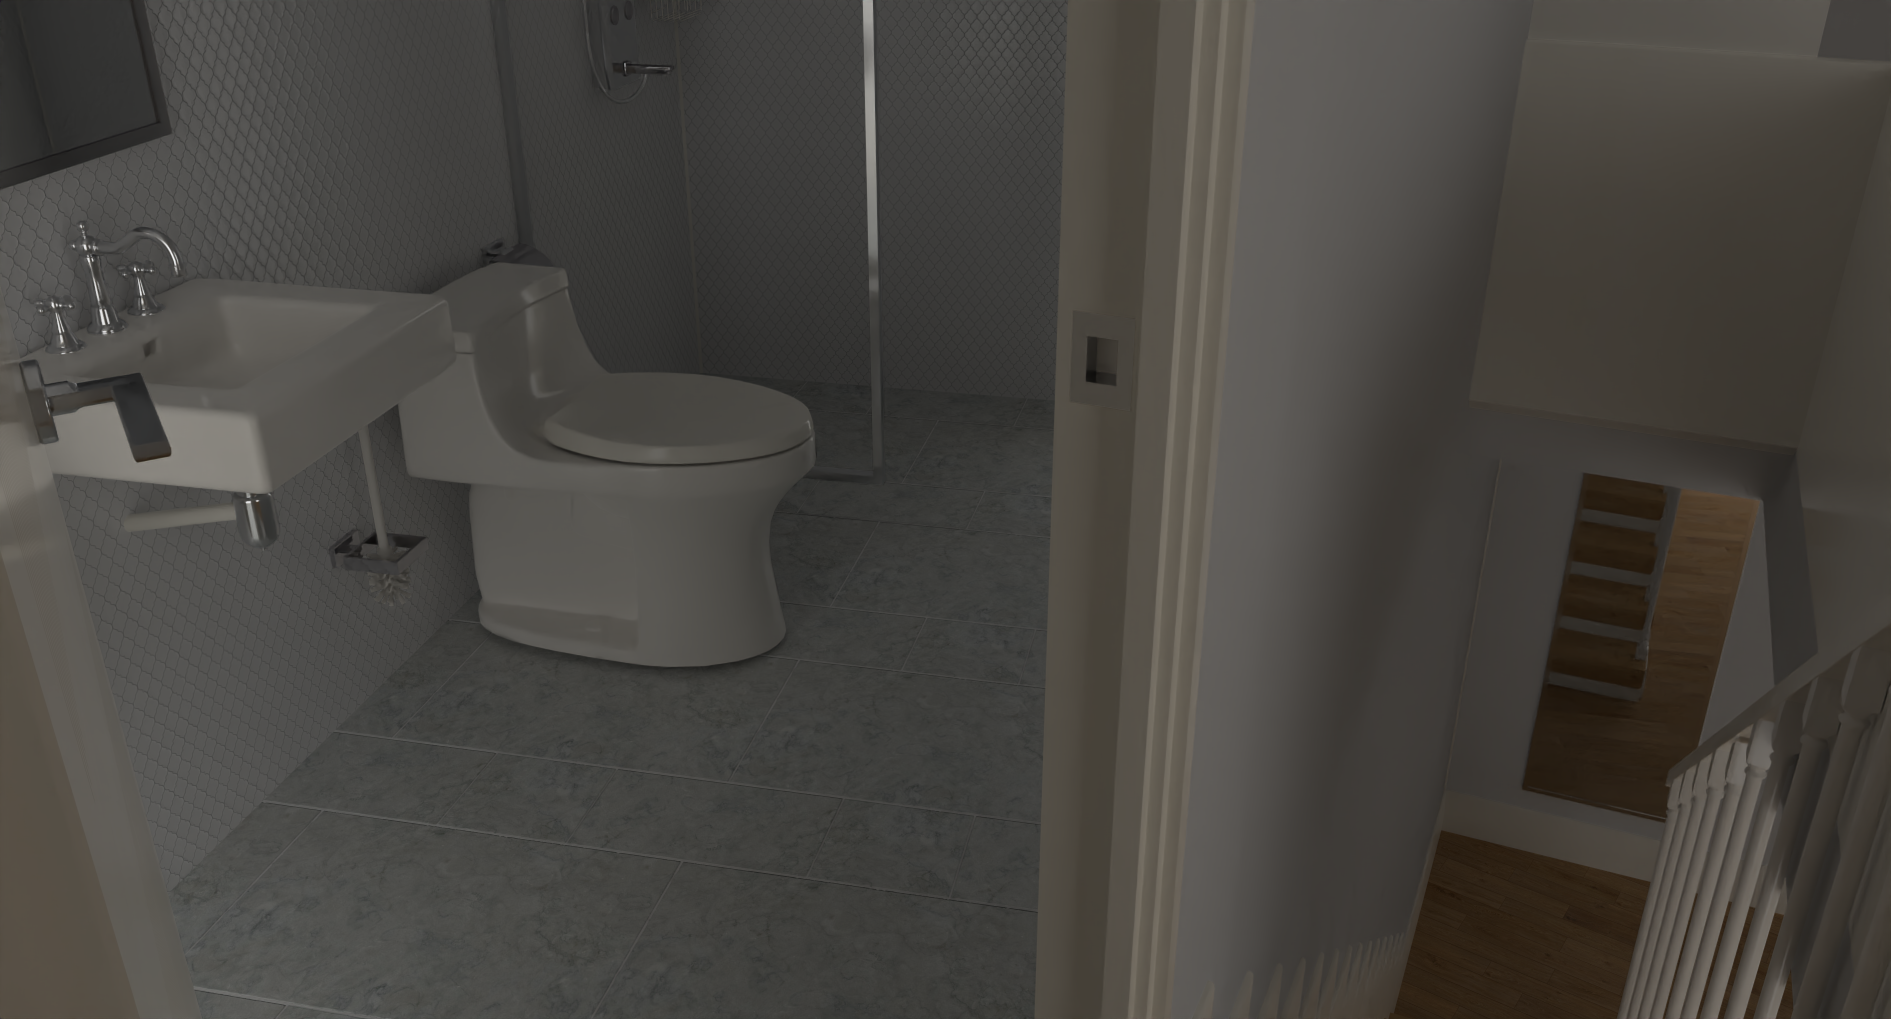
Getting smaller which seems to be a trend, however this theme still has all the basics such as a full bathroom and a study area.
-
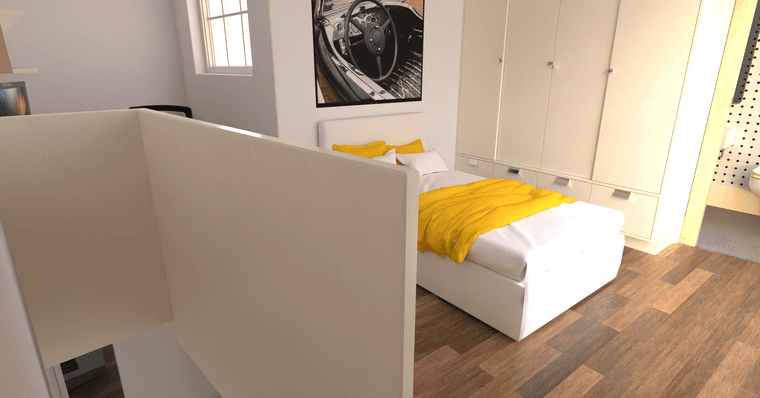
Repeated via a GPU render, much faster and a lighter render from otherwise the same settings.
-
@Mike-Amos like the last one better.


Advertisement
