Blending HDRI and Sky?
-
Anyone found a way to successfully blend an HDRI with a Sky map for the GI light - so one can get some control over soft<->hard shadows?
-
Fernando has a trick for this. Basically use the HDRI in your Envir and BG slots. Then put the TexSky in your Reflect Color, uncheck it to turn it off (Vray still remembers the Texsky settings), then under Global switches have Default Lights checked, this uses the sun settings that are hidden under Reflect Color to cast the shadows. Voila!
-
ooh... I'd not have thought of doing it like that. I'll see tomorrow how it works out. Cheers!
-
not quite - you can use a blend for the environment BG Color (physical sky and HDRI.) This way you can use regular GI for the GI color, and then turn on default lights in the Global switches for the sun shadows.
with the other method, you don't get lighting from the HDRI...
-
hmm...
Well, what I am trying to address is the shadows from the Sun - I'm getting very dark shadows. I'd like to reduse the darkness of the areas in the shadows.
However, if I use a HDRI map only the shadows becomes so soft that I don't really get shadows around smaller objects like people etc which makes them look like they are floating.
I'm actually not bothered about soft or sharp shadows - but some way to control how dark the shadow areas are.
-
You do get GI using my method because both the GI Color and BG Color have the HDRI applied to them. Your Reflect Color holds the settings for the TexSky, which you can tone down the intensity of the sun in there. Just uncheck it so it doesn't replace your reflections and turn on Default Lights which in turn turns on the Sun system. I guess you could use blend as well, but I thought there was a bug there.
Here is the tutorial Fernando did a while back http://youtu.be/pqMohzR5mV0
-
Also, they are resolving a lot of the HDRI issues in the next release with a Sky Dome feature. Thank God. I hate that every time I buy an HDRI I have to open it in PS and blur it so it works. Pain in the backside.
-
Yea - I've not been able to get a result of Blend today.
And I'm really looking forward to the Skydome.

-
I take that back about the environment background slot... doesn't actually work the way I thought. To get the blend right you have to adjust two variables:
GI multiplier for the HDRI
sun intensity for the texskyJust like in Fernando's tutorial

-
@valerostudio said:
Fernando has a trick for this. Basically use the HDRI in your Envir and BG slots. Then put the TexSky in your Reflect Color, uncheck it to turn it off (Vray still remembers the Texsky settings), then under Global switches have Default Lights checked, this uses the sun settings that are hidden under Reflect Color to cast the shadows. Voila!
Golden!!!


-
hmm.... if you use a plain colour for GI you can also easily tint the general environment while have full control over your sky shadow.
I made the sky size 20 so I got quite soft shadows - like on a partially clouded sky which my BG HDRI display. And then I lowered the intensity and now the shadow areas aren't so dark. Perfect!
-
Well, the issue is with reflections. I went back to the original model I was testing, and it was an issue of reflections, not lighting levels. If your background is too bright or too dark, you won't see the reflection of your environment map, or you might see too much. The blend helps control reflections only. Hope that is of some use.
-
I'm not seeing any problems with reflections. It appears to me that I see just the BG HDRI...
-
OK. I was just explaining the reason behind my alternative approach. YMMV
the illumination levels still depend on the sun intensity setting and HDRI multiplier either way. -
I guess it might depend on the Sky and HDRI settings - in my current setup it seems to work ok.
-
It all comes down to workflow and what you are trying to achieve. I use Fernando's method and wait patiently for Sky Dome!
-
hi everyone
I chose a picture for BG in vray option window
does anybody knows how i can reduce the size of image and make it repeat in the back ground? -
Hello,
in the Texture Editor of BG settings, if you use a TexBitmap, in the UVWGenEnvironment, you've got a "repeat" option for horizontal and vertical settings.

-
@chon said:
in the Texture Editor "repeat" option
yes but it is not working for me:
it is a reflect able sphere I rendered for you to see
I attached original picture and rendered pictures with 1, 5 ,20 and 100 repeat both in horizontal and vertical directions.
as you see when repeat number increases it seams picture goes to be zoomed more and more in the background!
why I can not see at least one picture in complete size in the background? while I want to see pictures tiled in the background!
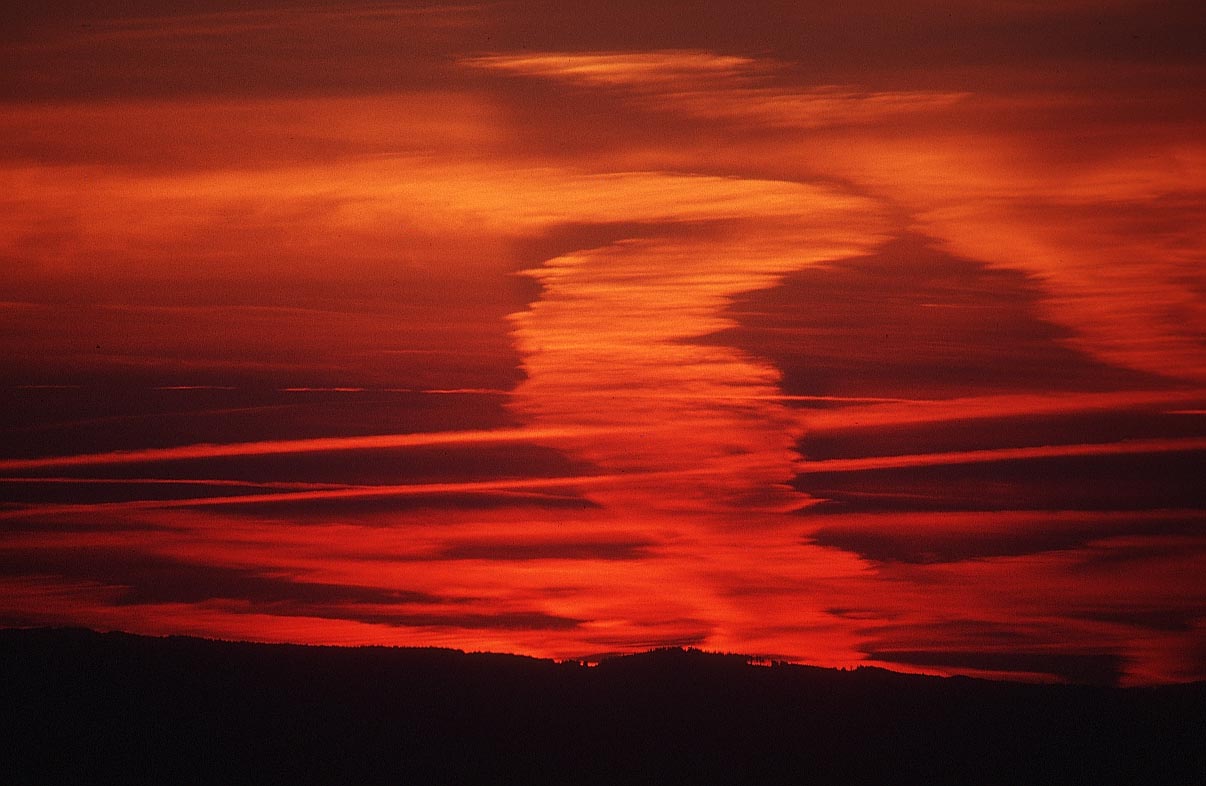
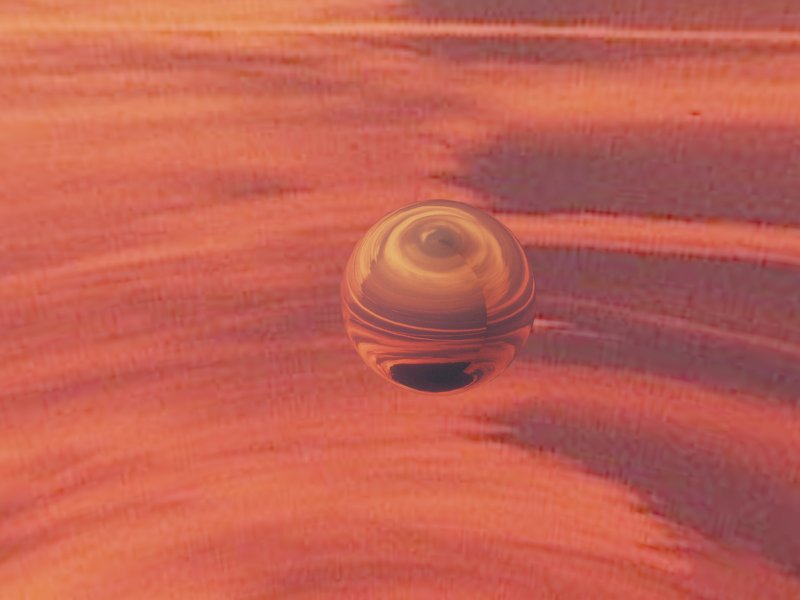
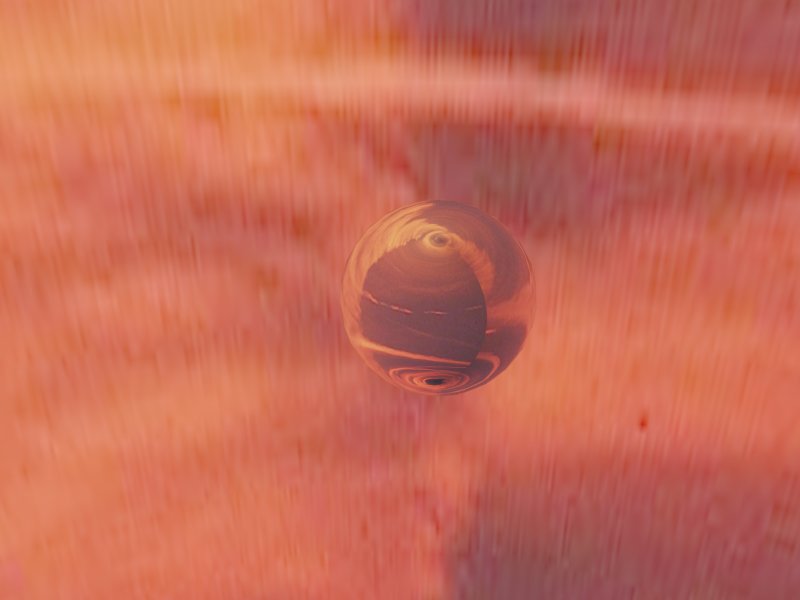
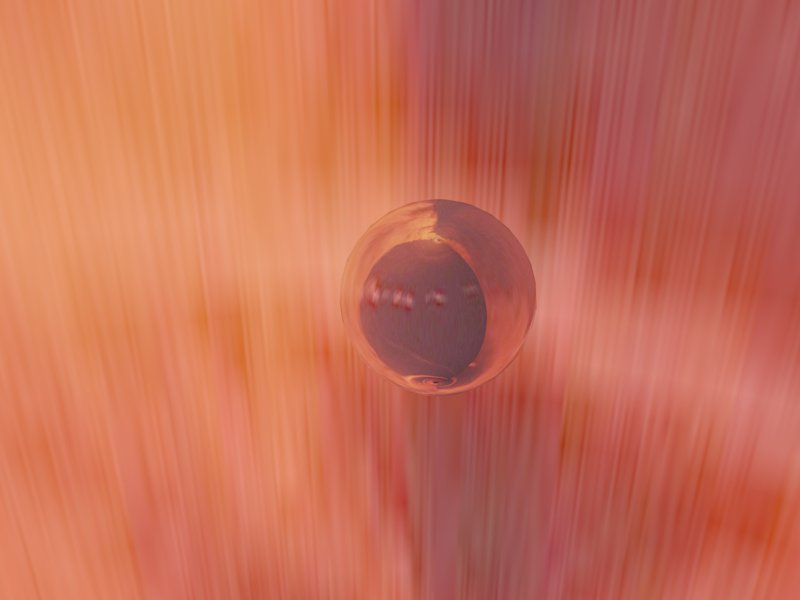
-
Perhaps try a repeat of 0.25 (this should give you 4 images across the 360 degree view)
Hello! It looks like you're interested in this conversation, but you don't have an account yet.
Getting fed up of having to scroll through the same posts each visit? When you register for an account, you'll always come back to exactly where you were before, and choose to be notified of new replies (either via email, or push notification). You'll also be able to save bookmarks and upvote posts to show your appreciation to other community members.
With your input, this post could be even better 💗
Register LoginAdvertisement


