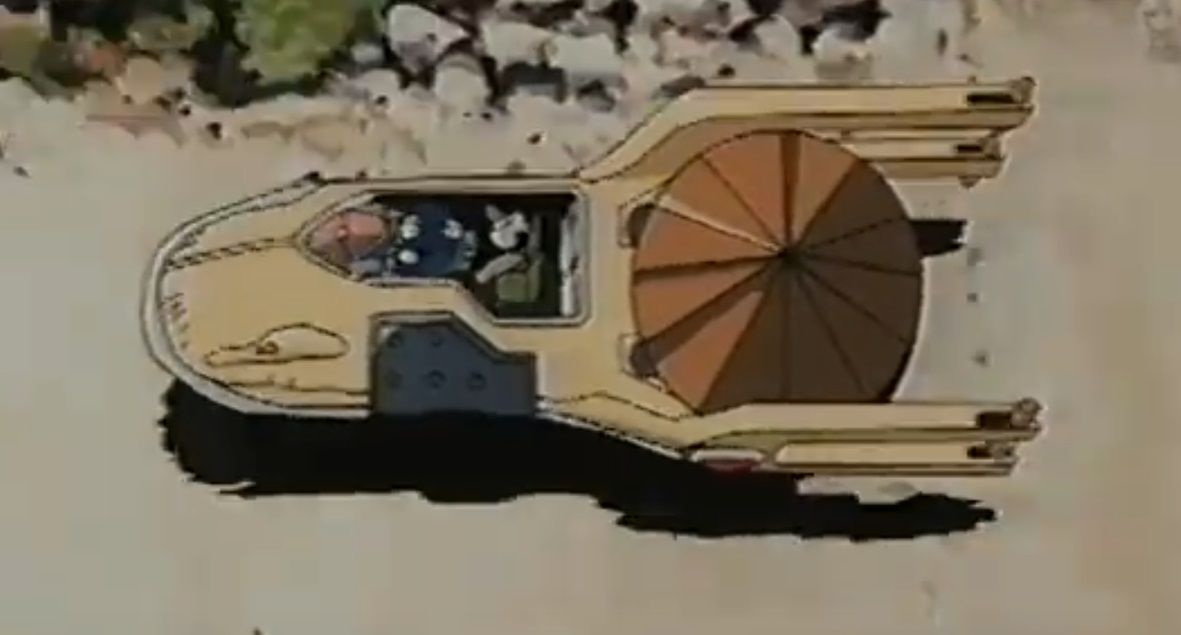
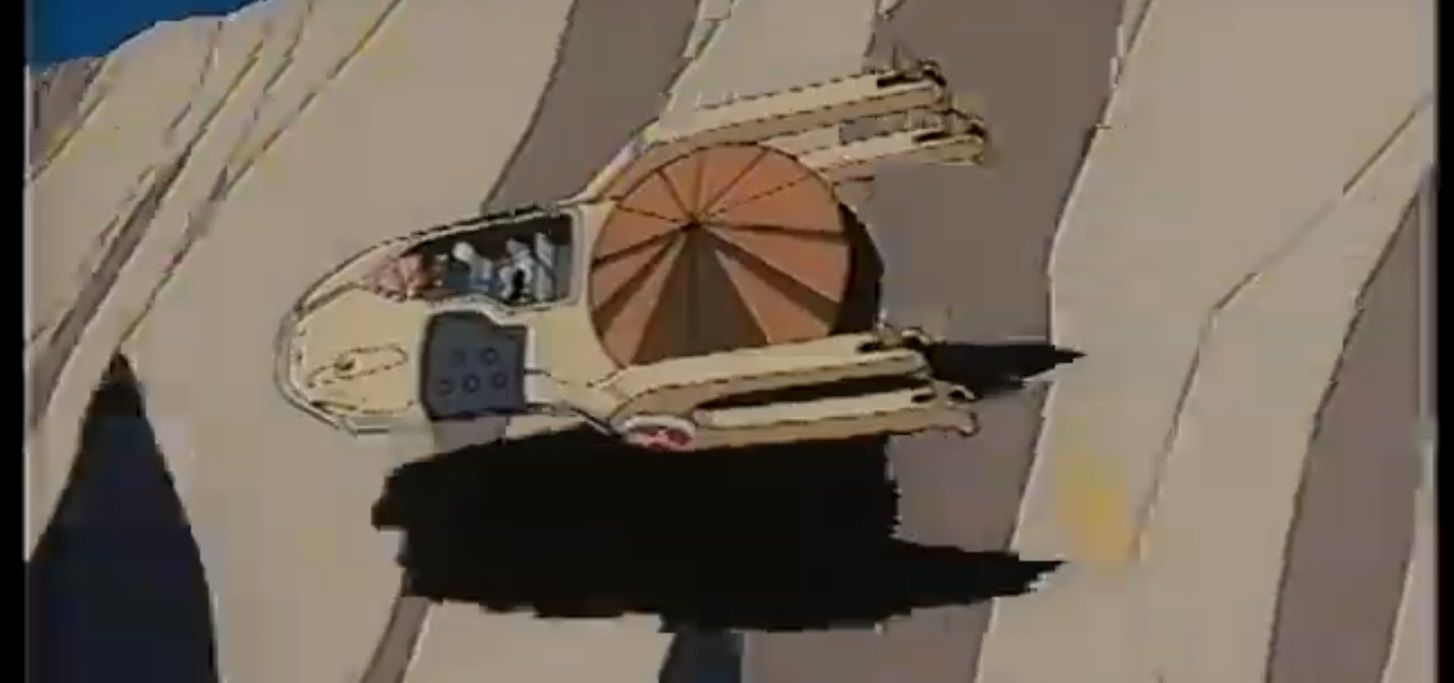
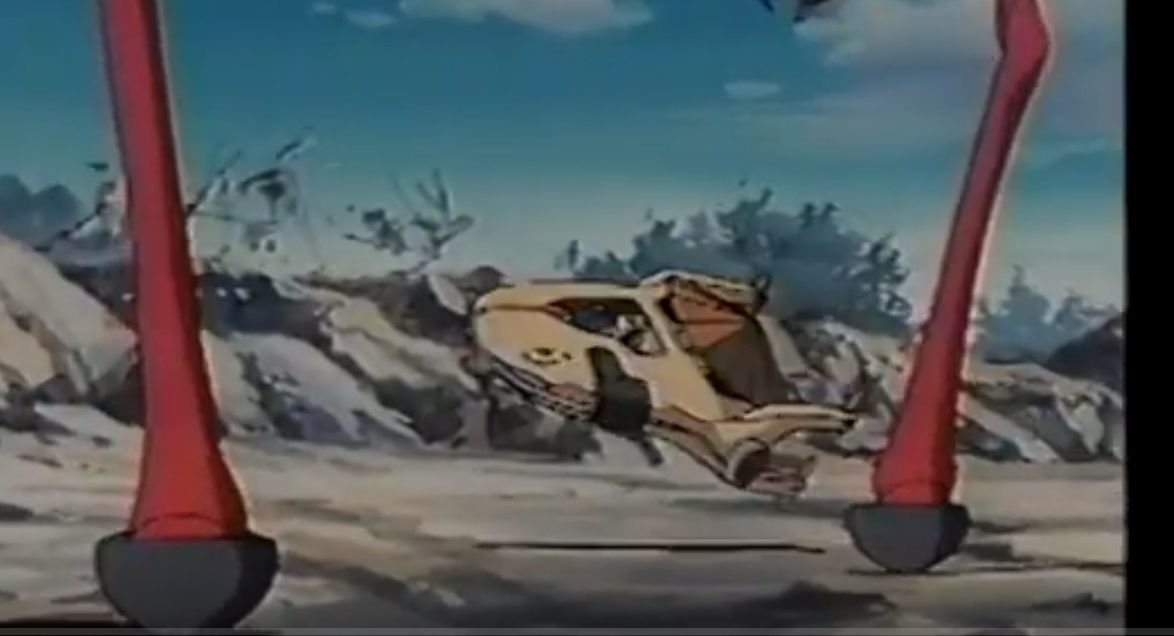
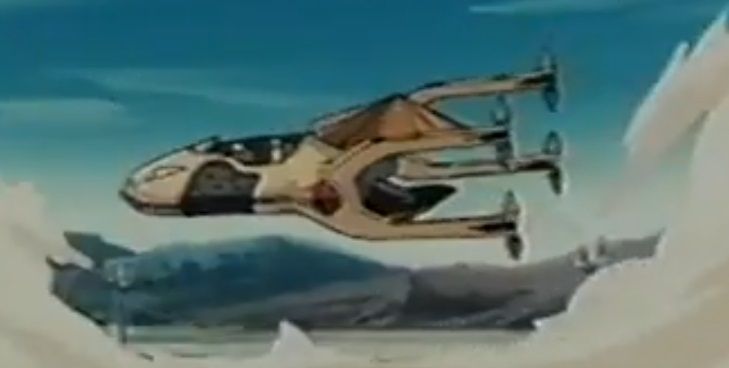
Iria - main car
-
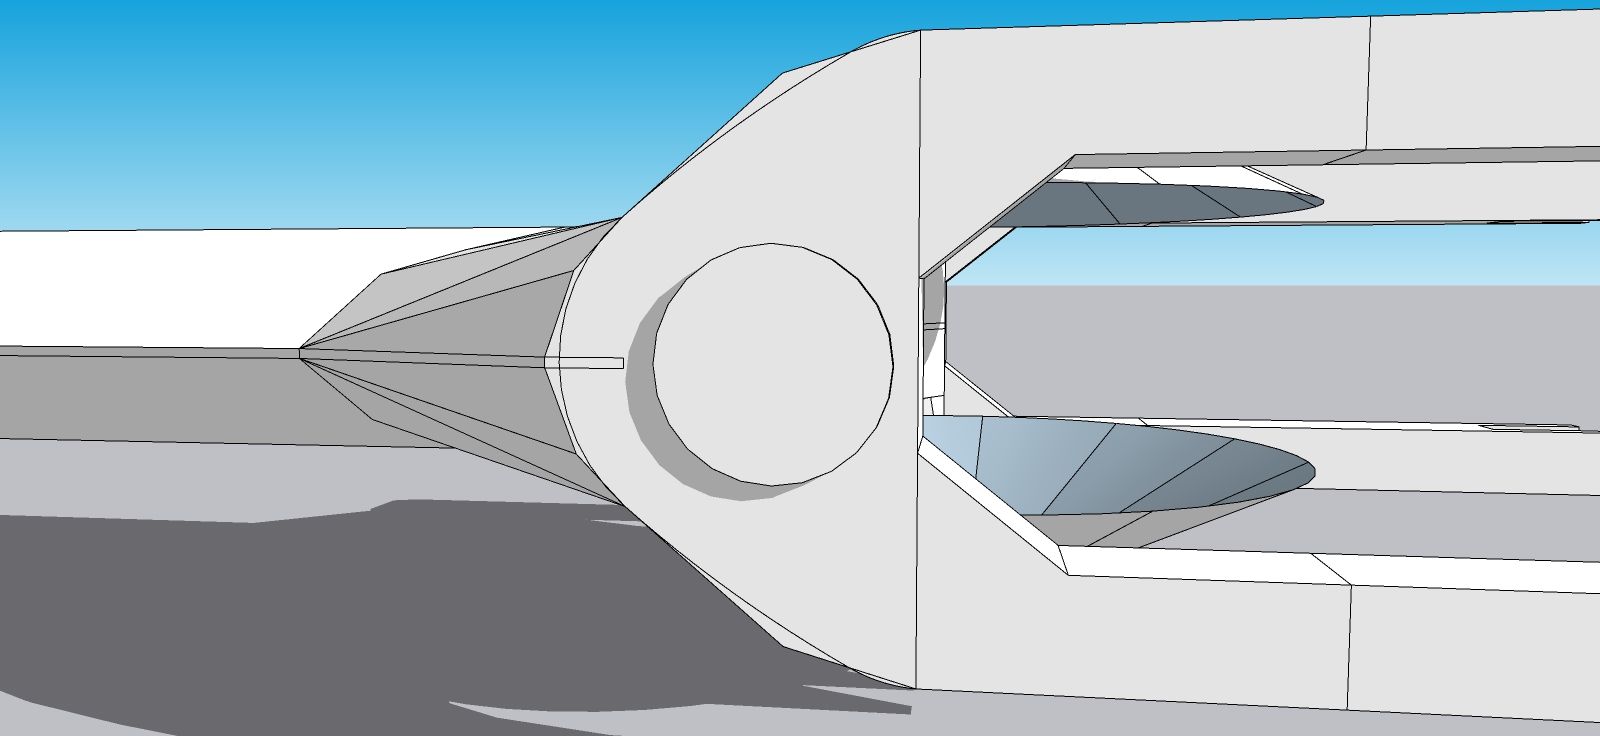
Roughing in the arcs. I will use Curviloft for the final curves from body to tails. 5 arcs to make the curve. One for the nose, and two arcs, top and bottom.
-
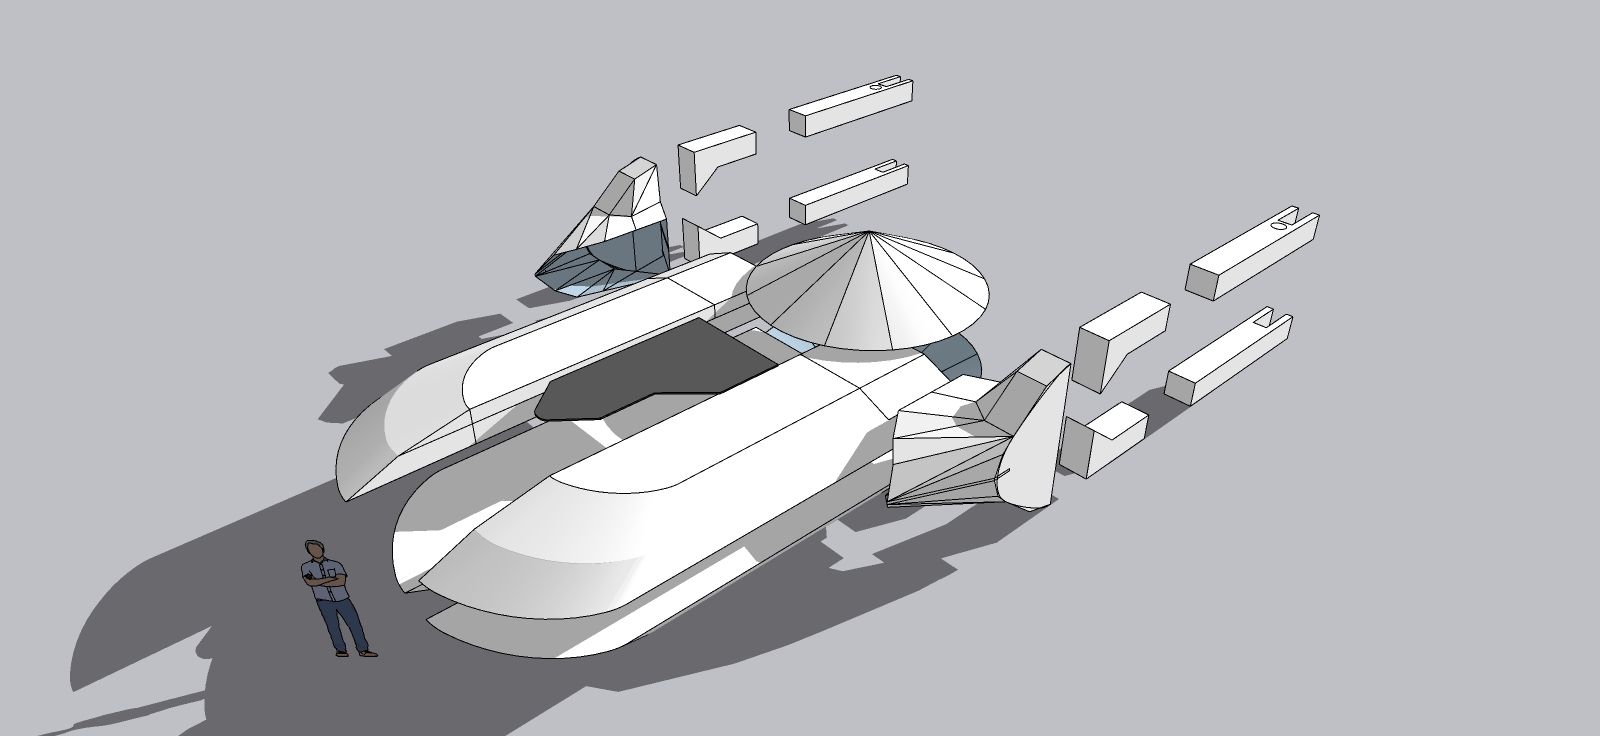
Component structure. Left right mirror for body, left right and top bottom for tails
-
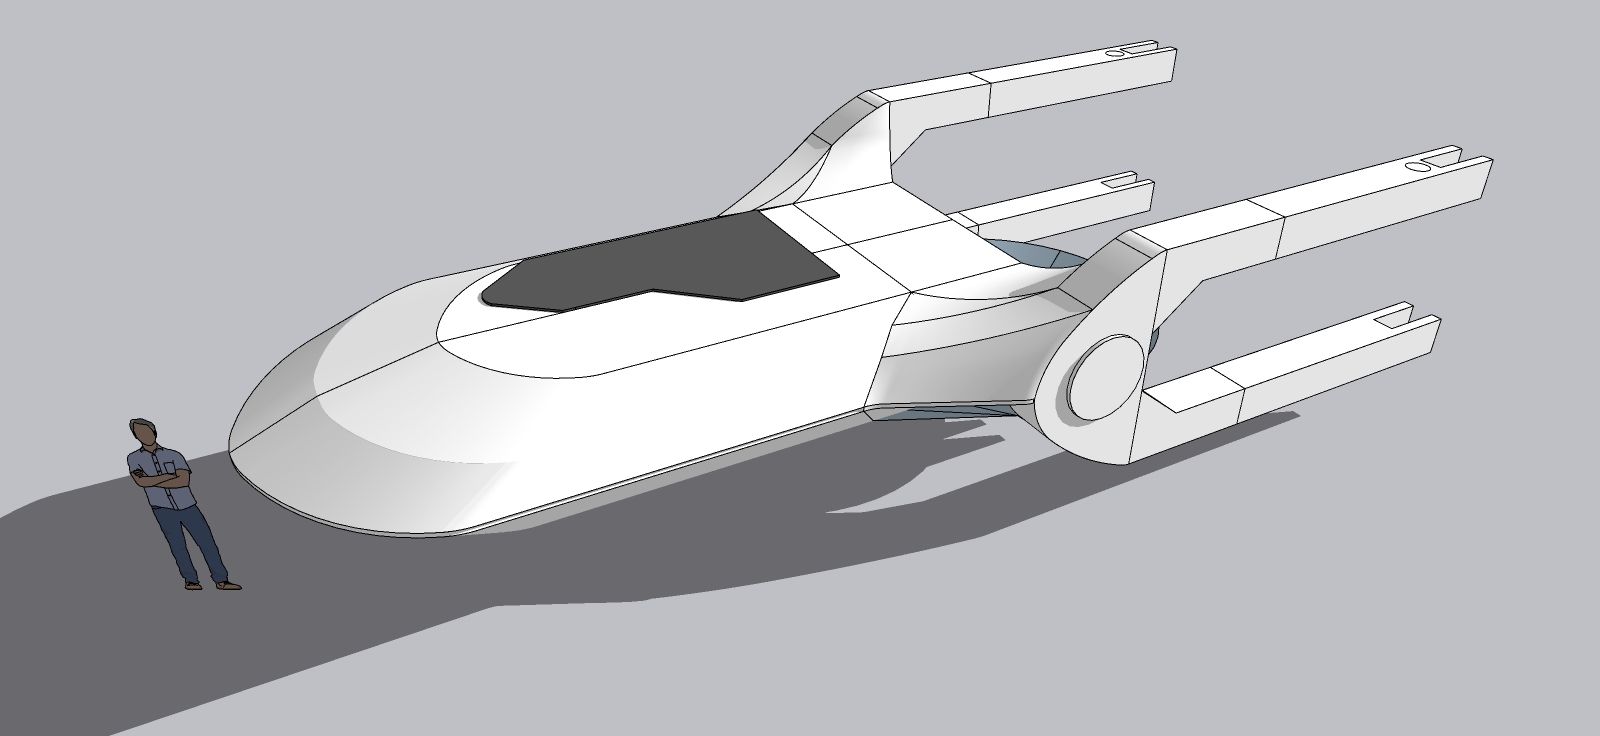
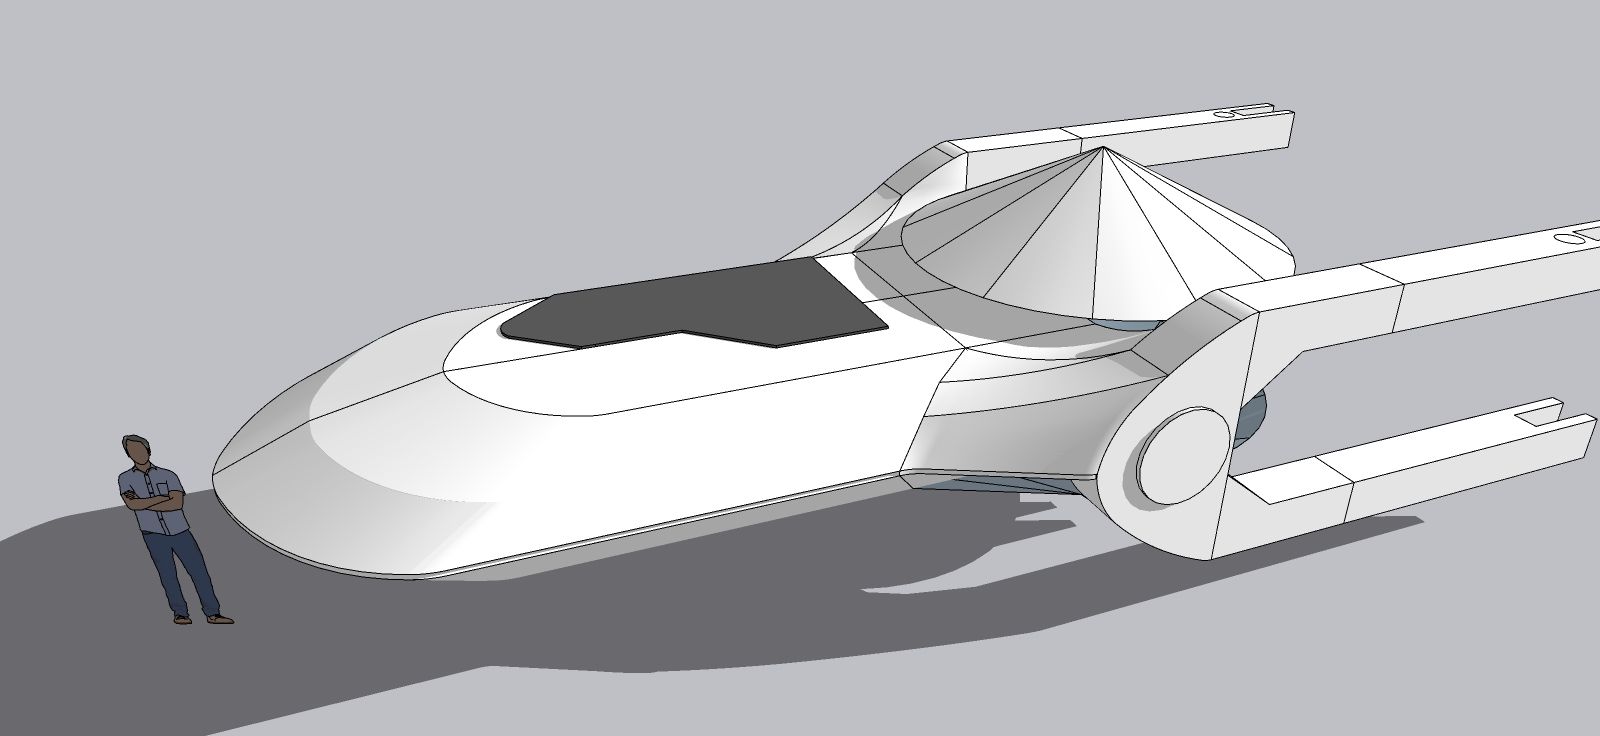
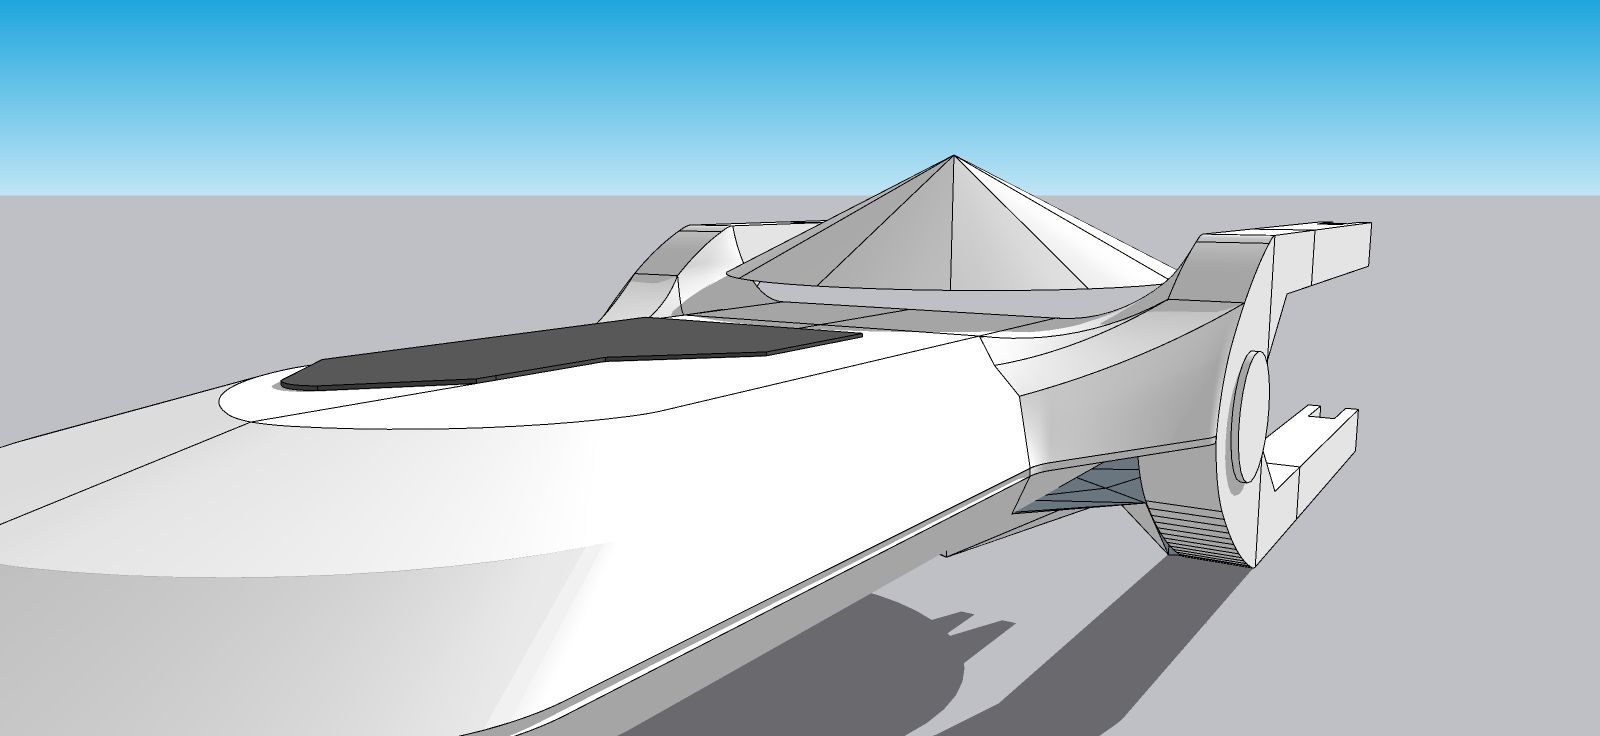
The Curviloft begins. After much jiggling and fiddling and a few choice words, and corrections to the base geometry (my alignment off as usual), and then a couple of dozen arcs failures to find just the right curve, I got the top part made.
Yeah, I like this! On to the bottom part!
-
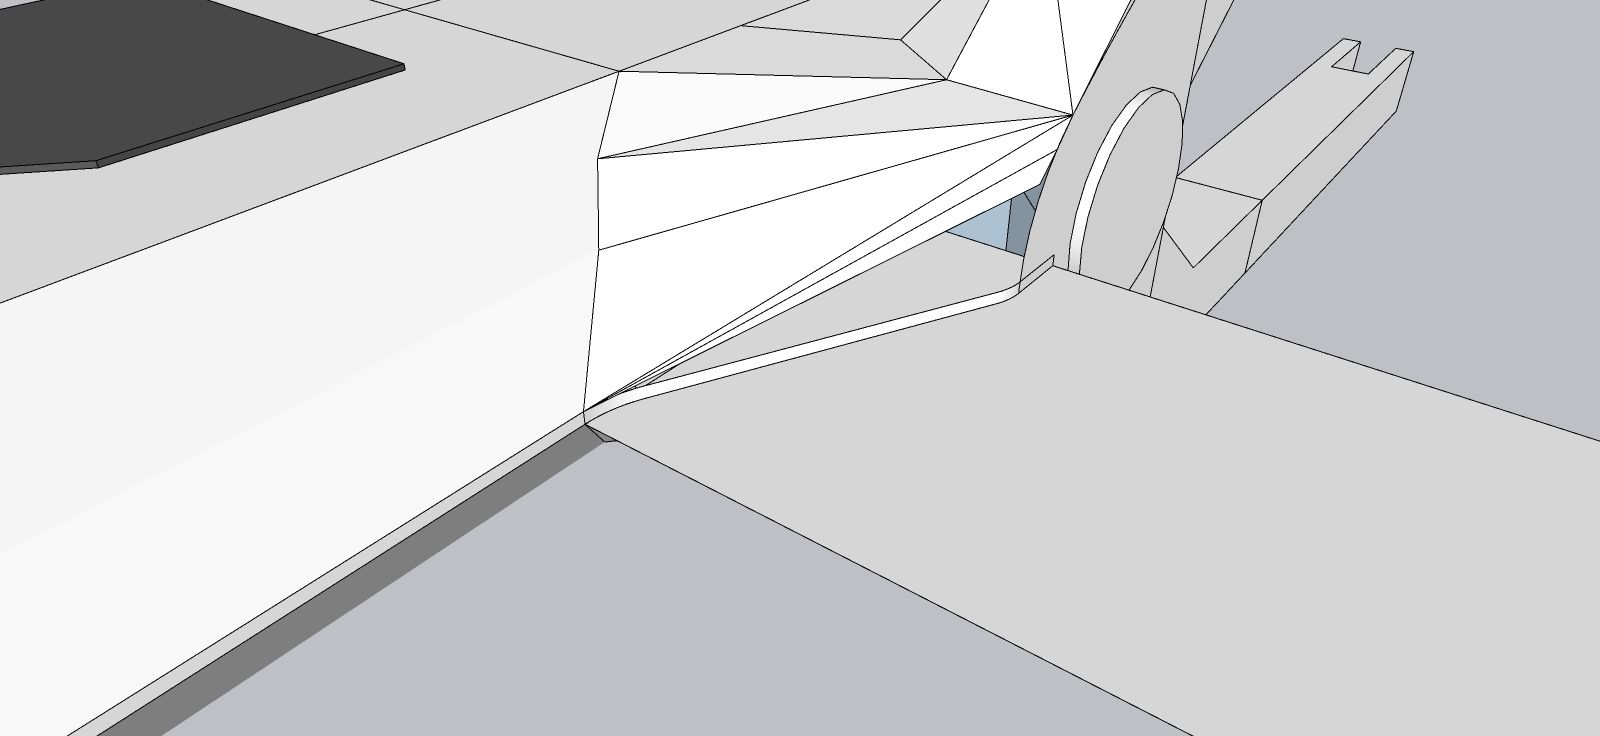
LOL! And it's wrong. Nice, but wrong. Close. Oh so close.
-
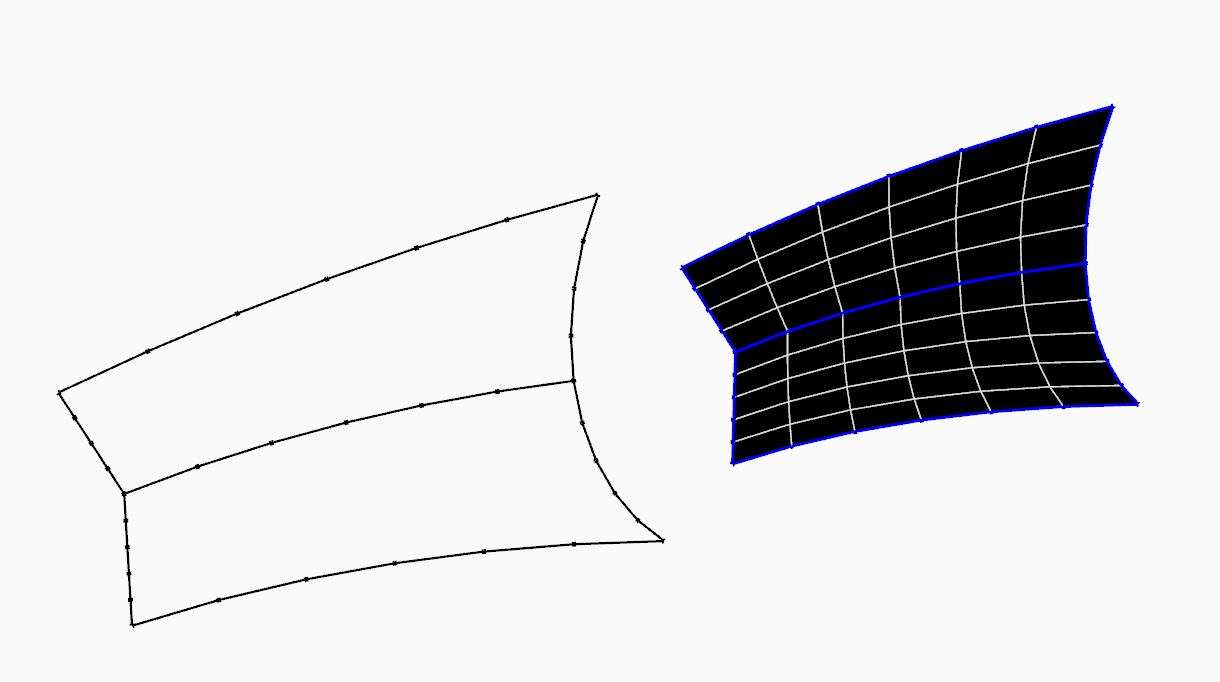
@Bryan-K turn on wires so we can see topology. I'm wondering if your skinning method or skinning rails are causing the bulging/pinching at either extremity.
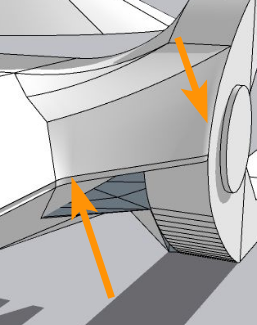
Sometime balancing the vertex will help with better skinning results.
-
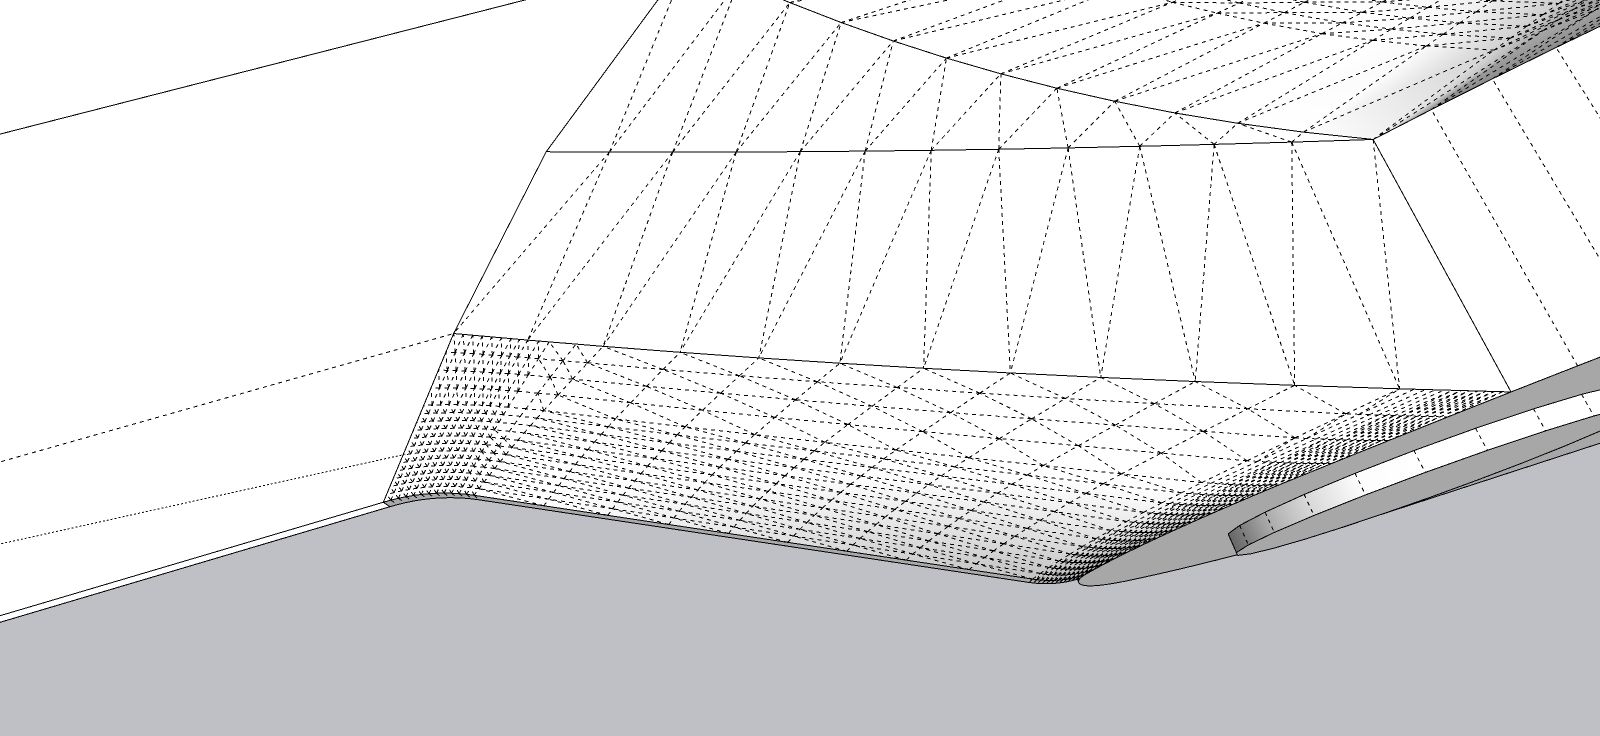
Here's a wireframe shot.
The bulges are supposed to be there. It's curves in the design.
The slight mistake was in how the upper part of the body flows into the top of the tails. Specially right at the body/hull. Easy fix. The change will appear on the next post. The rest of the mesh, just a foot or two from the body, is fine, although I will probably refine it a bit.
-
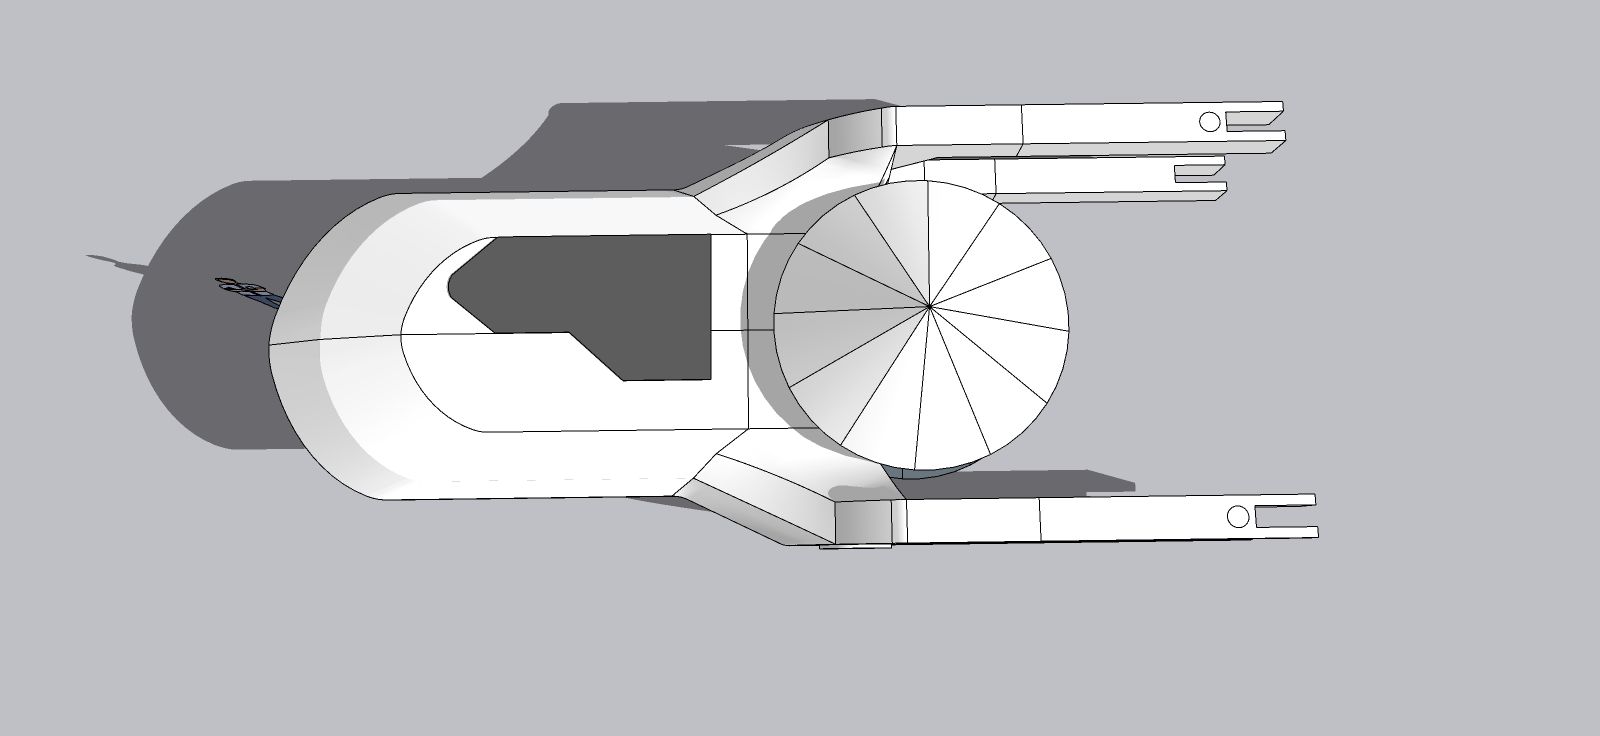
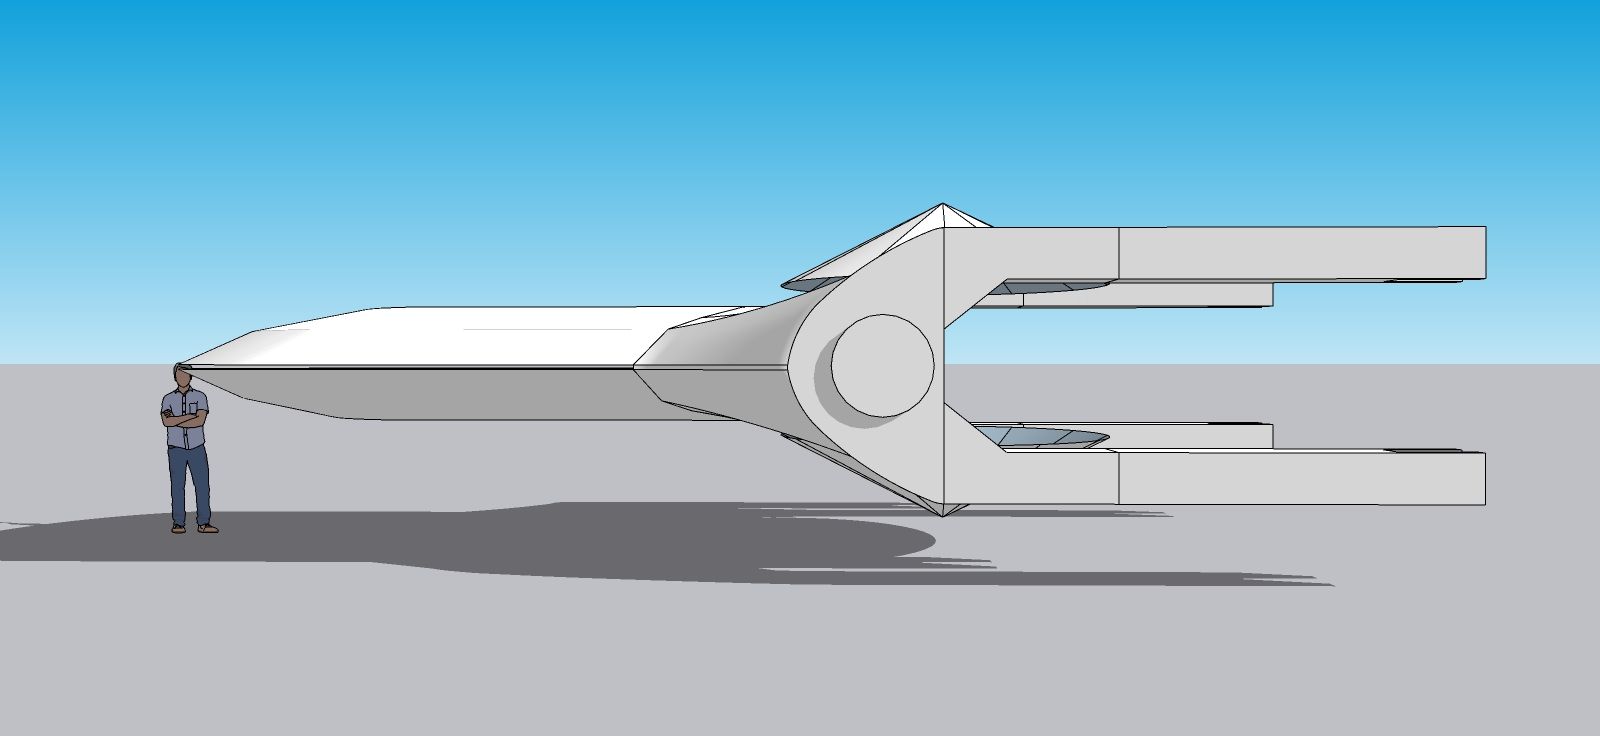
OK. The hard part is done. Turns out my previous worry was unfounded after checking the reference drawings.
Tweaks and detailing next.
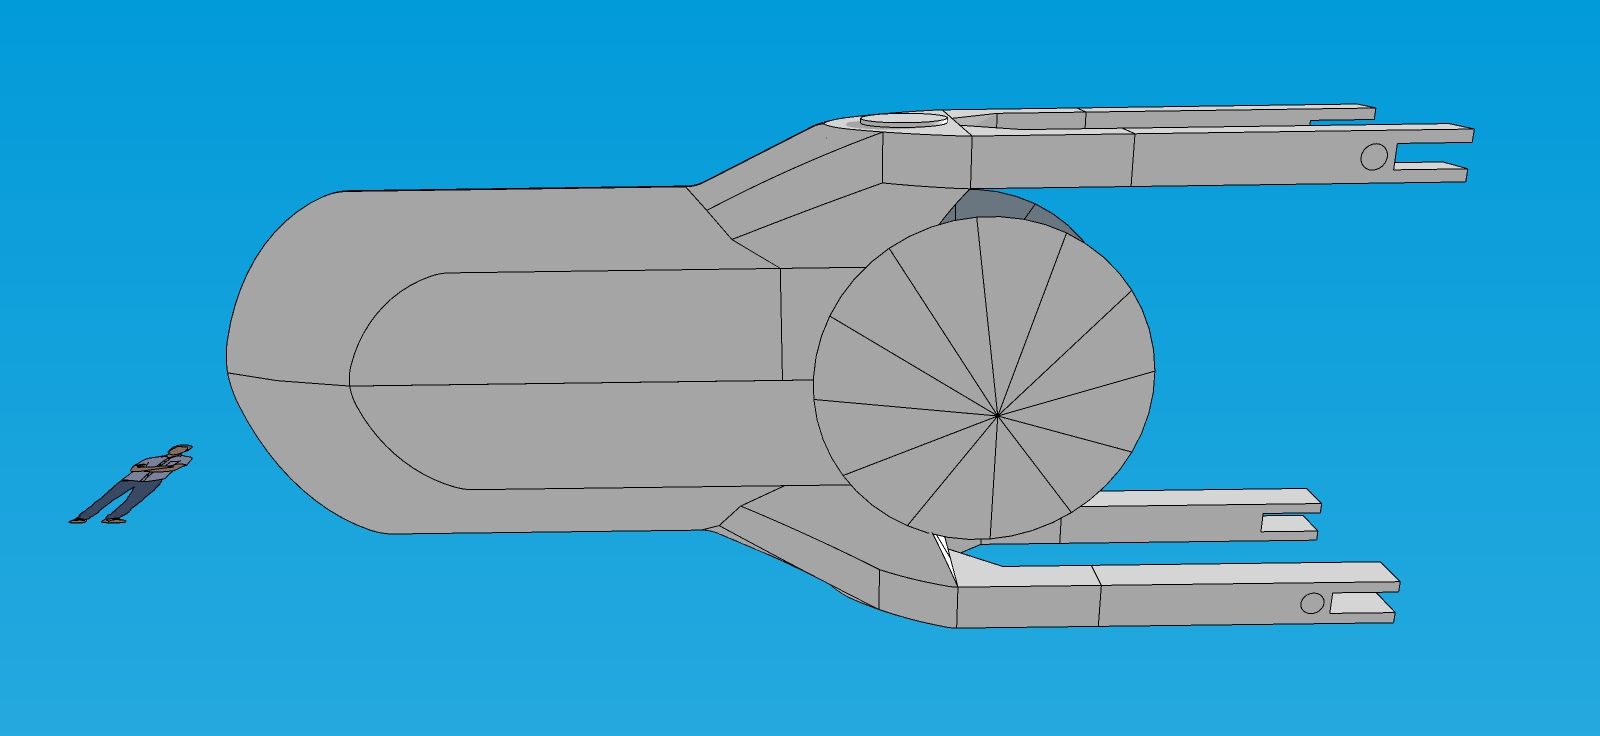
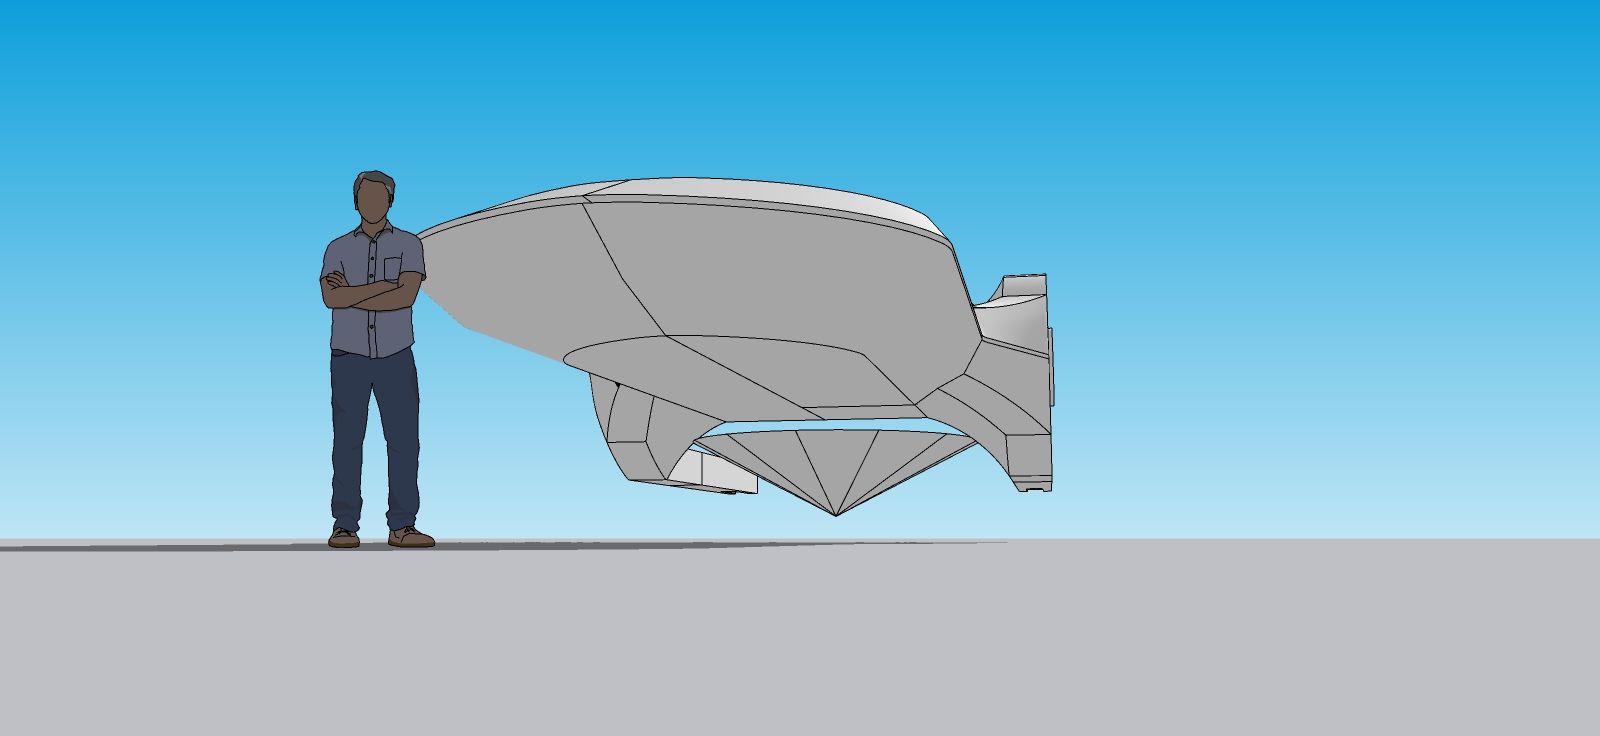
-
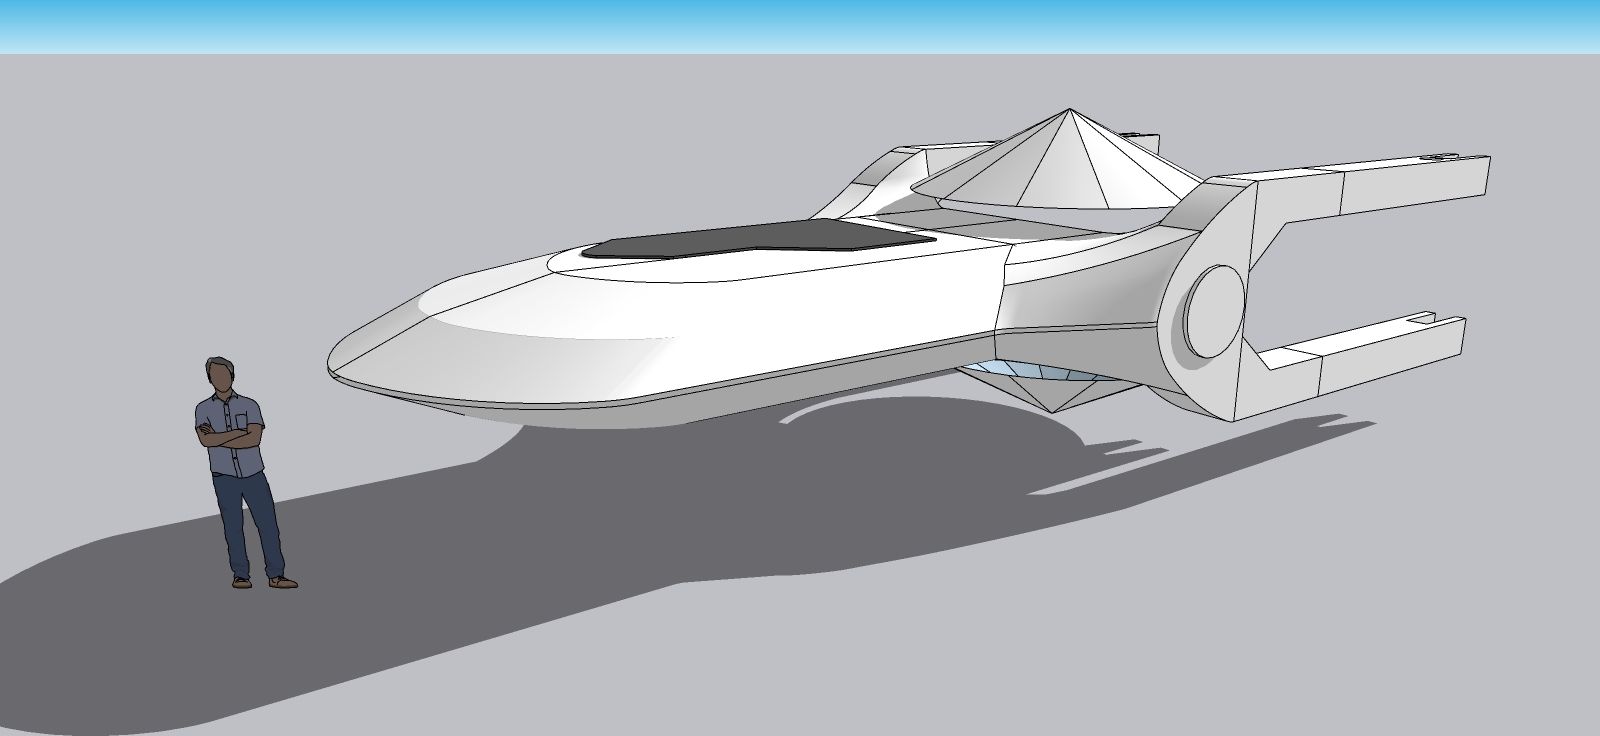
More views.
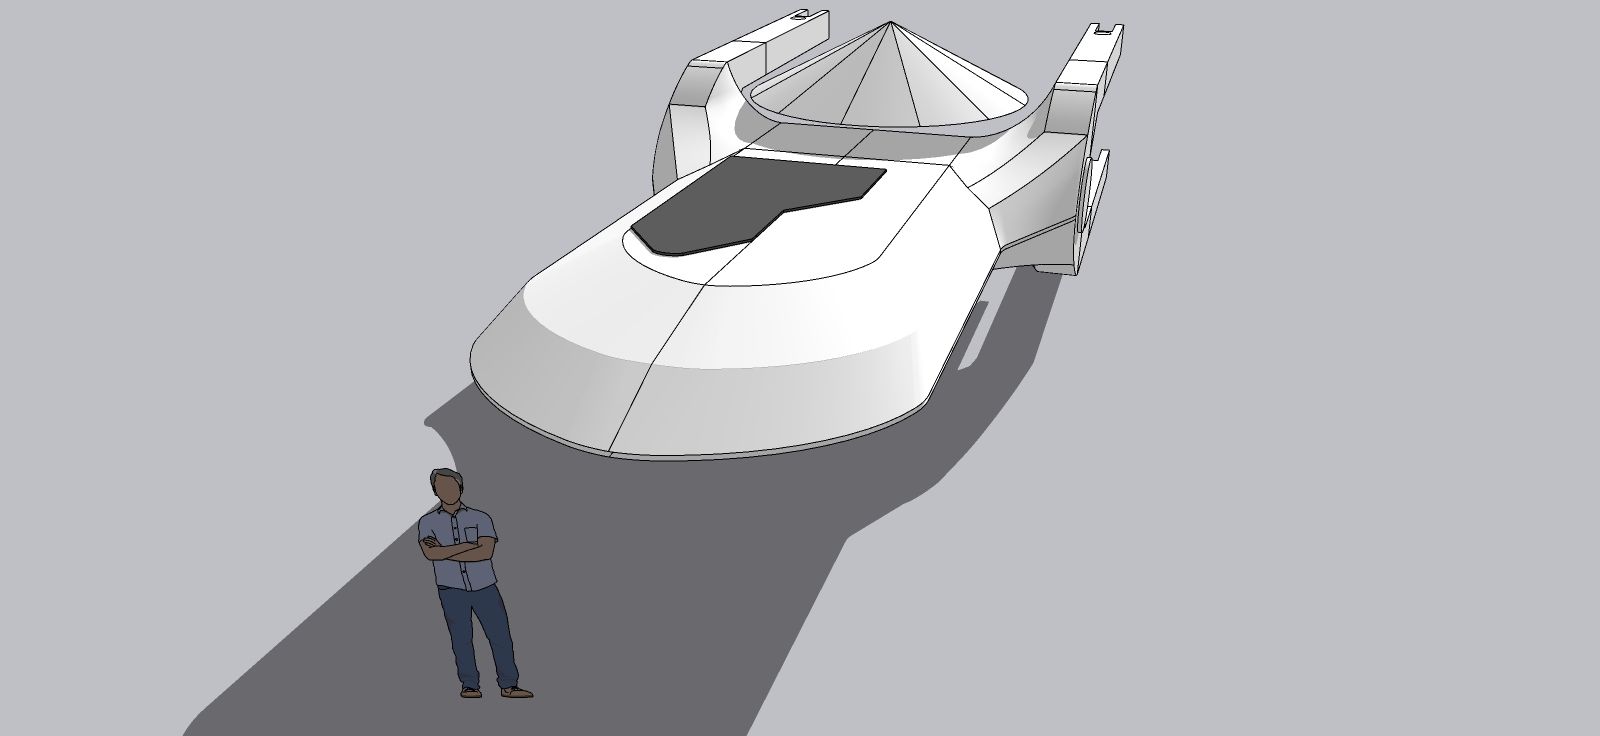
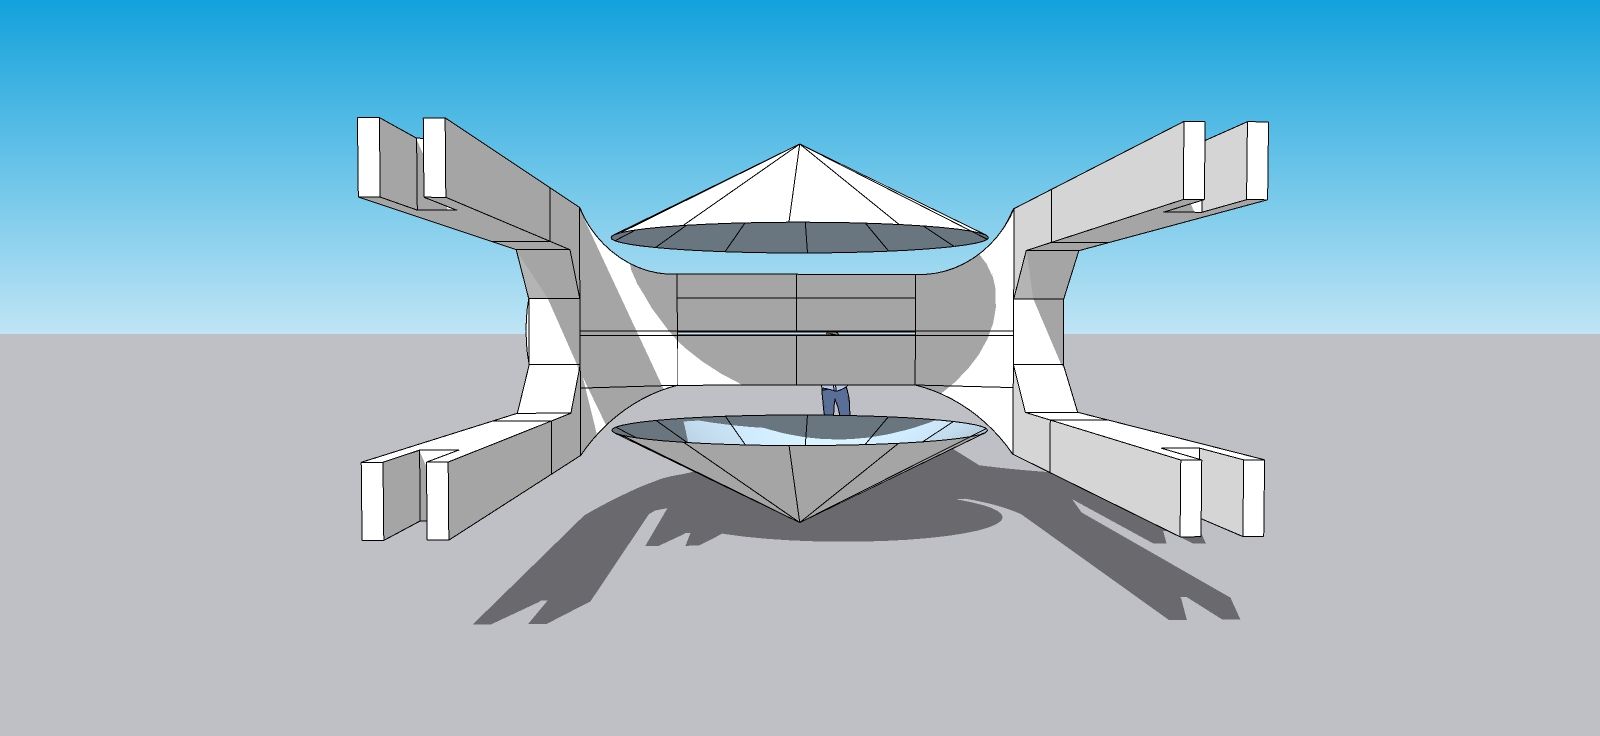
-
Loving the progress mate, it is definitely on the way.
-
@Mike-Amos said in Iria - main car:
Loving the progress mate, it is definitely on the way.
Thanks!
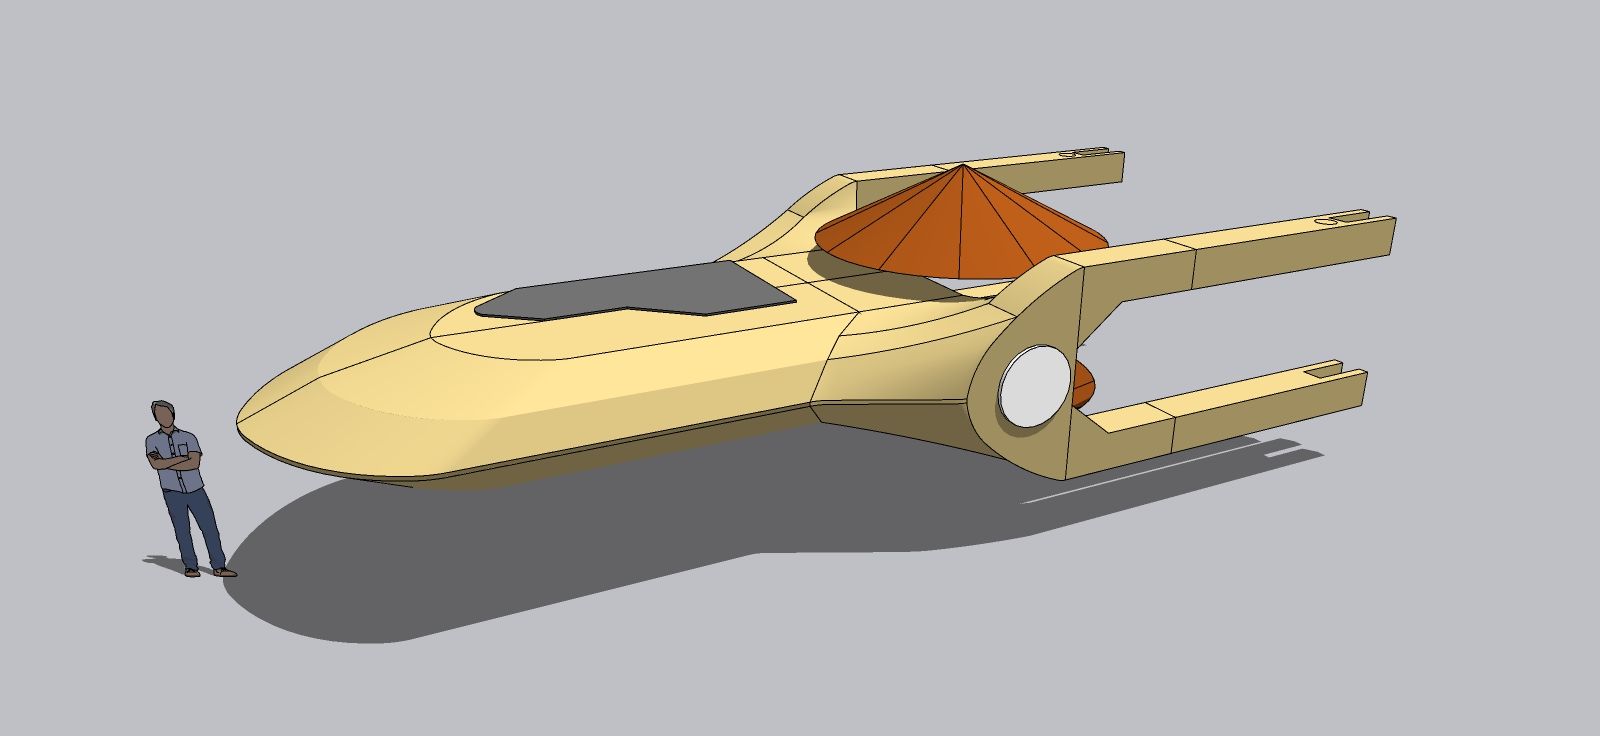
First color test. Now I can move on to the details.
-
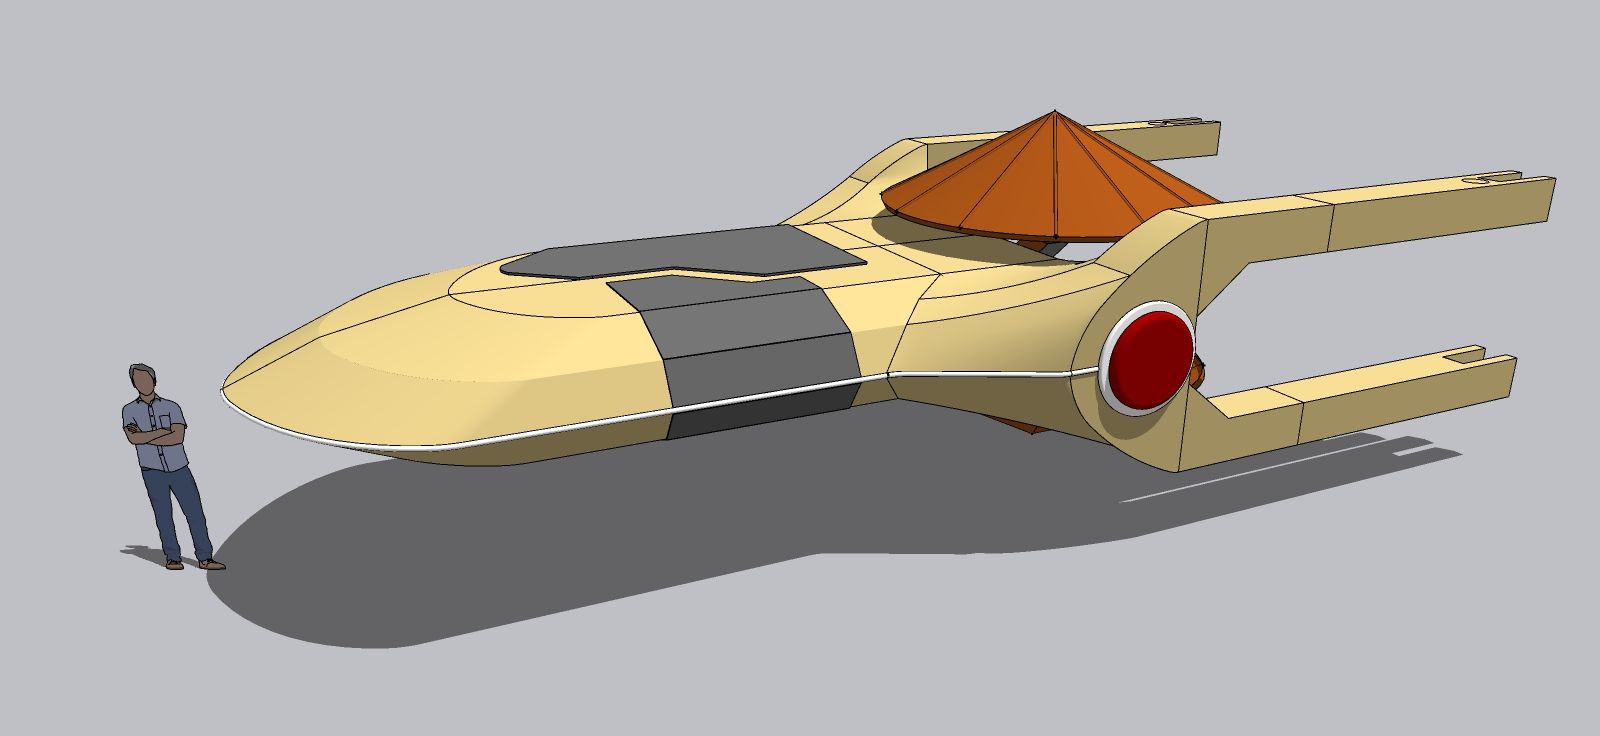
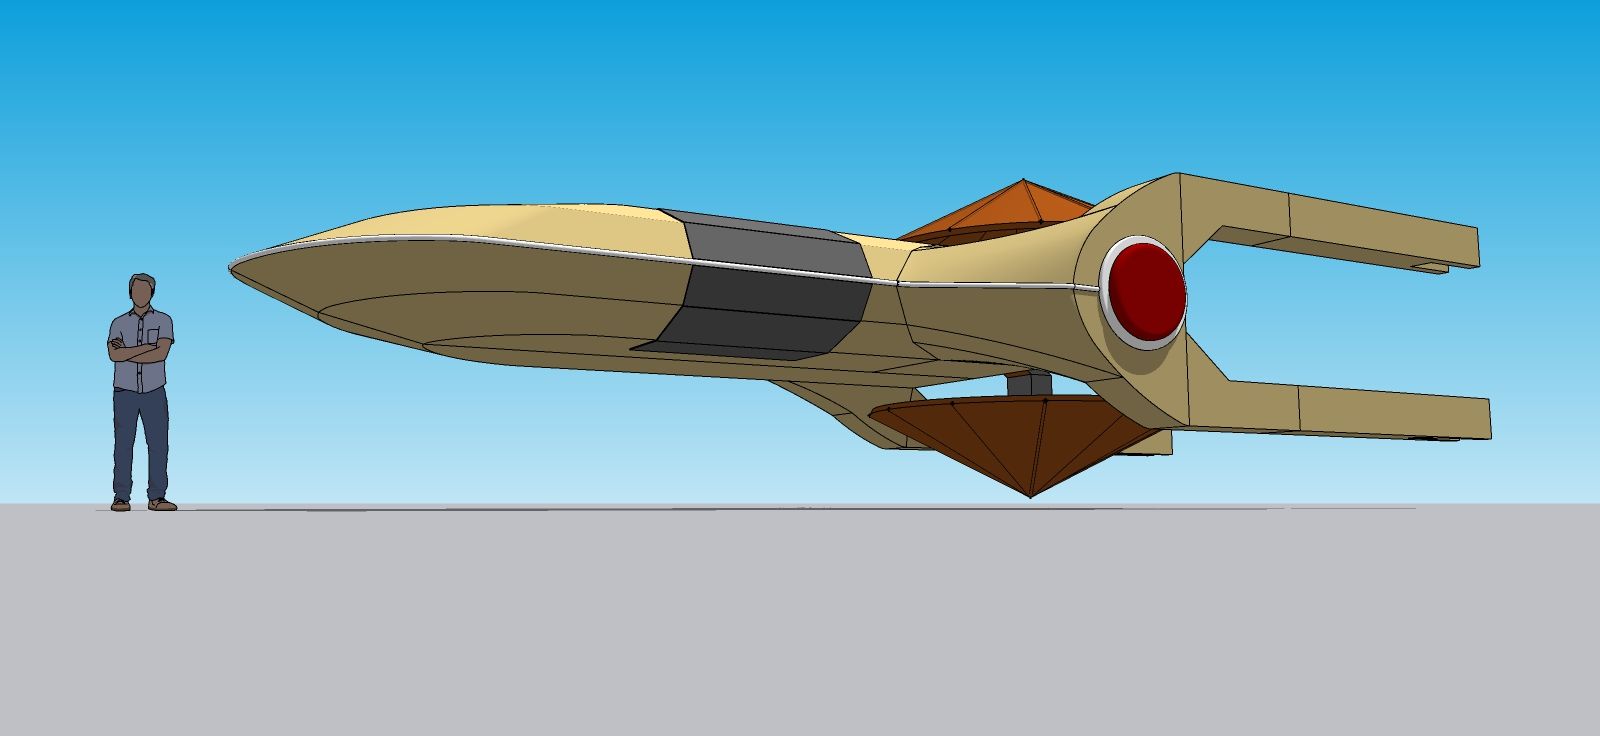
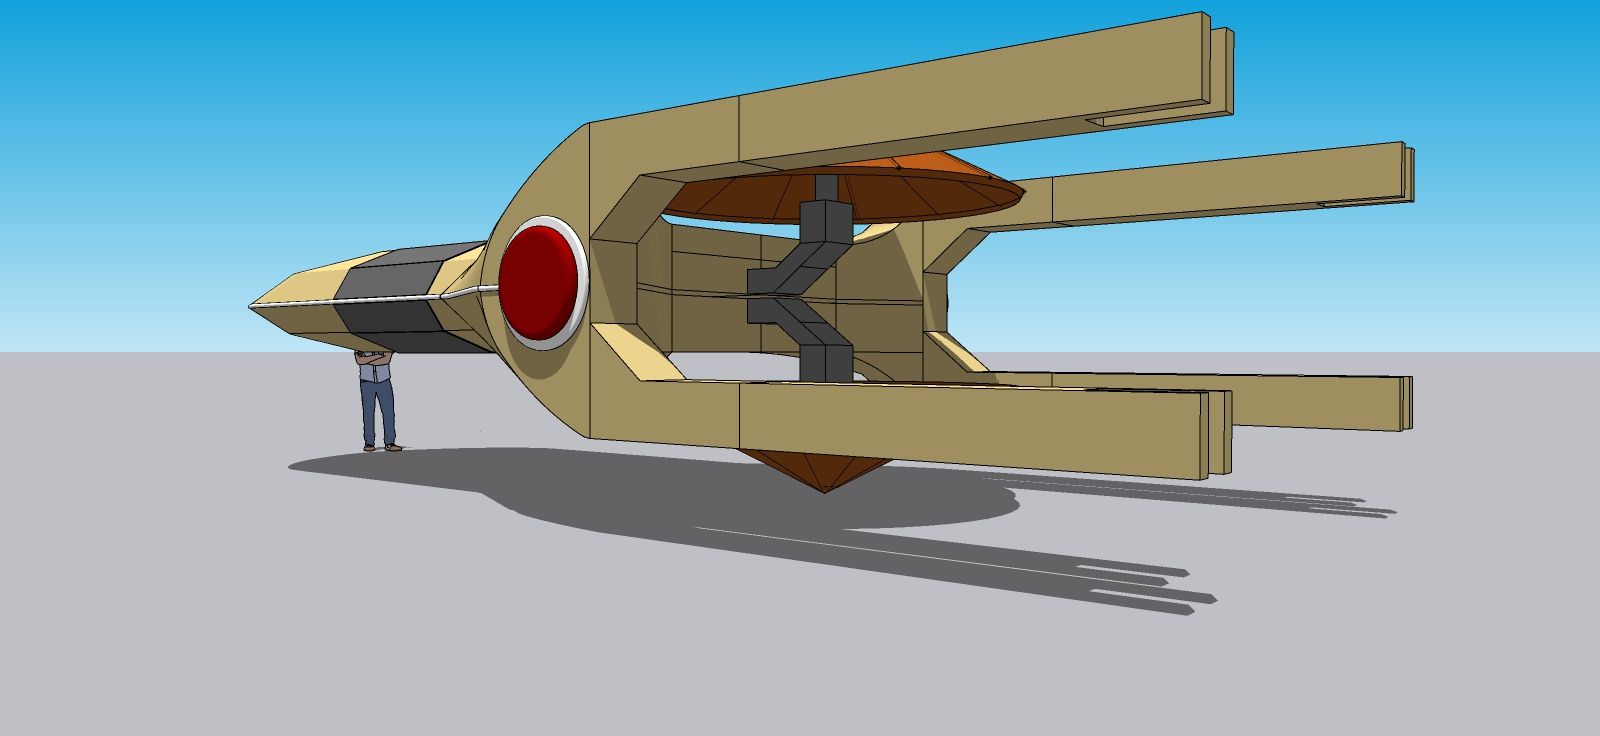
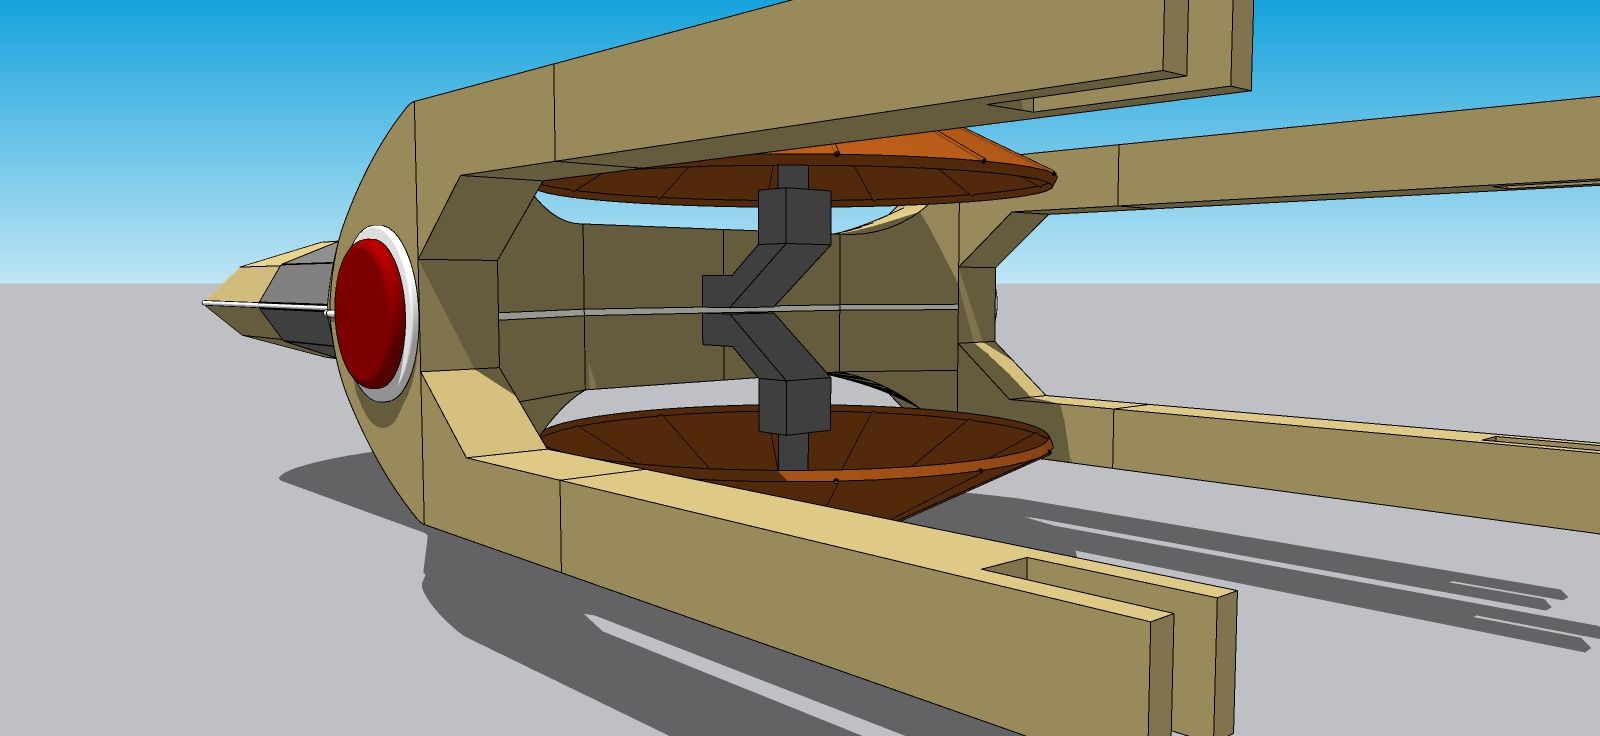
Roughing in the details. No clear picture of what's under the umbrella structure. Just a vague hint of something angular. So just blocked in for now.
The white wrap around bumper is various sizes in the drawing so I made it what I wanted.
-
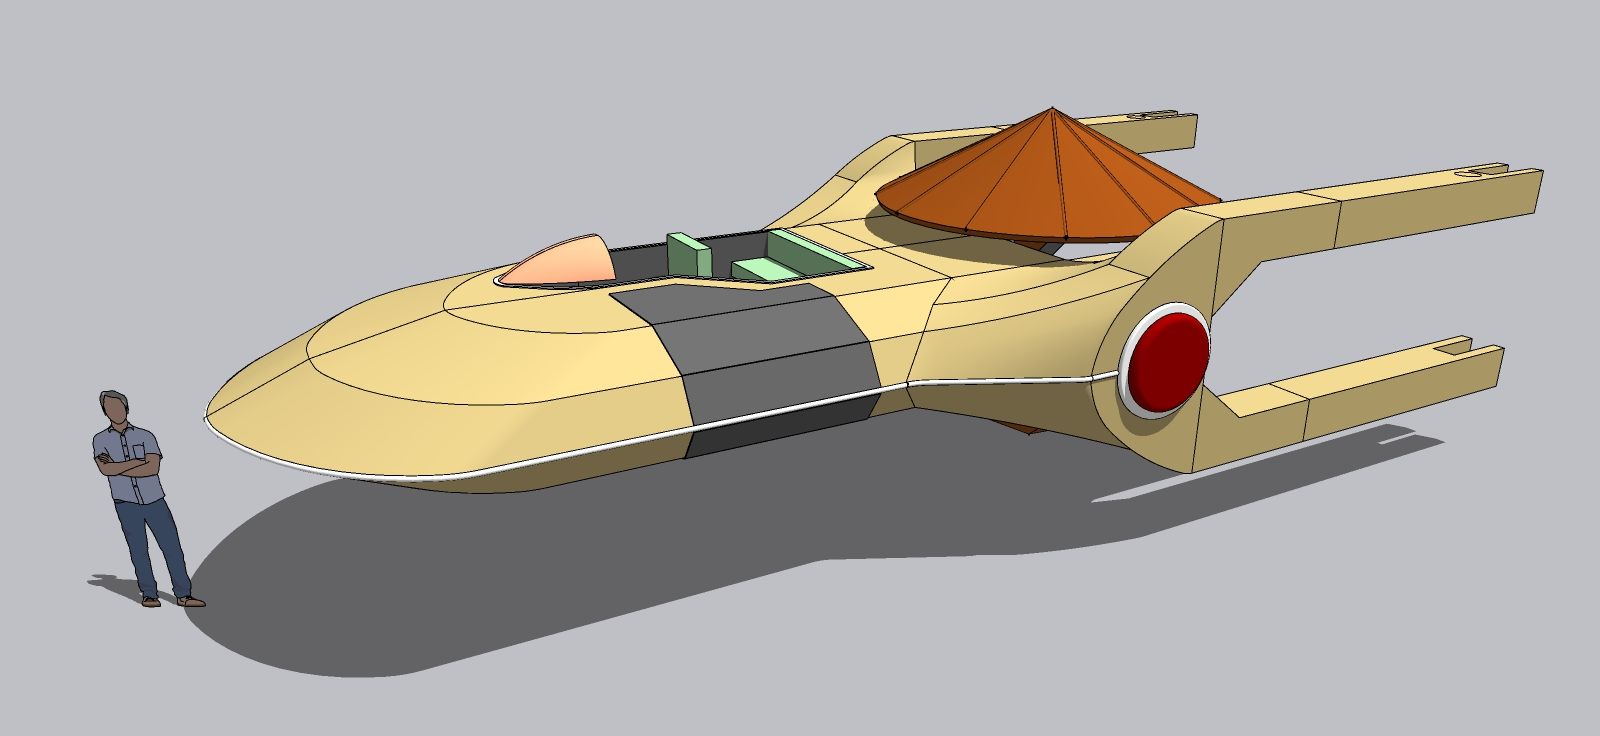
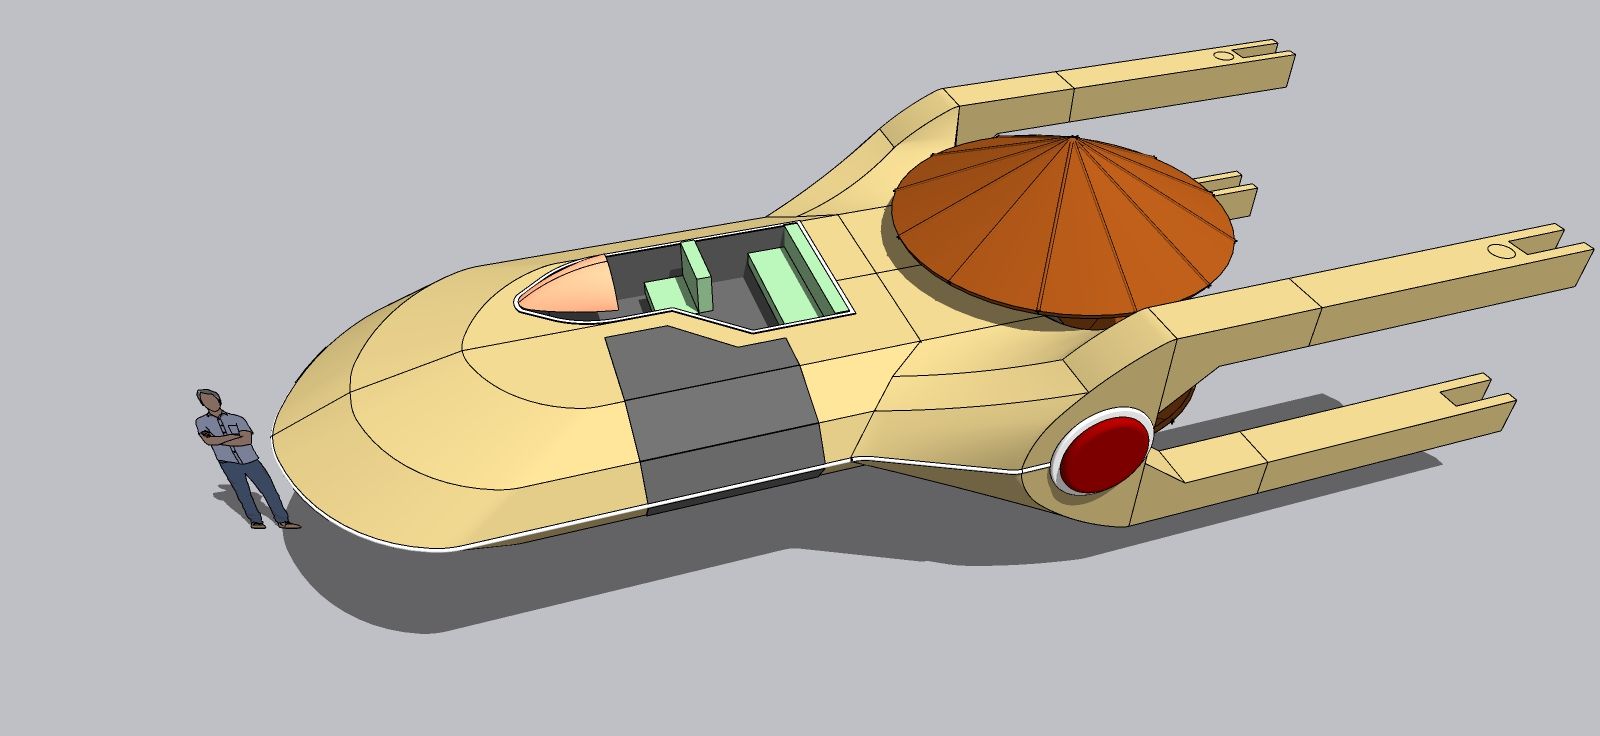
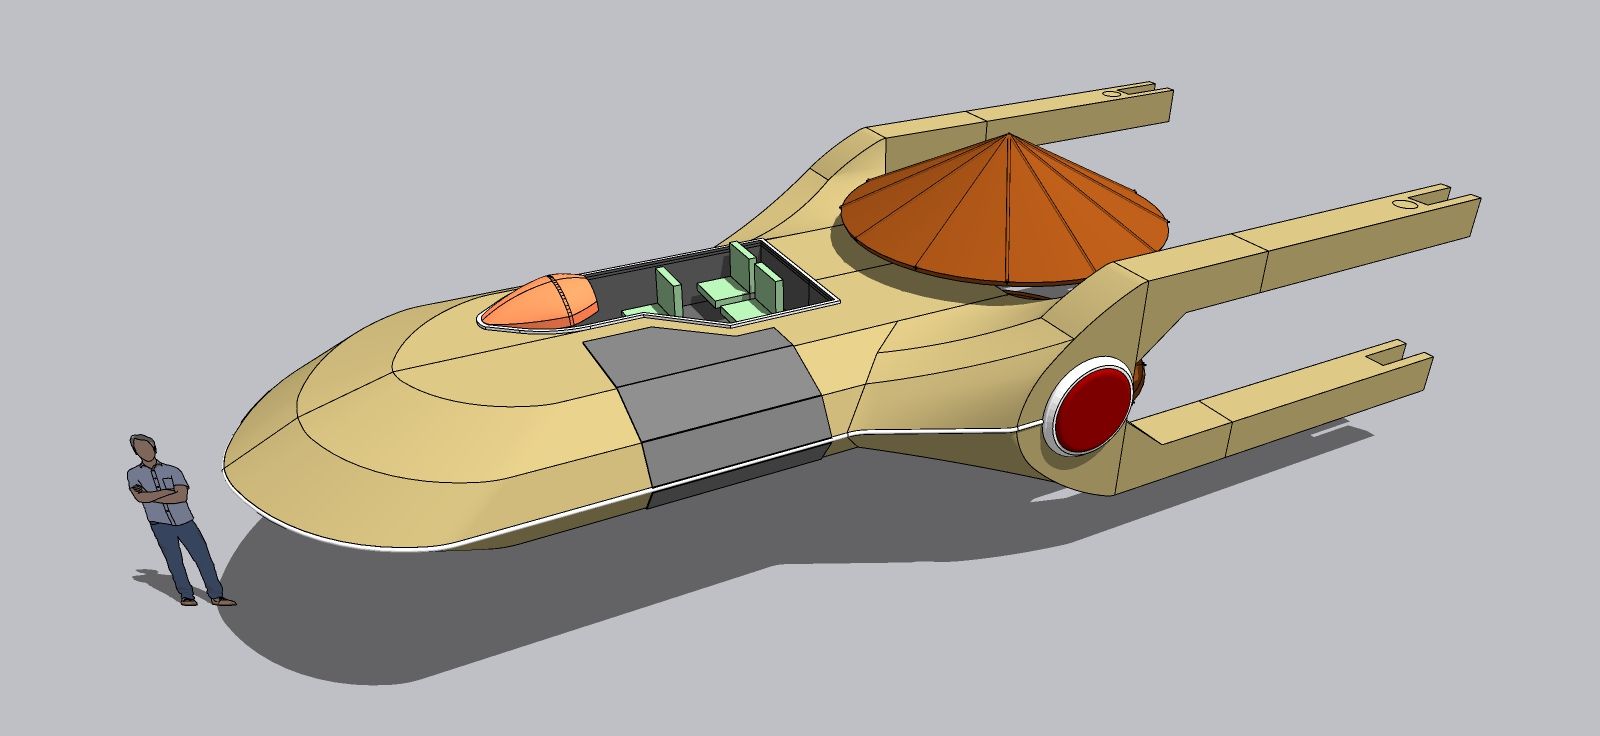
Roughing in the cockpit. Simple blocks for the seat for now. The pilot cowling I made years ago with Curviloft. Just resized.
I had to explode all the hull components to Push/Pull the cockpit drop. Found internal geometry problems. That should not have been there. My fault from the first resizing. Fixed.
-
Yeah, the geometry wasn't fixed. Had to redo the entire top hull. Thank god I saved more than one version file.
Sigh. I really wish SU would not infer point nodes in open space based on some point node from another section on the other side the model leaving me with 16th inch gaps and offsets that I cannot see.
-
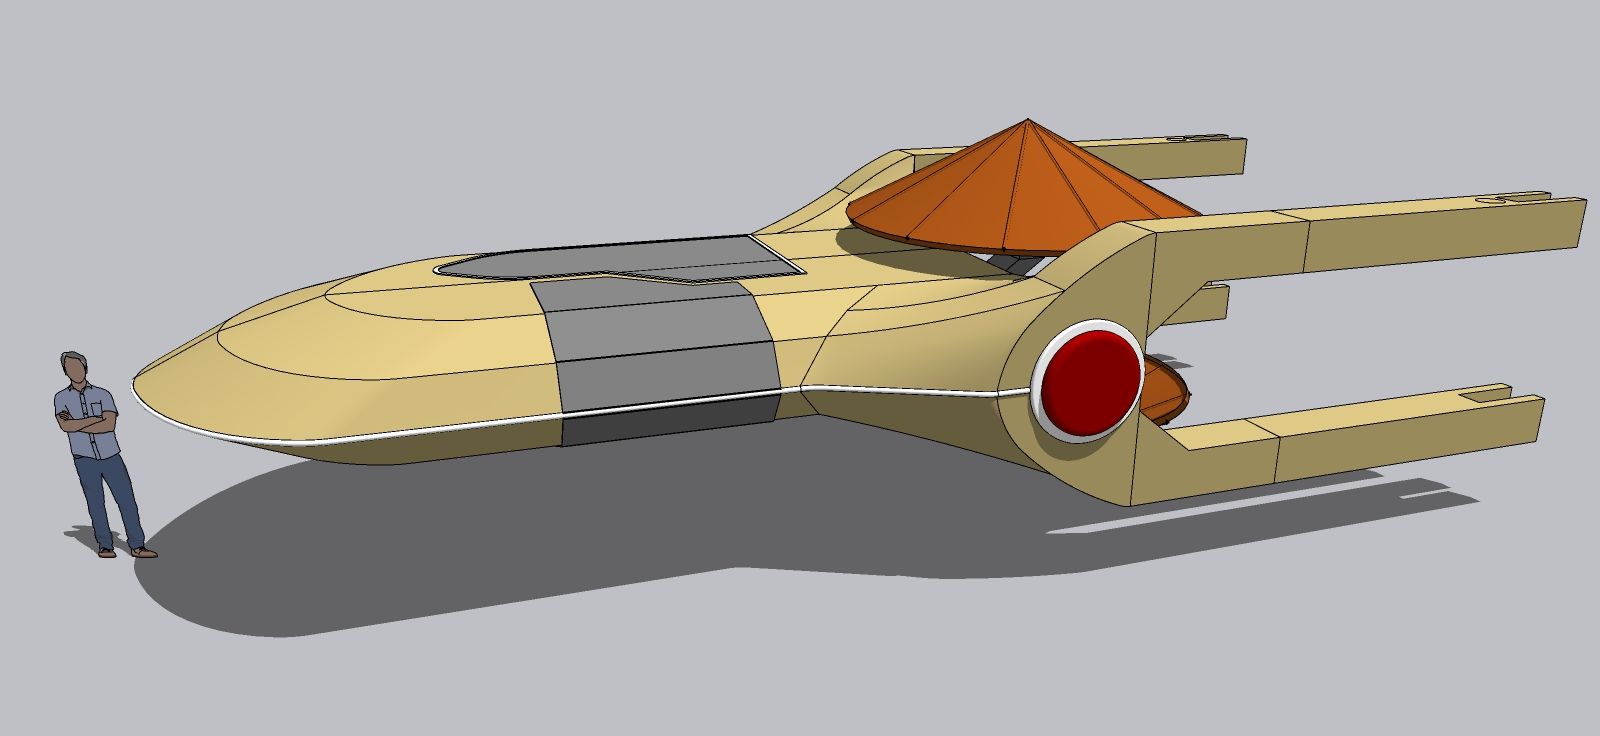
Got it fixed. Not much to see. I had to roll back to before I made the cockpit. But the geometry is much cleaner now. Cleaned up a bunch of other discrepancies as well such as color and extra lines and component alignments.
Thank god is was easy enough to re-align the tail and top hull.
At least the cockpit should be easier to make this time. The floor was running into the geometry plane problem and clued me into the problem. Should just be a straight Push/Pull this time.
-
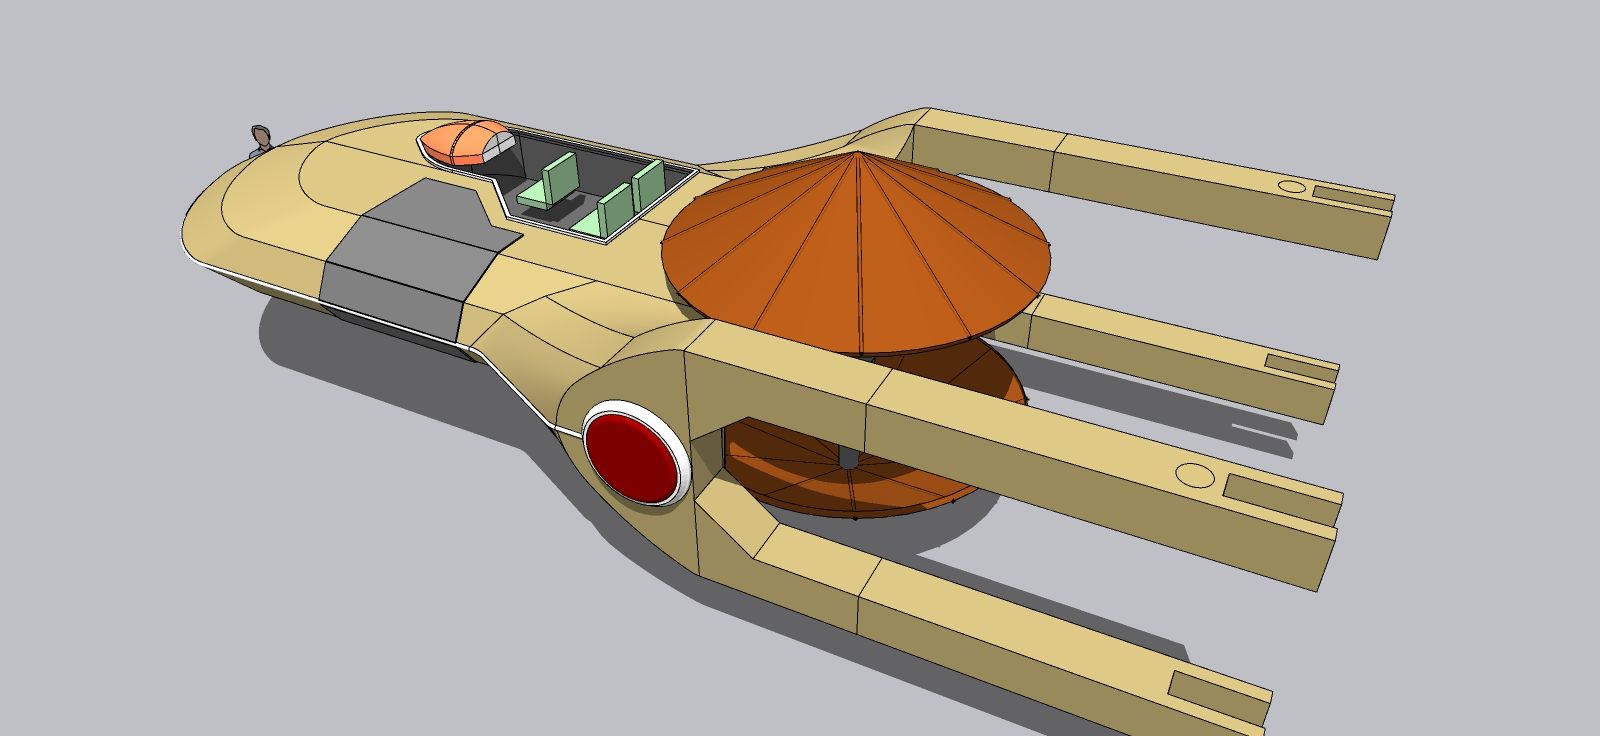
Alright. Got the cockpit rough-in rebuilt. Much easier this time, Even had time to add more substance to the instrument console.
-
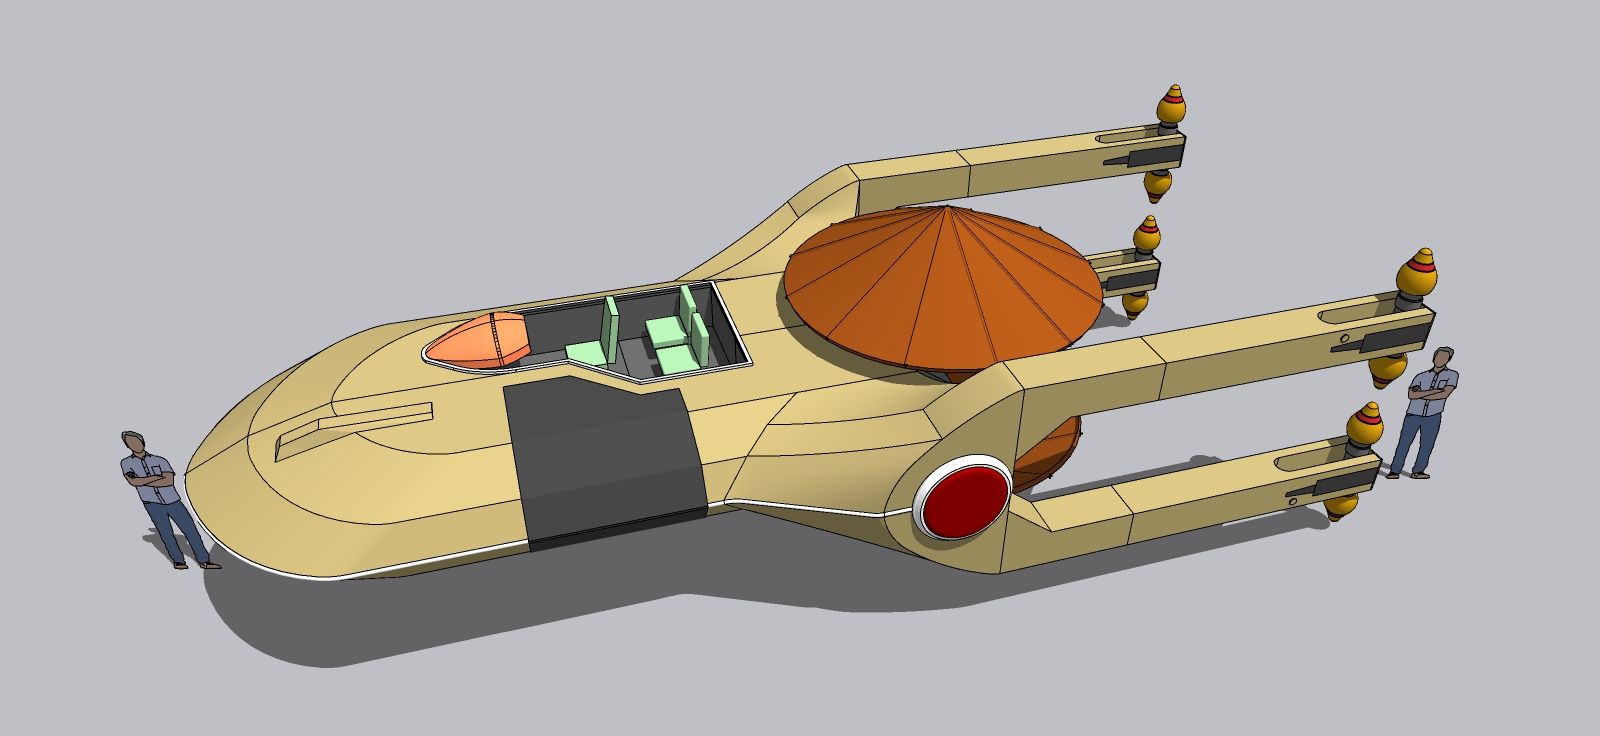
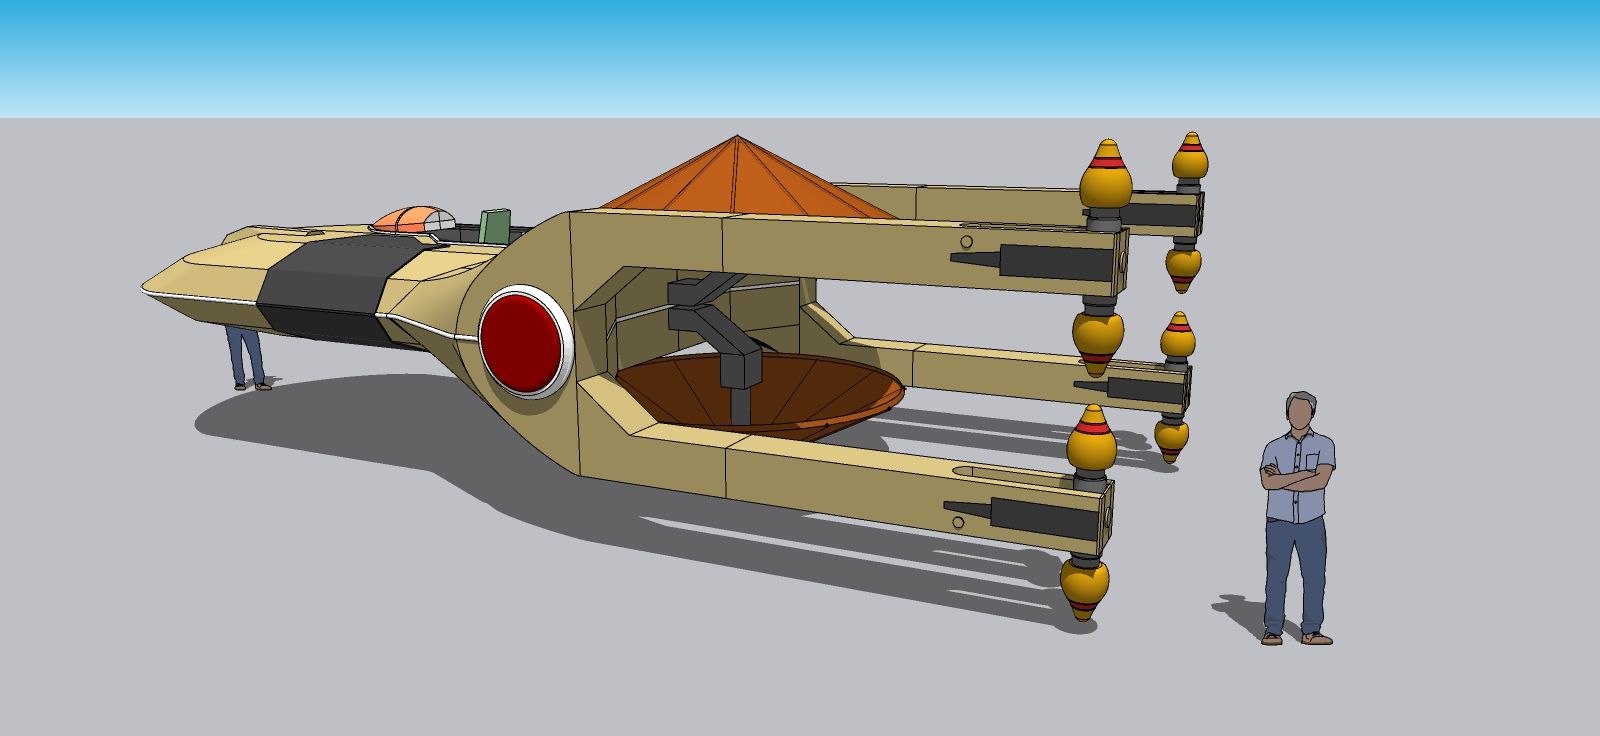
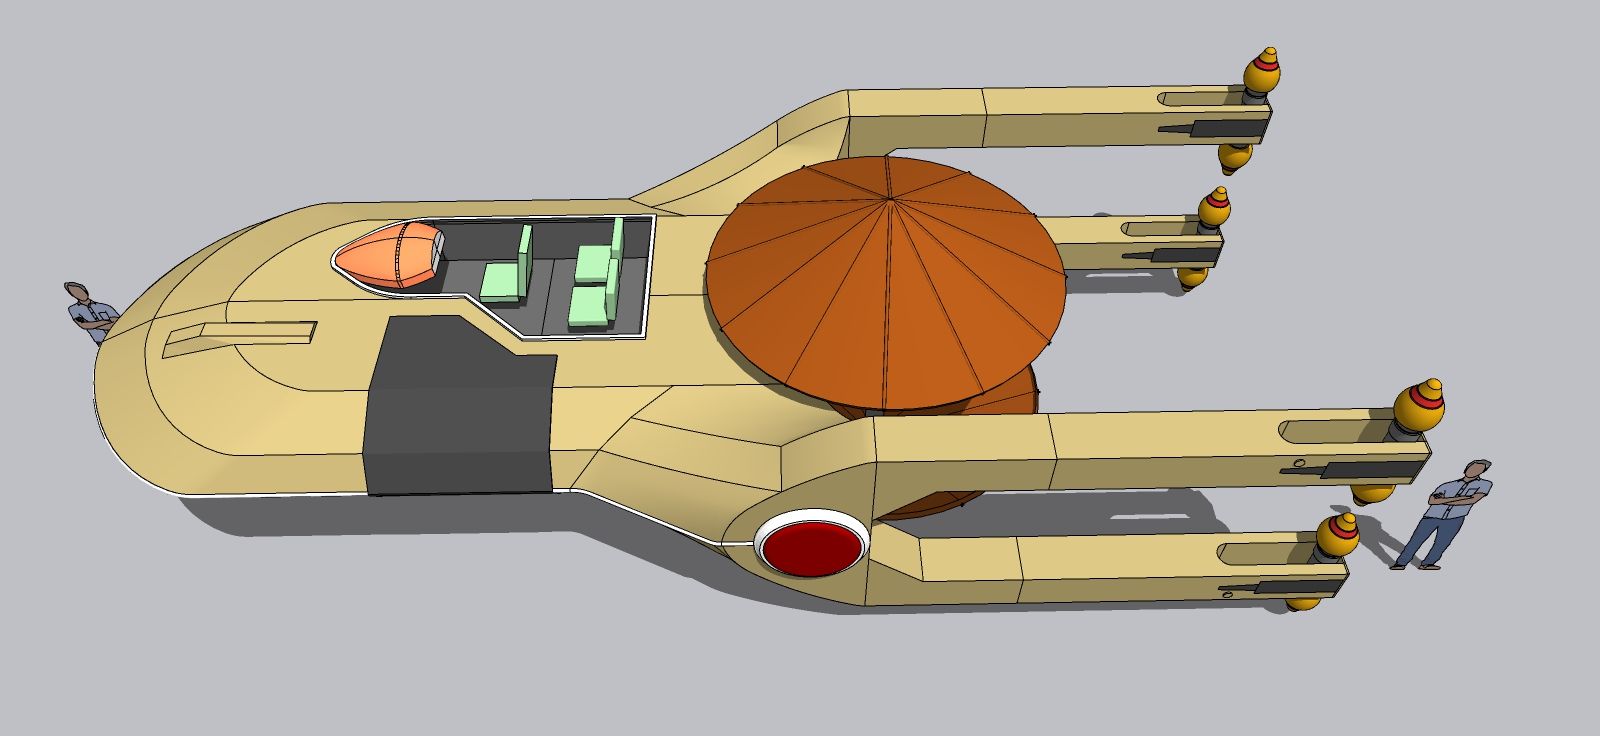
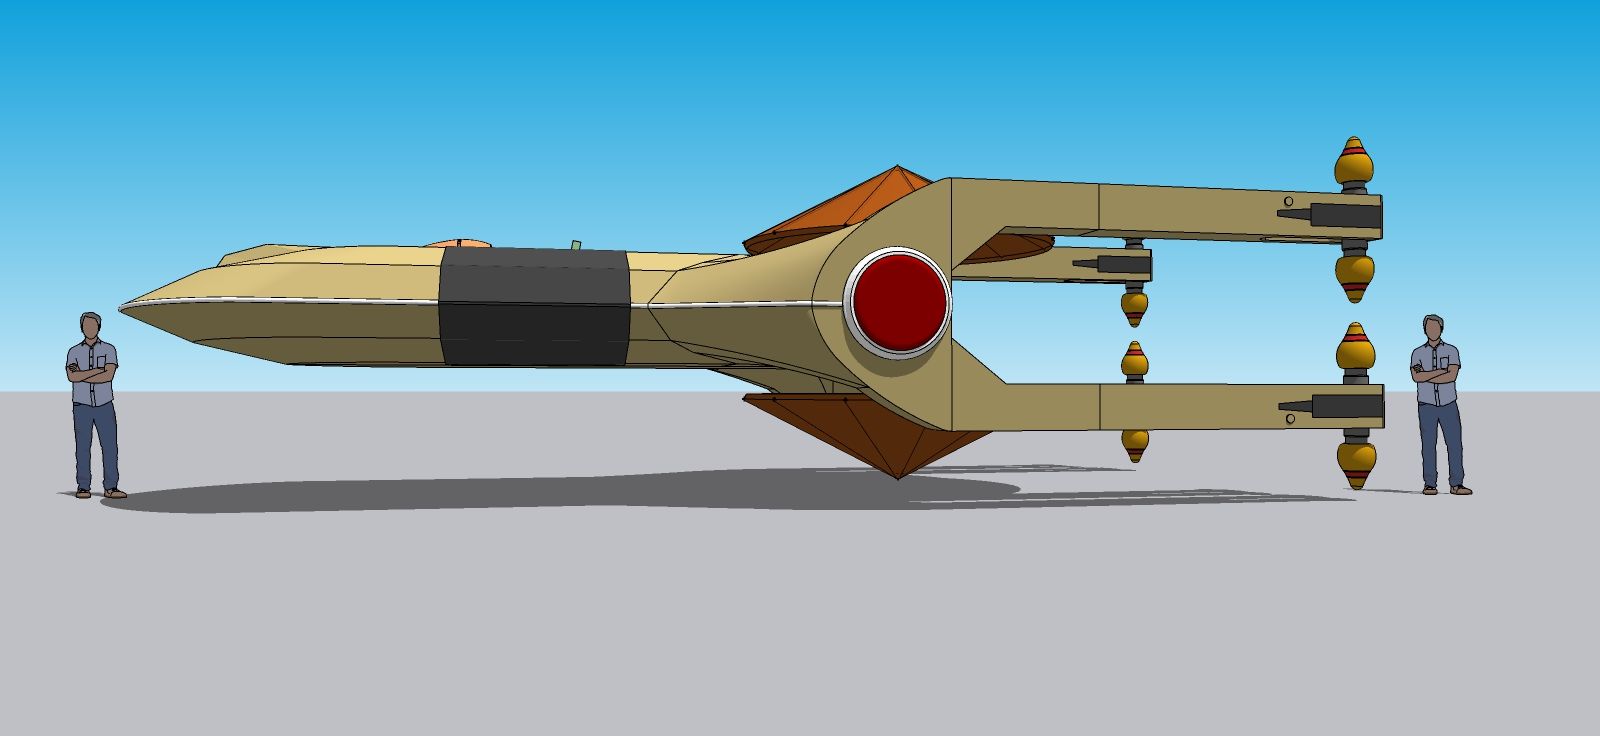
It's getting there.
-
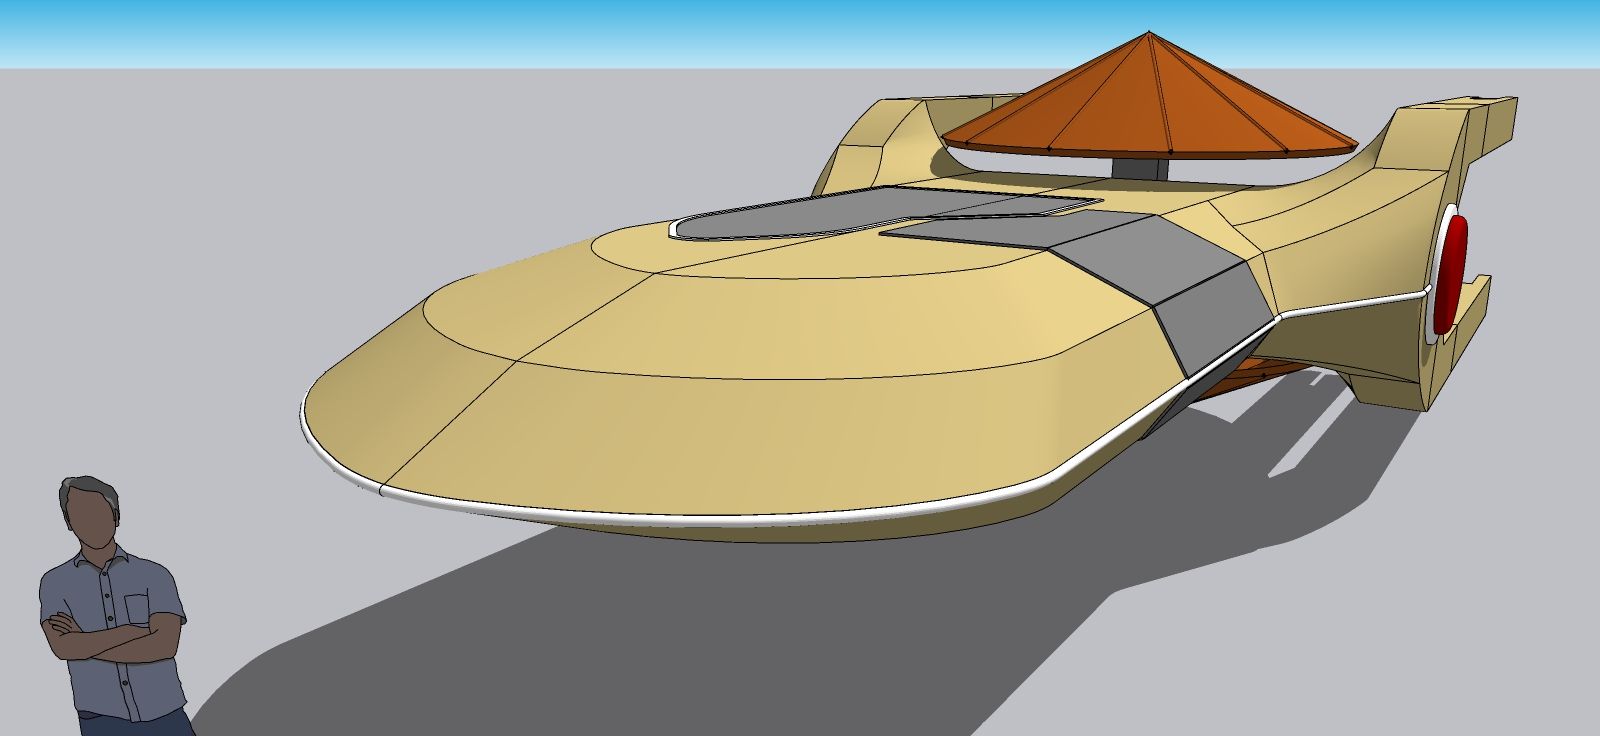
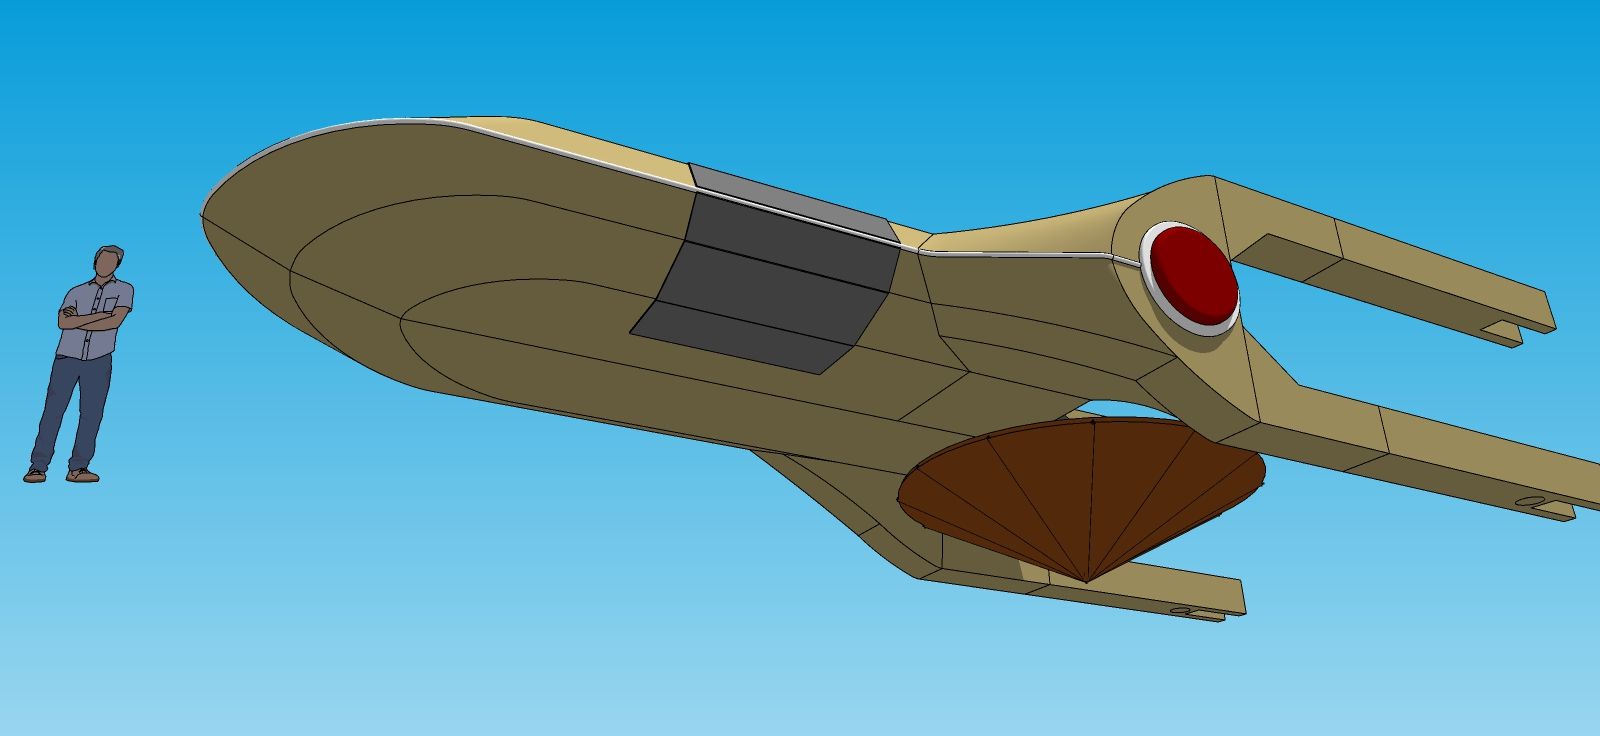
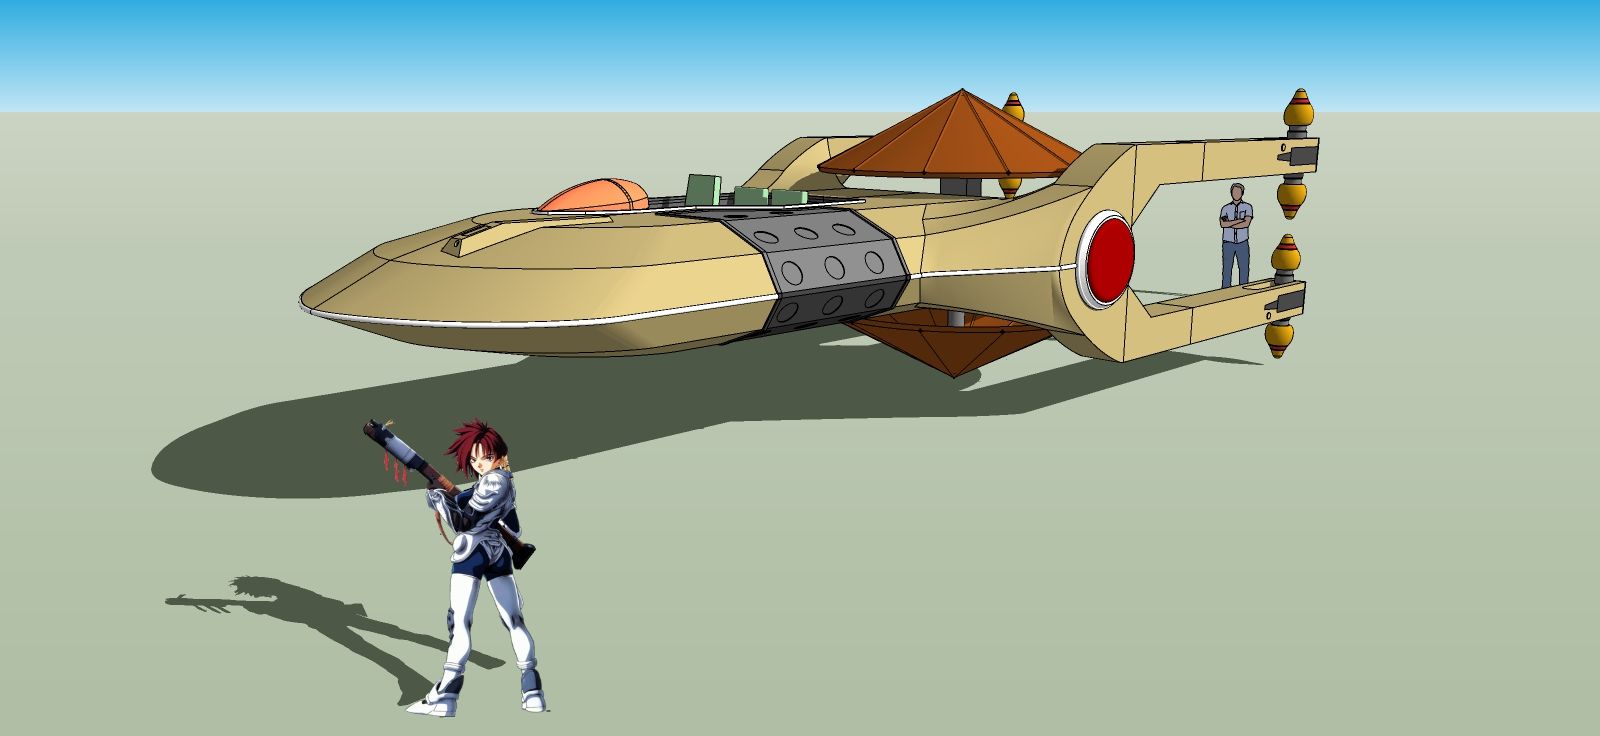
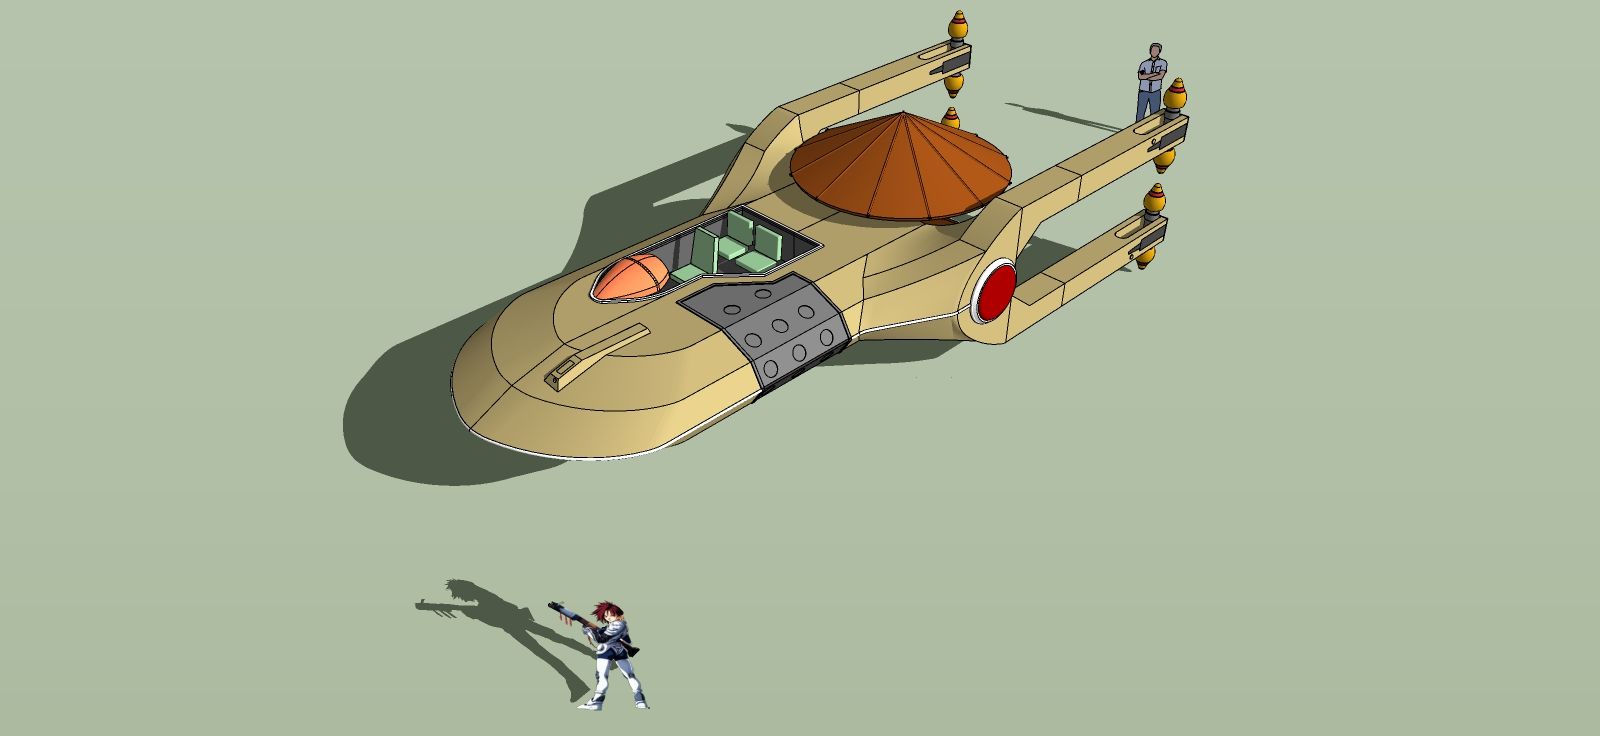
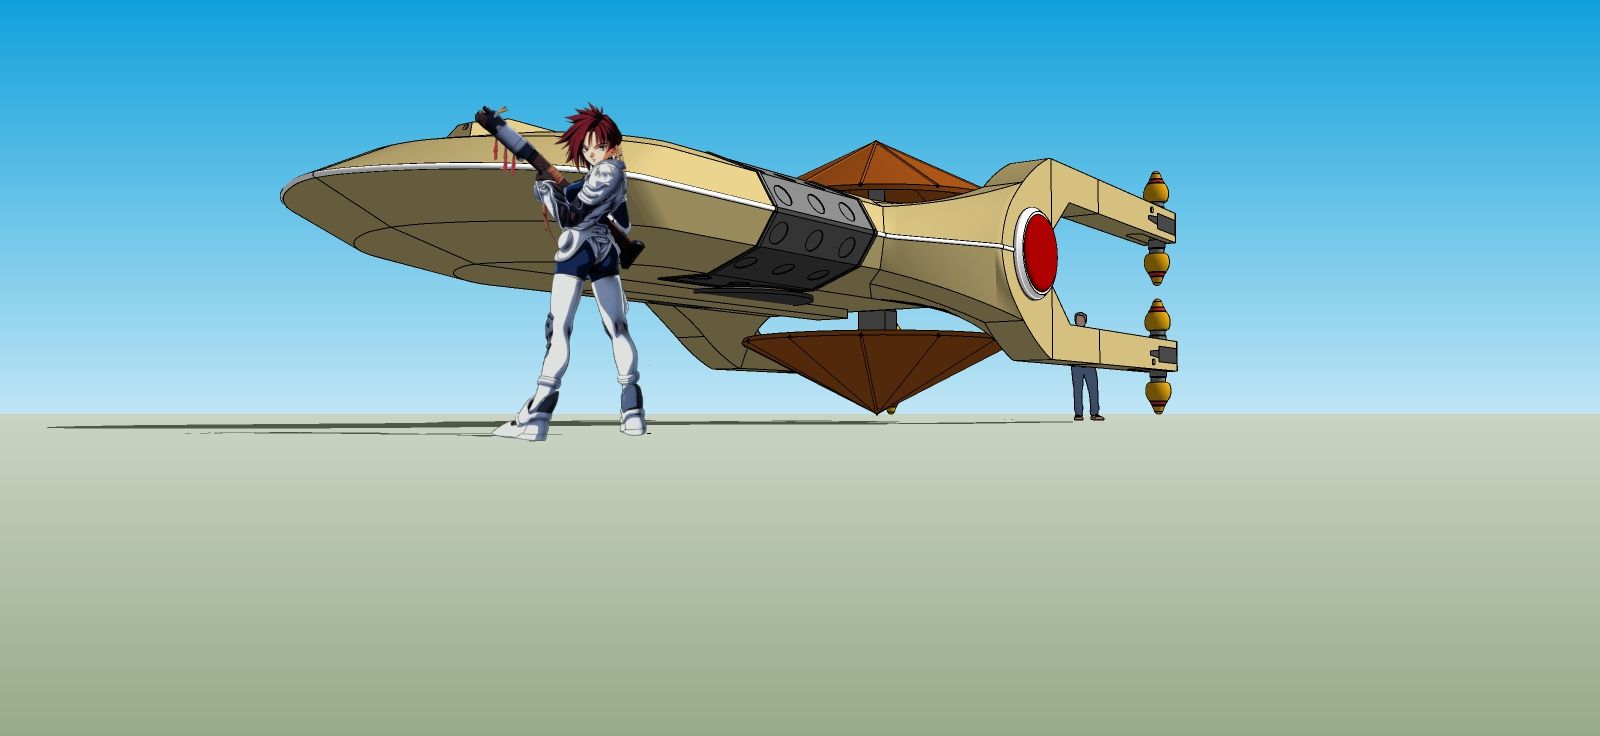
Alright! It's just detailing from here on. All the main object masses are in place, including underneath.
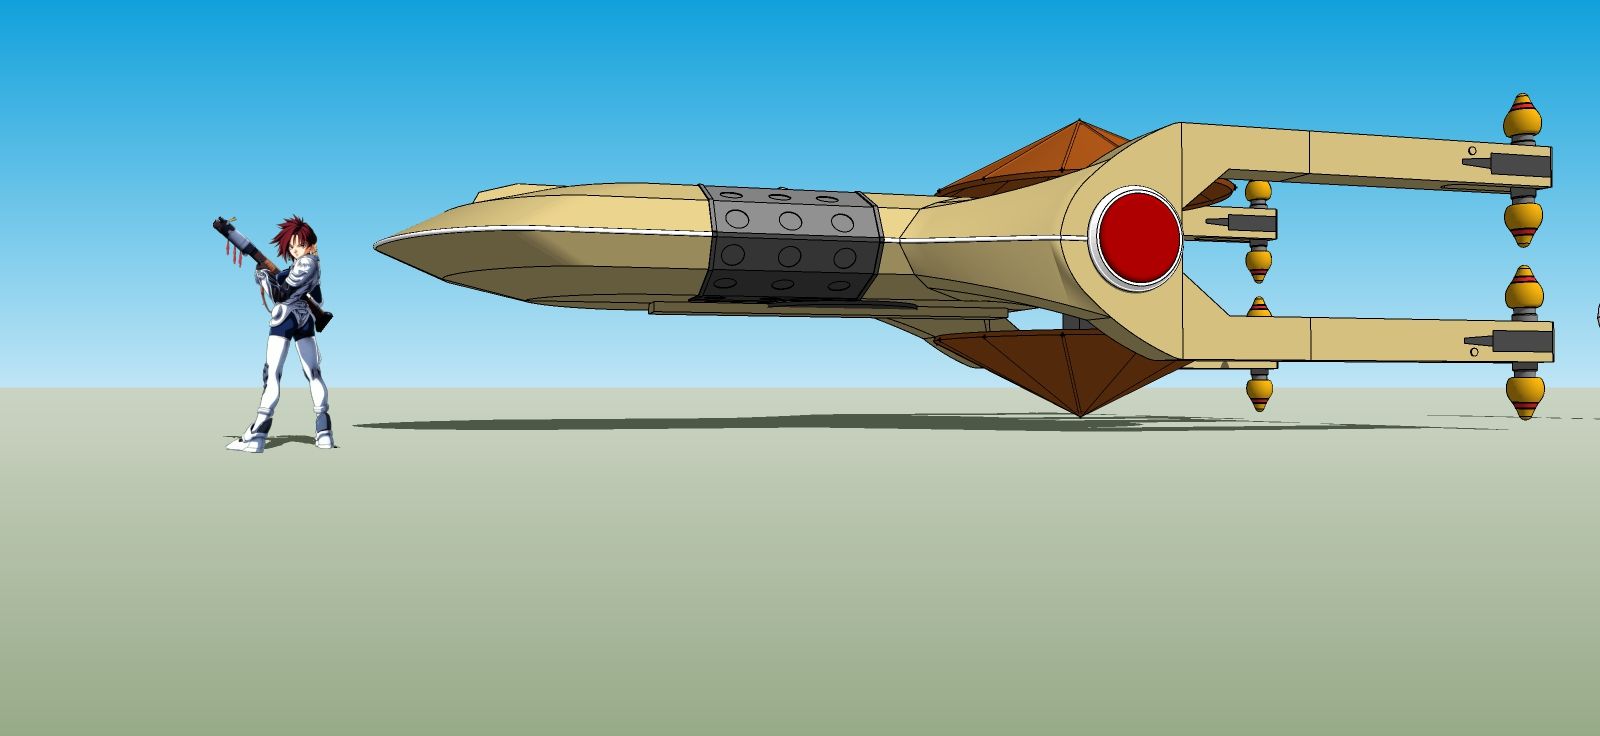
-
Under detailing.
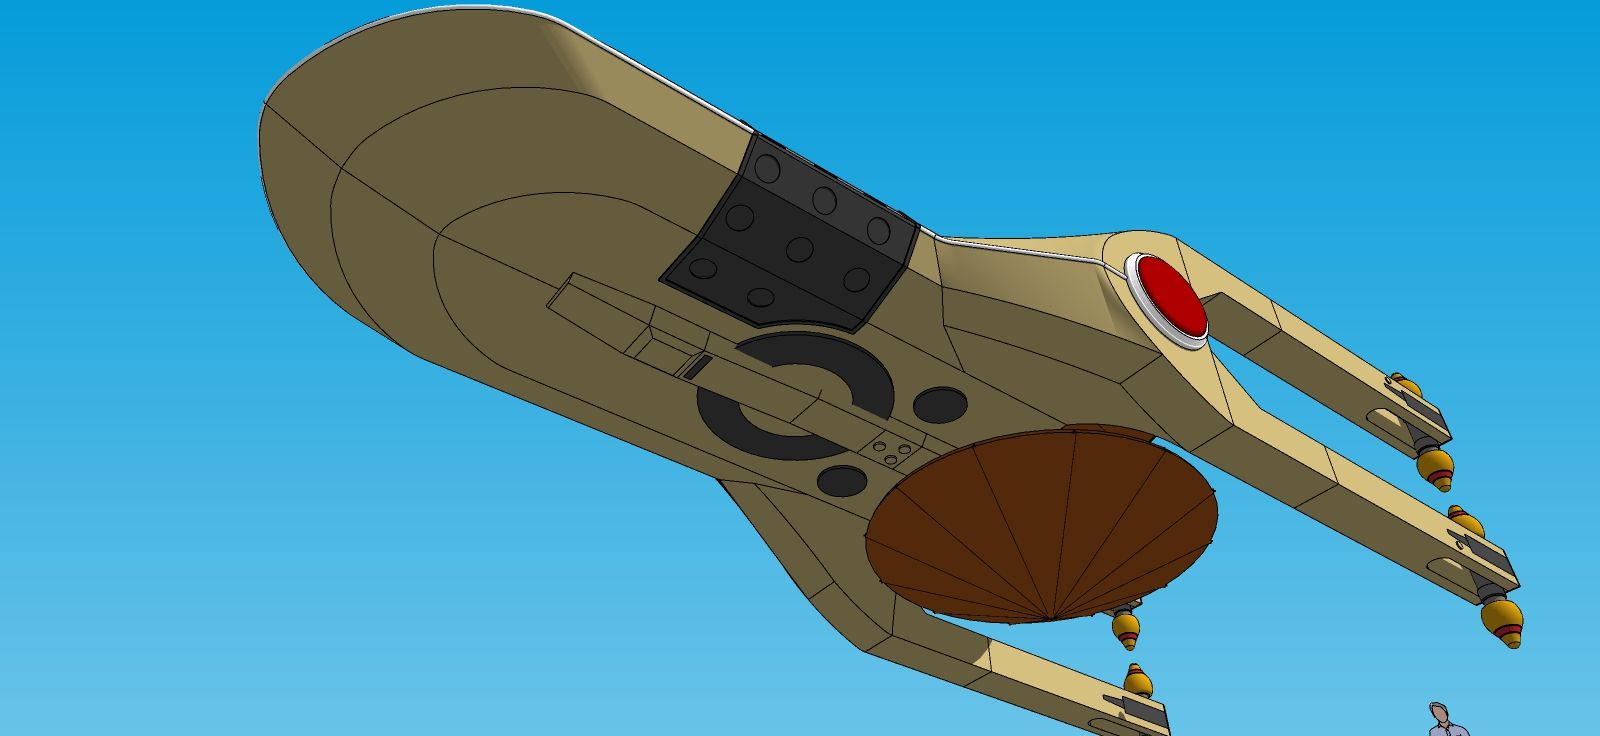
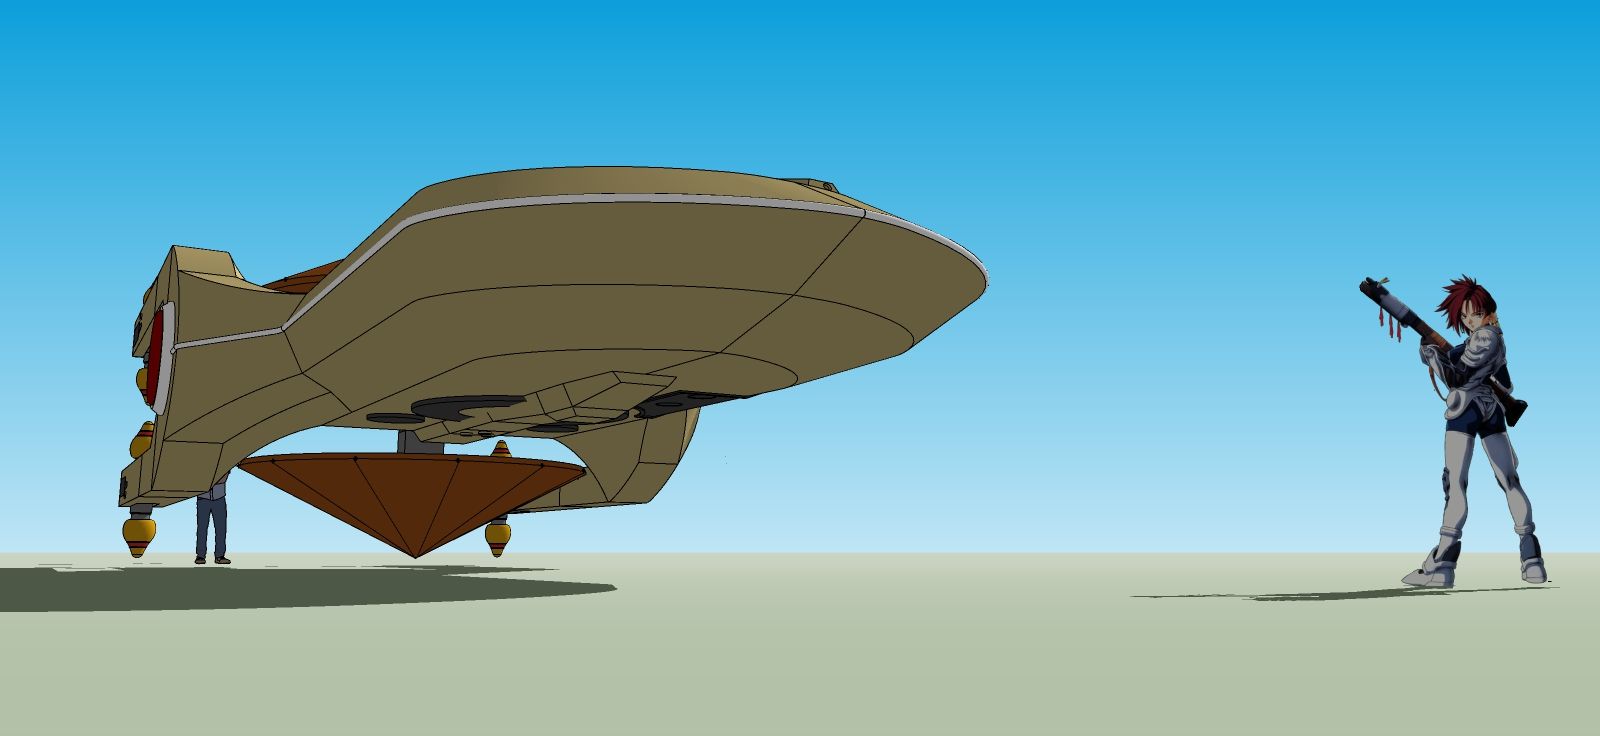
-
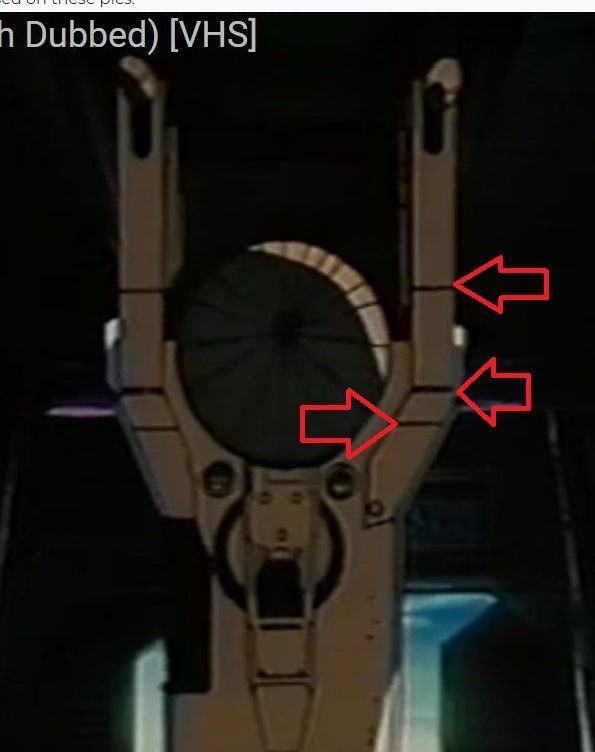
@Bryan-K I think you are up against it. I see your first modelling had "joins" as shown in the image I have attached, and then abandoned them as I think the majority of images did not have those details . Just my opinion is I think the model would look better with those details, for what it is worth.
-
Thanks L i am. Those are in fact, landing pads and will be included as part of the detailing.
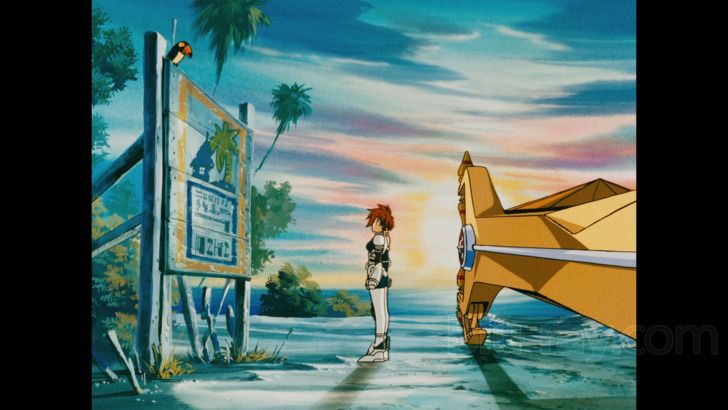
LOL, as with all the anime ships I've worked on, continuity of the designs by the animators was not good. But I can't really blame them. Low budgets and crazy deadlines will do that.
Advertisement
