SubD examples and models
-
nice cotty loving this thread....I'll get involved soon

-
@Box: nice plane!
@ olishea: be careful, it's contagious
-
-
-
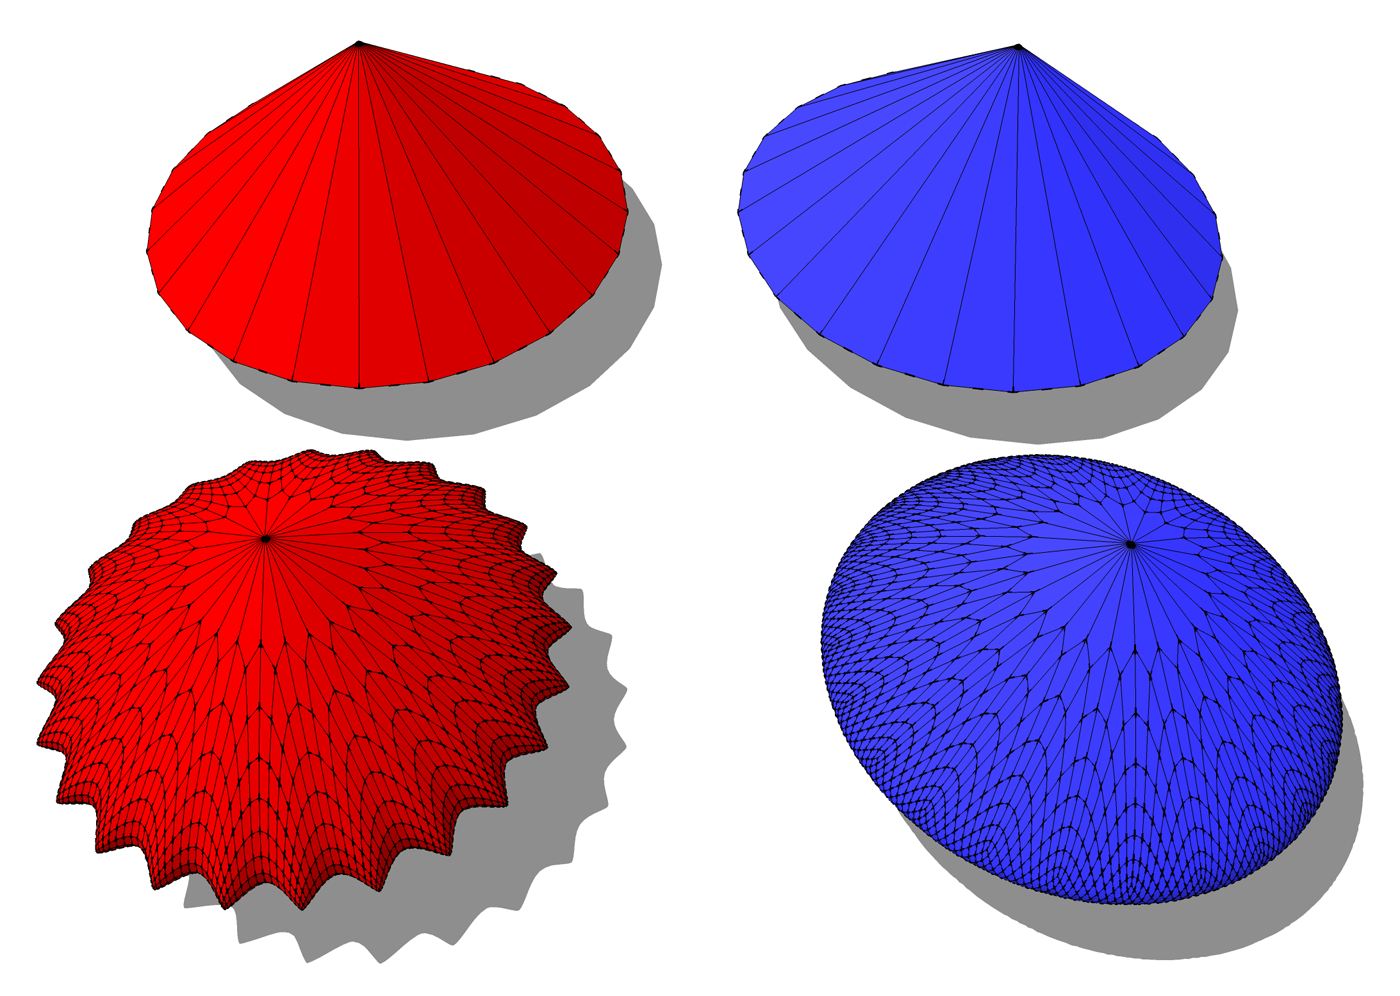
got it, two are blue and two are red...
-
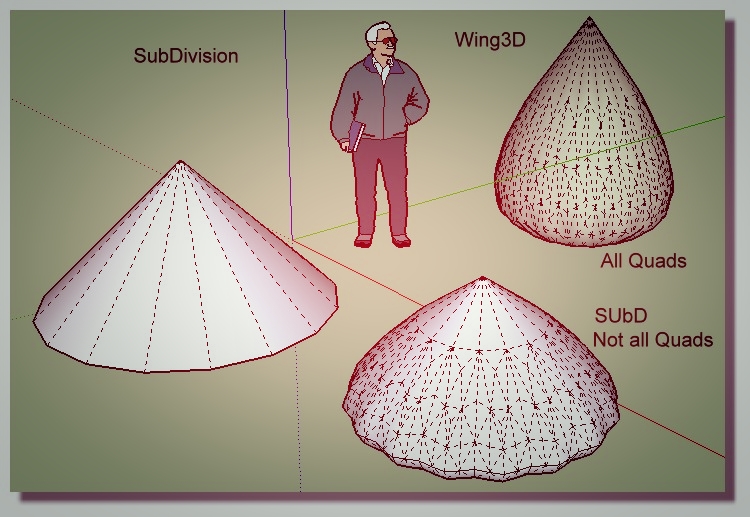
not sure what you guys are trying to achieve with this kind of experiments?
what's the point with all those triangles?
is just for the sake of testing the algorithm itself or is such topology intended for something?
maybe 3dprinting
here is a children slide done with good old quads

-
Going to show my ignorance

How do you go about drawing things like this with quads? Is there some place I can go to learn the process or do you just draw everything with straight lines?
-
dave i made a pretty extensive tutorial a few days ago..didn't you spot it?
-
@panixia said:
dave i made a pretty extensive tutorial a few days ago..didn't you spot it?
jOops...I think I have it book marked on a different computer ( if that is the one about the piece of furniture). My apology. I promise I will watch it. L have been going thru some Blender tuts. I want to learn how to draw things better.
-
actually it's also bookmarked on the sub-d website video..

not sure if i should create a topic in the main tutorial section of the forum or in sub-d subforum..

-
Panixia, having stumbled through QFT and SubD by trial and error for a few days I have now watched your tutorial. I think I chose the right time to watch it as it answered all those nagging little questions about how to use the various tools correctly. I now see I was making hard work for myself with quads.
I think it could be a bit overwhelming if you were trying the tools for the first time.
Thankyou for that, an Excellent bit of work, although I almost stopped watching it in the first few minutes because of the computer voice. I'm very glad I persevered. -
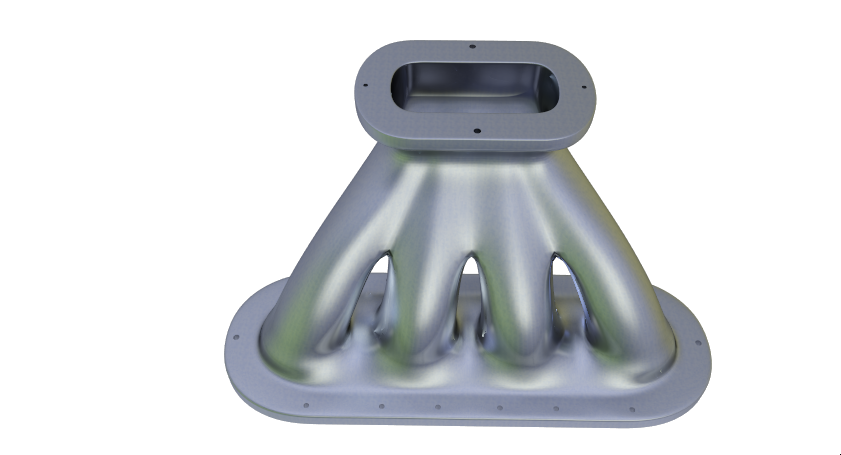
A little engineering porn now that I have my head around quads a little better.
It makes a very nice one piece printable solid.
I need to make more effort with my mounting holes, their topology is a little ragged as they were an afterthought and I got lazy by then.

-
Now that's a nice manifold! But I was dismayed by the mounting holes too (just kidding). Good work and example!
-
@box said:
I almost stopped watching it in the first few minutes because of the computer voice. I'm very glad I persevered.
 LOL! i know.. that f*%#in' robot voice is so annoyng that actually you should have to be glad, first of all, I MYSELF persevered in doing it.. altough i was actually helped in that phase from a friend who works in education (actually it works at engeneering college and they use all of this nice stuff for teaching/learning
  )
)
that said.. i'm pretty much sure you would be even a lot more pissed by my terrible spoken english, wich is even worse than my written one lol


i have to say (being this my first ever tutorial) that i way understimated how difficult is to model something without jumping/redoing steps, without never undoing or drafting along the way and trying to act in a smooth way.. if you ask me to try to speak english on the top of all this stress... that would drive me completely crazy AAAHRGG
try to do something similar while speaking italian and let me know

@box said:
I need to make more effort with my mounting holes, their topology is a little ragged as they were an afterthought and I got lazy by then
if you ask me, the topology of that holes is not wrong at all. maybe (unless you don't intentionally need to hard-pinch them for some reason) you can improve a bit the flow around that x-poles marked in red.
that's not mandatory, but if you dig into topology furthermore, you will learn that, when possible, you should try to move poles around, splitting the x pole in a e-pole (blue) and a n-pole (green) as you properly did at the bottom were you cut those nice loop flowing between holes..
i know all of this can be a little confusing, but poles are very important to achieve proper topology and control the flow and the pinching of the meshes.
maybe i can try to do some example model about this, but unfortunately i have no time to do this right now..try and search about "poles" there are tons of good tutorials about poles (mosto of them from blender community)
 notice that quadface tools provide a useful option to hilight poles in your topology. you should pickthe quadface select tool and activte the poles from right-click menu
-
Wonderful manifold Box!
Mind if I share the images? (I'd love to show the coarse mesh and the final subdivided mesh.) I'll add a link-back to whatever you want as attribution.
For the holes - the subdivided mesh doesn't seem to suffer artefacts in this case, you may not want to bother. But if you want to explore further you might want to try something like this:
-
Feel free Thomthom to do with them as you wish. These things are all just practice doodles when I've got a few minutes.
Panixia, I understand the language problems, I've worked all over the world and and the varieties of English I've learnt to understand is boundless.
Thanks both of you for the further learning links. I'll get there when I have time.
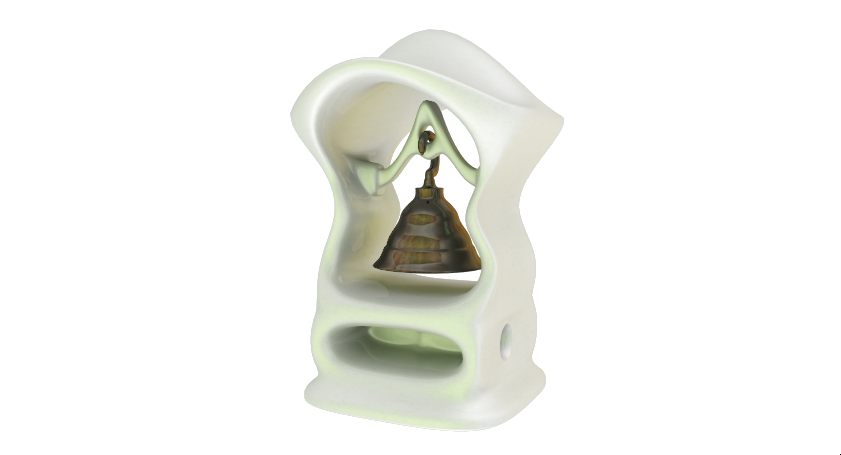
And a last doodle before bed. I know I know another bell, but I like them.

-
For the robot voice, a little trick is put the Youtube Video Speed * 2 !

Cool objects!

-
-
@cotty said:
It's fun. It's a great way to get a feeling for "good" and "bad" proxies.
ah, ok so "stress test".. i suspected that was intendend to build some convoluted topology like this guy does

https://www.youtube.com/watch?v=b6KJOb-r16w@cotty said:
Look closely, not one triangle in there...
 i meant the control meshes, not the smoothed ones..
 -
Advertisement


