SubD examples and models
-
-
@box said:
Here we go, sorry, I would normally post the non facebooked one here but I forgot to keep a clean copy.
That's pretty nice!
-
@box said:
A little pub doodle

this is so great again - Where do you get these crazy ideas from ??BTW - thanks for your many BOX-gifs here which always are so interesting and so helpful !!!
-
Kito Raupp inspiration!

-
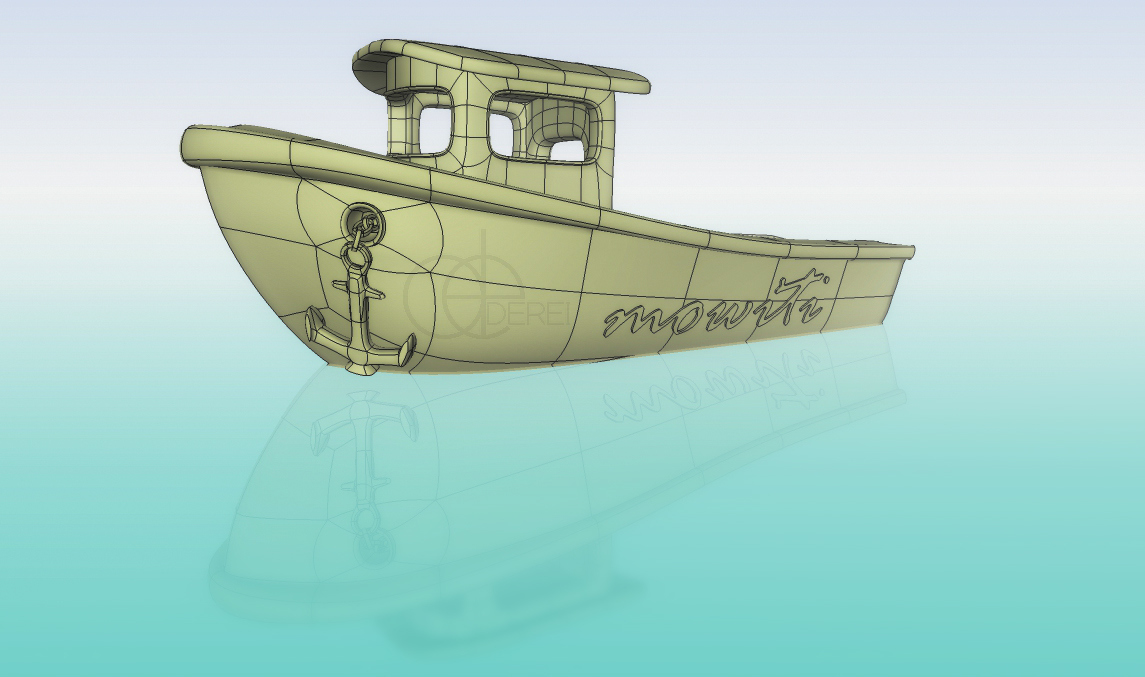
A friend of mine just finished a reprap 3d printer and I thought to "celebrate" his achievement, by modeling a boat for him to print...
-
@derei said:
A friend of mine just finished a reprap 3d printer and I thought to "celebrate" his achievement, by modeling a boat for him to print...
[attachment=0:10i72gyl]<!-- ia0 -->Mowiti.jpg<!-- ia0 -->[/attachment:10i72gyl]It looks great!
Hove did you do lettering? -
Been a while since I posted anything here!
Quick model I did earlier this week:

-
@nlipovac said:
It looks great!
Hove did you do lettering?I had a jpg image of my friend's logo, I imported it in Inkscape -> Trace Bitmap -> Save as DXF
Imported in SketchUp + Thomthom Edge Tools -> Simplify curves (I had to weld all curves before), then
Sandbox Drape + Fredo JPP*sandbox drape works only on blue axis, so I had to turn the boat on a side for that operation.
** i did the letters on the plain mesh, after using subD and converting it into plain mesh. -
@derei said:
...I had a jpg image of my friend's logo, I imported it in Inkscape -> Trace Bitmap -> Save as DXF.
Imported in SketchUp + Thomthom Edge Tools -> Simplify curves (I had to weld all curves before), then
Sandbox Drape + Fredo JPP.
*sandbox drape works only on blue axis, so I had to turn the boat on a side for that operation.
** i did the letters on the plain mesh, after using subD and converting it into plain mesh. Great - I love this little boat
Do I get you right - the 3D text remains a geometry of it´s own? -
@aarondietzen said:
...Quick model I did earlier this week...
Wonderful - what a nice SubD model idea this example is again !
To reduce the geometry to what is just necessary always looks so simple but is the challenge
(would you mind to share this proxy here?) -
-
@derei said:
@nlipovac said:
It looks great!
Hove did you do lettering?I had a jpg image of my friend's logo, I imported it in Inkscape -> Trace Bitmap -> Save as DXF
Imported in SketchUp + Thomthom Edge Tools -> Simplify curves (I had to weld all curves before), then
Sandbox Drape + Fredo JPP*sandbox drape works only on blue axis, so I had to turn the boat on a side for that operation.
** i did the letters on the plain mesh, after using subD and converting it into plain mesh.So is this logo quad also? Is he part of boat geometry or is it by it self another quad model.
If it is part of boat geometry how did you do it and maintain quads on boat?I do expect pic of printed boat!?

-
@hornoxx said:
@aarondietzen said:
...Quick model I did earlier this week...
Wonderful - what a nice SubD model idea this example is again !
To reduce the geometry to what is just necessary always looks so simple but is the challenge
(would you mind to share this proxy here?)But of course!
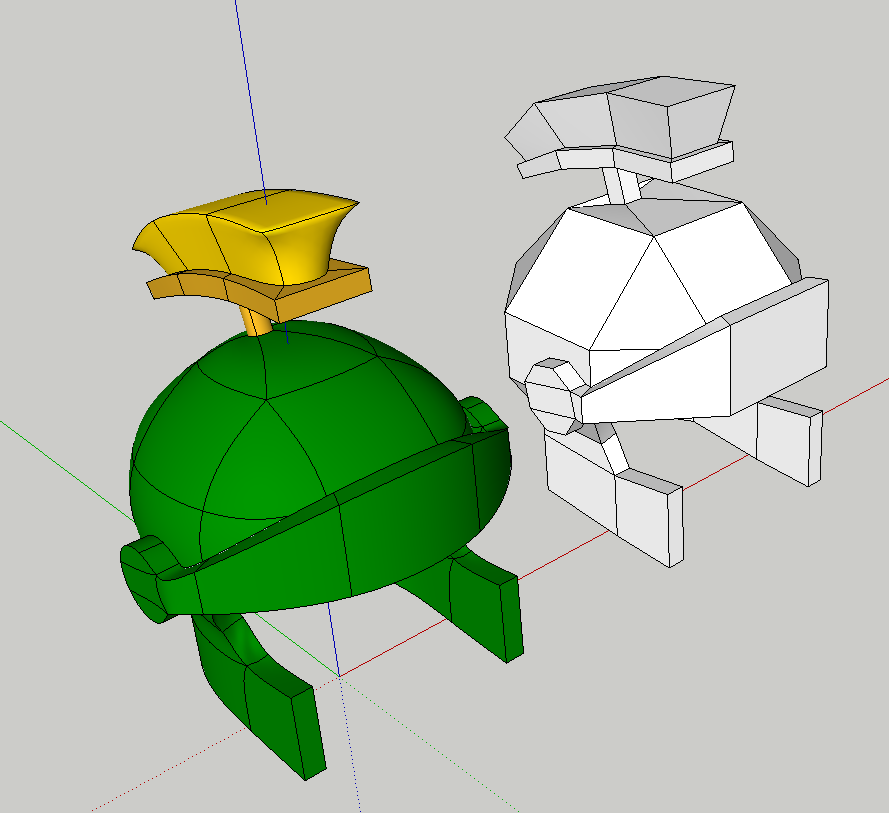
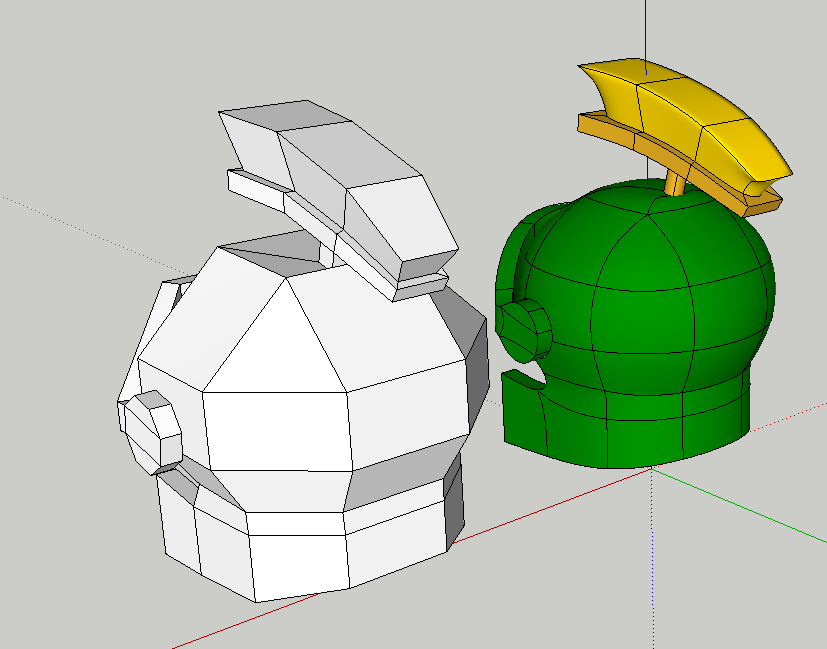
I even did a video of the model, for anyone interested...
-
@hornoxx said:
Great - I love this little boat
Do I get you right - the 3D text remains a geometry of it´s own?No. The 3D text is "draped" and then extruded from the boat's hull mesh. But that could be done only after the boat was subdivided using subD. After the subdivision, if you right-click on it, you will se a context subD menu that converts the parametric mesh into a plain mesh... that can't be turned back to low poly anymore. Is just a simple standard triangle mesh surface.
So, on this surface I used the Drape Tool from Sandbox to imprint the text outline. Then I used Fredo's PushPull over that outline.
-
@aarondietzen said:
...But of course!...
Thanks a lot!!
This is a great (and hopefully timelapsed ) Making Of video !!!Best
-
@hornoxx said:
@aarondietzen said:
...But of course!...
Thanks a lot!!
This is a great (and hopefully timelapsed ) Making Of video !!!Best
Yeah... even though it was a quick model (25 minutes) I did speed it up for the video... but I did leave it all in there! Even several "oops" moments!
-
@nlipovac said:
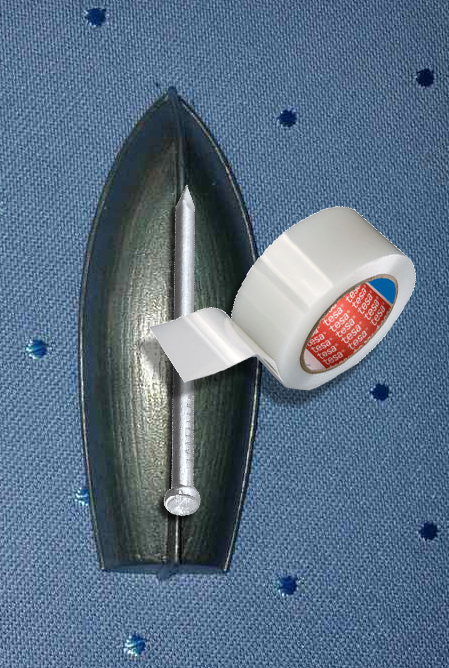
I do expect pic of printed boat!?
I definitely expect that too... he promised that he would do that on Monday... due to the reason that he has to fine-tune the printer. Right now he's printing with 0.3mm nozzle and had some speed problems. But he promised to go with 0.1 (which my model deserves).
-
@derei said:
...But he promised to go with 0.1 (which my model deserves)...
and not only that - I expect floating capability even -
@hornoxx said:
and not only that - I expect floating capability even Well, is plastic...and you know that 3D printing software makes that honeycomb structure inside... so I expect it will float... but I can't guarantee it won't be upside down
 I didn't do any buoyancy calculations, not even to find its center of gravity... (tig has a plugin for that, right?)
 -


Advertisement