SubD examples and models
-
Brilliant and inspiring. Thanks for posting this.
-
@Mike-Amos thank you.. I'll share the last couple of models when I'm done

-
I had to put the shoe modeling on hold because I had to do this for work today

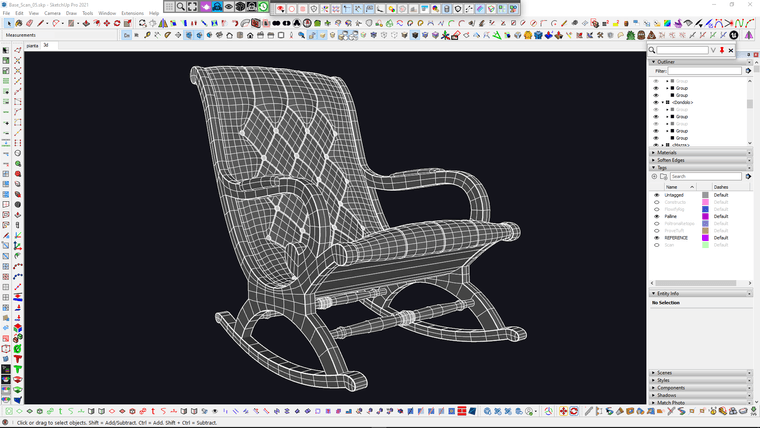
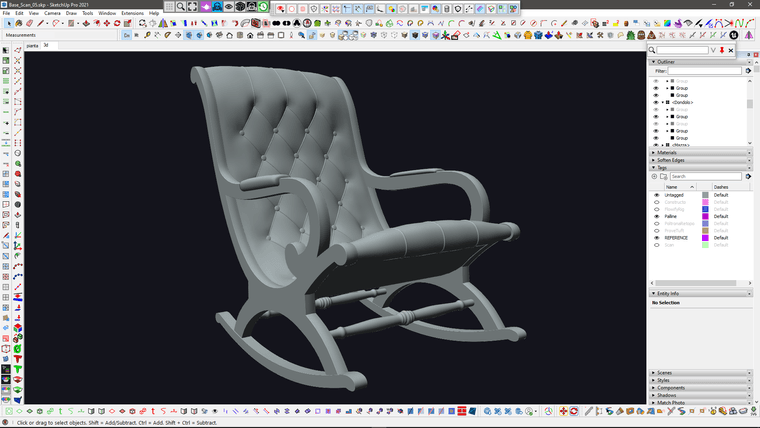

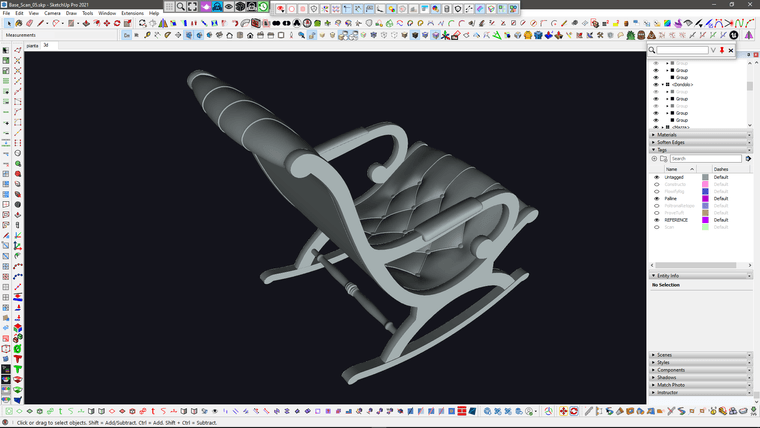
-
 flawless
 -
@Rich-O-Brien flowify is the key for this sort of stuff..
-
It would help to see the workflow for that last especially, if/when you have time.
-
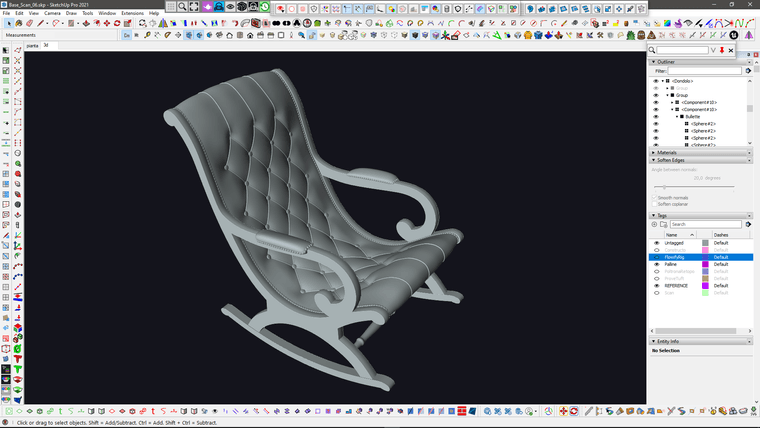
@Mike-Amos well, in this case i started with a basic trace of photo references, I use components, so that I can use different photos for different pieces but then the components are nested in the main assembly so they end up in the right place..

They also gave me a pretty bad photoscan, so I used that just to intersect it with a plane and extract the basic profile of the seating.
I then smoothed the extracted curve with Curvizard and normalized it with Polyline Segmentor
Then I created a base grid for the pattern with the proper real world measurements.

I then created a repeated component with Curviloft Skin

Same for the buttons
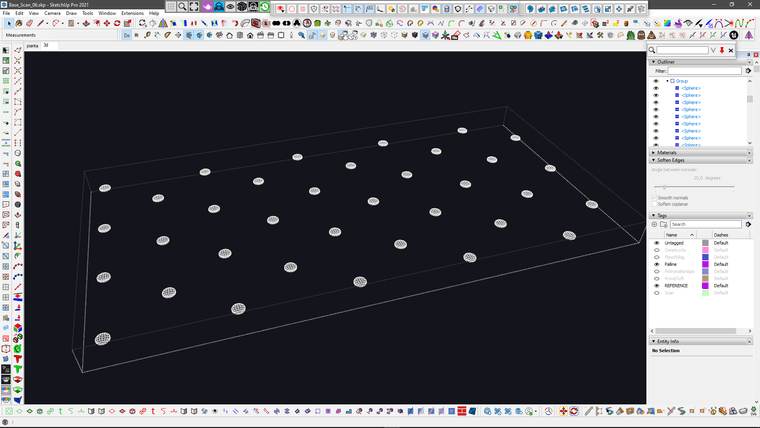
And then create a different variation of that component for the sides
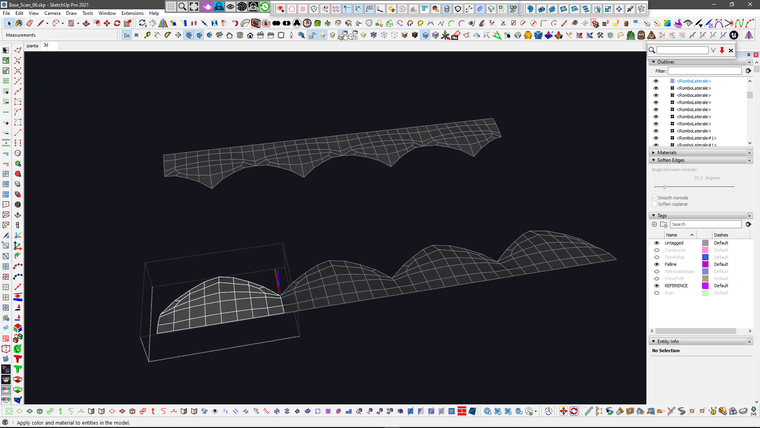
And another variation for the corners
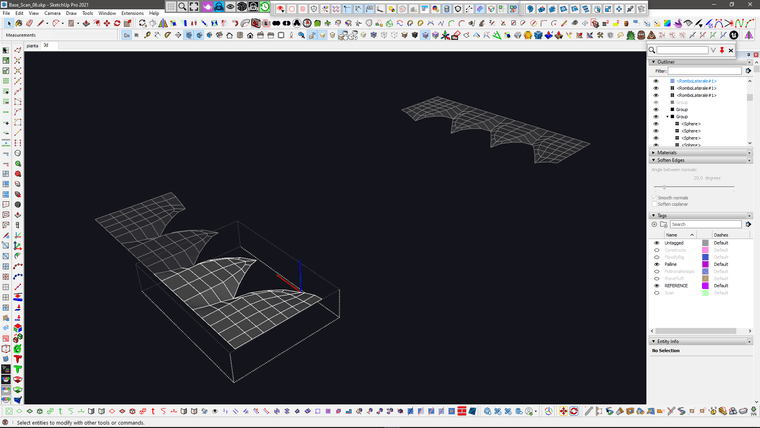
then I joined all of them together.. please notice that In this stage I try to keep the quads as even as possible, because I'm gonna deform this stuff
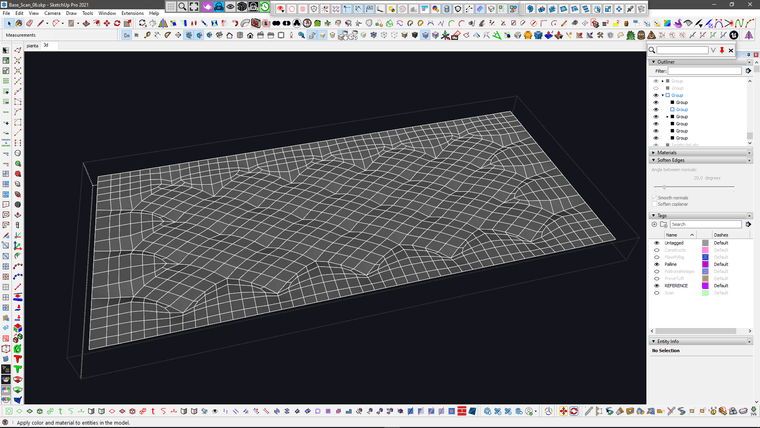
Then I extracted the diagonals for the sewing and used "Lines to Tubes" with quite low poly geometry.. and of course I did some cleanup with quadface tools for the overlapping geometry which will not be seen.

I then created the base shape of the seating using Curviloft ad Quadface tools.. and extracted the grid were I need the upolstered thing..
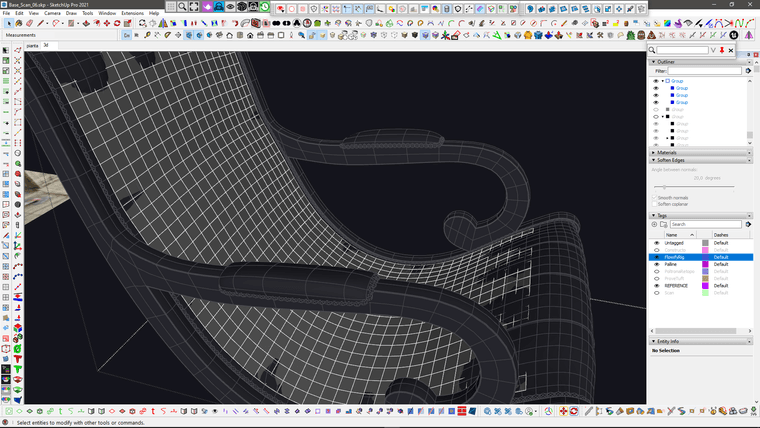
Then I use the QuadfaceTools "Unwrap Grid" feature to extract a flat grid from that.. which has the exact same lenght and topology of the seating that I'm going to replace.. and here is the flowify rig setup that I used to send the geometry to the curved surface.
WARNING: you need to use "flowify without cuts" to avoid messy topolgy and keep quads.

From this stage, it was just a matter of stitching and tweaking.. with the usual VertexTools, QFT, Artisan shenanigans

Meanwhile I also added the studs.. I used profile builder assembly to place them and then manually repositioned some bits in the problematic areas

And this is the updated version with the studs..
I hope this was helpful to better understand the process..It's a bit different every time.. the shoe and the skatepark used a quite different process.. and the other sofas I posted before of that, is another different story..


-
A Great work! – & thanks for the many pictures of the doing process.
-
Agreed, a great resource. Thanks very much for that.
-
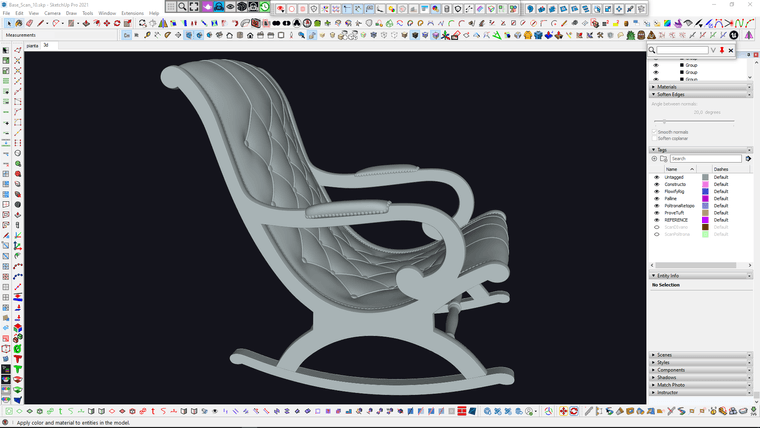
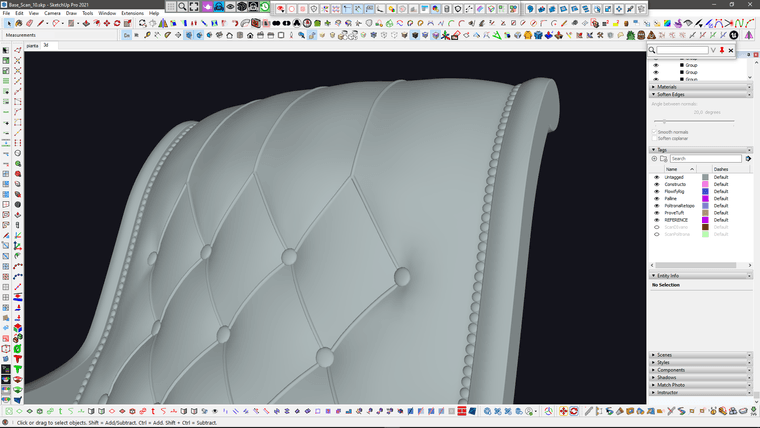
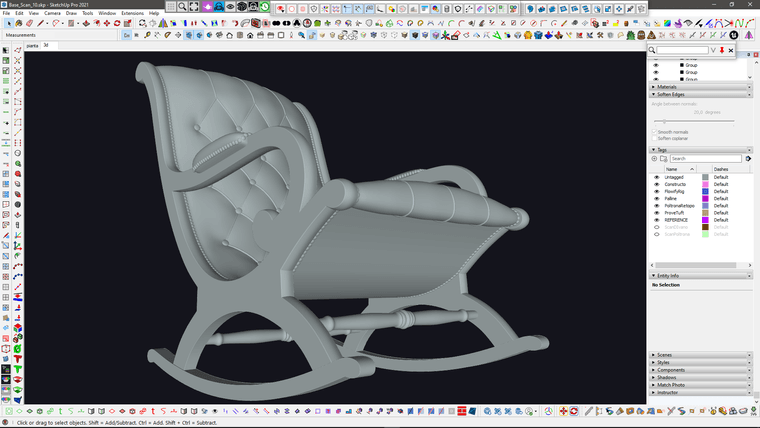
I improved the upper stitching (which was too hard compared to the reference) with Vertex tools and the upper part of the tuft (which was too thin) using Artisan2 FFD (with a couple of tricks to make it work on multiple subgroups).
I also increased the rounding of the frame profile using Artisan Move tool "normal" constraint.
I think I'm done with this one.
Time to unwrap it

-
"Work smarter not harder"

Another WIP from the same vintage furniture job, leveraging the power of components..
Most of the armchair details are reusable for the sofa.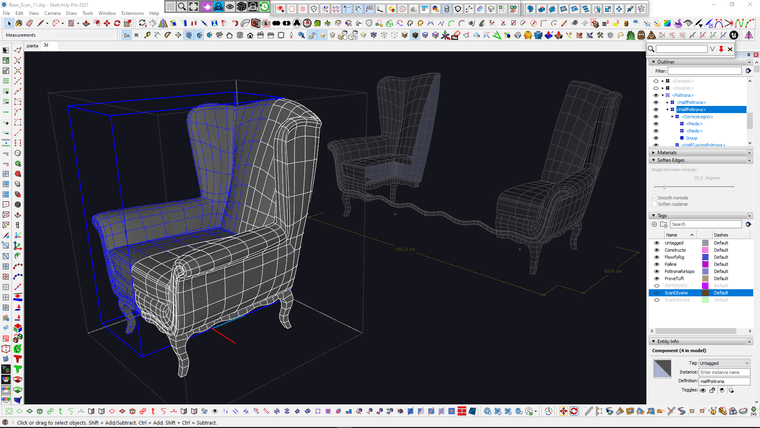
-
It's nice to see an orderly work process. And it seems like I'm already losing my position.
-
@alvis said in SubD examples and models:
it seems like I'm already losing my position
Your work has always been a source of great inspiration and will always be.
-
I did some progress with this couple of models..


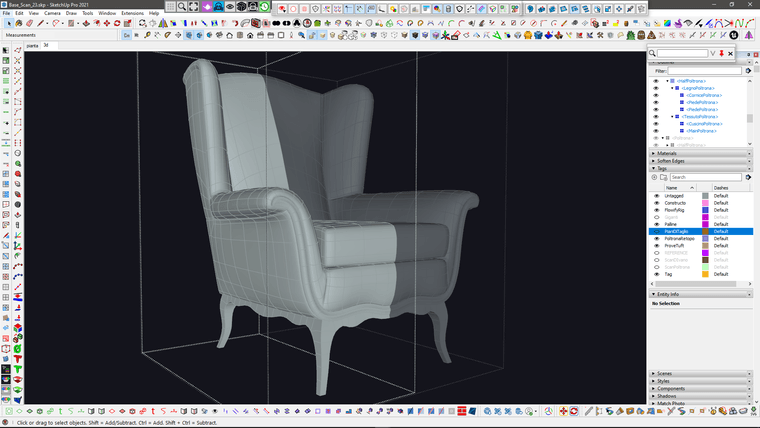
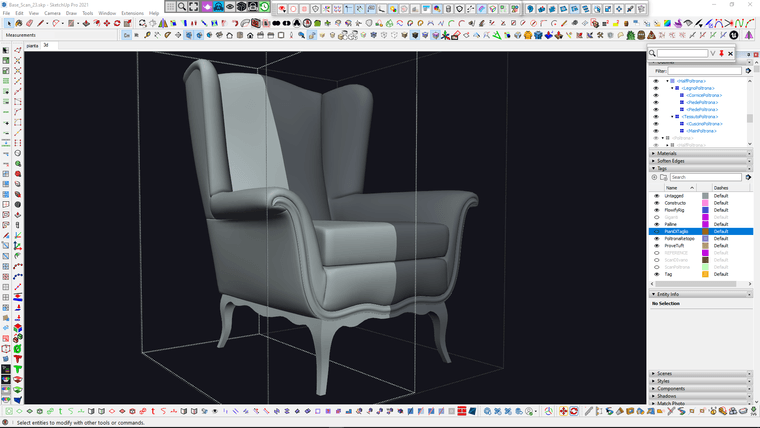
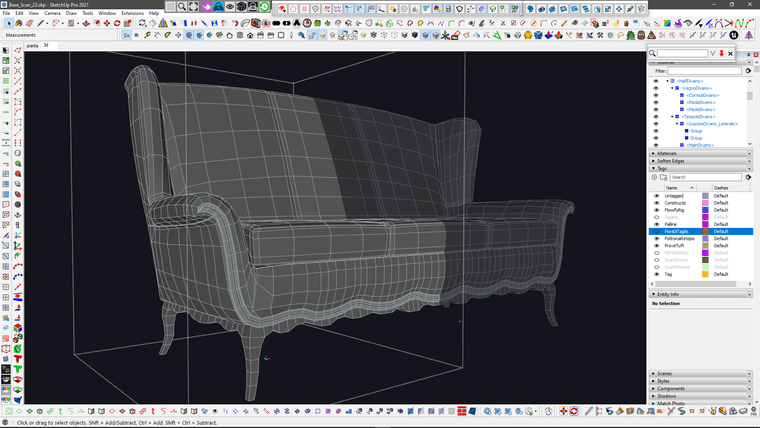
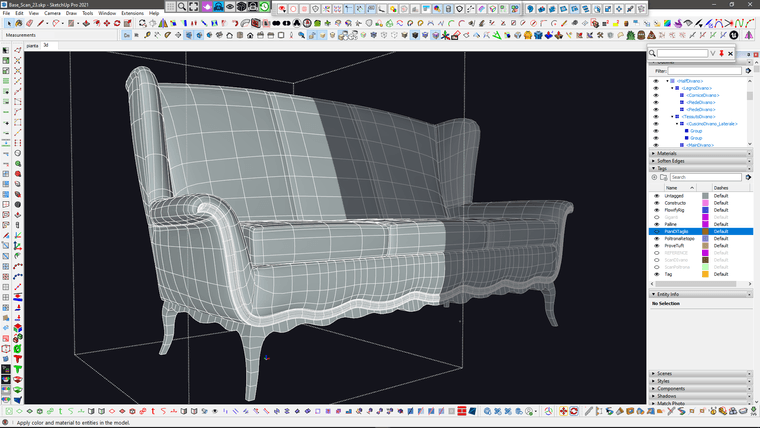
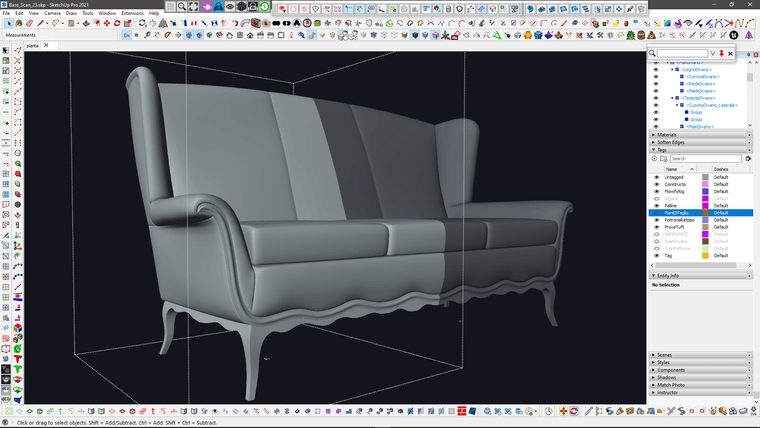
-
-
@Rich-O-Brien LOL

I plan to unwrap separate meshes at mid poly stage and keep them consistent with the "tile trick"
then I'll do the final SubD
Advertisement


