Spiral help please
-
Well, I made some progress but still not quite there..........
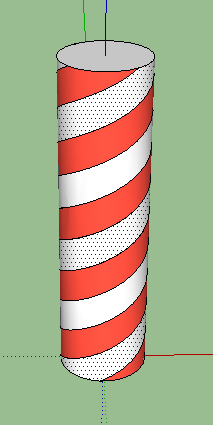
As you can see, I got the darn thing to let me color the stripes however, I had to color each stripe independently. I then could not select one color of stipe and use the scale tool to move it to create the slots like in the video. I think that it is all still related to the fact that I do not have the lines to form the helix's.
-
Go back a couple of steps then.
After you have copied the array upwards, delete all but one up the spirals, select all of the segments and weld them into one curve. Now array that and pull your cylinder etc etc etc -
I think you need three colors for scaling...
one either side of your target color...
john -
I had the same problem but when I did a double (maybe it was a triple click?) on the line I then selected the entire line. I also tried to repeat what I had done before to get the "spirals" in the column to act as one face, but this time I still ended up with the situation you are describing. I have no clue what I did the first time to get it to work.
No no no, nothing stupid about asking questions, and in addition - that distinction belongs to me. Hey - it's the only claim I have to fame. I have been using SketchUp since version 8 - about what... 3 or 4 years? Still clueless. Tomorrow is another day however, and as said before I NEVER give up! If I come up with the answer, I shall be sure to post my own kindergarten explanation of the process. I don't mind stating that I am quite happy to have people dumb it down for me as they say, so that I can get that Aha moment. I trust that if you come across the solution you will also share it with me and again - feel free to explain as though I just landed from the Andromeda Galaxy.
PS - Just read Box's reply, but the first time I got it work I did not do any of that, and yet it worked exactly as it did in the Youtube tut. If only I could go back and recreate what I did.
-
A triple click on any segment will select the whole curve that it is part of, before you explode the cylinder.
-
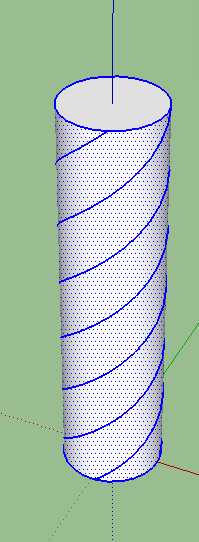
The red and white column is what I ended up with after my happy accident the first time, and the second time, this is as far as I can get.
-
Either your segments don't touch each other or your helixes don't touch the end of the cylinder .
Could you upload your model ?
-
I think they are connected but these are segments not curves, erease or group the circle then try a triple-click.
-
regardless of how you choose to draw the helix & cylinder.. maybe to get a better representation of the things in the photo, use 3 helixes on the cylinder .. 1 circle segment apart..
select the middle helix and scale it.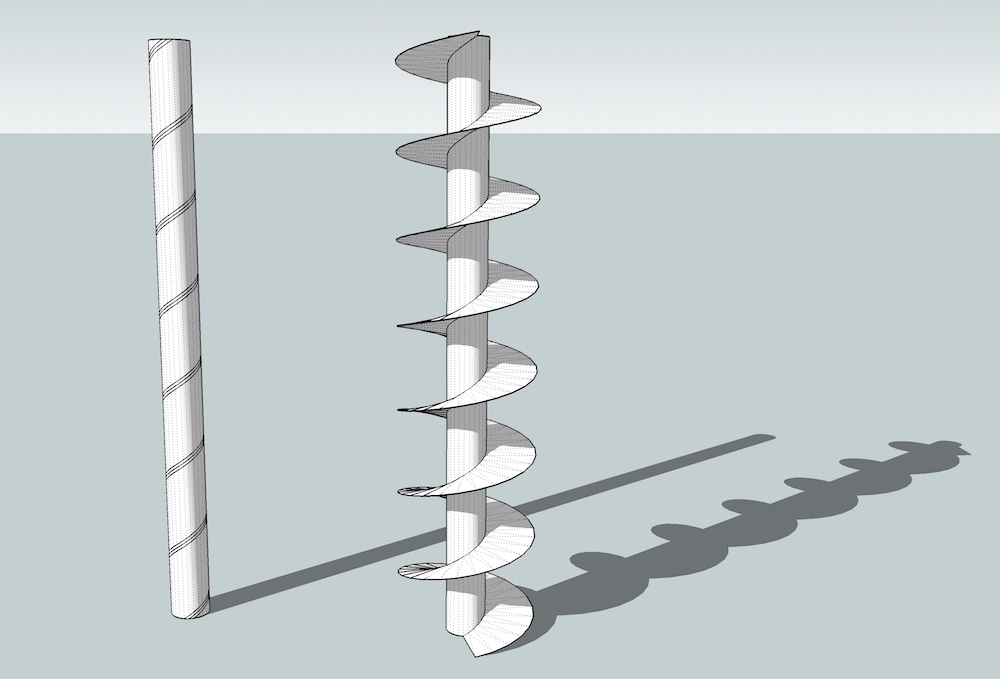
-
Hi Kathryn
Gosh! you were all busy yesterday - I saw your initial post and you were already getting assistance. (Good here, isn't it!). Congratulations on your achievements so far & don't quit... I think everyone's been through that 'Doh!' stage and the forum members are incredibly helpful and generous. Don't forget to show us the end results! -
@kathryng said:
gilles:
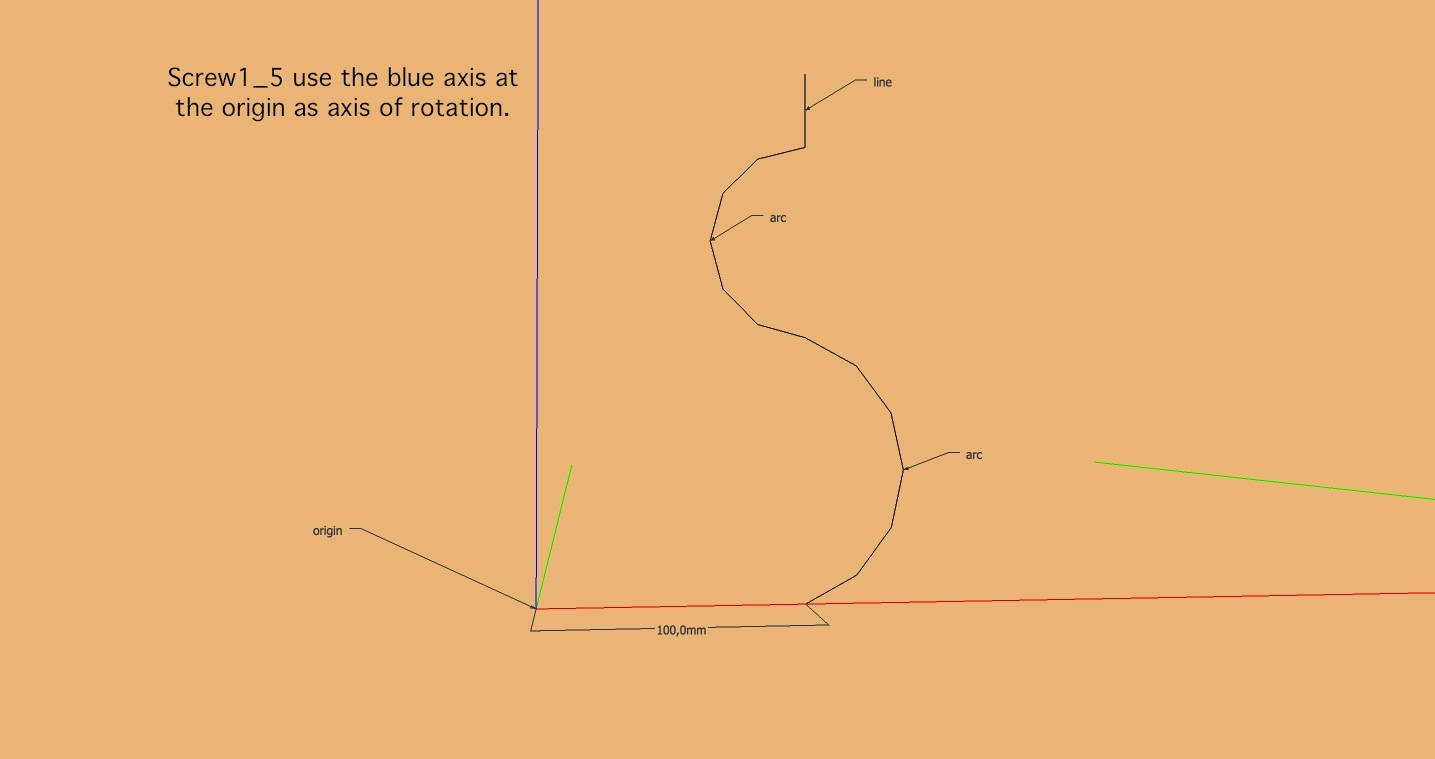
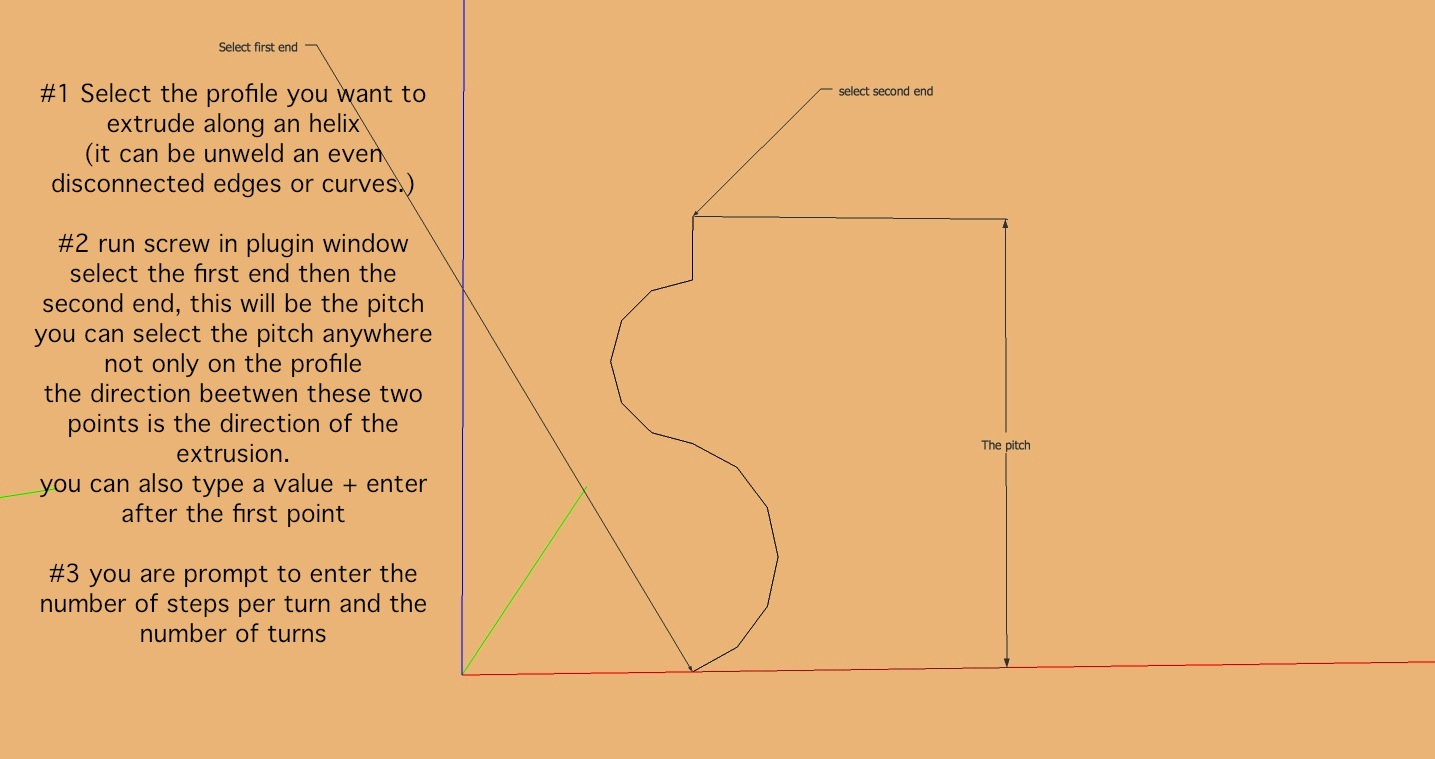
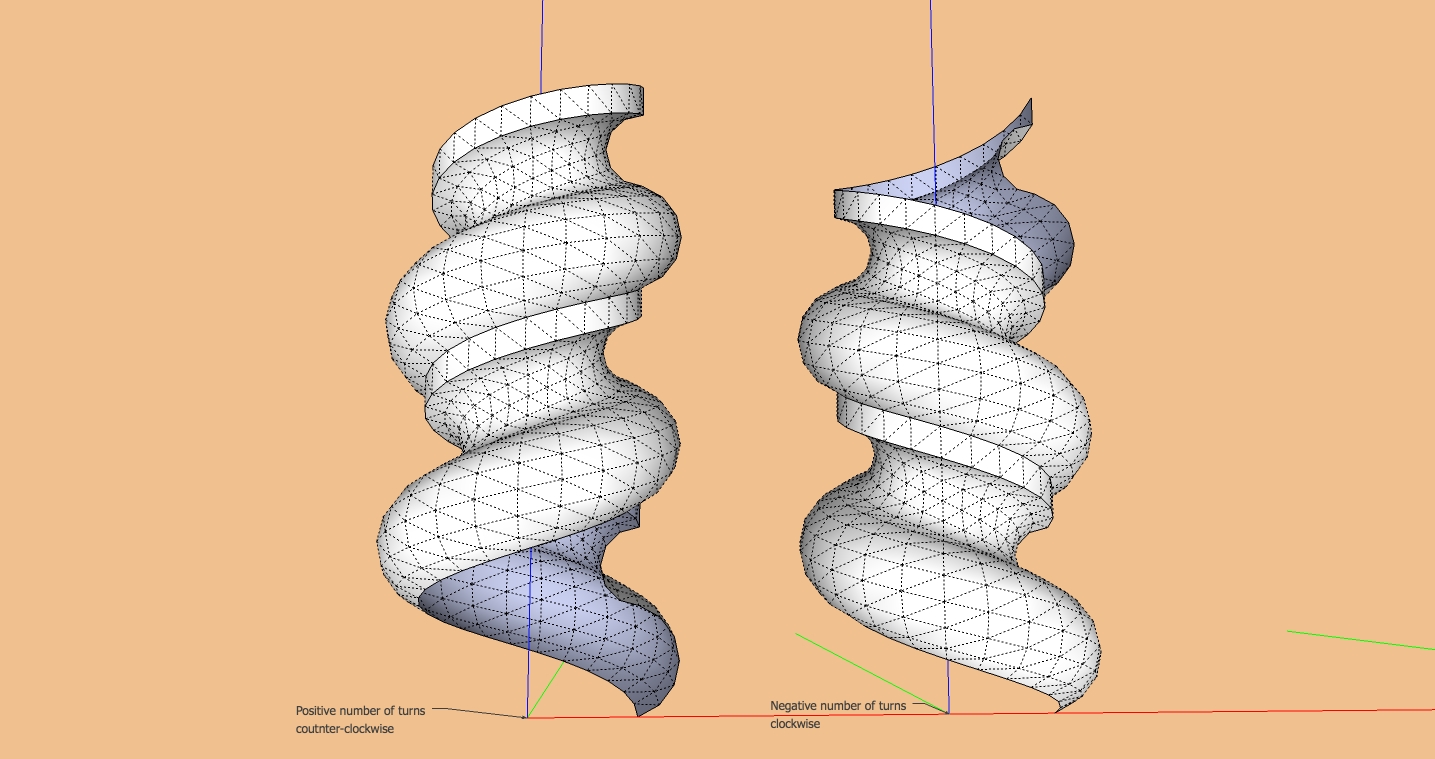
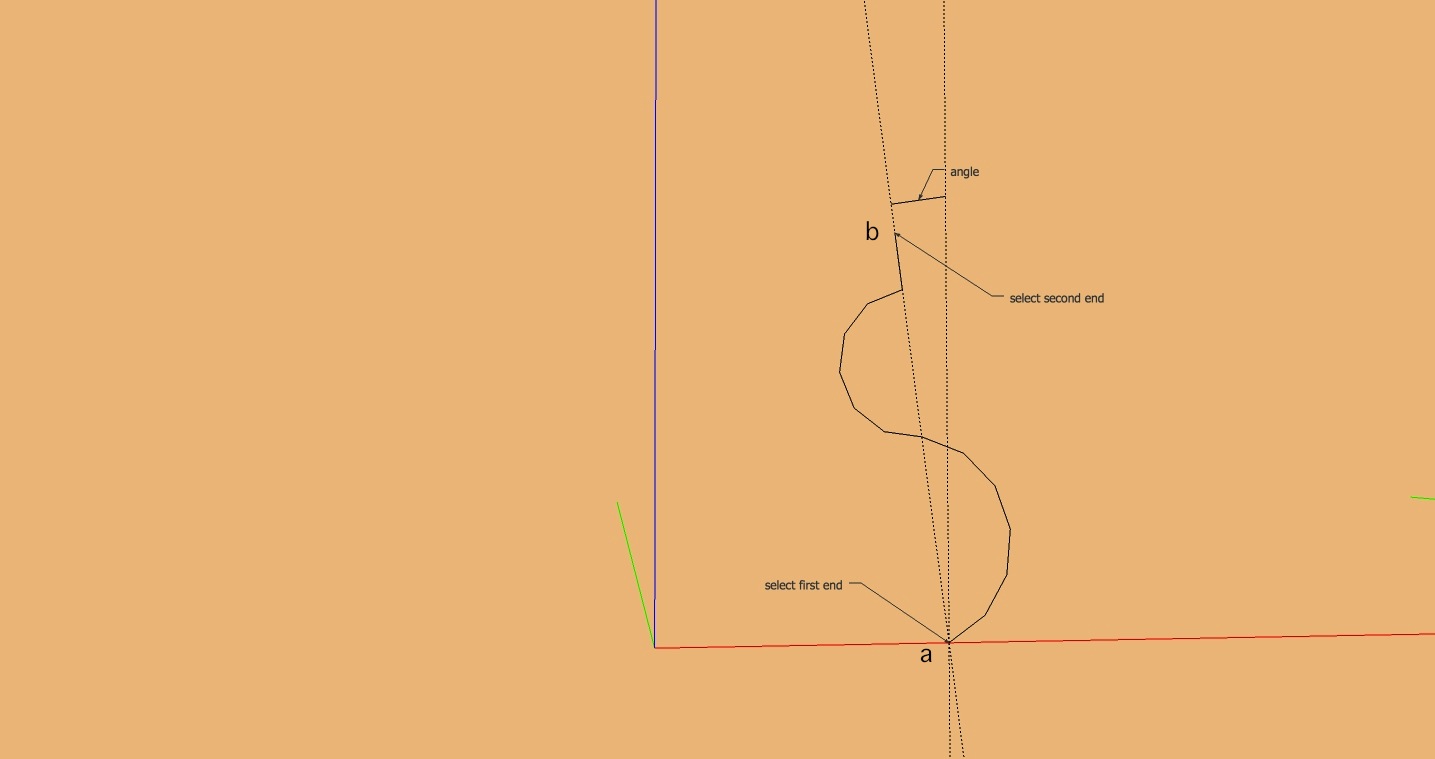
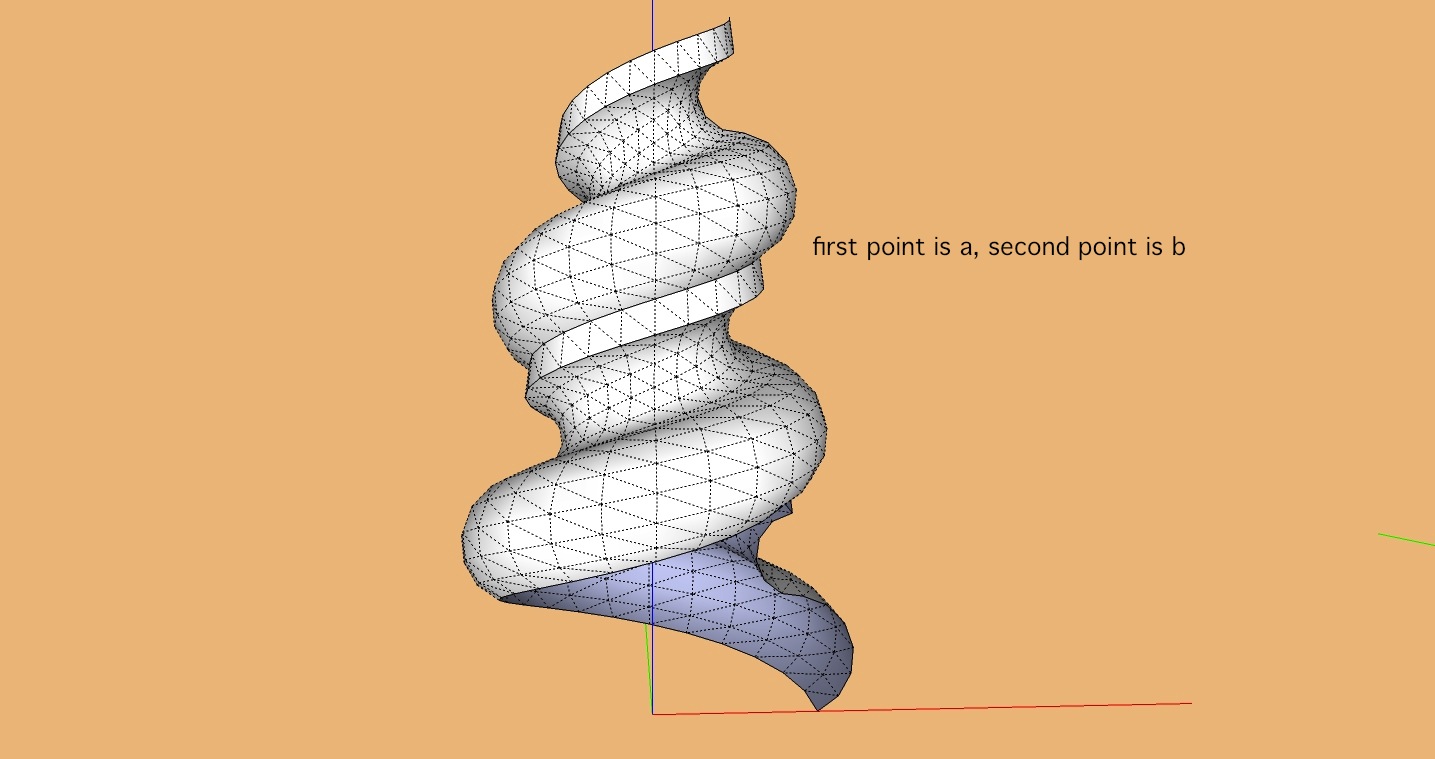
Installed and experimenting, but I am not understanding the 5 entities? It worked with the component, but of course that is not the look I am going for, the other one is, and when I follow what you did, I get nothing ?"5 entities" just says its raw geometries.
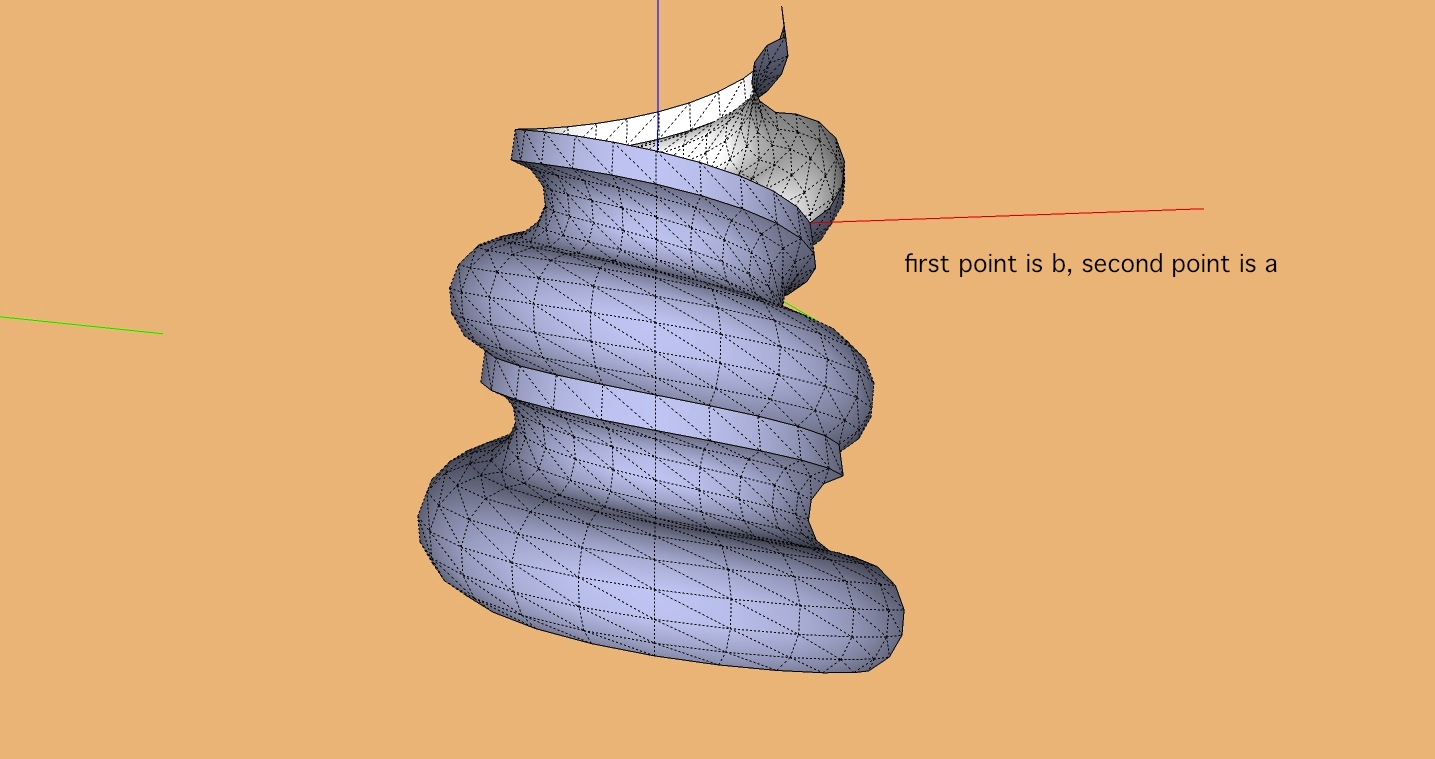
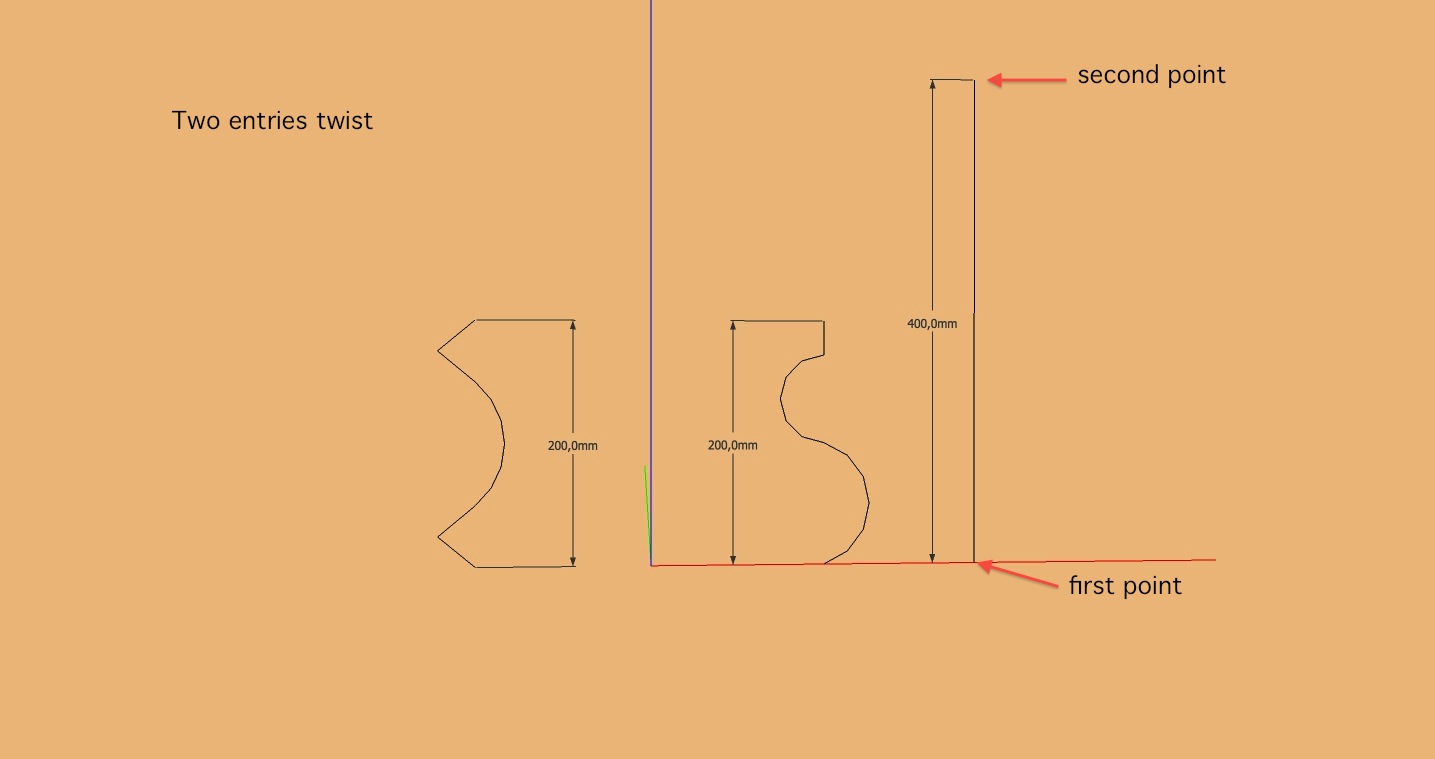
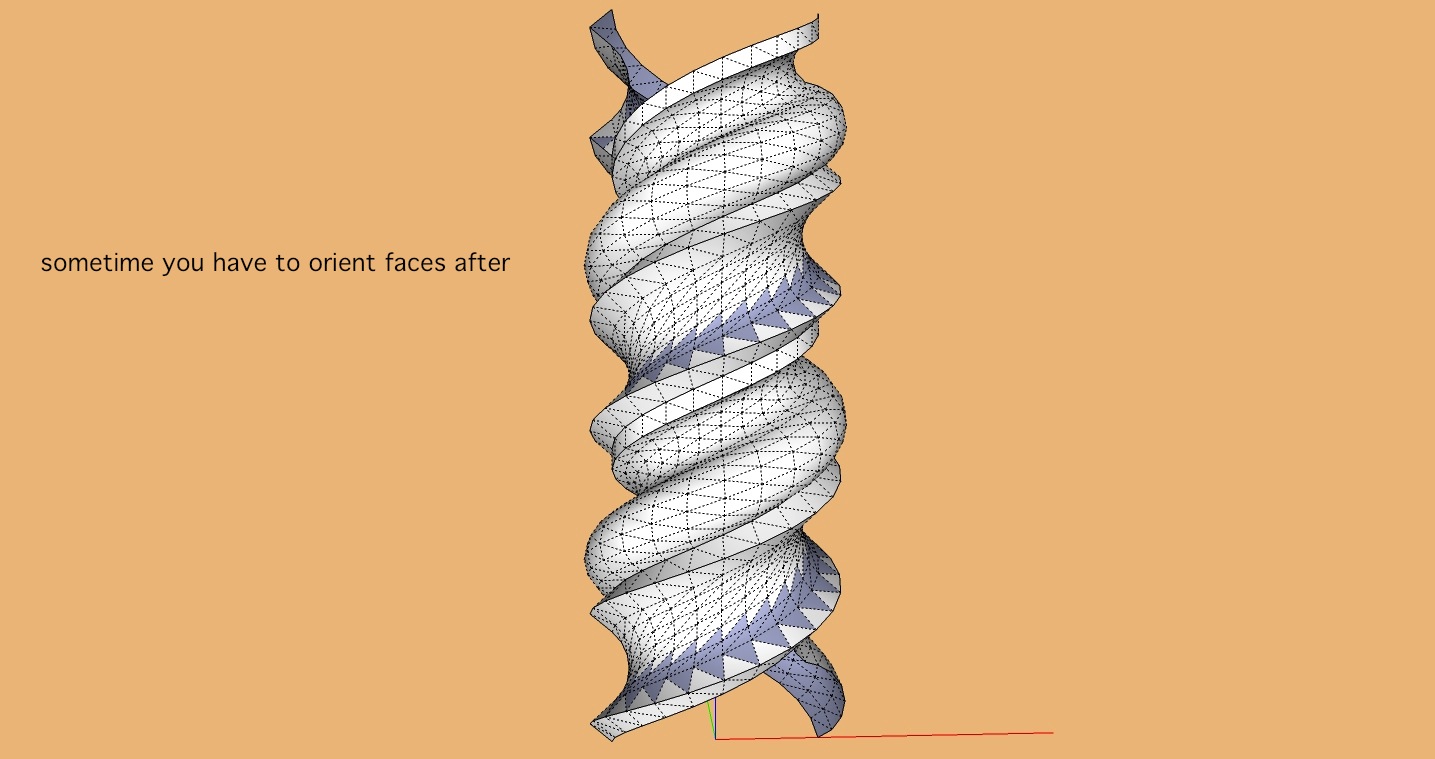
-
Hi ely862me.
Sorry, gave it a rest last night to watch a little television. I am going back to it today though. Call me stubborn, but I feel the need to get it done exactly as in the tutorial, not with any workarounds, not that they don't work, and not that I am not eternally grateful for any and all help.
Uploading the model here that did work for some reason for dissection, and I look forward to hearing the analysis, critiques and comments.
This has actually been wonderful seeing so many people coming together on an enigma for two of us.
Thanks to all for the huge effort and interest.
-
This model is also faulty, if you follow the helixes you will notice that at some point, there are some extra lines that shouldn't be there.
I was looking for the model that didn't worked for you.
-
Opps - sorry - OK here it is. Will look for the extra lines on the previous one. Learning...
-
There is a gap at the top, simply push the face down to join the lines and it works.
-
Well, I gave it a rest last night and FINALLY, I GOT IT

Here is my example.
I have to admit that Jeff's 3 helix example made me see the light!! -
Here is another one using Jeff's 3 helix method. I used the Helix tool (in the 3D Shapes context menu). A little trickier with the scaling but another interesting affect. Once drawn and scaled, I created a box and trimmed the top so that the scaled helix did not stick up above the cylinder.
For any others who may care, here are the steps I used to create this one:
- Created a helix Draw>3D Shapes>Helix
- Rotated 2 copies of the helix by 15[sup:bhfl8sky]0[/sup:bhfl8sky] Selected helix Ctrl-Rotate 15 2x
- Created a circle the same radius as the helix
- Used Push/Pull to extrude the circle to the same height as the helix using inference for the correct height
- Selected all items then right-clicked and selected Explode
- Selected the top row of the helix's on the cylinder face and used the scale too to extrude
- Selected the cylinder faces and used the scale tool to get the cylinder back into shape (this had to be done multiple times to get things back into the proper cylinder shape)
- Used the bucket tool to add color to the faces the way I wanted it
- Since one of the extruded helix faces now extended above the cylinder, I created a box that was larger than the diameter of the cylinder and helix faces and then made it a group
- Selected the helix/cylinder shapes and made them a group
- Placed the box at the top of the helix/cylinder at the height I wanted and then selected both the box and helix/cylinder and clicked on the Subtract Solids tool to trim the top
Hope someone finds these steps useful and/or informative.
Once again - Thanks Jeff, Box and others for opening my eyes. I had watch that original video several times but the real trick was in some of the subtle things that you do not really see clearly in the video. In particular, the Select All - Explode and being able to triple click on the line segments to select them all.
Learning new things can be fun even if you do not have any particular place to go apply them.
-
@ntxdave said:
Here is another one using Jeff's 3 helix method. I used the Helix tool (in the 3D Shapes context menu). A little trickier with the scaling but another interesting affect.
that's happening because you're scaling using the shift key (uniform) while using a middle scale handle or- not using the shift key and planar inference with a top-corner handle
anyway, grab one of the corner-middle scale handles, press&hold option/alt key, scale then use the measurements box for uniformity.. i.e. enter 2.5,2.5 in the box
-
@jeff hammond said:
@ntxdave said:
Here is another one using Jeff's 3 helix method. I used the Helix tool (in the 3D Shapes context menu). A little trickier with the scaling but another interesting affect.
that's happening because you're scaling using the shift key (uniform) while using a middle scale handle or- not using the shift key and planar inference with a top-corner handle
anyway, grab one of the corner-middle scale handles, press&hold option/alt key, scale then use the measurements box for uniformity.. i.e. enter 2.5,2.5 in the box
Thanks Jeff - again a good piece of information to tuck away for future reference.
Seems like there is just no end to things to learn. Particularly if they are features you do not use on a regular basis. Again, all part of the continued learning process.
-
@unknownuser said:
Seems like there is just no end to things to learn. Particularly if they are features you do not use on a regular basis. Again, all part of the continued learning process.
Indeed!
Advertisement


