[Plugin] UVTools v0.1
-
Hi everybody
Does anyone use the plugin ? Could we have just a simple tuto ?
I forget something because SU goes out as far as I start UVToolThanks
MALAISE -
great work !!!
 thank you very much
-
I'm having problems using this plug-in. But I’m maybe using in the wrong way.
I normally use the SU in “color by layers” and not with normal materials. This ‘cause the way that people draw in the office, and also to make my file smaller (since they always have more than 100mega)
Sometimes, rarely, I use in the same mode, an image as layers color to show an specific situation. This is when the problem occurs; apparently I’m not able to use this plug-in in this mode.
Is that right?
Does anyone know something about it?Thanks!
-
Using colour by layer isn't the best way to assign textures. It isn't really compatible with most renderers for a start. Although it is very efficient for modelling, it doesn't allow any flexibility for positioning textures on surfaces at all.
It would be useful to have a Ruby plugin which reads these textures from layers and assigns them directly to faces.
-
as far as I know there is a ruby that does exactly that. has been discussed here somewhere. don't ask me where though.
-
@bigstick said:
Although it is very efficient for modelling, it doesn't allow any flexibility for positioning textures on surfaces at all.
So that means the ruby script won't work in the "colour by layer" mode... snif...
-
@whaat said:
This plugin is a work in progress. There is much functionality yet to be added but it is still quite useful in it's current state so I am releasing it.
Installation:
- Copy to SketchUp/Plugins folder
Usage:
- The plugin will create a context menu called 'UVTools'
I put the UVtools.rb file in Macintosh HD/Library/Application Support/Google Sketchup 6/SketchUp/Plugins
I also tried Users/myname/Library/Application Support/Google Sketchup 6/SketchUp/PluginsBut it no contextual menu shows up when relaunching SU
-
I can't seem to find a way to apply the cilindrical uv-mapping to both sides of a surface.
Any suggestion on how to do that?
I' m curently trying to render a clipmap texture which is cilindrical mapped on a cilinder using Fryrender.
Having the ability to map both sides of the cilinder surface would be a big Plus.Thanks in advance.
-
LOL, I had that exact situation last week, trying to map a barbed wire fence clipmap/alpha to a sphere. There was no way I could map the back faces.

I ended up using Hexagon (nurb modeler) to map the sphere and import it.
-
Would that be necessary to map the back-face with the clip-map for a render..??

I assume that the clip-map is identical to the actual texture in size, and in the render application you apply the clip-map texture in the clip-mapping channel...
Or what am I missing..??
-
Im guessing this isnt the case in other renders, but in indigo its pretty useful to map clip/displacement maps on to the reverse faces. its an easy way to get the UVs right without having to do lots of messing around.
-
In some cases it is not needed.
But in my case and the case Solo describes a cilindrical mapped fence seen on both sides in an animation, it is useful. -
Thanks brother, this is very useful for me.
-
@unknownuser said:
I ended up using Hexagon (nurb modeler)
Are you sure of that? Nurbs : I don't think so

-
Hexagon is primarily a subdivision modeler however, the new version has deformers (Twist, Bend, Taper) which work on subparts of objects. A new and more generic deformer has been added: the Free From Deformation Cage, which allows smooth complex deformations of a model, using a 3D Nurbs cage.
-
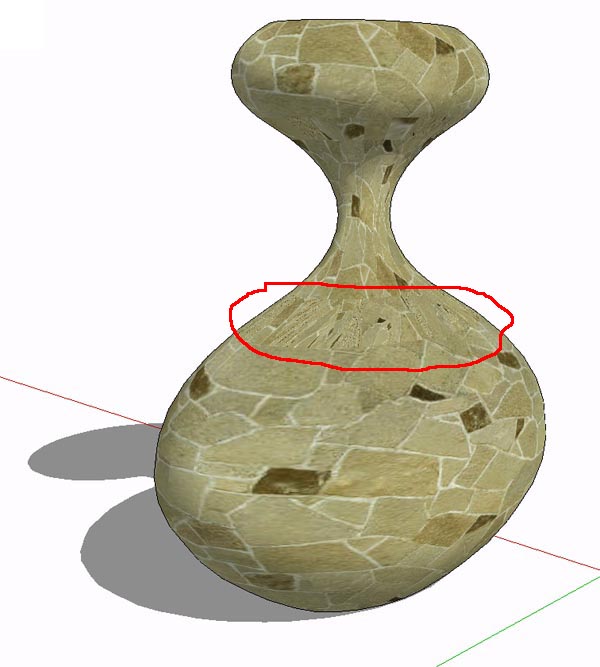
I gave the UV tool a try and it works ok but i am getting some weird issues.
See attached, any ideas why it is doing that ?

-
@fakircho said:
I gave the UV tool a try and it works ok but i am getting some weird issues.
See attached, any ideas why it is doing that ?Looks weird....are you using spherical or cylindrical? I would suggest using cylindrical. Also...what is the scale of your object? The plugin might fail on faces that are very small so try increasing the size of the object.
-
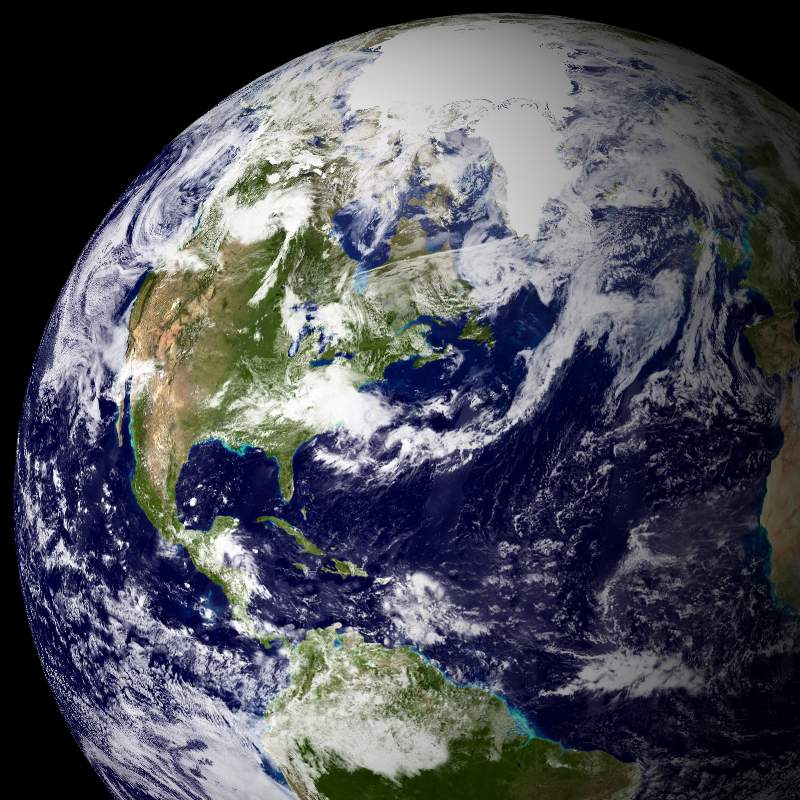
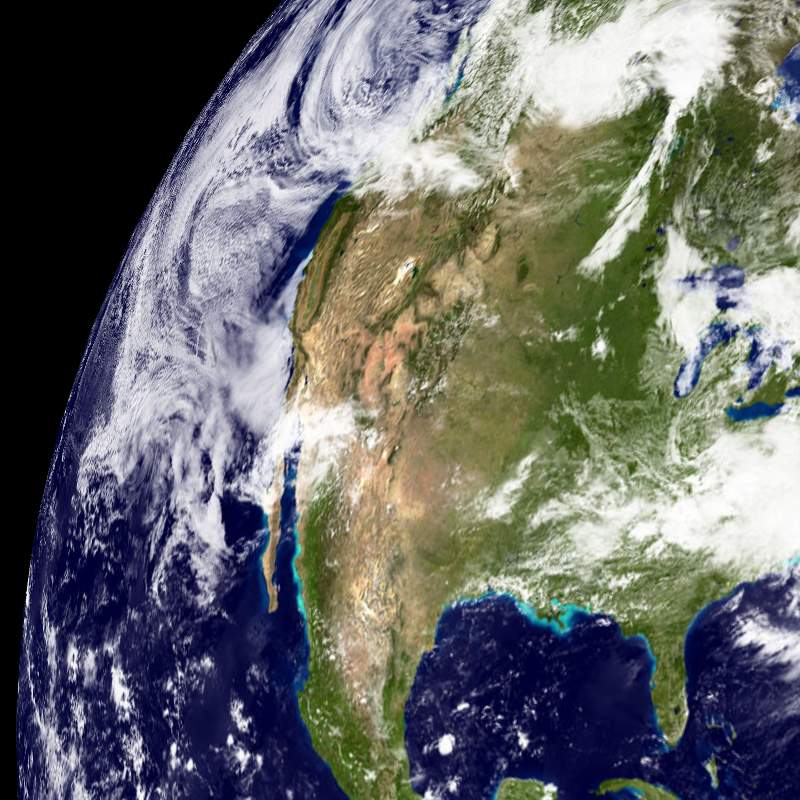
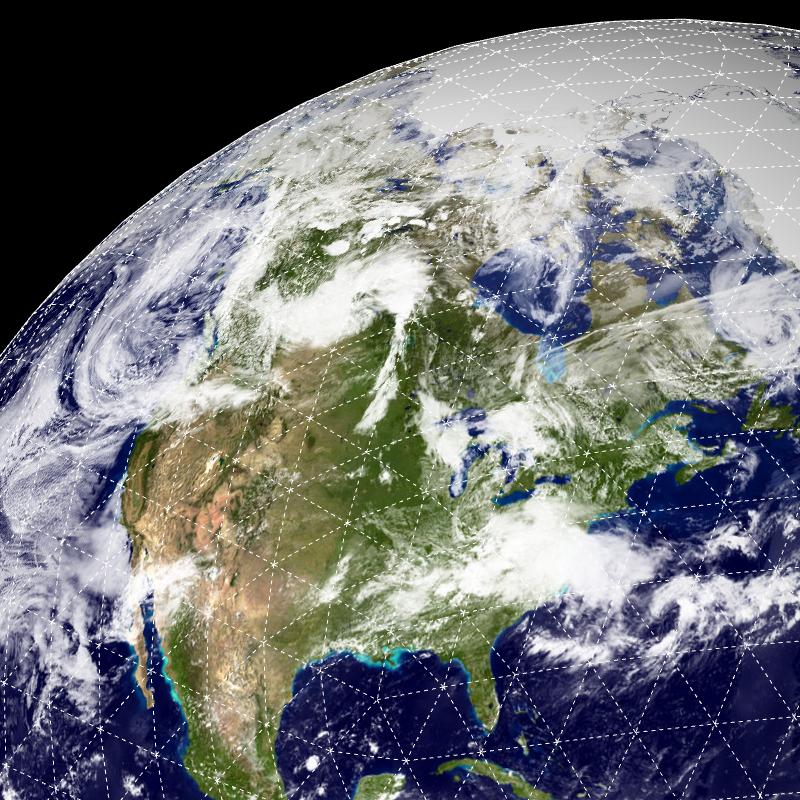
Using Whaat's plugin, texture from NASA's "Blue Marble" project, and a 4096-pixel OpenGL-texture registry hack, I'm delighted to find that I can reproduce (totally within SketchUp) results comparable to the Blue Marble globe images on the NASA webpage! (No external rendering - these are cropped SketchUp screen grabs.)
(I was inspired to try this after seeing José Manuel's model at the 3D Warehouse...
http://sketchup.google.com/3dwarehouse/details?mid=65929d262a58d9e8fdaa51cdb5785d22
...and wondered whether I could push texture resolution to its max.)
Marvelous tool, Dale You've fulfilled a wish!
(...and, of course, I used a geodesic sphere to provide the triangular tessellation.)
Taff


-
i made the object 10 times bigger and the UV is much better
-
I gues now you can safely reduce the size back without braking the UV.
Good to know such tricks, thanks Whaat!

Hello! It looks like you're interested in this conversation, but you don't have an account yet.
Getting fed up of having to scroll through the same posts each visit? When you register for an account, you'll always come back to exactly where you were before, and choose to be notified of new replies (either via email, or push notification). You'll also be able to save bookmarks and upvote posts to show your appreciation to other community members.
With your input, this post could be even better 💗
Register LoginAdvertisement


