How to make this (loft section along a helix)
-
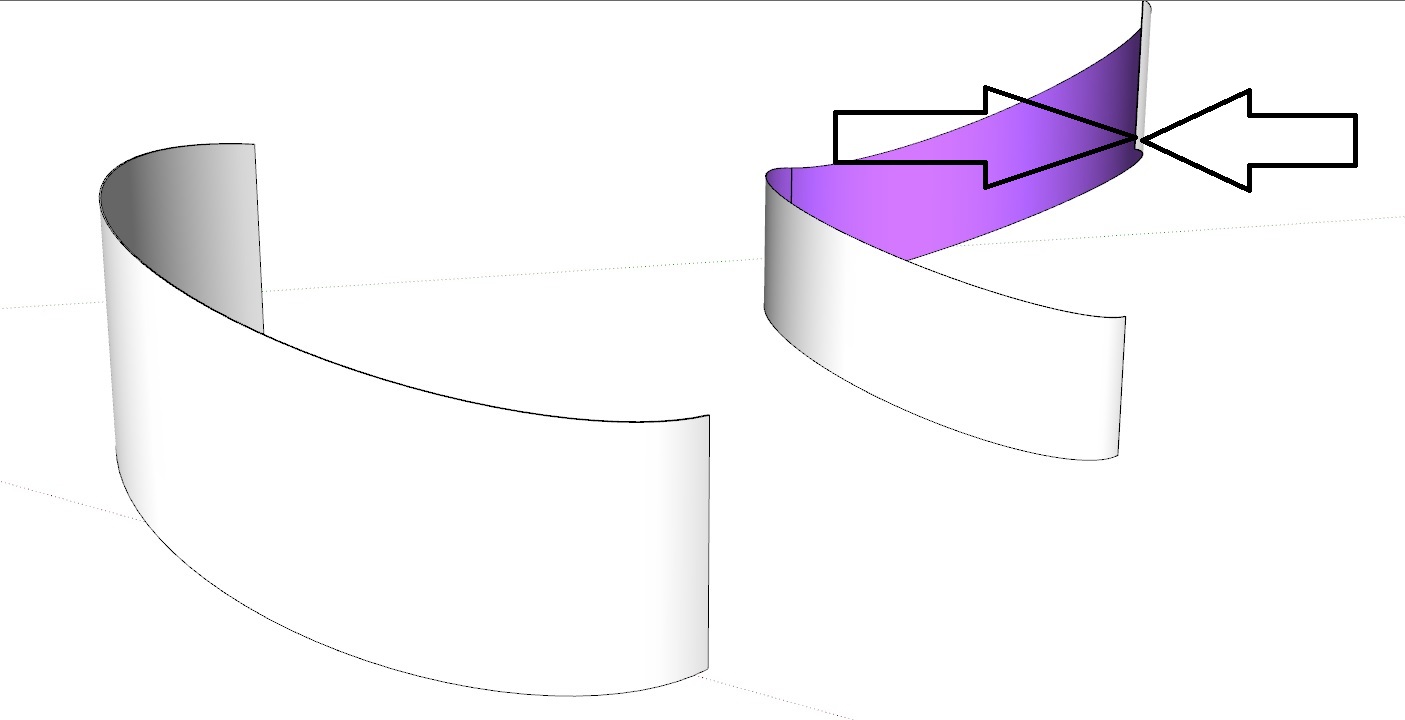 I an trying to create a spiral staircase. I did one about 8 years ago but I now cannot get my head around how to do it. I am able to creat a helix and tried to loft a rectangular section along the helix......Fail. Then I did a tube put in planes and intersct faces, copy the scale a mirror and place it above the first secion above the first section as in the image. but that did not work as the top surface planes were recersed and did not mesh. So I was thinking about lofting a restangurar section along a helix. Could somebody let me know the best way to do this? the arrows show thickness.
 -
FollowMe twists extrusions like this.
Eneroth has an 'upright-extruder' extensions hosted at the EWH - that would extrude the cross-section along the he lical curve
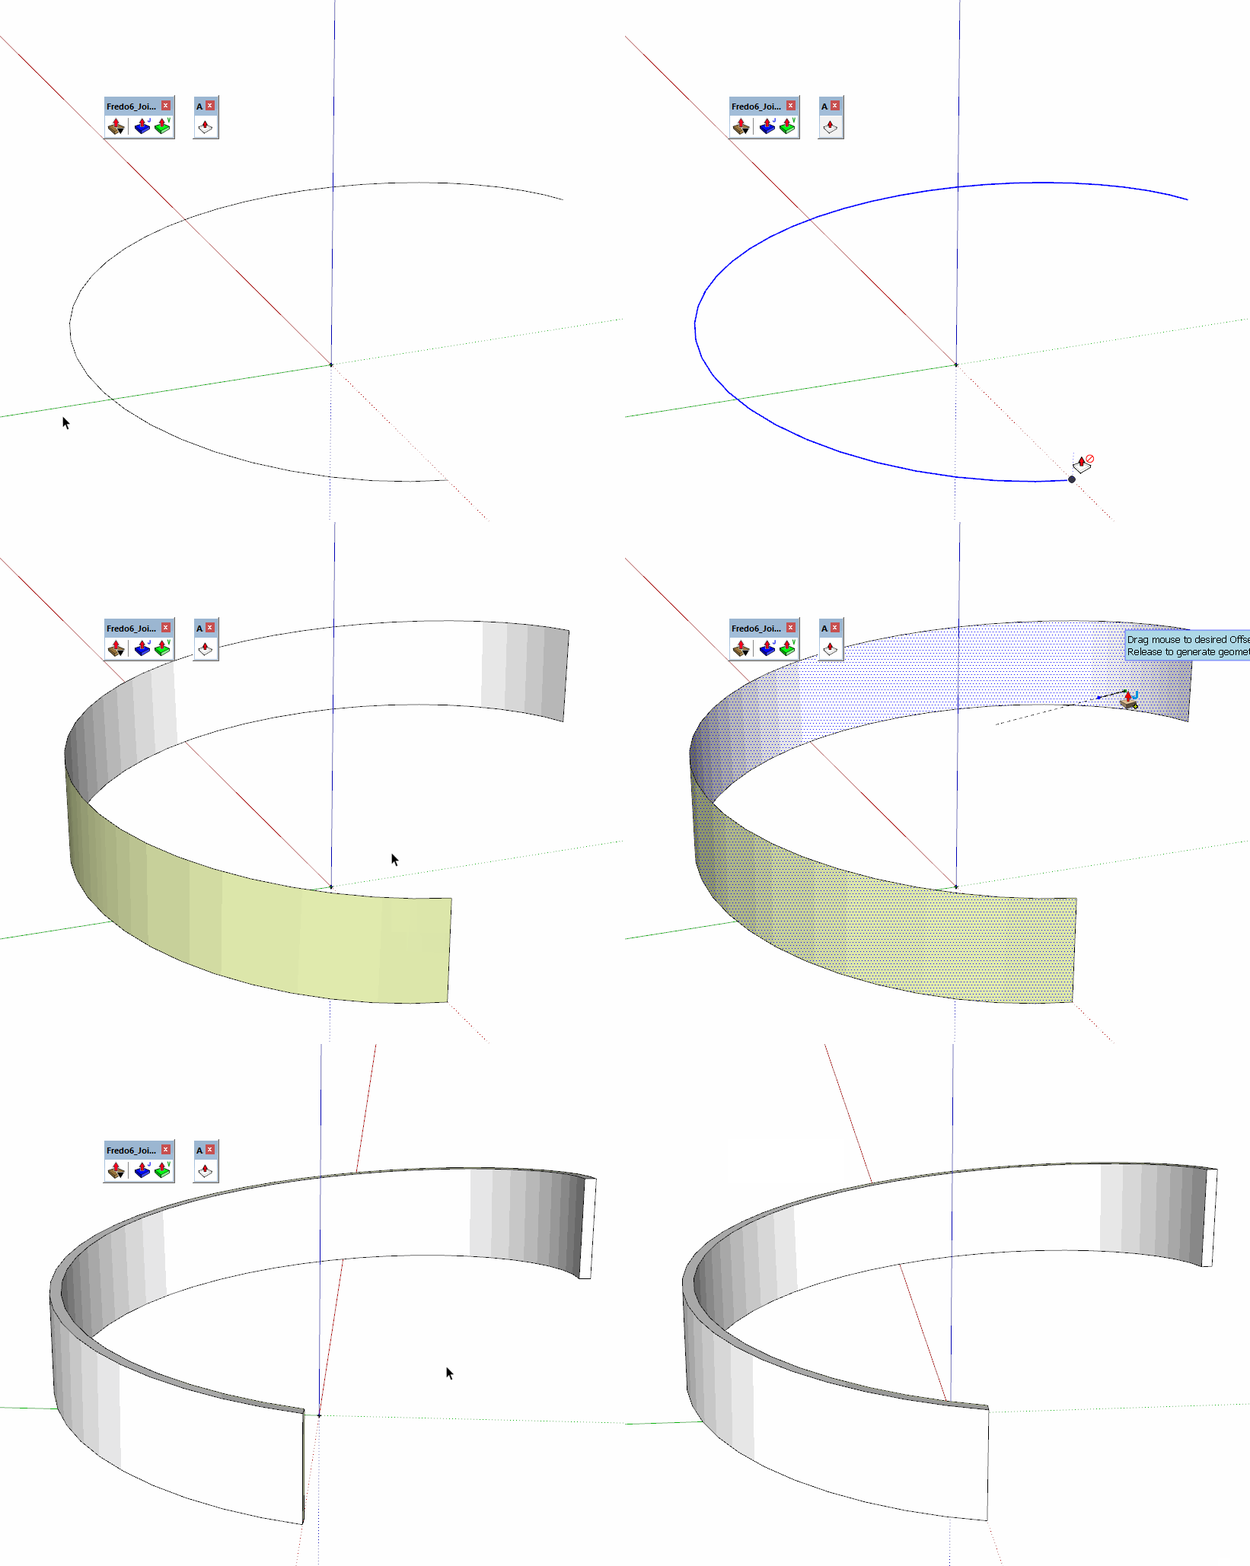
Alternatively, if you have managed to get the one curved surface made, that's following the helical curve's path, then you could add a thickness to it using a tool like Fredo's JointPushPull available from our PluginStore...
-
Maybe you could try that with TrueBend plugin, just set more sections.
Here is a tut on that:
https://youtu.be/BRi-GwcolZ4 -
Since there's always more than one way, you could use the Helix tool from Curve Maker, Adebeo Pushline, and Joint Push/Pull.
-
-
Thanks for your help guys
 I used Daves method, it was both easy and did the job
 One hint to others though, make sure you explode the helix before using adebo_pushline.
 -
Here's another.

-
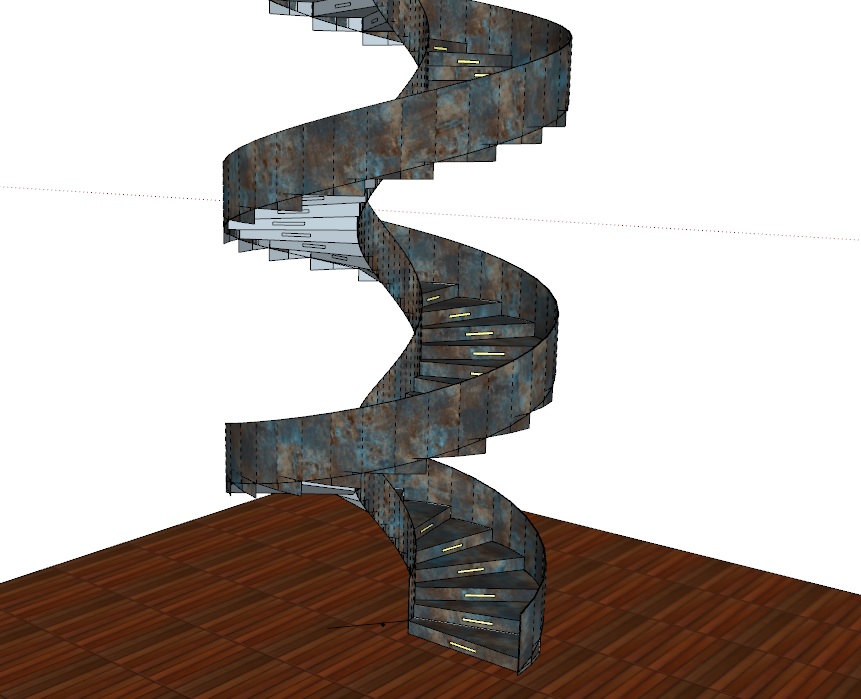
Thanks Box, I will try that as I see some issues including Mapping and faceting due to the amount of segments I used. Couls somebody please exlain how to control the amount of line segments in curvmaker?
Also is there a plugin so I can fix the mapping?Cheers
-
Have a look at Fredo's Thrupaint.

-
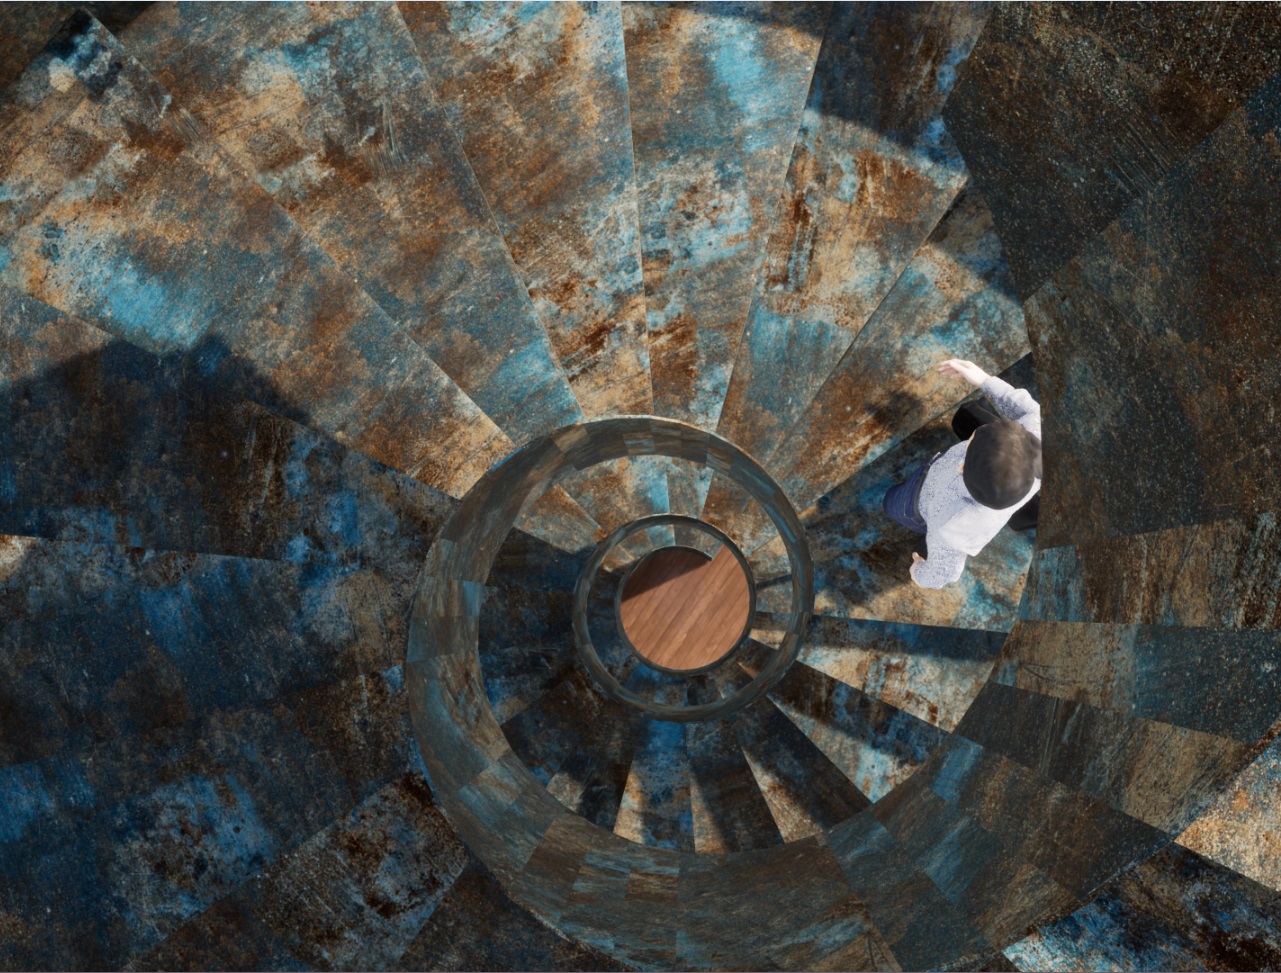
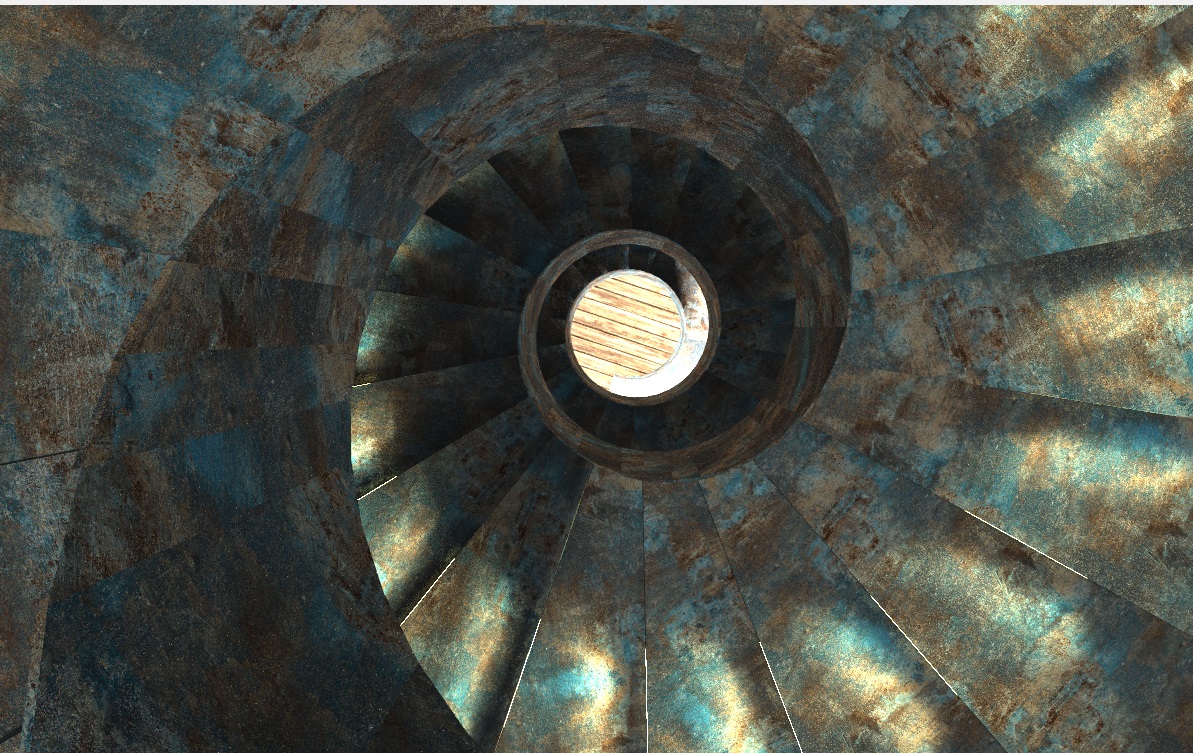
Thanks Box, I will do that. I ran the model through a Ray trace engine as opposed to the prior real time renderer. I was pleasently suprised at the outcome. With a bit of tweeking it will look cool if I have some luck with True paint. I bow to plugin developers

-
@box said:
Have a look at Fredo's Thrupaint.

I just did a search in Sketchucation for "Thrupaint" ..............nothing, any ideas as to why?
Cheers
-
It's part of Fredo Tools.
-
@l i am said:
I just did a search in Sketchucation for "Thrupaint" ..............nothing, any ideas as to why?
Cheers[/quote]
It is actually found in a suite of Fredo's plugins called, 'FredoTools'. https://sketchucation.com/plugin/907-fredotools
-
@gd3design said:
@l i am said:
I just did a search in Sketchucation for "Thrupaint" ..............nothing, any ideas as to why?
Cheers
It is actually found in a suite of Fredo's plugins called, 'FredoTools'. https://sketchucation.com/plugin/907-fredotools[/quote]
Thanks GD3 and box. Can you or anyone please suggest another plugin other than Fredo? I am sure its good but I downloaded 4 plugins today without any brainwork or problems. I would just like a plugin that is simple and easy to instal.
-
I honestly can't recommend any other plugin besides ThruPaint for this job, it is indispensable....I use it daily. Although, I remember ThomThom had a UV plugin that could get you there, but it wasn't as intuitive and always seemed a bit difficult to use for me. Also, Whaat has a UV plugin that can apply some different projection UV mapping that could possibly work here. I still prefer ThruPaint, it gives you much more power and control over your final product. But no matter how tired you are, you are still going to have to install a plugin and learn it to get this task finished.....so might as well use the best one. (ThruPaint)

-
Thanks GD3, after contacting support @ Raylectron (Render engine) I was told to right click on the texture box and click on "recreate UV map" worked perfectly

-
I was just experimenting and kind of liked the render.

Hello! It looks like you're interested in this conversation, but you don't have an account yet.
Getting fed up of having to scroll through the same posts each visit? When you register for an account, you'll always come back to exactly where you were before, and choose to be notified of new replies (either via email, or push notification). You'll also be able to save bookmarks and upvote posts to show your appreciation to other community members.
With your input, this post could be even better 💗
Register LoginAdvertisement


