sketchucation logo sketchucation
    • Login
    1. Home
    2. revelever
    3. Posts
    ℹ️ Licensed Extensions | FredoBatch, ElevationProfile, FredoSketch, LayOps, MatSim and Pic2Shape will require license from Sept 1st More Info
    R
    Offline
    • Profile
    • Following 0
    • Followers 0
    • Topics 10
    • Posts 29
    • Groups 1

    Posts

    Recent Best Controversial
    • RE: Drop GC

      update I got it to work. But it is unsatisfactory for my purpose here. It would be really great if you could select which point on the geometry that you are dropping hits the surface of the curved substrate. As you can see from this screenshot (maybe), here, it is the left side of the squares that defined the drop point. this results on half of the object being nested into the geometry, and half of them just touching a corner.

      @ntx dave Hmm, I'll give it a shot.


      Screenshot 2015-10-24 12.29.28.png

      posted in SketchUp Discussions
      R
      revelever
    • Drop GC

      Hi All-

      I have a group of components that I would like to 'drop' onto some geometry below. I am using the Drop GC extension to do this. I can get it to work if I create individual components, but if won't work for this group of components, even if I do it individually. I tried creating simpler shapes within each component (which are already pretty simple) dropping them, and 'respawning' the desired shape. No luck. All Drop GC does is incrementally drop all components the same amount, as if I were manually moving them as a group along the Z axis.

      Obviously this could be done manually here--there are only 16 instances-- but, I would like to know that this extension works for its purported purpose.

      Any Ideas? Or better extensions?

      See screenshot and file πŸ˜„

      All the best,

      -Revel


      Screenshot 2015-10-24 10.36.00.png


      maso_button_square_v3_solid.skp.zip

      posted in SketchUp Discussions sketchup
      R
      revelever
    • Performing a subtraction or boolean difference

      Hi all- I am trying to perform a subtract operation with these two objects: https://www.dropbox.com/s/ydbonm5d7wy0297/Screenshot%202015-10-15%2023.10.55.png?dl=0

      neither are solid-which is my problem... although the phone object is a manifold .stl, it didn't maintain that status upon import to sketchup. I do not understand why the speaker object is mot manifold...

      any ideas about how to perform this operation are appreciated.

      Thank you,

      -Rev


      reciever_low_poly.skp

      posted in SketchUp Discussions sketchup
      R
      revelever
    • RE: Finding the center of circles

      Thank you all for the excellent solutions.

      @sdmitch wow, um thats amazing. can you elaborate on how you did that a tad? ruby console from within sketchup?

      posted in SketchUp Discussions
      R
      revelever
    • Finding the center of circles

      Hi All-

      I imported a rhino model, but as a sketchup file. https://www.dropbox.com/s/9o6u1e0fy6qd82z/Screenshot%202015-10-03%2016.44.07.png?dl=0
      I intersected it with a plane to get this file (attached).

      I need to find the center of all these circles so I can make squares based on that reference.

      How do I find the center of these circles ?

      Thank you,

      -Revel


      circle spiral.skp

      posted in SketchUp Discussions sketchup
      R
      revelever
    • Fixing non manifold parts for 3D printing

      Hi All-

      I am printing this model of a telephone, see attached. Its going to have some functionality, the buttons with interact with a raspberry pi inside, and there will be a speaker in the handset. I've received it from the designer and parted it out into mostly printable pieces. There are two issues:

      I would like to 'boolean' out some holes for the buttons. I think I know how to approach this, but I wanted to run it by you. What I would do is transfer the shape of the buttons to the face of the phone body, then use the offset tool to enlarge those shaped a tad, then push pull them through.

      Also, some of the pieces are non manifold. Whats a good way to go about fixing this?

      thank you,

      -rev


      sept_8~.skp.zip

      posted in SketchUp for 3D Printing sketchup
      R
      revelever
    • RE: Intersecting a cylinder with a curves surface

      @dave r said:

      Here's a revised version with more reasonable segment counts.
      [attachment=0:18lroju6]<!-- ia0 -->Screenshot - 9_5_2015 , 5_42_38 PM.png<!-- ia0 -->[/attachment:18lroju6]

      How did you you redo the model with more reasonable segment counts? And what is a general rule for establishing reasonable segment counts in sketchup?

      posted in Newbie Forum
      R
      revelever
    • Intersecting a cylinder with a curves surface

      hello all- I am trying to intersect this cylinder with the curved surface of the model such that they maintain a manifold mesh. the idea is to delete that reverse face protrusion and end up with a hole through the model. whats a good way to to do this? I have tried 'intersect with model' etc. any way other than fredo plugin? surely this can be done natively!

      thank you for your help

      all the best,

      -Revel


      bed bolt prototype.skp


      Screen Shot 2015-09-05 at 4.55.29 PM.png

      posted in Newbie Forum sketchup
      R
      revelever
    • Cutting a large model for 3D printing (revisited!)

      Hi guys-

      You all really helped me with a large 50 cm tall print I did back in June I believe it was. http://sketchucation.com/forums/viewtopic.php?f=388%26amp;t=62325

      I am here to request some more help with a big print. the biggest component is attached. it is barely bigger than my build platform, which is 11" diameter (circular) by 17" tall. there are going to have to be some slices through the front of it, I see no way around it. so the question really is: what are some good ways to attach / weld PLA plastic seamlessly? As I'm writing this I am realizing that this is sort of outside of the purview of this forum since it doesn't specifically relate to sketchup...

      but while I'm here I guess I have another question that is pertinent to the forum: I noticed that when I converted this model from NURBS to a mesh in Rhino that there were some clusters of long skinny polygons which I understand are not desirable for 3D printing. Is there a way to change this within sketchup? or better to do this in rhino? please see attached photo and file.

      -Rev


      phone.skp.zip


      Screen Shot 2015-08-21 at 11.56.15 PM.png

      posted in SketchUp for 3D Printing sketchup
      R
      revelever
    • RE: Rhino to sketchup for 3D printing

      Thanks. In retrospects it was a bit of a silly question, sorry.

      ps that looks sweet!

      posted in SketchUp for 3D Printing
      R
      revelever
    • Rhino to sketchup for 3D printing

      Hi All-

      I've got another 3D printing question for you as it pertains to sketchup. Although this is probably more of a basic transcoding question. I need to get this model out of rhino and in to sketchup > netfabb > simplyfy3D >. I would like to preserve the scale, if there is any reasonable scale to begin with...is there? I know nothing about rhino. I do know that when I bring it in to sketch as a .3ds or a .stl it is huge. So if there is a scale in rhino, how it it to preserved when importing into sketchup?

      Please see attached files.

      thank you,

      -rev


      Rhino

      posted in SketchUp for 3D Printing sketchup
      R
      revelever
    • RE: Cutting up a model for 3D printing

      @ely862me said:

      This kind of CNC. Took me a while to build and it is still far from complete.
      The Z axis travel should be over 350mm, X is 1750mm and Y is 1100mm.
      These are my first real attempts. Some models done for my sister in law - she's a kindergarten teacher. And a stepper motor cover done in foam- just for testing the code.
      Sorry to somehow hijacking the thread.

      No I invited the thread jack. That is a very badass CNC btw.

      Here are some pics of the final product. Definitely room for improvement but overall it came out very well, client happy etc.. Thank you for all the help guys, It really was invaluable!


      IMG_0248.JPG


      IMG_0246.JPG

      posted in SketchUp for 3D Printing
      R
      revelever
    • RE: Cutting up a model for 3D printing

      @ely862me said:

      That looks great !!
      Perhaps when I finally put my CNC at work I will buy some printing attachments too.

      What kind of CNC are you building? What is the Z axis movement? That is one of my next projects!

      posted in SketchUp for 3D Printing
      R
      revelever
    • RE: Cutting up a model for 3D printing

      @mac1 said:

      revelever: FYI, You may not have found this but Shapeway has a free cloud based service wherein they run checks on your model, more extensive then NetFab free, check their web site. BTW they have a limit on model size and number of polys ( 64 MB and 1,000,000).
      Here is link http://www.shapeways.com/tutorials/how_to_use_meshlab_and_netfabb. I think most printer have to use slicer to print the item since they lay down a small layer at a time. I was initially concerned about your model and possible issues running into small sections that are not supported.

      Interesting I will certainly check that out. However I don;t think Shapeways uses 'out in the open' desktop class FDM printing,, but rather an SLS process which works in a sand bed so their support criteria is going to be different...i think. But I should check it out before I say anything more. I have done 2" bridging on this printer pretty successfully, so I am not concerned about the loop parts on the rim for example. You can get away with some pretty crazy overhangs and bridges in mid air with an FDM printer as long as you set your toolpath velocities and fan speeds right.

      The print actually came out quite well, I'm doing the other half right now. Slicing is quite a powerful thing! β˜€
      The aforementioned bridge did have a flat bottom as opposed to a bellied one, but its pretty subtle. Re slicing the model a little lower on the Z axis or closer to the bottom of the hull would take care of this issue.

      Here are some pics


      IMG_0237.jpg


      IMG_0236.jpg


      IMG_0234.jpg

      posted in SketchUp for 3D Printing
      R
      revelever
    • RE: Cutting up a model for 3D printing

      @ely862me said:

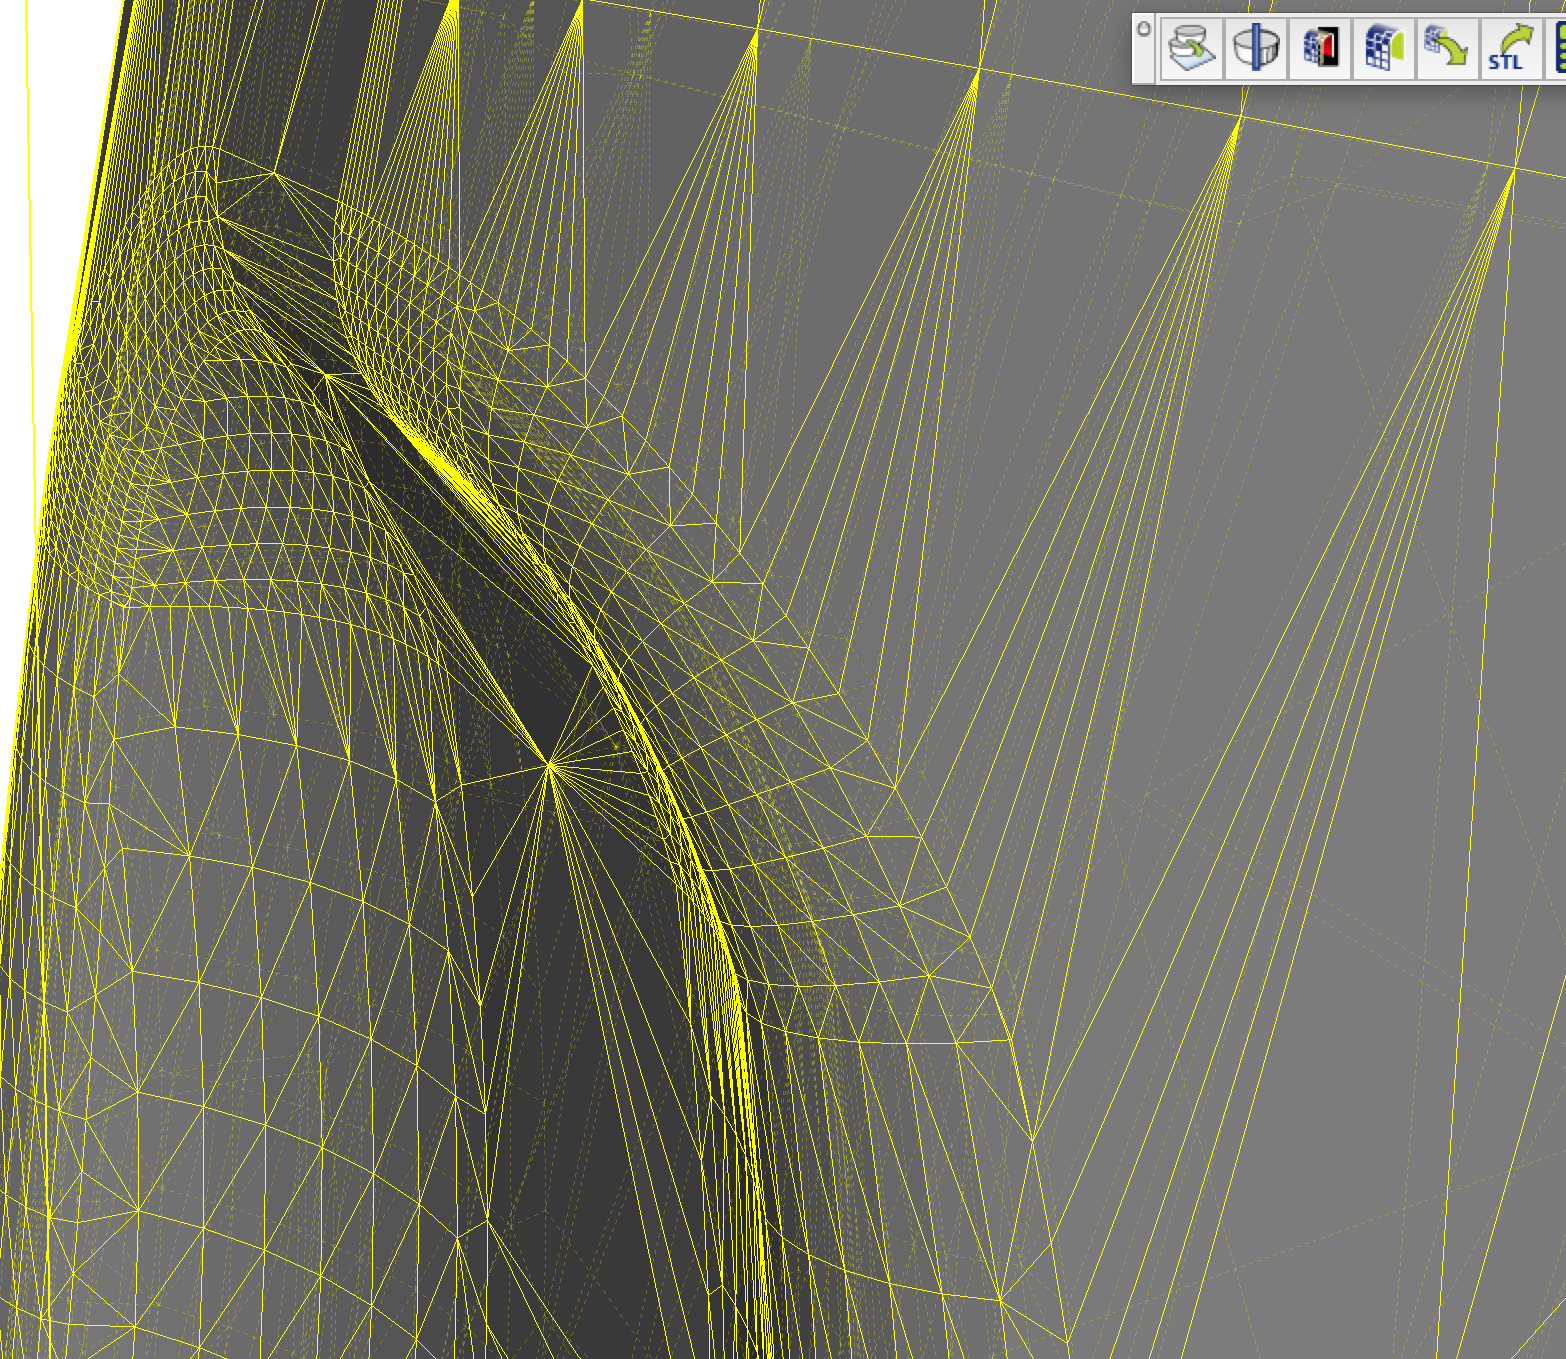
      Yep, you just have to wait a bit, about 3-4 minutes, for each intersection to be made.
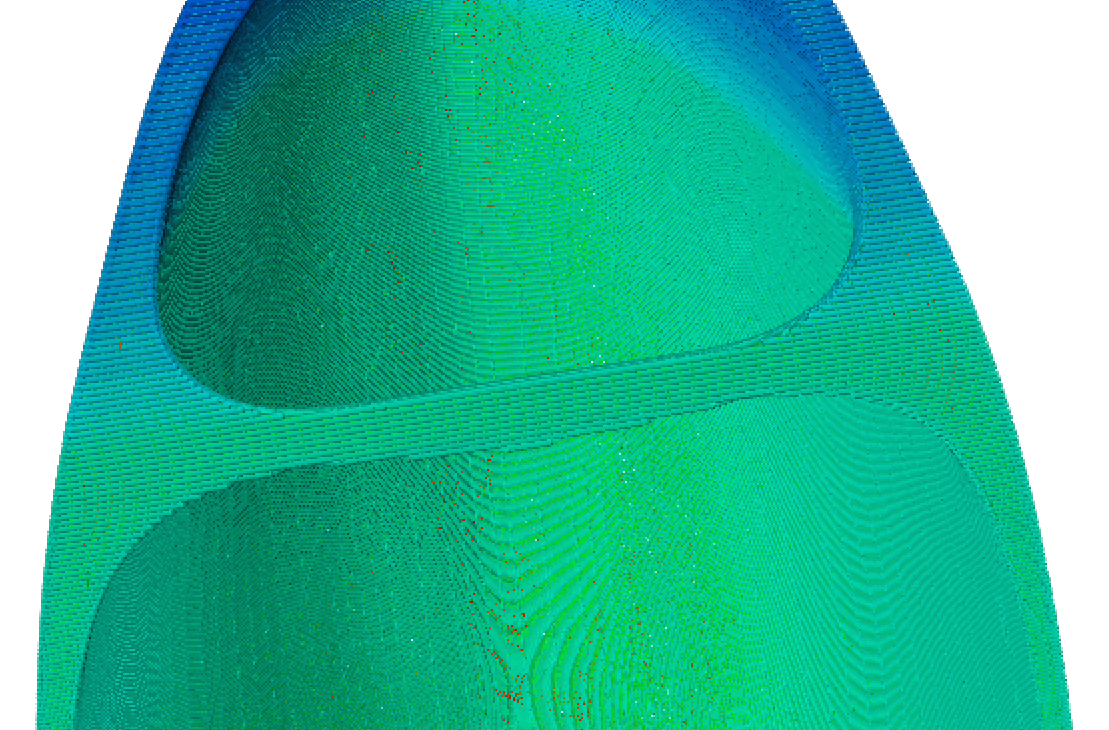
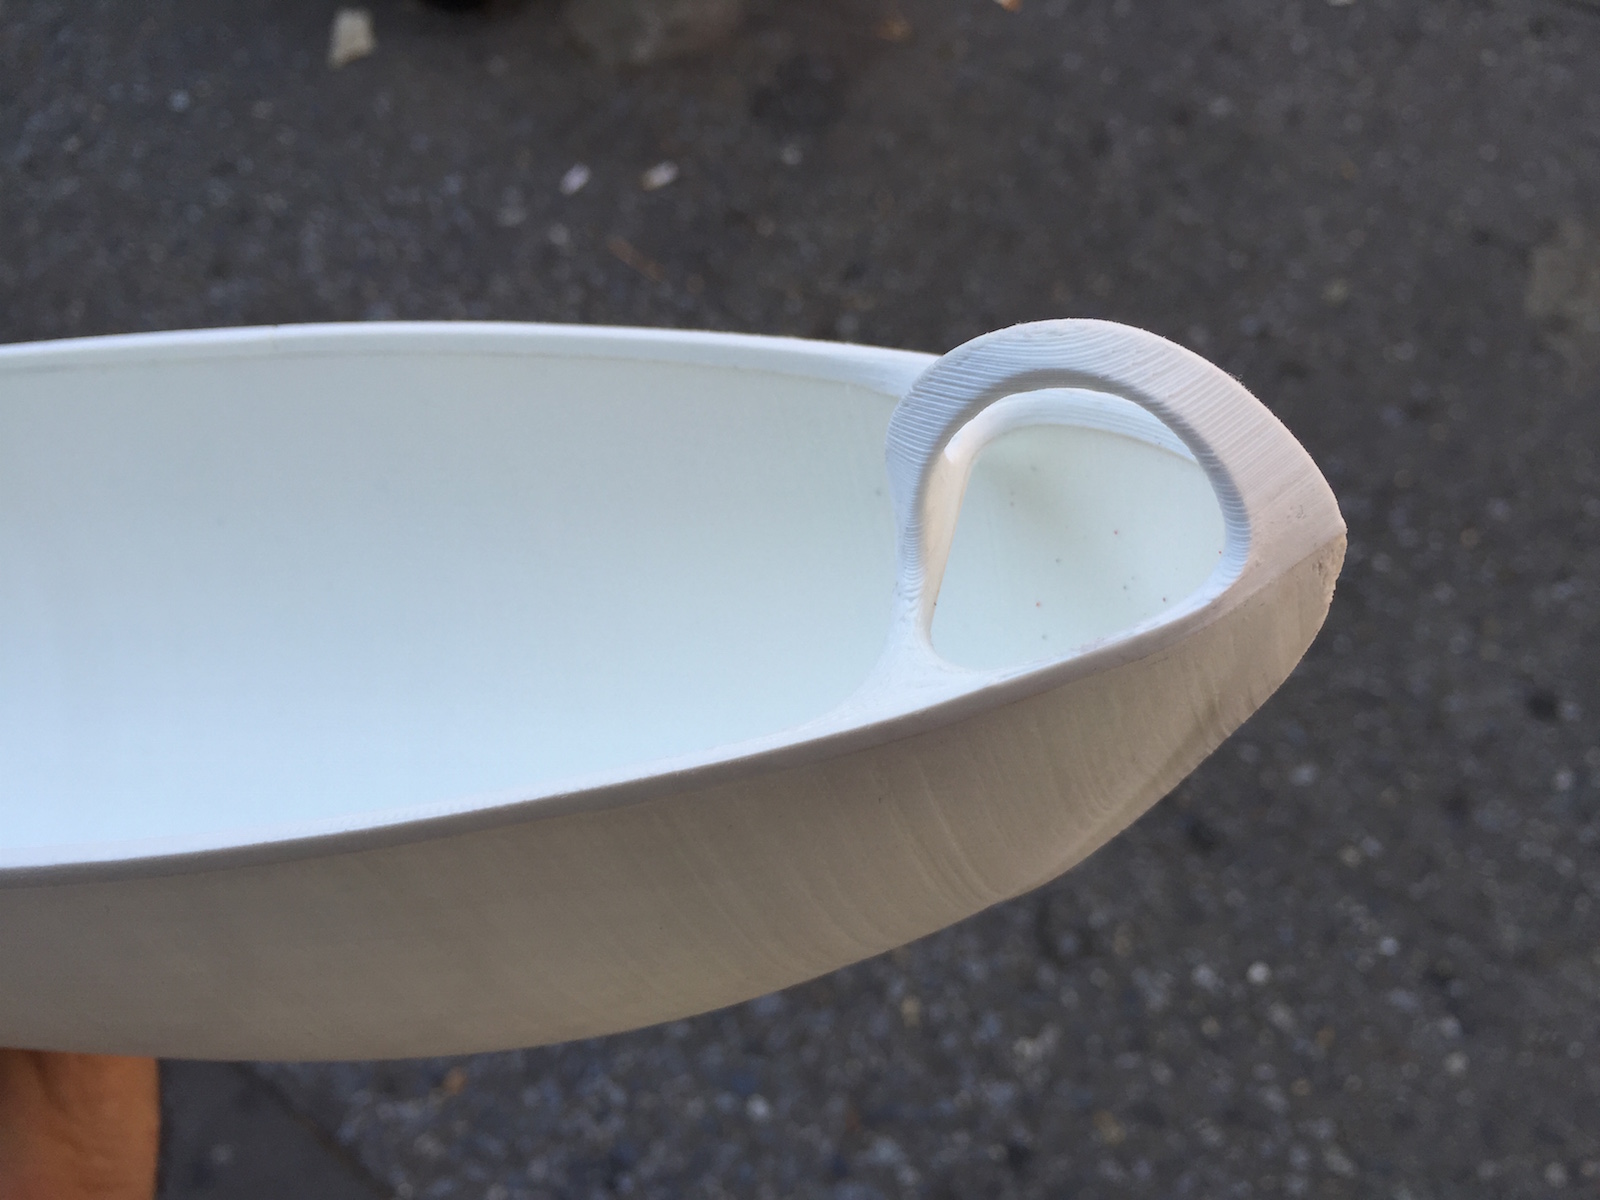
      In the middle I opted to make the middle line coplanar and just cut the inside part which has no middle line. Then you just unsmooth it and you have the cut.
      Keep in mind to intersect each plane separately to have faster response with the intersection. In my case I worked the middle line then each end .
      I also scaled it up 10 times more, then down again.

      That is very impressive to me, I am missing something in my approach. However Netfabb was a breeze, and I'm up and running! First part is being printed.

      Some details on the parameters:

      Extruder temp: 218 C
      bed temp: 60 C
      Layer height: .2mm
      1st layer: .3
      Perimeters: 2
      Layers on top and bottom: 3
      fill density: .3

      Speed:
      infill: 40mm/s
      inside perimeters:45 mm/s
      outside perimeters: 35 mm/s
      bridge: 60 mm/s
      non print speed: 300 mm/s

      These numbers are not based on anything other than my experience, which is fairly minimal. If anyone has any pointers in this department, please let me know!

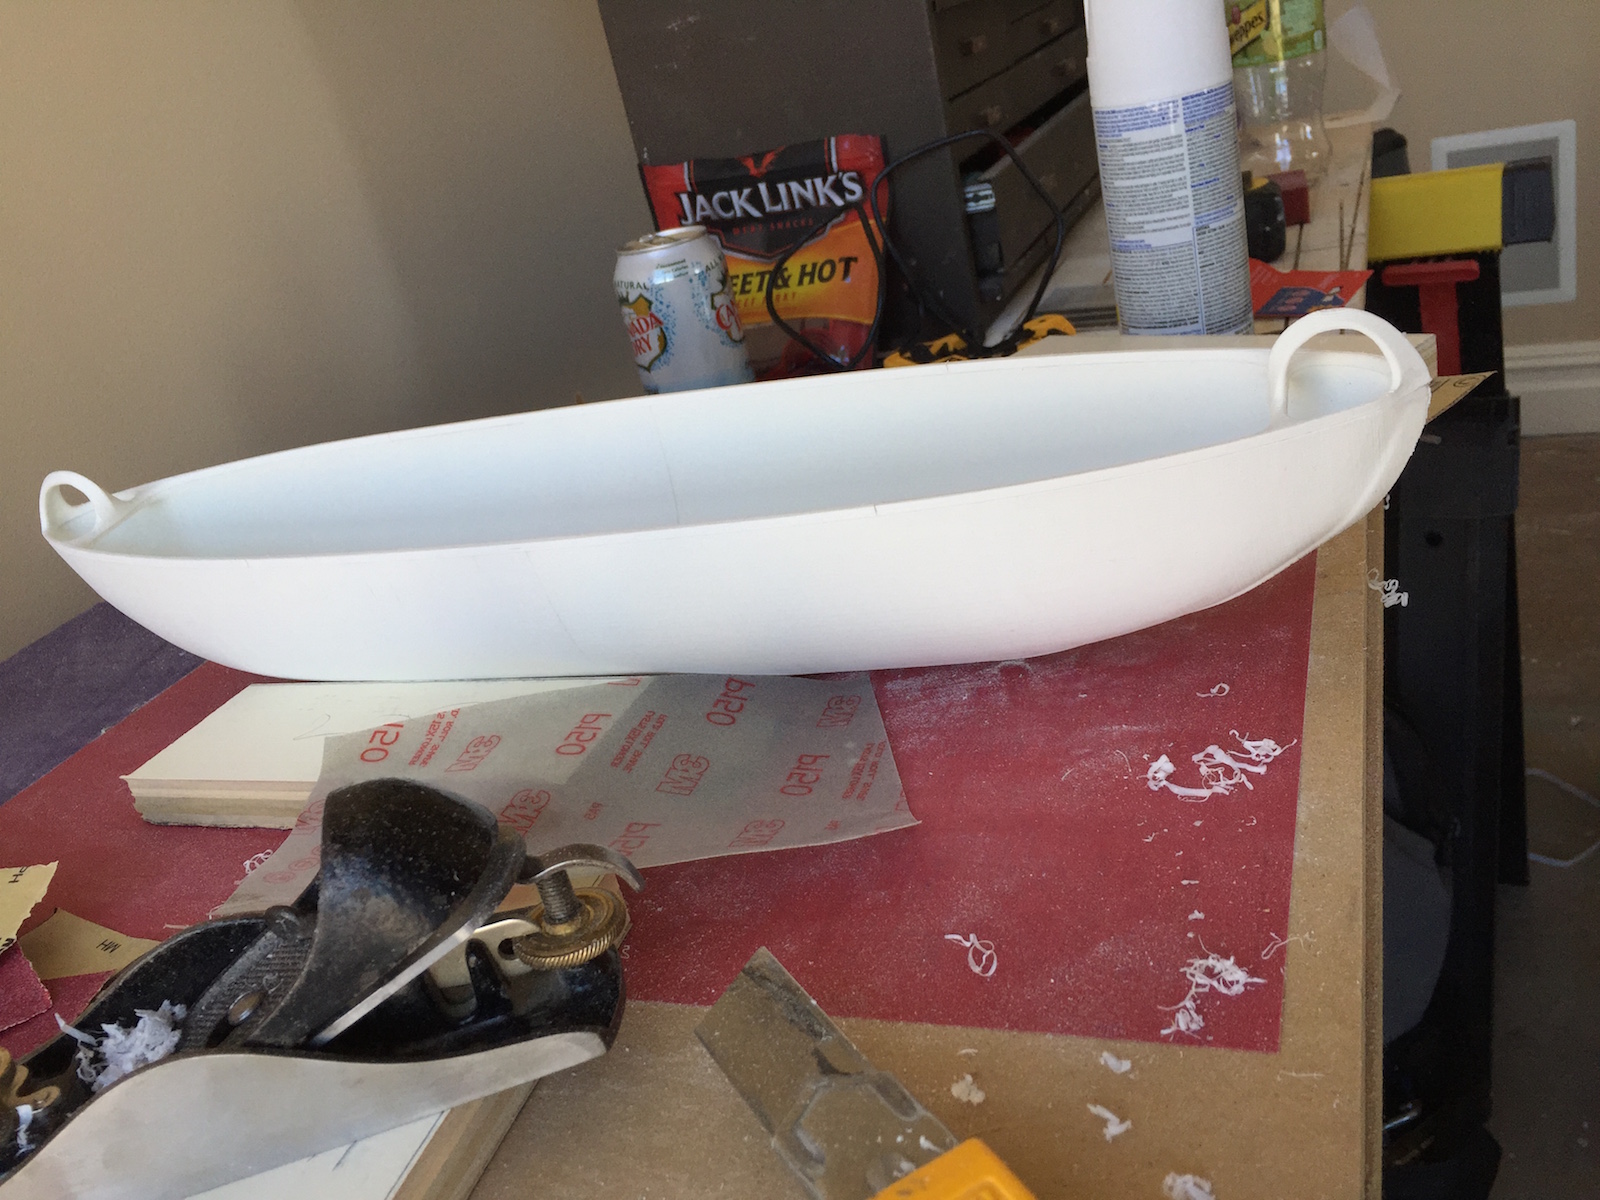
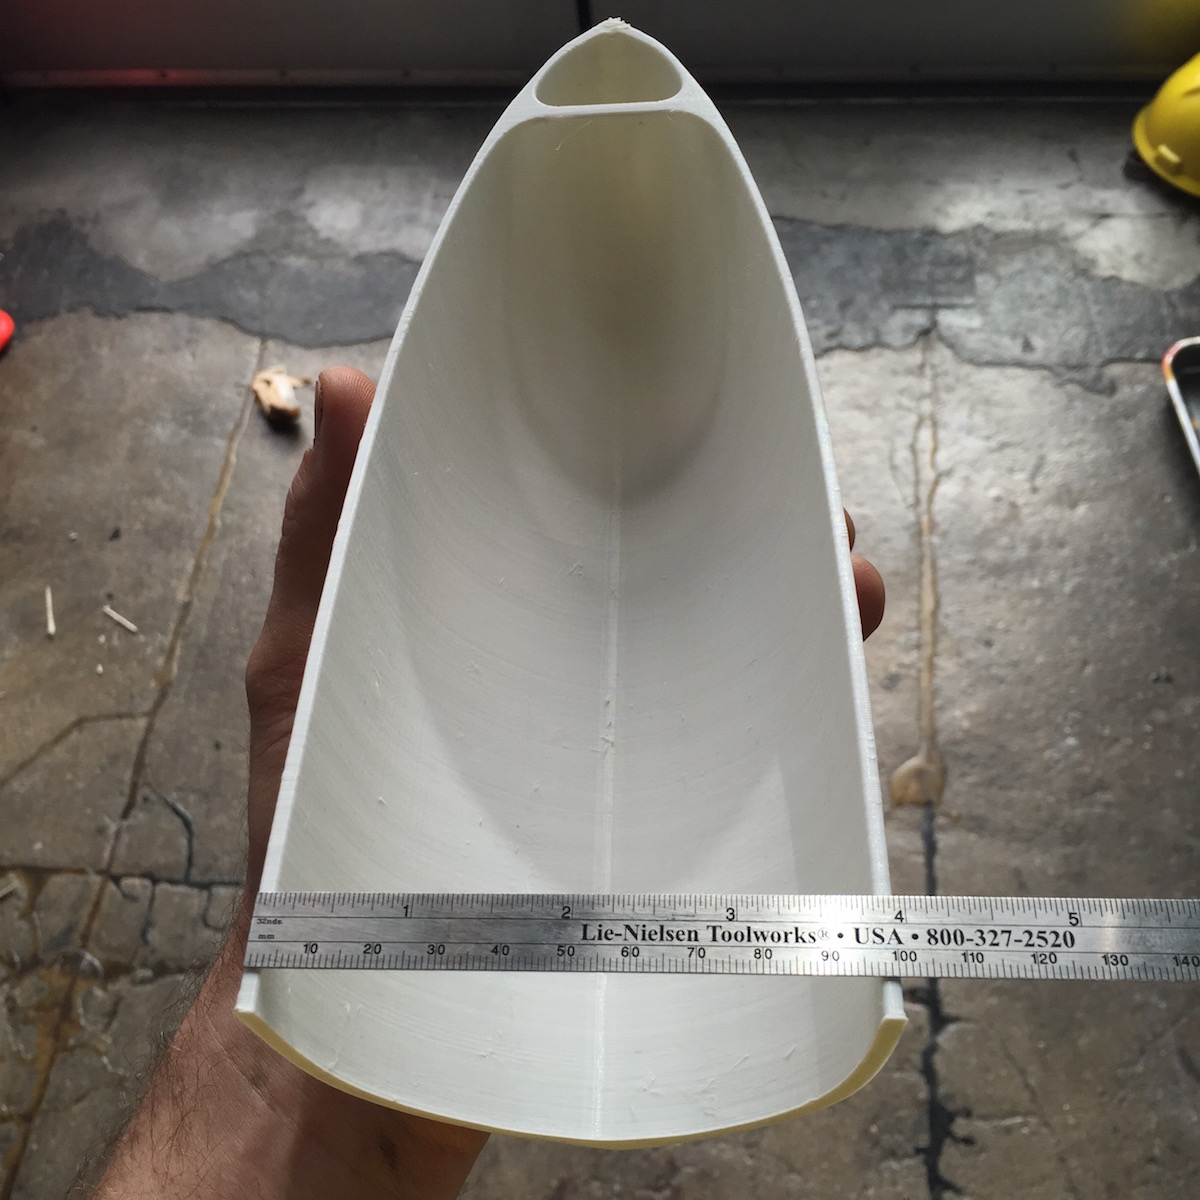
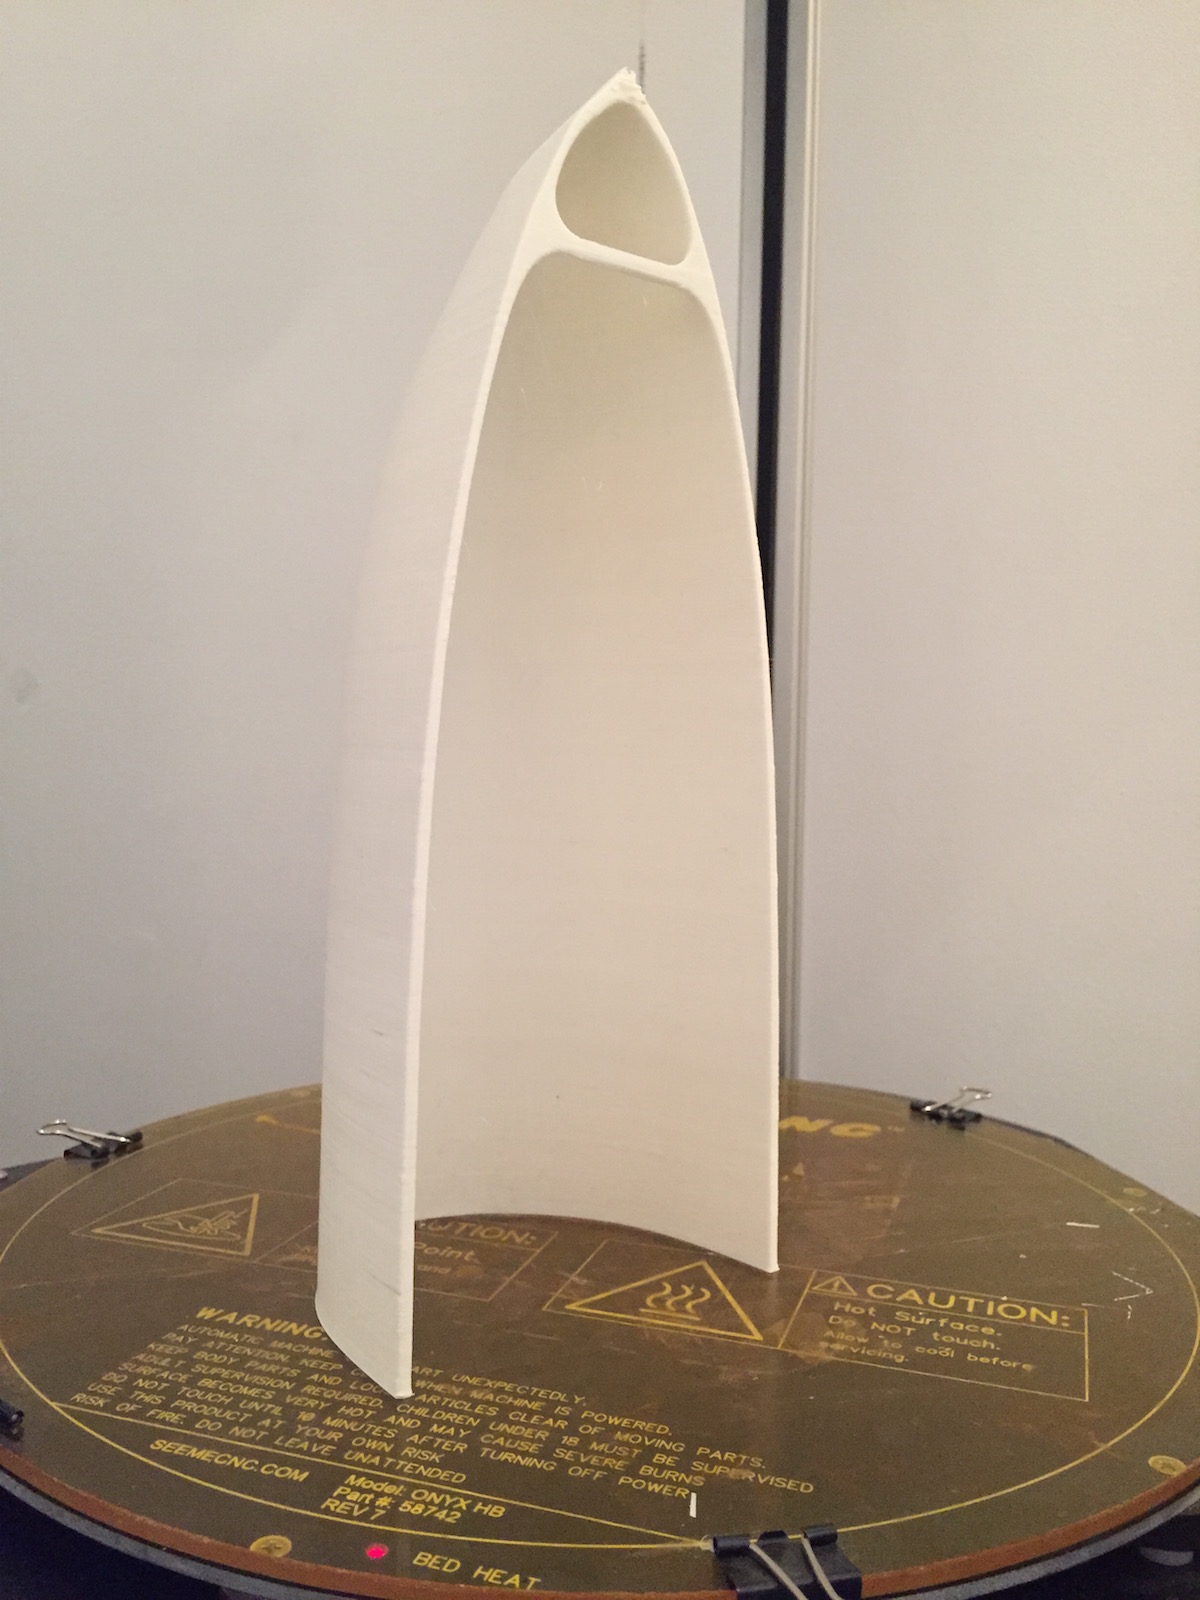
      I could probably push the speed a bit, but I figured I would play it safe for this first one. I am printing half of the boat hull vertically which is about 25cm tall, 9.85". Originally I had planned on printing it horizontally upside down, but it barely fits on the bed, and would necessitate a lot more bridging. I've found a good rule of thumb with Rostocks is to stay away from the very edge of the bed as you will lose resolution. With the Rostock design, if you have a choice and good bed adhesion etc, go vertical!

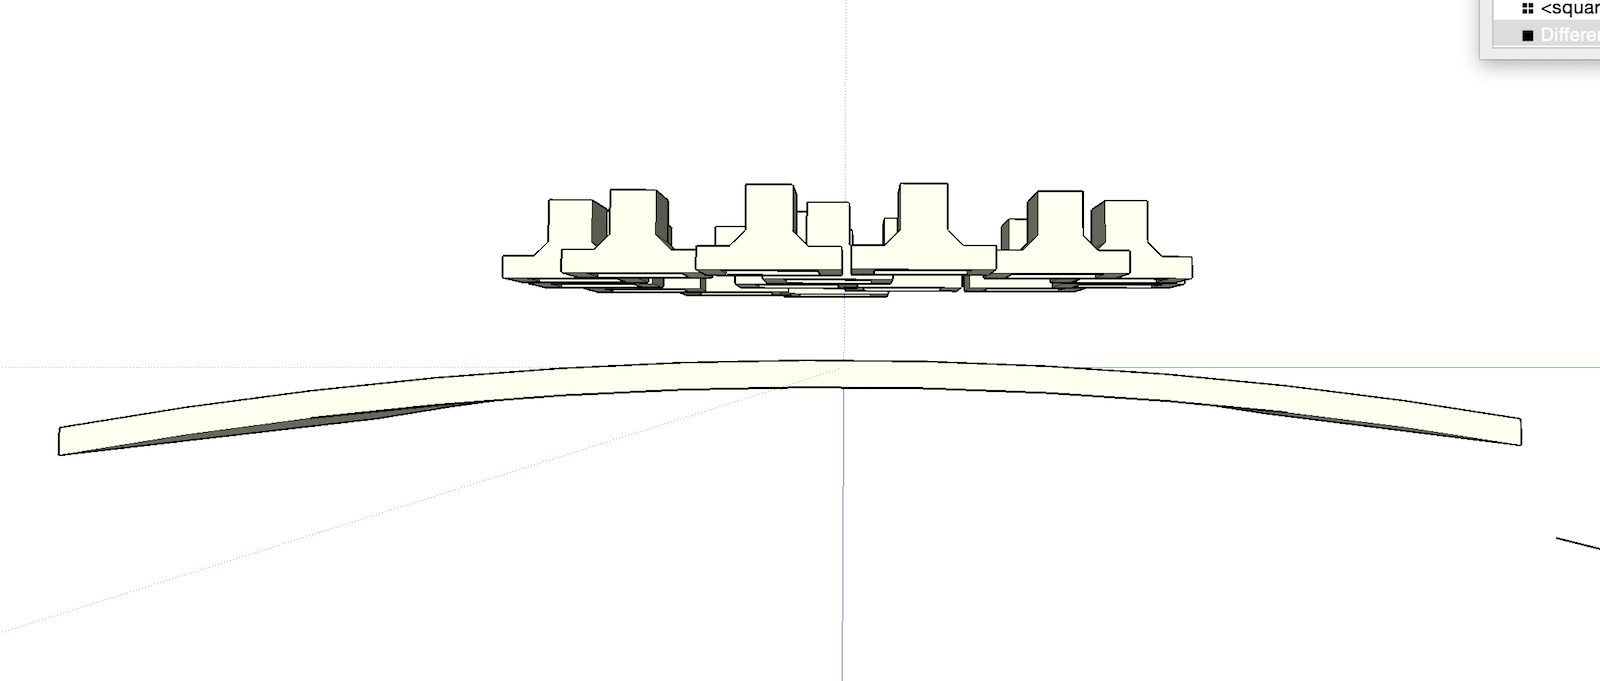
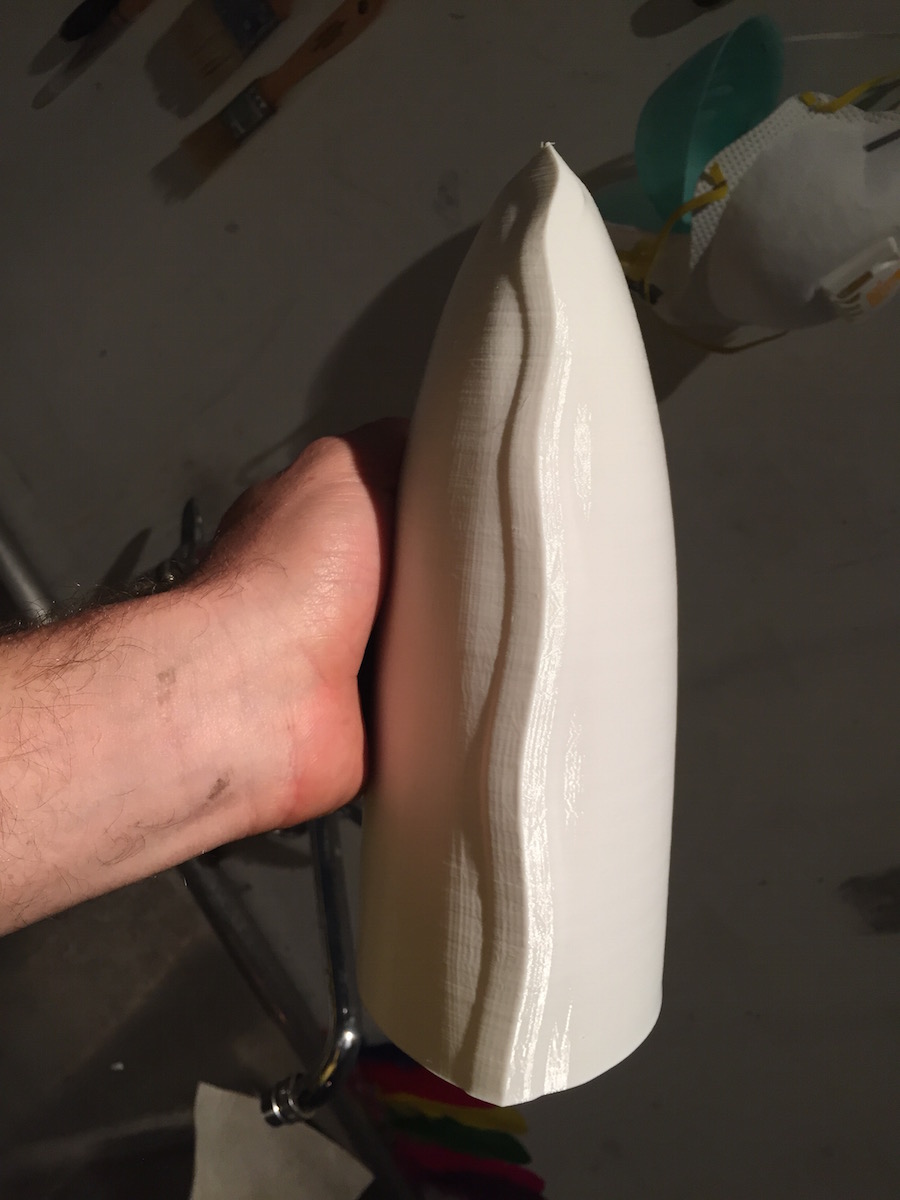
      EDIT: I just realized that when I cut this up, i had been thinking i would print the hull parts upside down, the advantage being that I would have a clean seam on the upper lip to glue to. So, I sliced it wrong, as evidenced in the pic below-- there is a belly in the bridge. I would need to slice it a little lower on the Z axis to avoid this... or go back to printing it upside down. Impending Fail? we'll see. I'm 6 hr into the print so I think I'll let it run its course. πŸ˜’ 😳


      Screen Shot 2015-06-22 at 7.59.44 PM.png

      posted in SketchUp for 3D Printing
      R
      revelever
    • RE: Delta printers

      @cotty said:

      @revelever:
      Thank you for the infos. I would love to see some pictures of printed parts, do you have some which you can share?

      @cotty @dukejazz
      Yes I do!. Ill try and up load some later today. And infact I am going to be printing a large part soon that some folks on this forum helped me (learn to) slice up that should showcase some of the rostocks strengths. I'll keep you posted either here or in another thread.

      posted in SketchUp for 3D Printing
      R
      revelever
    • RE: Cutting up a model for 3D printing

      @ely862me said:

      Here you go !

      β˜€
      Awesome! Did you do that inside sketchup??
      Can';t wait to fire up the printer
      -Rev

      posted in SketchUp for 3D Printing
      R
      revelever
    • RE: Cutting up a model for 3D printing

      @d12dozr said:

      @cotty said:

      You can have a look at the trial of the nice plugin...

      Great solution for inside Sketchup, Carsten.

      If you're having trouble in Sketchup, you can cut up a model very easily using Netfabb Basic. It's usually much faster and you'll have less trouble with holes in the model. Here's a tutorial:

      Thanks for pointing me toward netfabb- I was able to slice up the model as needed and export .stls to Matter Control. It scaled way down which is an unrelated problem I would imagine (?)

      Should I scale it up before importing into netfabb or no difference?

      -rev

      posted in SketchUp for 3D Printing
      R
      revelever
    • RE: Cutting up a model for 3D printing

      @ely862me said:

      Yes, that purge.
      If it is just 8MB you can compress it using winrar or winzip .. It will make it under 4MB for sure.

      Aha yes of course ...here you go!

      go netfabb loaded last night but haven;t had a chance to mess around with it yet--

      -rev


      boat sliced purged.skp.zip

      posted in SketchUp for 3D Printing
      R
      revelever
    • RE: Cutting up a model for 3D printing

      @driven said:

      if you 'purge' your model you may be able to upload it, it shouldn't be that big...
      john

      How do you purge a model? Model Info > statistics > purge? Tried that to no avail..

      -rev

      posted in SketchUp for 3D Printing
      R
      revelever
    • 1
    • 2
    • 1 / 2