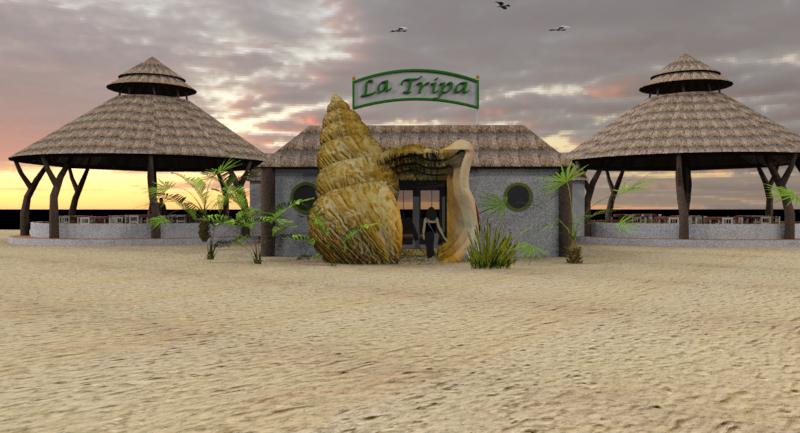
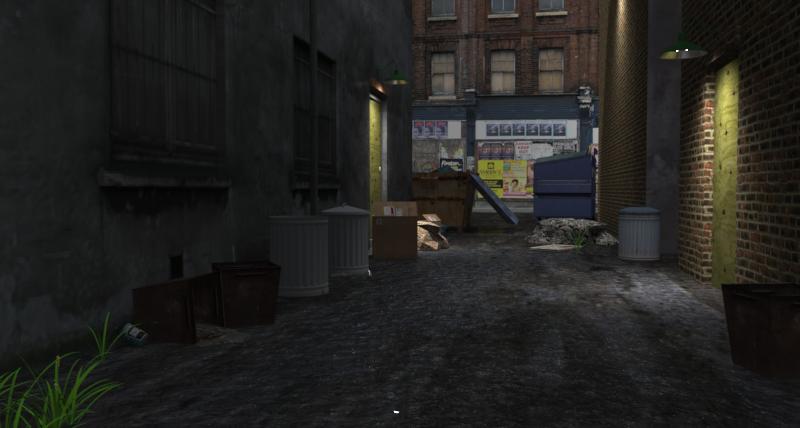
Excellent, I looked there early on but that is what I needed to look at again.
I found better ground textures so its not so flat looking.
thanks again
Excellent, I looked there early on but that is what I needed to look at again.
I found better ground textures so its not so flat looking.
thanks again
@xrok1 said:
very nice
, though your door could use a knob and your window textures are off center. it would look really good if you could leavbe that ammount of bump on the joints and breaks but smooth the faces a bit. you could do that if you edit the bump map a bit.
Thats the part I haven't figured out yet, I rely on autobump. This may be a dumb question but where does the bump map live? Is a PS layer? I know it is a gray scale that is dark on the "in" bumps and light on the "out" but I am not sure where I assemble the texture and bump map (2 files?) That is where I am stuck.
Thanks for the comments, I have been thinking about the door knob...
 Hello to all,
I have been meaning to post a few pictures of a couple of things I am working on. These wouldn’t be possible without all the helpful people and information on this site.
Here are my wip’s, I am trying out the IRenderNxt and starting to get the hang of it in spite of not being that savvy in texturing. I seem to hit some parts really well and other parts… not so good.
Comment, critique encouraged.
(Solo thank you for the trees and birds!)

You got a great start, it will help if you put foundations under the buildings to allow them to sit properly onto the land. Your fence posts may need to be a bit longer to accommodate some change in altitude.
Toggle the terrain on tools/GE-- then move the components of the model up and down to fit. The fence is going to be the tricky one- the rails won't run flat.
Try it out and see how it works.
Another ruby... Drop
it will crash to the ground
I never used it but there is a Unfold Ruby that should do the trick
I just leaned this yesterday and I am kicking myself.
When selecting object I normally went with a box from upper right to lower left drawing a box around things.
Worked fine for months or years.
Try a sweep left to right going over the objects. It has a totally different feel and works like a charm, feels to me at least like it saves a lot of movement. I use a tablet, not sure if has quite the feel with a mouse but it works, try it if you haven't.
This thread is great, and so are all you good people on the forum. I learn something everyday I look here.
Thank you for all,
Trying to orbit jpegs is just too funny. I do it all time.
I liken it to a nautical term "sea legs" if your on a boat too long you get used to moving with the rock of the ship and when you come aground you feel funy and walk like you had too much to drink. Trying to compensate for something that is not there.
When you try and orbit do you turn your head to the side and hope for it to work?
I have duh moments every time I watch videos of people drawing. I am always amazed that there is more than one way to do things, sometimes quicker and easier.
My biggest duh was learning that I could change the axis. I was drawing a railroad depot for GE that was off axis. I fought with it two days hand forcing the off axis shapes thinking there was something wrong with the program... turns out it was me.
Still rendering...
Warehouse stuff + CGTextures+ IRender no PS
I am really liking this software. I have been able to do things I never thought I could.
I am getting a "SketchUP Not responding" message and white screen of scariness when I engage the render-- it hasn't crashed, just hangs for awhile and recovers smoothly. It's a 17 meg file, that may have something to do with it.
Anyone else see this? Otherwise I am pleased with performance and interface.
Thanks, I seem to be having trouble get the hang of it.
It looks like it works now.
Not as good as the others but they may even sell gnomes there.
Please excuse my empty post. I am code challenged.
This may old news or silly to some folks, but I just found a post on the API blog about SU playing sounds.
Go visit "the worlds lamest zoo."
http://sketchupapi.blogspot.com/2009/01/playing-sounds-in-sketchup.html
Made me laugh,
UPDATE: A little warning, after I took a look at the Zoo, I loaded another file with scenes.
Scene one roared, scene 2 trumpeted.
You'll need to remove the ruby to make it go away...
ok my machine is possessed ....
I couldn't see them in your post but this one worked, maybe the gnomes did it
I can see them now

thank you,
I still don't get a pic.
Do you see a pic in your post?
Is it just me? I tried in Firefox and Chrome and IE
Thank you for helping
Hi,
I am new to this board and would like to post a picture from my picassa album. (It's public)
I tried many time to use the Img button, but when I do all I get is a broken picture link icon like this...
I feel dumb that I can't make it work, any help would be appreciated.
Patrick
I am not sure if this is good enough for your needs you may not have all the parts to make it 100% accurate.
(I mess around doing photo matches with historic photos that have no metadata in them and I get stuck fuding all the time.)
Here is a thought:
Create a plane and put the photo on it. (Make it projected)
Set your view to be perfectly perpendicular and square to the plane and if there is any item in the photo that you can scale it to it (a bucket, go measure a tree trunk, etc.) Scale it as best you can. . Make it partially transparent.
You'll need to put "pins" coming out of the photo perpendicular to the face from the data points(corners are best) Make the pins to absorb your model make phot and pins a group so you can later scale it.
Slowly and meticulously push you model (in wireframe mode) into the pins (do this in front (away from)of the photo) until you get one pin to match the corresponding vertex in the model you (a point the ground will be good)
You will then need to spin the model in the model X, Y, access (keep up up and don't change that.) Try and get the points of the model to line up on the pins(You won't get them all perfect) Simmilar to aligining perspective in photomatch.
If it doesn't fit right you may find that you need to nudge the scale of the photo (not your model). The more you tweak it the better it will be, once your close you can move around and see how well you did and adjust.
You should have it lined up and oriented to the phot. It will look right from straight on. just like photomatch If you want to now cut the back photo into pieces and adjustthem forward or back to your model you can do that.
Its crude, tedious but you may get a match.
What do you guys think? Will it work?
This is amazing- just what I need to learn how to do.
I looked at the Users guide but I am not finding how save the changes back to a SU file- I am guessing you save bak into the kmz file then open that? Still fiddling with it..
I think you might be thinking about texture baking.
Render /create texture from render /apply as a texture in model ad infinitum.
Patrick