Yeah I've sussed the moving of the Anchor point for snapping, but having two, one to lock an anchor point and one to stretch / shrink a scene would be really handy.
JP
Yeah I've sussed the moving of the Anchor point for snapping, but having two, one to lock an anchor point and one to stretch / shrink a scene would be really handy.
JP
Dave,
I think your right, probably not the right way to display things, but was just intrigued to know if you could, thanks for the explanation, I've got it to work.
Possibly a command to match two sizes in two scenes would be helpful? Also the ability to resize about a user defined 'anchor' point would be good!
Thanks again
JP
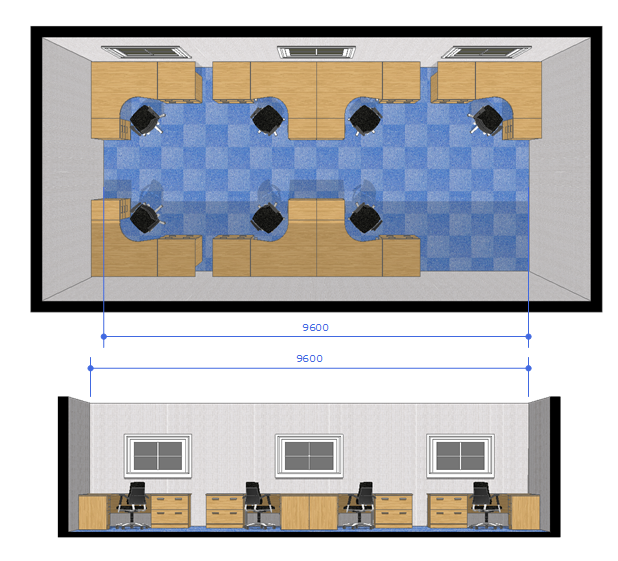
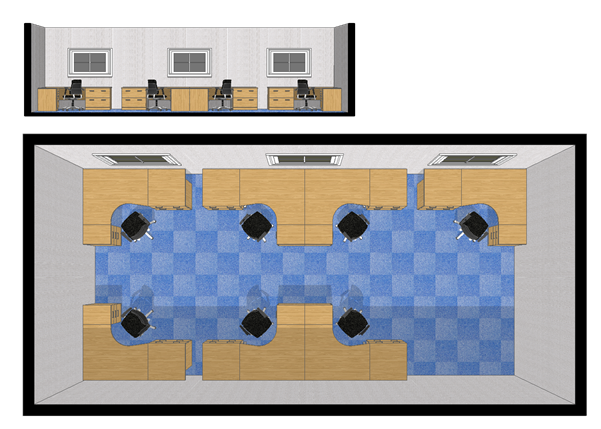
The attached image may help explain better.
Can I size the scenes such that both Dimensions are the same physical on LO, regardless of scale?
Thanks
JP

Hi,
I experimenting with a simple office layout. I have 2No. scenes; a plan and a section thro'. If I save the scenes with parallel projection I can scale and line up the views in LO no problems.
If I turn perspective on (Ortho off) on both views, obviously neither are to scale, but is there an easy way to 'match' the sizes of the two scenes in LO?
The attachment might help you visualise what I'm trying to do
Thanks
JP

Sorry for slow reply.
I think I've sorted it now. I think my problem had more to do with me not understanding how SU & LO interact with each other.
Making the changes to the shadows in SU then updating the scene via the Scene dialogue and then saving the model in SU seems to update the view/scene in LO.
Thanks for your reply
JP
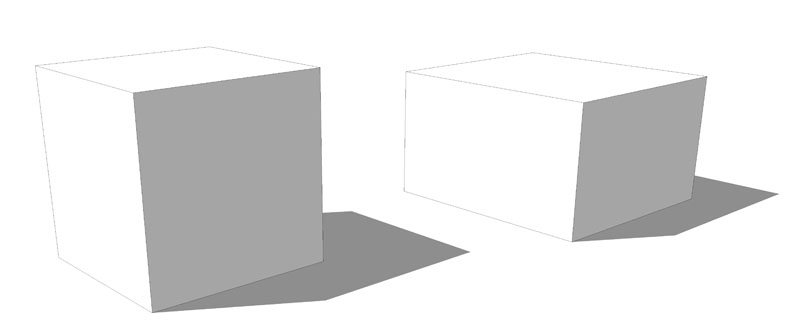
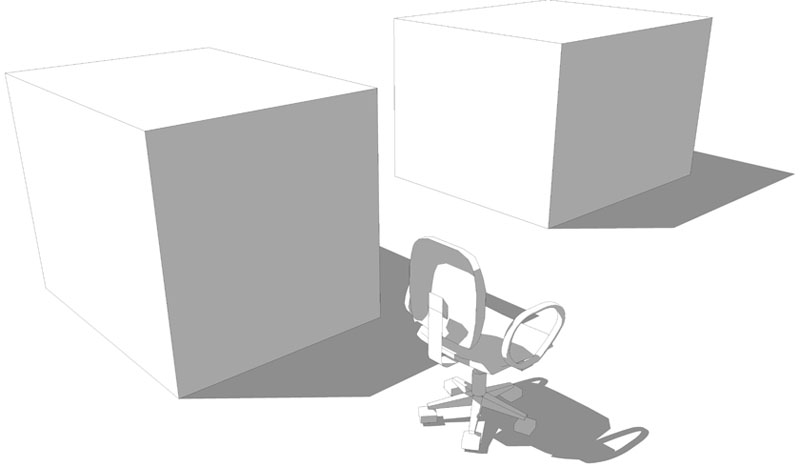
Just started to try LO. Is there anyway to lighten up shadows? Mine are always dark, regardless of how they look in SU.
Thanks
JP
You could also use Set Centre Point plugin
@chris fullmer said:
The model you provided was set to hidden line mode which has a known bug for always displaying the lines on jpeg exports. I tried it by switching to "Display Shaded Using All Same" like you had said and it worked fine for me that way.
Try it again and see if that helps,
Chris
Thanks Chris I checked the style I created and for some reason it was set to hidden line and not 'shaded all the same' as I thought. I've corrected that now and I'm getting better results, although I do see a slight hint of an edge, I also see that on your example, but I can live with that. Thanks for your help!
JP
@tomsdesk said:
Figured so...can you post your model (from the posted pic): you've got my puzzle pot simmering :`)
I deleted the last one  but here is another and also an image of what I get!

Thanks for the replies
I've attached an image that might help, on reflection I think I'm wrong about the faces, I guess they are right in the example I've posted, but I'm still getting edges, although smoothing edges does help
JP

Is there a better/more successful method of exporting only shadows then the method I currently use which is by making a new style and setting it to "Display Shaded Using All Same", with front and back faces set to default colour to white and edges turned off?
The reason I ask is that I still get some edges/faces showing using this method.
Thanks
JP
I really want to upgrade but can't  The company I work for currently has 2 No. Net licenses, there were two of us using Sketchup 6 pro, but the other user has now left the company. As a result we want to update just one license, thats all we need for now, but the online wizard won't let me do that. Emailed the sales team, but had nothing back but an auto reponse
Any idea how long it takes the sales team to get back to you? Sent my first email to them Monday.
Japes
@mike lucey said:
PS: Just dawned on me! If the cutting object was exploded
then delete as required it would be possible to leave the
tub rim surface in tact ?
Thanks Mike,
Just tried that and it works for me
Thanks Dylan & Mike,
I did use intersect with model to create the profile and I did delete the parts I no longer needed, but this leaves me with an open edge/rim between the bath inner and outer, I'm having trouble filling this in, hope that makes sense, shout at me if not!
Mike,
I followed your tutorial, but I having problems creating the top edge, rim of the bath, can you shed any light?
Thanks
@juanv.soler said:
you can go to window - styles and then edit.
you´ll see : section cut width
Thanks for the fast reply, I don't suppose it's possible to get the 'face' of a section to 'fill' is it?
Hi,
Can anyone tell me if it's possible to alter the edge thickness of sections once/or before I create them?
Thanks
JP
Hi,
I'm new to SketchUp, still getting to grips with it, but so far I'm happy with the results, let me know what you think


Thanks
Japes