@rafferty94 said:
Ahh...
Forgive me, I could not make out the detail from the attachment above my post.
Scott.
Not a problem. Thanks for looking out.
@rafferty94 said:
Ahh...
Forgive me, I could not make out the detail from the attachment above my post.
Scott.
Not a problem. Thanks for looking out.
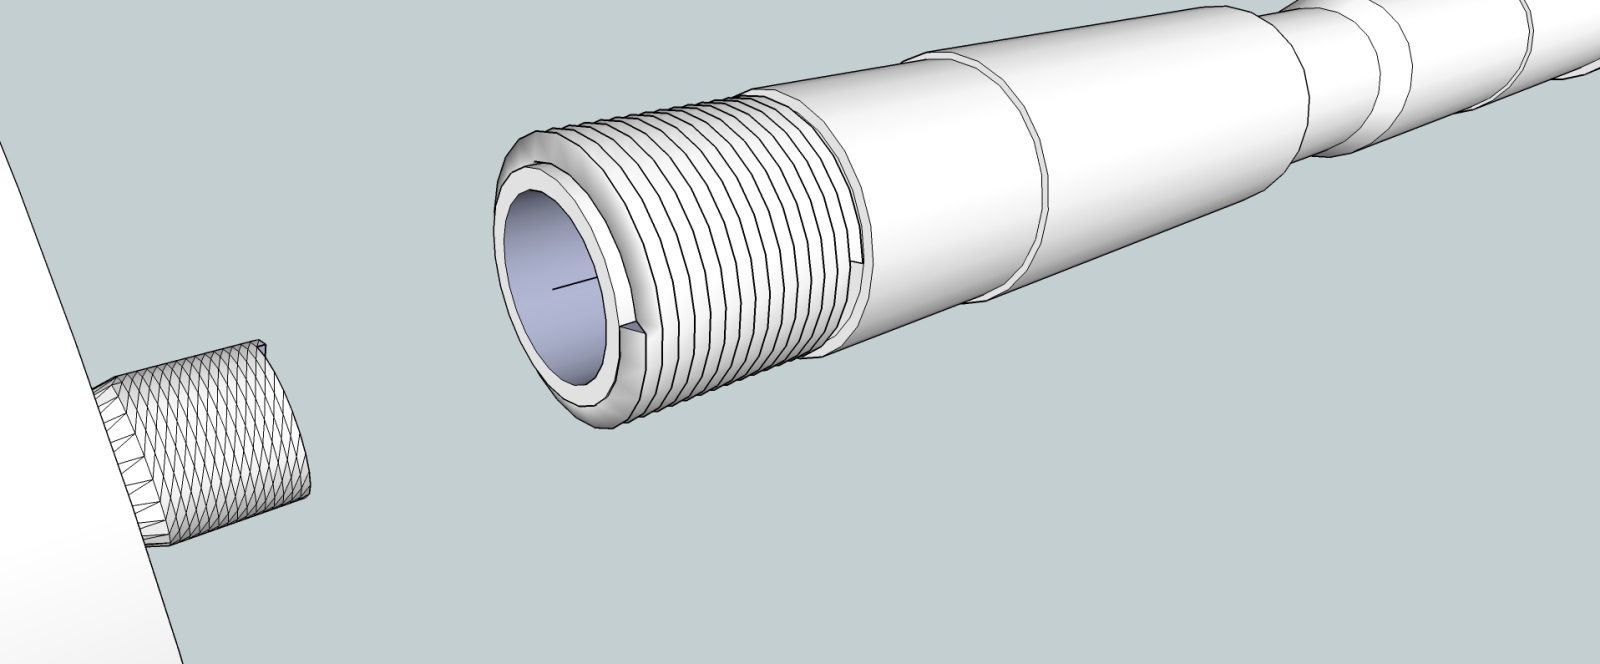
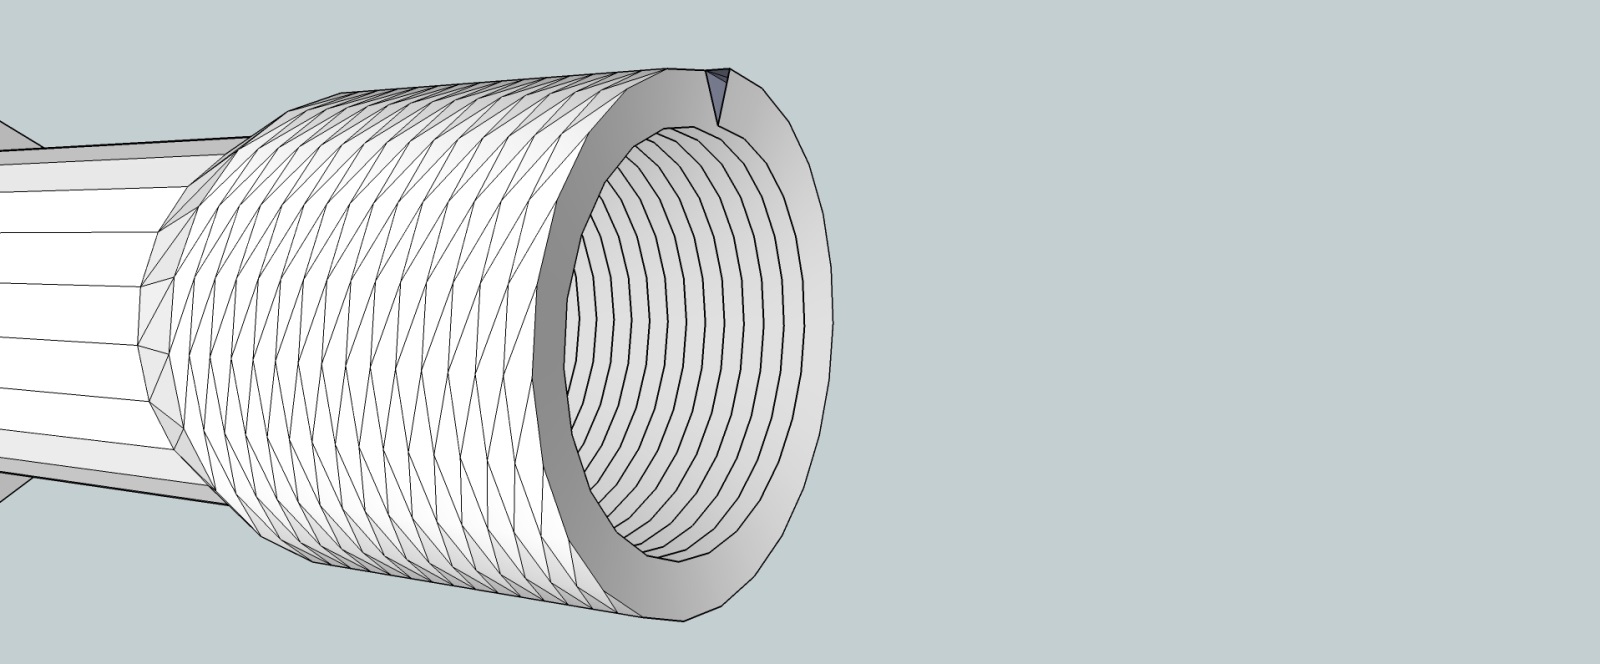
Raff - I do not exactly know what you are referring to. The threading was not created on the face. It was made using a plugin. Here are two pictures of them close up. The first one is external threading, and the second is the internal threading.
@cl said:
I may be wrong, but it looks like you have the faces reversed. The grayblue ones should be on the inside.
Yeah, good catch. That is how the plugin makes it. I caught it right after I submitted it.
@techdave02 said:
here is a couple techniques
http://www.youtube.com/watch?v=IT5r3AQZBnw
http://www.youtube.com/watch?v=MKrWDNDd62c
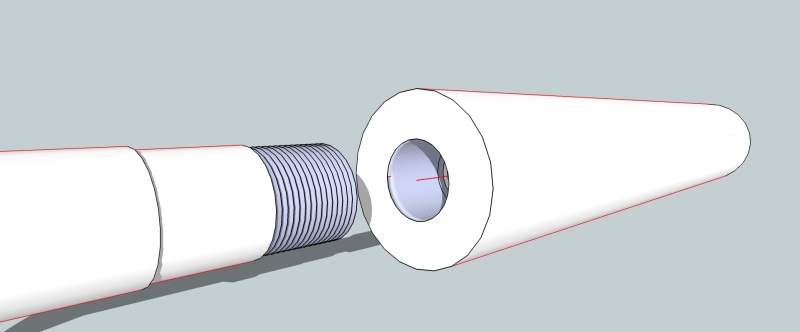
Thank you for the videos. I actually used the "screw 1_5" plugin. It worked very well.
@cotty said:
@coach_travis said:
Unfortunately, I must start over because I was using radius instead of diameter for my measurements. DOH!
You know the scale tool? You can scale a 3D object along 2 axes...
Yeah, I had some other errors so I decided to start over.
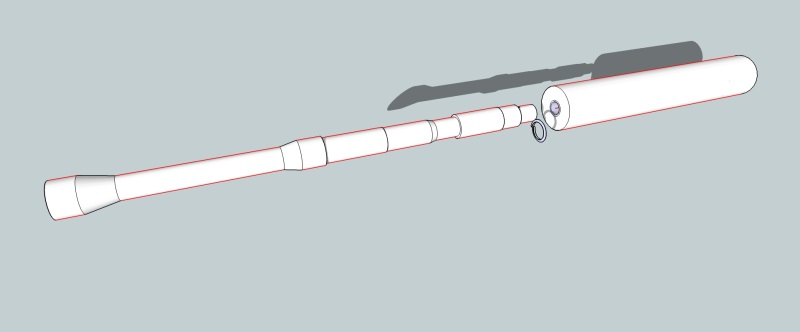
Dave - Thanks for the heads up about the search. I have used it in other forums and it didn't come to mind in this one. Unfortunately, I must start over because I was using radius instead of diameter for my measurements. DOH!
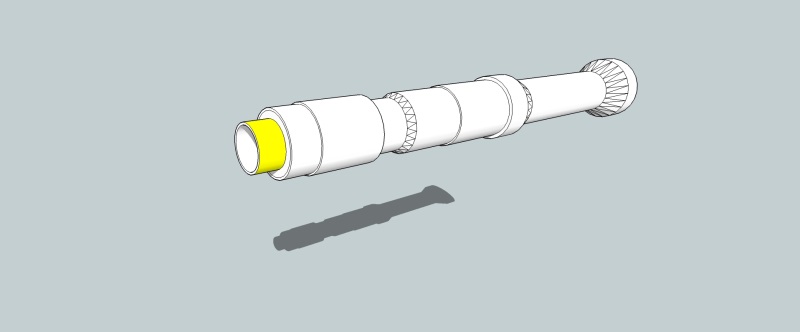
I am working on a new project and caught a snag. I am trying to add threading to my M4 barrel and can not seem to get the hang of it. On the picture below I would like to add exterior threading to the part that is yellow. Does anyone know a good tutorial to assist me with this?

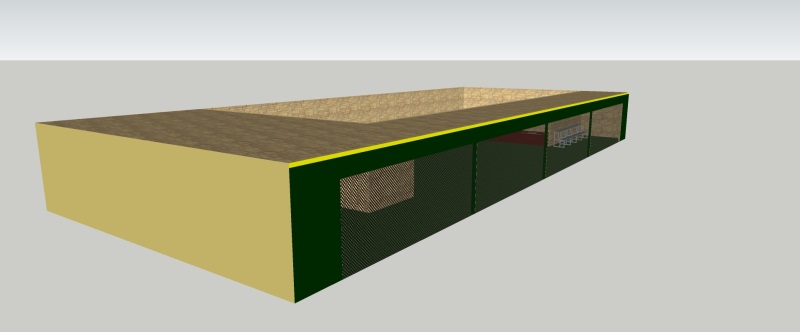
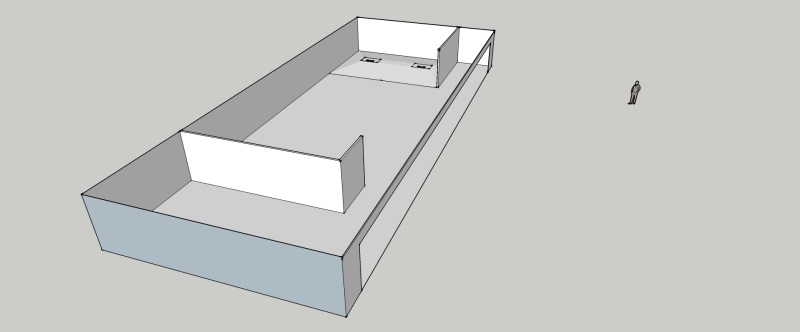
Here are some photos of my bullpen updates. Couldn't have done this without Box's help.
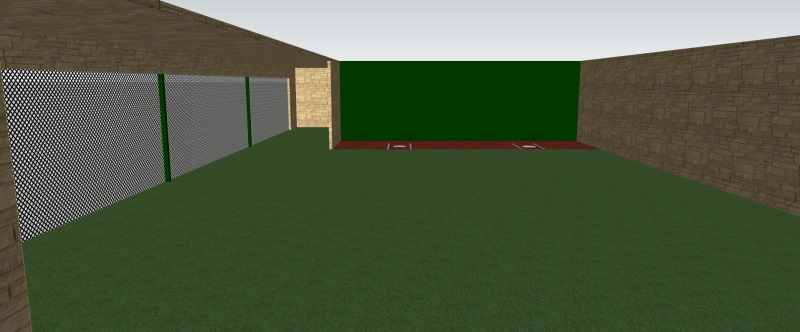
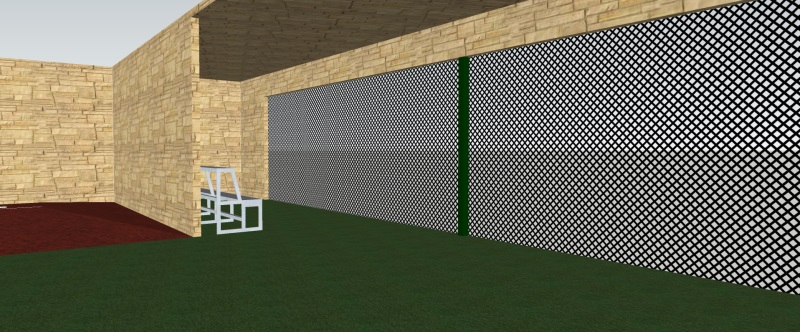
I think it has to do with the program and pixilation. When I took a screenshot it did not show it.
Box - I deleted the other layer and had everything transferred to Layer0. However, it still seems like there is something wrong with the dirt box around the pitcher's plate.
Box - Thank you. I have no idea why I added a layer, I must have accidentally pressed it. I will see what I can do.
@box said:
I figured if you called yourself Coach then you understood the concept of throwing a hint to help someone learn.
Yeah, you are really assisting me. It is so much easier to edit it as a component and just reload it. I am having problems with something that you might be able to assist with. The dirt "box" around the pitcher's mounds seem to be off plane with the slope of the dirt. I can no figure out what I did wrong. Do you see anything, or is it just the program?
Disregard. All I had to do was right click and "Save As". It is always the easy things that trip you up. 
@box said:
Better than that, you can "reload" a component.
So if you have edited your saved component in a separate file you can open your main file and simply Reload the component and any changes you made will update in the main file.
How do you go about saving a component as its own file?
I think I got the hang of the grouping / making a separate model. I can edit this model and just paste it back into my main model when I am finished. I think this will really help.
@box said:
You really want to get a handle on modelling before you start going into rendering. That's a whole other ball game.
But.. but.. there is no color  . I am getting the hold of it already. However, I can bump and render but it doesn't apply it to my model. Would you just recommend using basic textures?
Box - Yeah I was reading up about components. My big thing right now is V-Ray. I am trying to figure it out. It is not going so well right now.
Box - That is a great tip, thank you. I think it will also help with me getting to far ahead of myself. I usually do one component and go to the next. I sure really finish one, like the bullpen, prior to jumping to something else. I think this will assist me in having to go back to past portions.