[Tutorial > Modeling] How a Pro Builds a House in SU pt 1
-
hi kris,
i am following your two tutorials with great interest and have a couple of questions to make you.
are you starting from the assumption that there is no plan in dwg or dxf format for one to start with and that all there is is some image scanned from a mag or some other source? i ask that because tracing over a picture is not that easy, as there are no edges or endpoints to grab on to.
what is the point of applying the plan as material on the larger rectangle? you suggest one to use proper thicknesses but the larger plan is out of scale. please explain this.
why not trace the plan over the rightly scaled plan and then make copies of it to put on other layers as you suggest?
please continue this amazing thread. regards.
edson
-
emahfuz, see Kristoff's step number 2 in order to get the scaling correct (as as close as possible).
Inference locking helps to keep things straight / square / plumb. Applying the picture to a square as a texture allows you to draw straight onto the picture (now a SU plane) - you can always removed the picture again later on.
Correct me if I'm wrong in my statements, please.

-
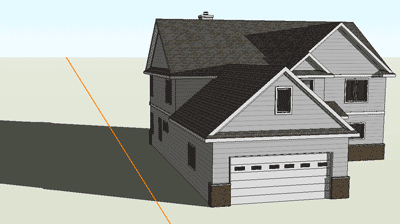
Guess What! I used HouseBuilder.rb to construct my house! Here is the file:
(Invader ZIM)
-
Must be nice houses Invader!
Just I cannot get them run... (edit: OK: you fixed it now...)
BTW - this topic is about a particular tutorial in the Tutorials forum. Could you please not divert it?!
-
hi juju,
i did step 2 exactly as told and got the plan scaled right. my mistake was probably having used the texture tool to make the image fit the larger rectangle.
from what you said the plane under the picture helps keep things straight and plumb. would not that happen if i traced the plan that is not on the rectangle?
thanks.
edson
-
Edson, what you're saying isn't quite making sense. The idea is to create a plane on which to "texture" the image plan and then trace it. It shouldn't be outside of the plane you created.
-
juju, sorry about that. let me try again.
i imported the plan and scaled it, ok? then i drew a larger rectangle close to it and copied the scaled plan onto it. since the rectangle was bigger than the image there ensued a tiling effect. in trying to get rid of the tiling (by using Texture>>Position) i threw the plan off scale. so i ended up with two plans side by side, one scaled correctly and the other slightly bigger while all the tutorial suggested was to have one scaled plan "textured" on the plane.
i hope it makes some sense to you now.
edson
-
Edson, you can also try to scale the "larger" rectangle in a way (not with the scale tool) but selecting the edge on the side you notice the tiling and moving it (make sure to lock the axis of movement) to the edge of the original drawing.
You can repeat this along the other axis. This way you end up with a rectangle which is perfectly covered with the image (and only one instance of it). -
krisidious,
Many thanks for this,especially the scaling image part. :~)
C
-
Kris,
I've been walking through your process and it's very helpful and informative. I've learned a lot. Thanks for that Smile
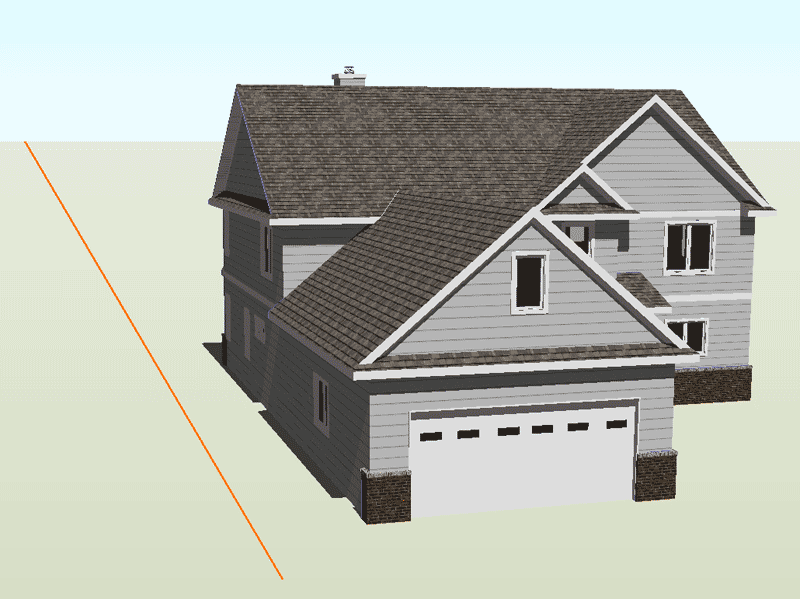
What is the big orange line in your template (see attached)? I can't seem to track it down or hide it. It is congruent with the green axis and is visible only on the positive side of the origin.
Thanks!

-
The orange line is the direction where the sunlight is coming from. I use it on all my work to get accurate sun angles.
-
If that is the case, do you know how to hide it?
The orange line doesn't change when I change the position of the sun...
I imagine it's something very simple... thanks in advance for your instructive help

-
uncheck it and the sun's direction will not show.

-
Thanks guys!
I just realized that the non-pro version probably doesn't have that feature, as I can't find it right now. Though I've seen it before, which confused me on several occasions (I have Pro at work, but not at home).
Peace!
nick -
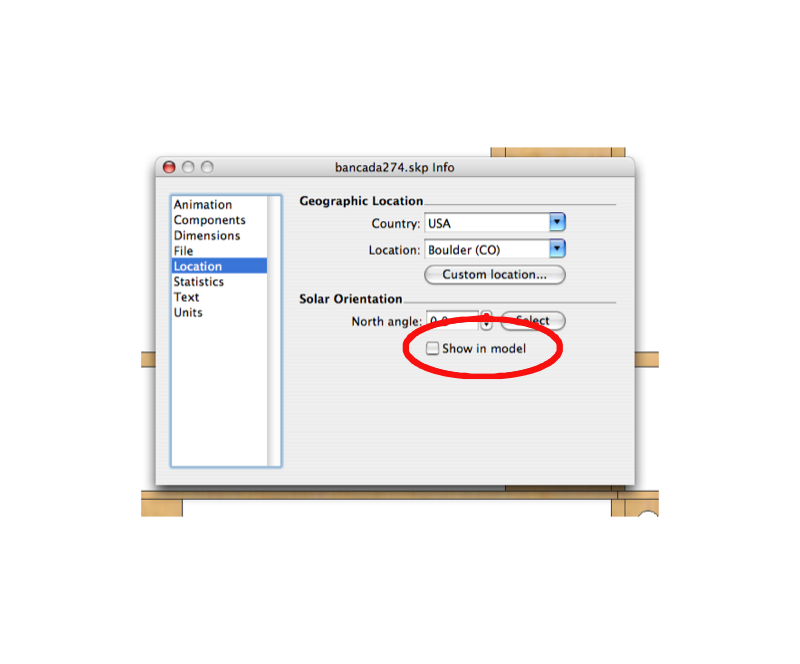
it's the North Arrow... and you should have it in your model info
go to the top of SketchUp...
go to Window
then to Model info
then click on Location
at the bottom it says Solar Orientation
uncheck Show in Model. -
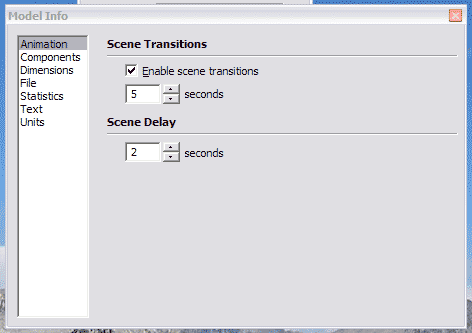
It's not there as far as I can see... (see attached)
maybe it's an issue with an older version? Version 6.0.515 is what I have installed here.
however, I know that I've seen the "location" options before. I'm assuming it was while working on my work computer, which led me to the conclusion that it's a Pro vs not-Pro difference.

-
Here is the help text regarding setting location. This seems to confirm the lack of "Location" settings in the non-Pro version:
@unknownuser said:
Specifying a Model's Location in the World
You can set the location of your model in all versions of SketchUp. However, the mechanism for setting location is different between SketchUp Pro and Google SketchUp (free).Setting Location in SketchUp Pro
Use the Location panel in the Model Info dialog box (Window > Model Info > Location) to set the location for your model.Caution - Do not use the Location panel in the Model Info dialog box to change the location of a model after importing the current view from Google Earth (using the Google Plugin). Using the Location panel to position models in Google Earth will likely result in an incorrectly located model.
Setting Location in Google SketchUp (free)
Load Google Earth and navigate to the location where you model will exist (the town is sufficient). Use SketchUp's Get Current View button to import the current view, as well as the location, from Google Earth. You can hide or delete the Google Earth snapshots if you want to work without them (such as when doing a shadow study). -
I'll change the setting when I get to work on Monday.
I noticed that the north line only shows up in the ISO view tab, not in the elevation or plan views. I'm guessing it's because Kris had set the views up with that feature enabled or disabled and SU still recognizes the setting, but doesn't give me the interface to change it.
Thanks again for this template, Kris!

-
no problem Nick... and thanks for finding this little glitch... I'll remove it from the template and replace the file... again nice catch.
-
[light bulb over head] After thinking through what I wrote in the last post, I realized that since the setting is attached to the view I could simply regenerate the ISO view by resetting the camera position from a scene with the North line disabled.
Advertisement


