Rayscaper Sample Model Download
-
I have installed Rayscaper to try to learn how to use it. When I go to the Quick Start guide there is a link to download the sample model (rs_shader_ball-scene[v2020].skp) but when I click on it, it goes to the SketchUcation site. How do you find/download the sample file to use for the tutorial?
-
 R Rich O Brien marked this topic as a question on
-
Welcome to the club! It looks indeed like the link is broken; thanks for reporting. Must have been the forum upgrade?
Here is the file: https://community.sketchucation.com/uploads/imported_attachments/RziO_rs_shader_ball-scenev2020.skp
And here is the original post from @Rich-O-Brien where he shares the file: https://community.sketchucation.com/post/1603104
Cheers,
Thomas -
@ntxdave How do you upload a file/skp model?
-
Welcome to the club! It looks indeed like the link is broken; thanks for reporting. Must have been the forum upgrade?
Here is the file: https://community.sketchucation.com/uploads/imported_attachments/RziO_rs_shader_ball-scenev2020.skp
And here is the original post from @Rich-O-Brien where he shares the file: https://community.sketchucation.com/post/1603104
Cheers,
Thomas -
@ntxdave said in Rayscaper Sample Model Download:
@ntxdave How do you upload a file/skp model?
You mean here on the forum? If so, this doesn't work for you?
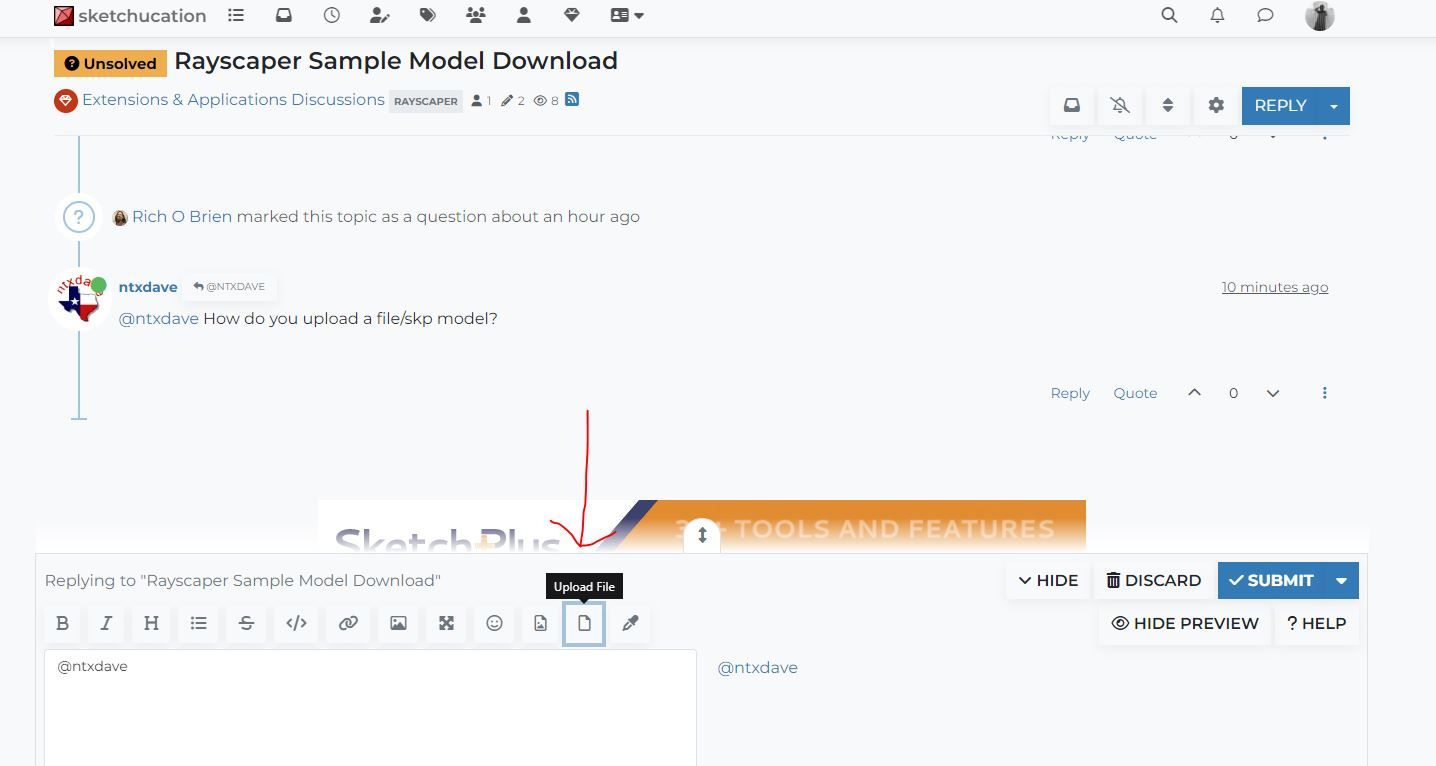
You can also drag & drop the file in the blank area where you write the reply I guess.
-
@pixelcruncher Thanks for posting a link to the file. I want to use it to try to understand a couple of things in your tutorial.
I did not see Rich's link. The link in your documentation takes you to a page where the model is not available.
-
@massimo I do not see the Upload file link on my reply page.
I tried to drag a file into the empty space and I got an error message that said I did not have enough privileges. So there is no way I can upload a file.
I have never seen this problem before.
-
@ntxdave said in Rayscaper Sample Model Download:
@massimo I do not see the Upload file link on my reply page.
I tried to drag a file into the empty space and I got an error message that said I did not have enough privileges. So there is no way I can upload a file.
I have never seen this problem before.
This is definitely strange since you have a reputation even higher than mine... Perhaps Rich or Gabor may chime in with an explanation.
-
@ntxdave I think the original links got broken with the forum upgrade. I also updated the link now on my website. Thanks, for reporting!
-
@pixelcruncher I am having a problem trying to get started. Here is what I am seeing when I click on the Rayscaper icon in SU 2024.
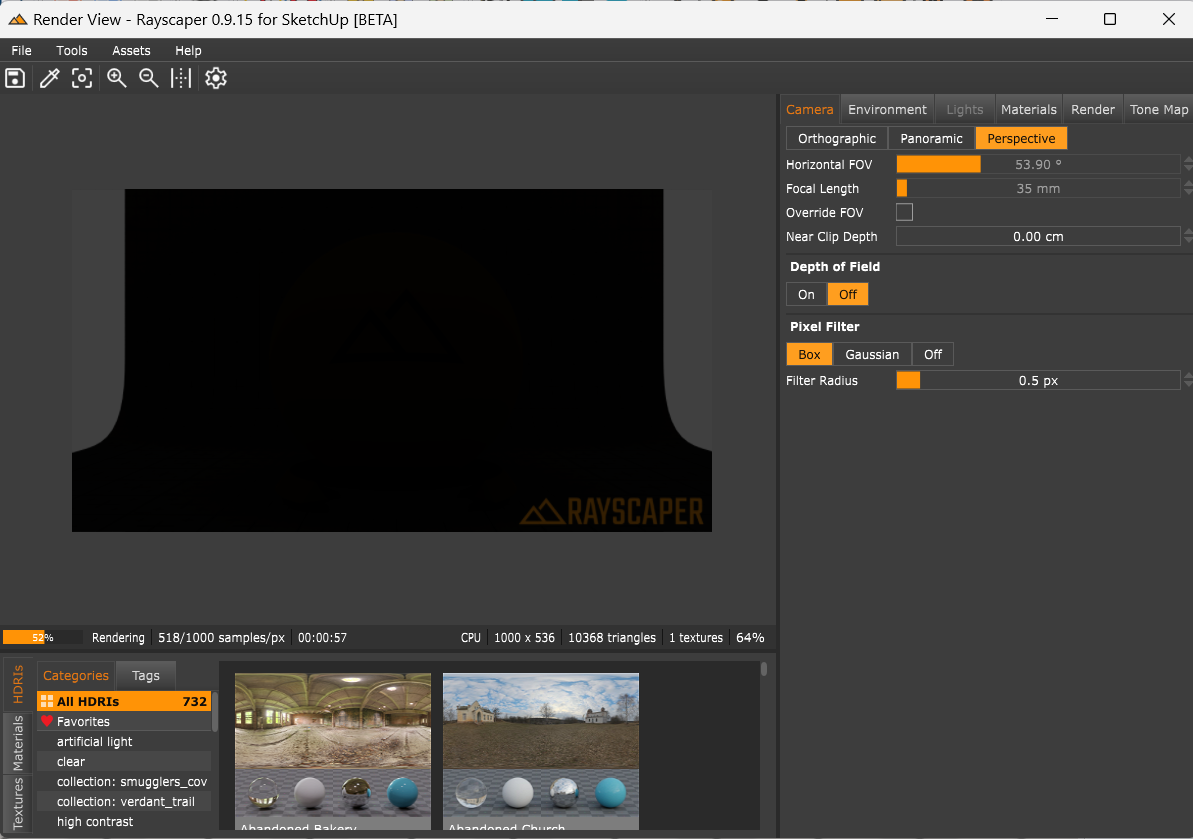
According to the video, I thought I was using the correct file. I am using RziO_rs_shader_ball-scenev2020What is going on/am I doing wrong?
-
 R Rich O Brien has marked this topic as solved on
-
@ntxdave Looks like you've no lights or environment to cast light.
Please bear in mind that older Rayscaper builds and files that worked on those builds may not work as expected on newer Rayscaper builds.
For info on how to add environmental light or light components I suggest seeing if it is covered in the docs.
-
I was using the file from the tutorial and just clicked on the RayScaper icon and that is what showed up. I thought this was a file you created. I thought I did exactly what was shown in the tutorial. To me, this isnot solved.
-
Try this one but it is in your own interest to troubleshoot so you can get a firm grasp of the software.
As I mentioned, older files were tailored to earlier builds. Expect unwanted results. Rayscaper is not a finished product.
-
@Rich-O-Brien Thanks Rich. This file worked MUCH better. It is not exactly like the one in the in the video but it is close enough that I can now get the hang of things.
I will now have to try some stuff with one of my own models.
I appreciate your feedback/support so I can begin to try Rayscaper and hopefully start moving forward.
-
@Rich-O-Brien Thanks for fixing.
Recently, the range of exposure values changed, bringing this scene to an exposure of -10, rendering everything dark. Setting it to zero would have fixed this.
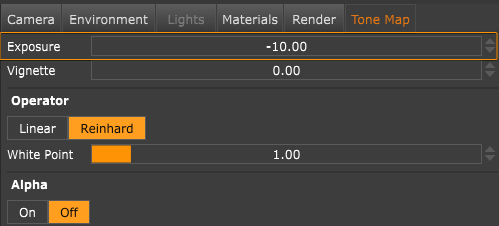
Like Rich said, it's still beta software, so there might be quirks.
-
@pixelcruncher Well, after playing around and trying a lot of settings, here is my first render. The metal frame is not quite as shinny as I would like it but, again, this is my first render. Also, the background is darker that I would like.
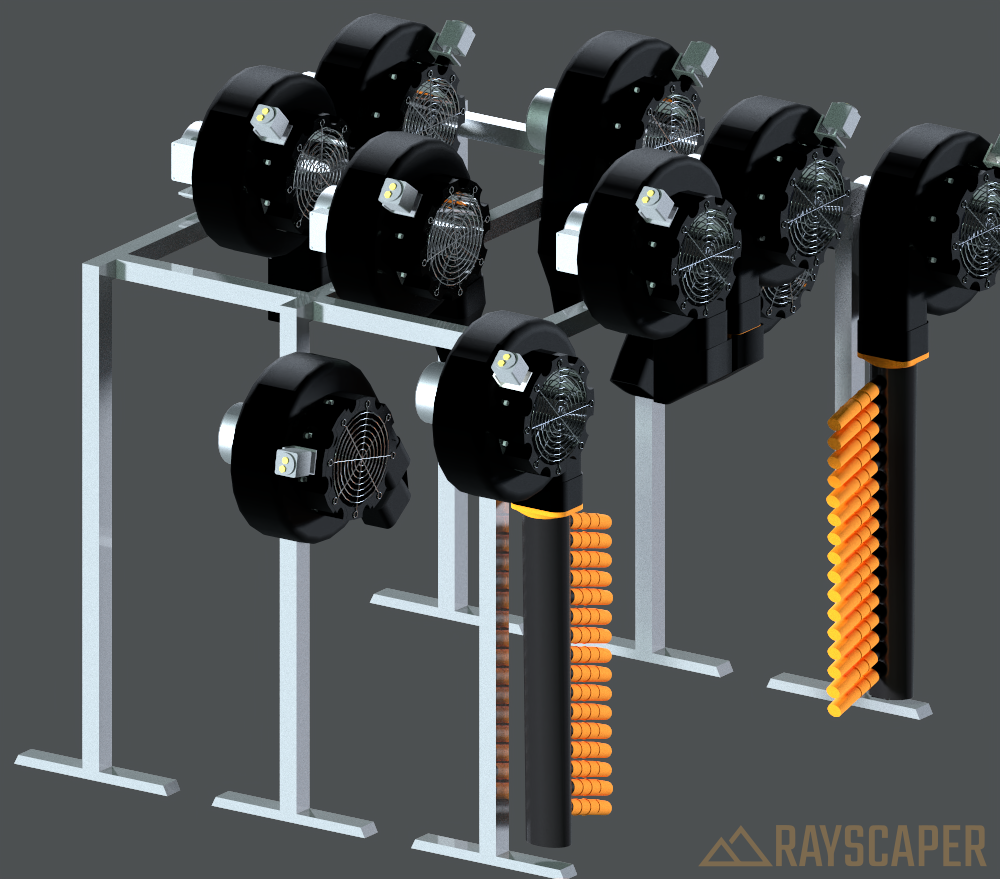
-
@ntxdave OK, now I have a silly question. Is there a way to save the settings I used in the above render?
-
Hey @ntxdave ,
It's great to see you are already getting results with Rayscaper!
The metal frame is not quite as shinny as I would like it but
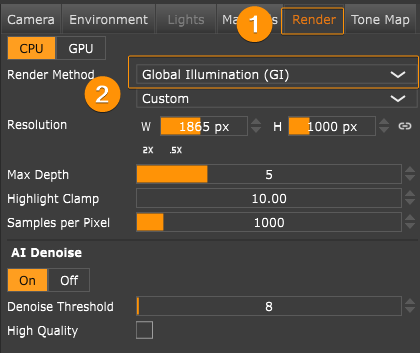
As a first check, make sure you are using the global illumination render method. It's slower than approximate GI, but approximate GI is not photorealistic and doesn't render materials correctly, always favoring speed.
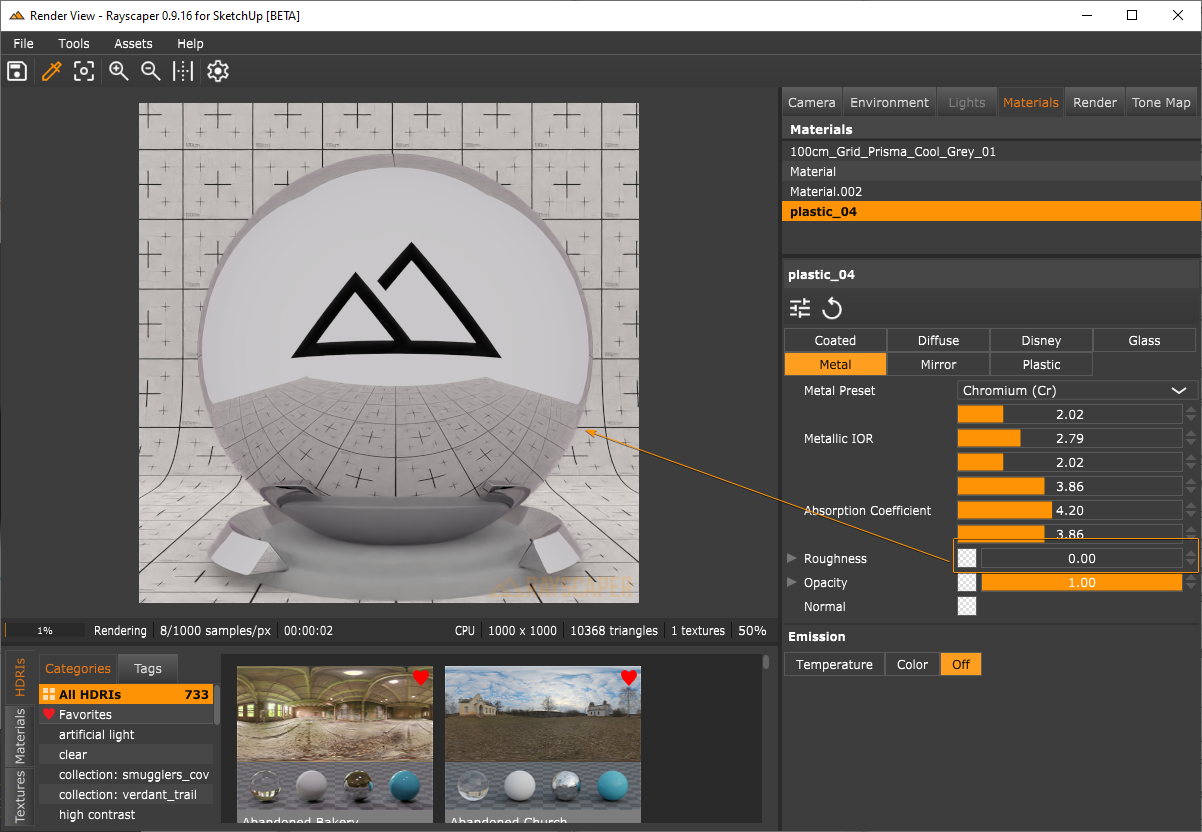
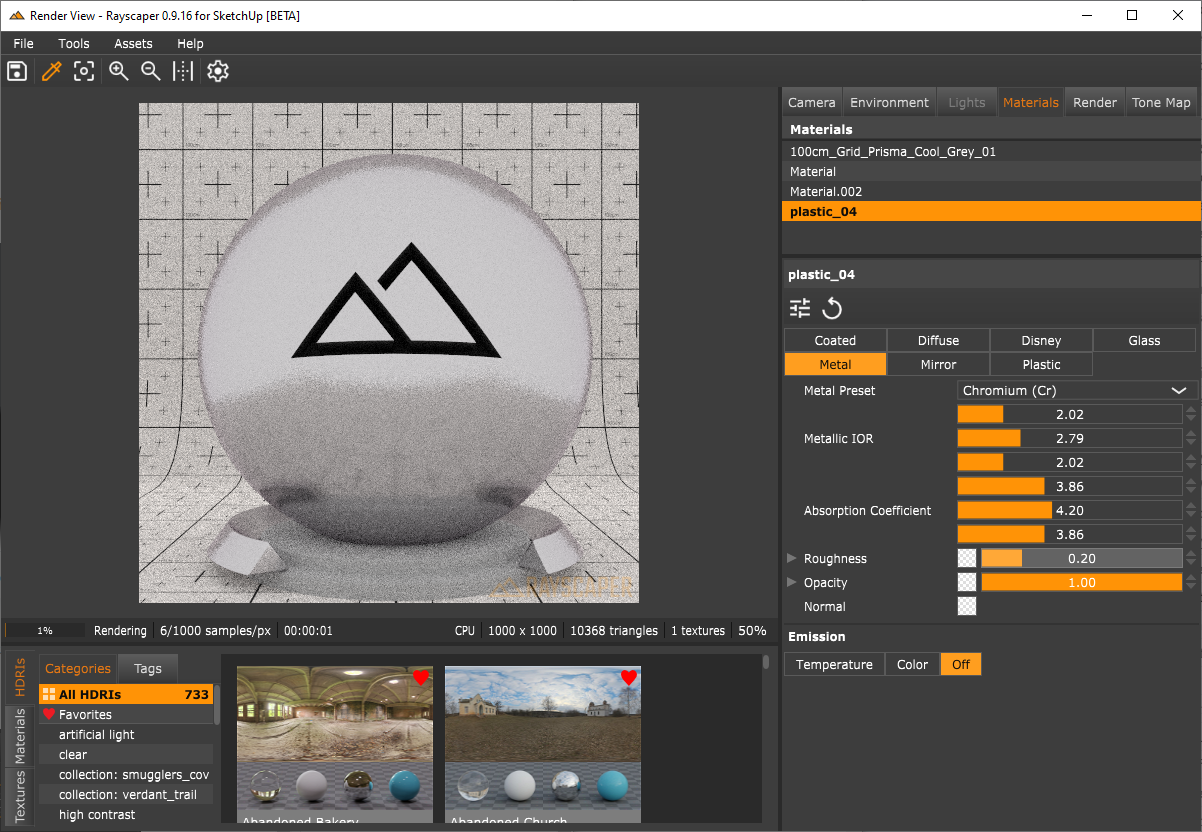
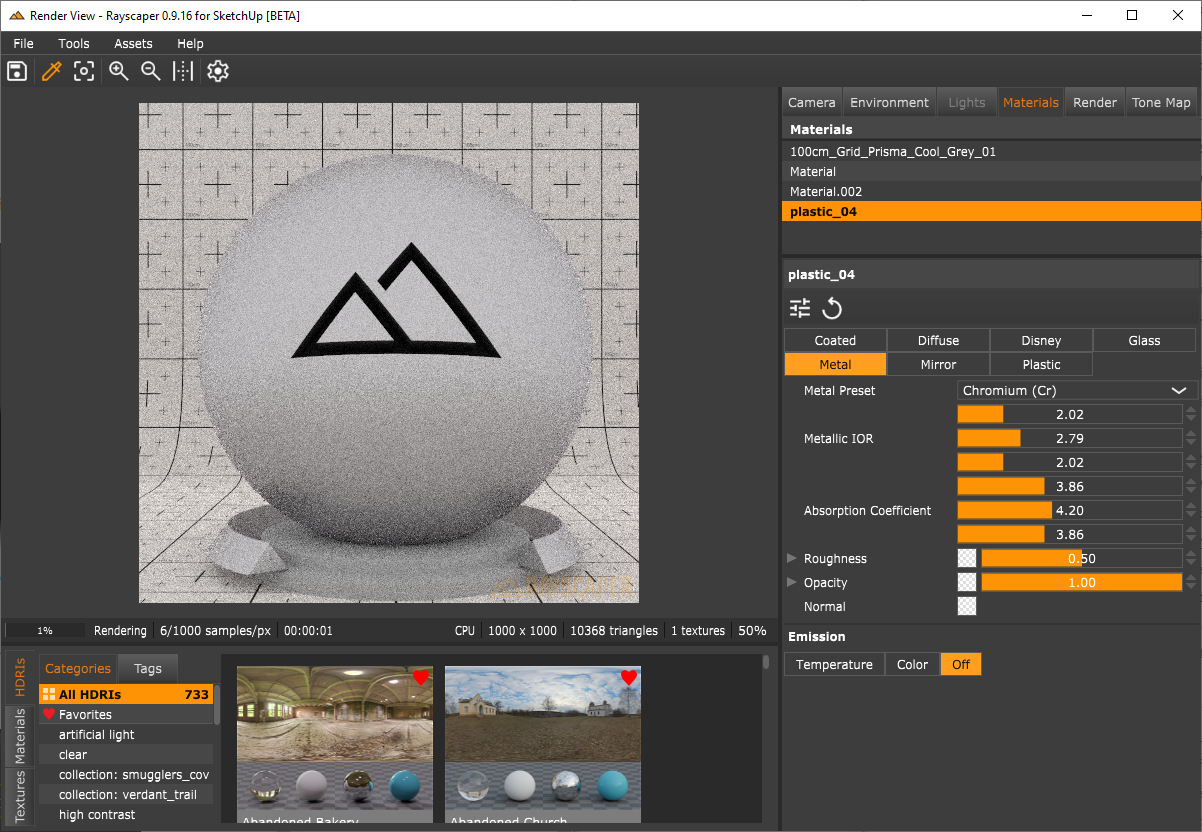
What material are you using for the metal surfaces? The metal material or the Disney material? The roughness slider allows you to control the shininess of either material. The below renders show a chrome ball with three different roughness settings (0, 0.20, and 0.50).
Also, the background is darker that I would like.
You can control that via the environment settings. Either adjust the color (or use an image) or adjust the power.
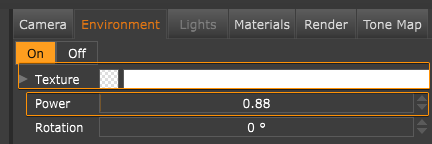
You can also drag & drop one of the HDRIs to get more realistic lighting:
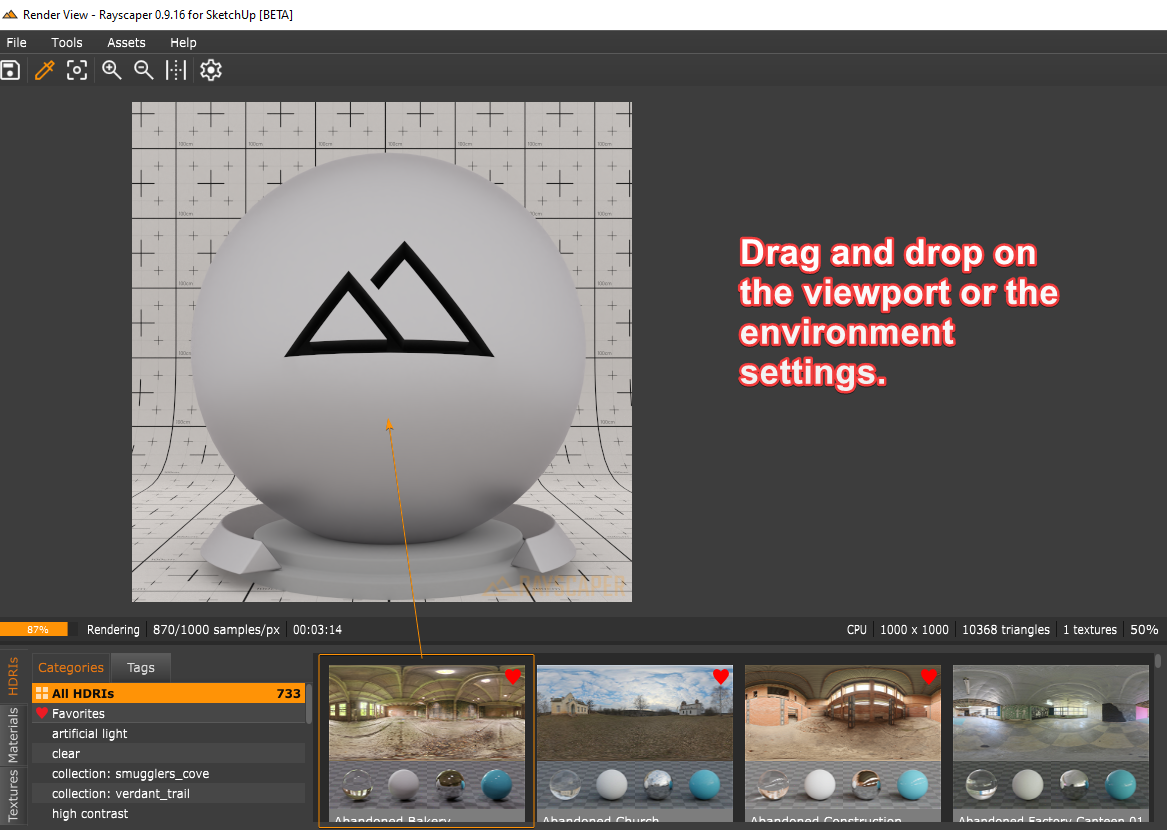
Does that help?
Cheers,
Thomas -
@pixelcruncher Thank you sir. I will give these a try.

This is all part of the learning process.

-
Well, progress, I think. But still a LOT to learn about how to use the tool.
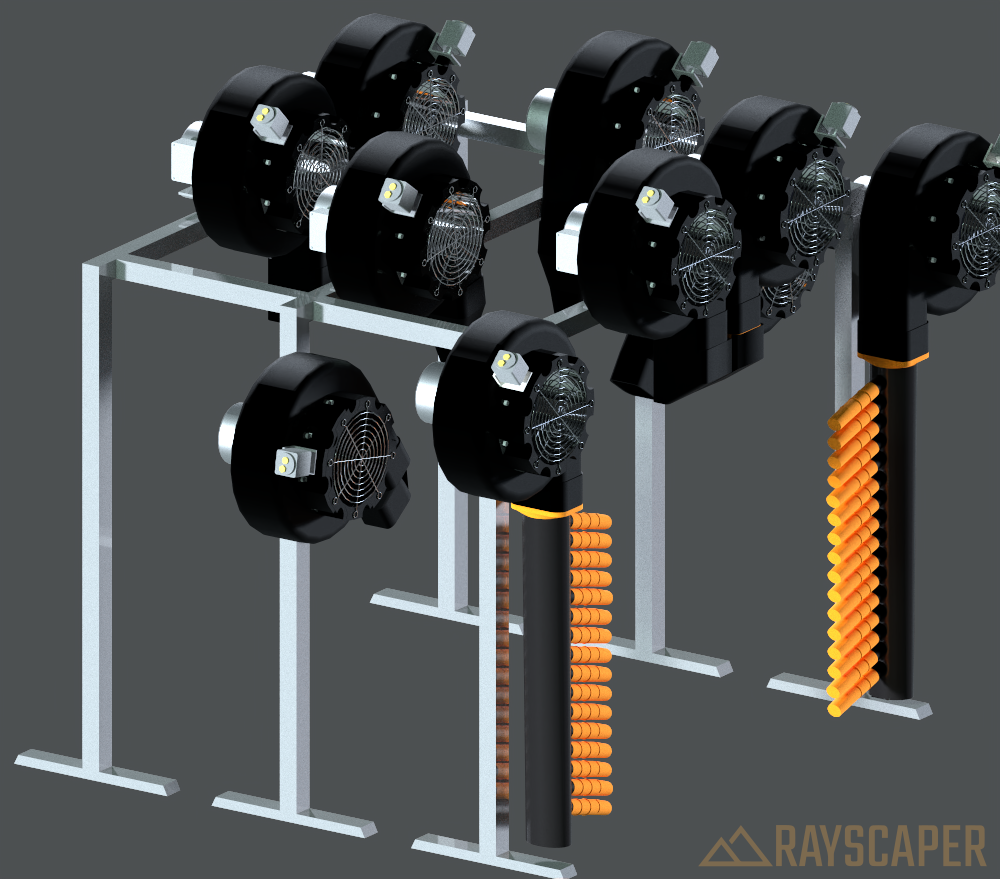
Oh No, the background in the render is not what I was seeing during the render.
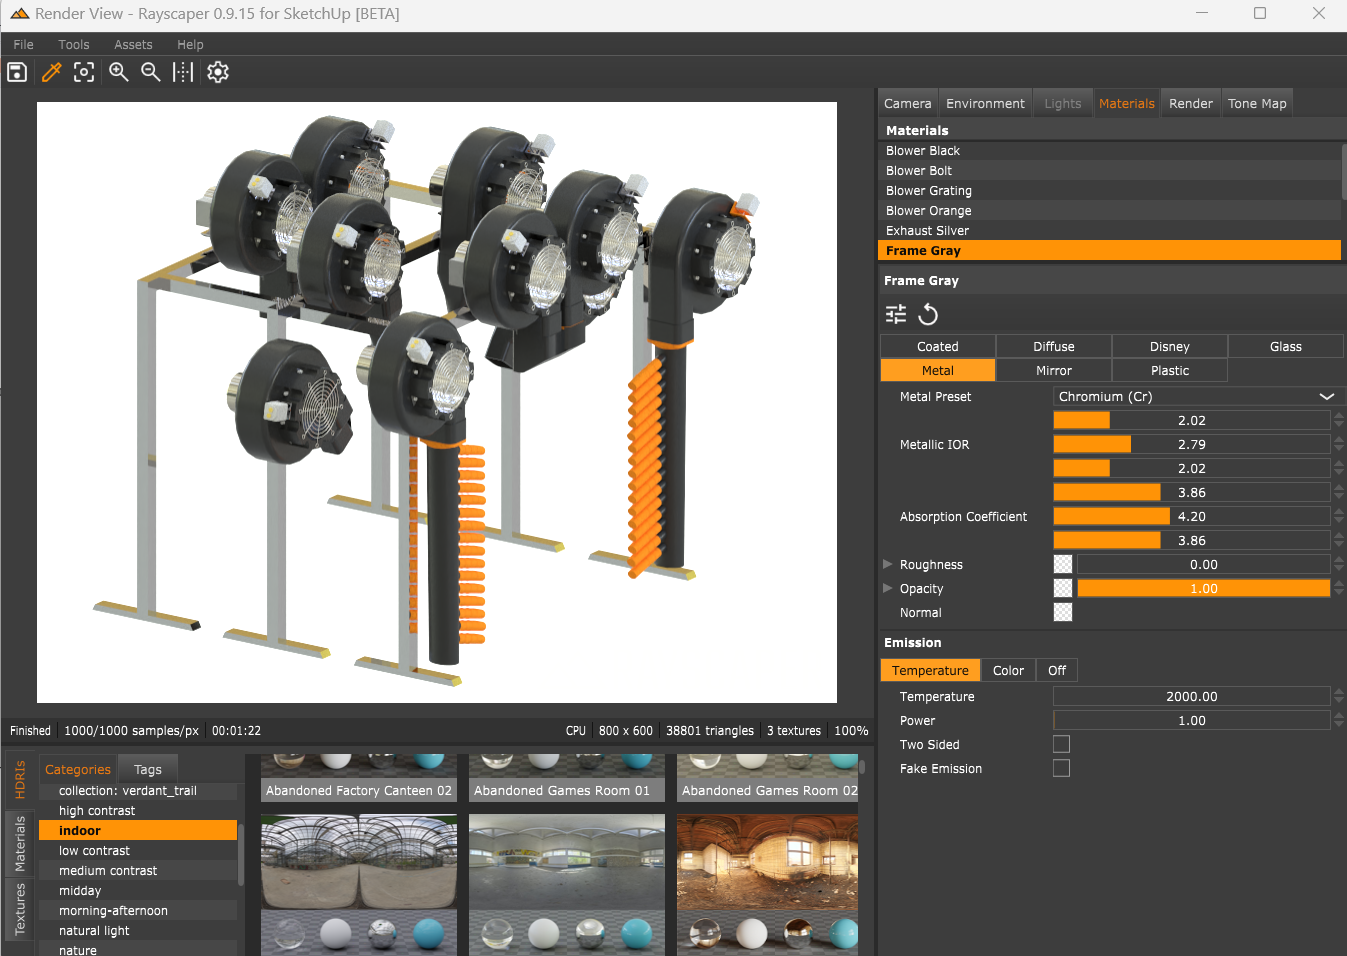
BTW: Here is the settings I used for the frame which is still not exactly as shinny as I was wanting.
-
@ntxdave said in Rayscaper Sample Model Download:
BTW: Here is the settings I used for the frame which is still not exactly as shinny as I was wanting.
Can you clarify shininess
 From looking at the gray frame, it seems like a perfect mirror.
Advertisement


