Extension for shadow gaps?
-
Hi all
I model a lot of joinery on SU
So multiple times a day, I need to add shadow gaps between the different units/doors etc, to separate them visually, which can be a very time-consuming process indeed.
Does anyone know of a plugin which helps do this faster/automatically?
I'm thinking, perhaps you select a line and click a button and it offsets this line by 5mm towards each side and pushes the two surfaces in by 10mm in - done. (of course, the distances should be adjustable)
Sounds simple, but I haven't found anything to date.
Any advice?
And if not, how difficult would it be to create my own?
Many thanks!
-
Can you not use Solid Tools and make a custom cutter to boolean where you needed?
Obviously your target and source will need to be Solid/Manifold. But if you make a cutter component library you would quite quickly do this.
Since you have no visual to aid your query it's difficult to say if my bodgery would work.
-
Hi Rich, thanks for your reply!
Not entirely sure I've understood what you mean just yet - but so are you, so I've created a quick example of what I mean.
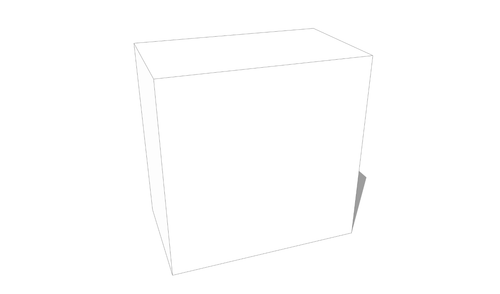
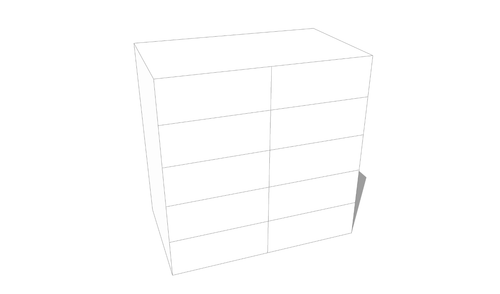
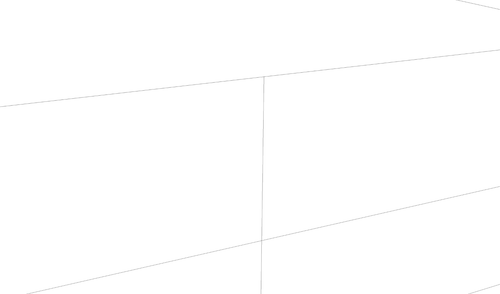
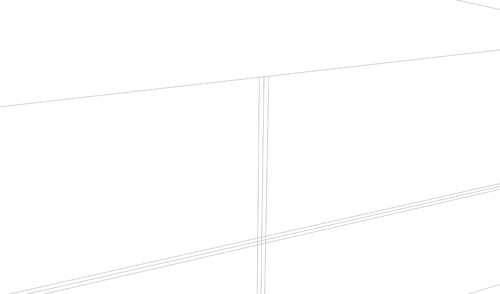
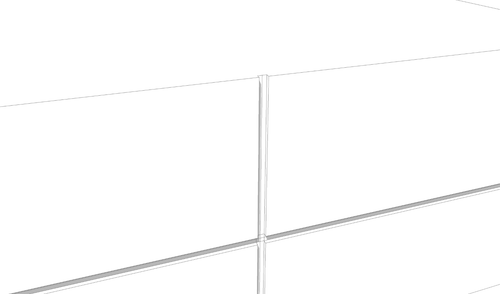
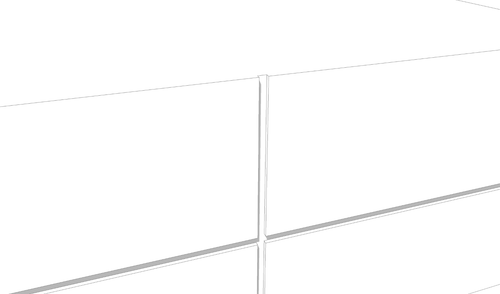
Many thanks
-
I never really looked for a plugin but what I've done is:
- Layout the vertical offsets (1 or 2 inches) with the construction tool.
- Cut the lines with Zorro.
- Paint the gaps any color.
- Select all with same color in gaps.
- Remove unused edges.
- Select all with same color again.
- Then invoke Fredo's Joint Push Pull to pull the gaps in 1 or 2 inches.
The reason you paint the gaps is to eliminate and lines at intersections. This may sound tedious but it's a lot easier than have to draw lines and then offset each individual line.
You can retain the color within the gaps so you can later change it to any color or material you require. Otherwise, if you remove the color you'll have to select each face of the gaps to apply new material. You can also make a group of those gaps which also makes things easier.
-
I model a lot of furniture pieces. Many of them are done for shop drawings as well as to show clients. I rarely ever model gaps between drawers or doors and the cases. For inset drawers and doors I give the dimensions of the opening with the expectation that the person building the piece will add suitable gaps based on the species of wood they are building from, how it is cut, and environmental considerations in their area such as relative humidity. I allow the edges of the components to represent those shadow lines/gaps.
I have tested drawing in the gaps but found they were too over-powering in the images.
When I do renderings of furniture pieces it's a simple matter of combining the rendered image with a hidden line image export from SketchUp to insinuate the gaps. A few examples below.
If I do have to model gaps in between overlay drawer fronts or doors, there's really nothing for it but to model those components correctly in the first place. In that case I wouldn't model them oversized and go back to modify them.
-
I've attached a quick dynamic component that should make this easier. Scale the component on your lines (origin is centered). You can use Component Options to change the depth and size of the gap. Then select all the components and use solids union, then use that union to solids-subtract from your model. Not as easy as an extension, but easier than how you've been doing it.
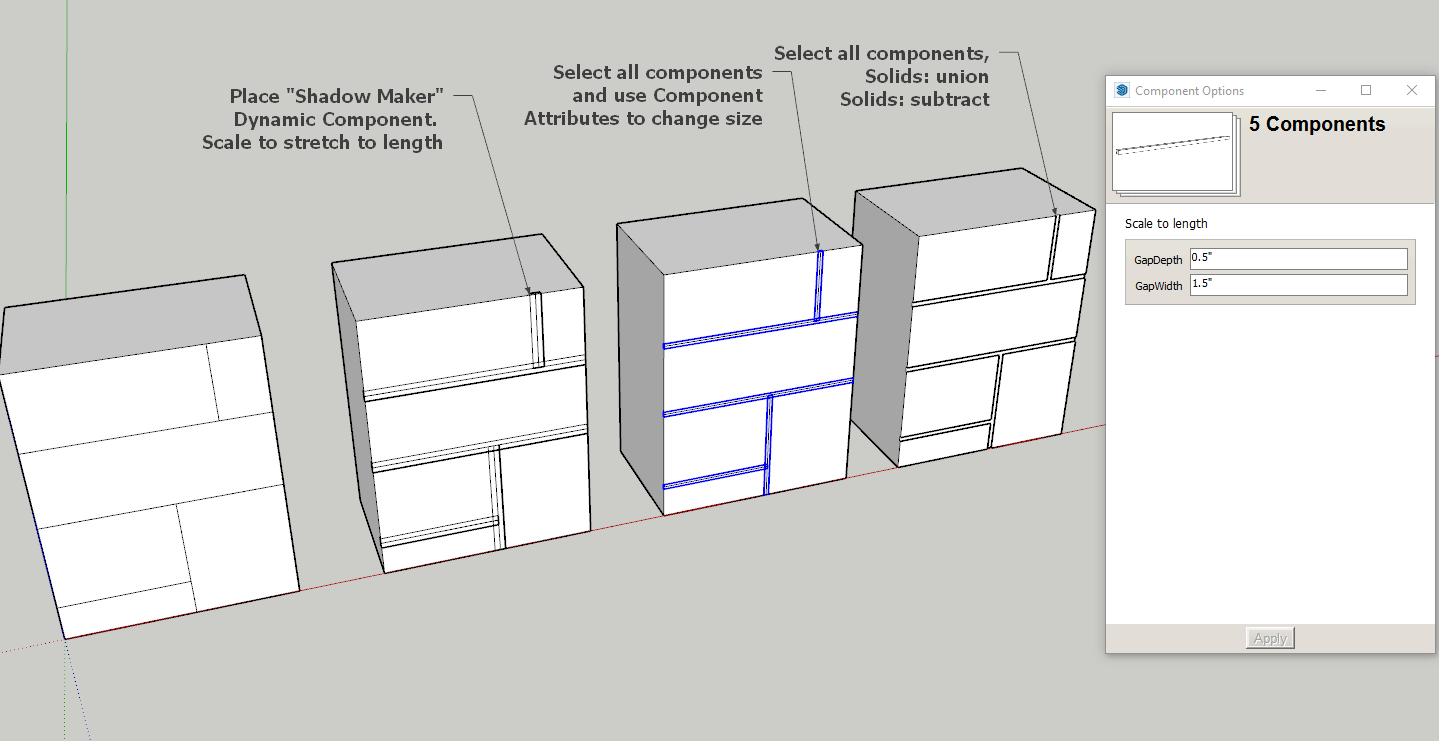
-
Personally I would use Tigs smart offset, then deselect faces from Thomthoms selection toys, allowing the edges to be deleted and then pushpull.
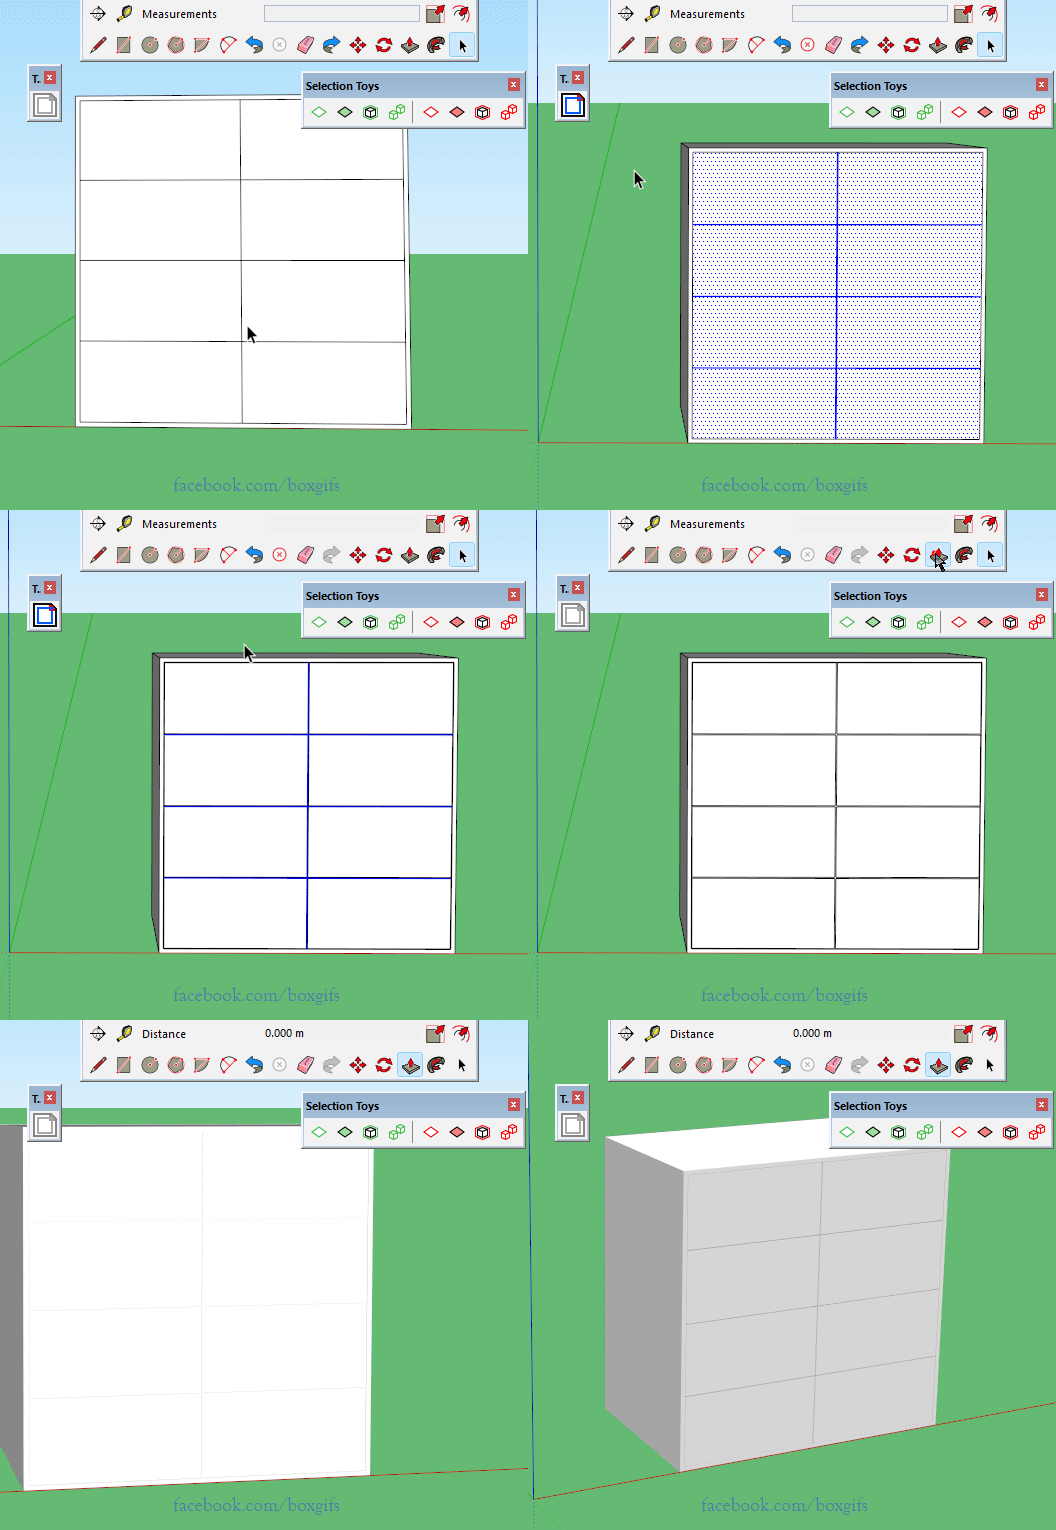
-
@box said:
Personally I would use Tigs smart offset, then deselect faces from Thomthoms selection toys, allowing the edges to be deleted and then pushpull.
Ooh, I like this better! Thanks for the tip!
Advertisement


