Animator: Parametric Animation plugin - Discussion
-
@richardpmuller said:
Thanks for sharing this Beta version. First results: Animation double canal lock (school project daughter) Great plugin and lots off fun to work with. https://youtu.be/aO1PnfoDu2g
Very well done. Bravo.
-
@falstaff said:
My guess is either its somehow being influenced by another recorded movement for some reason. Or the plugin is misinterpreting the axis.
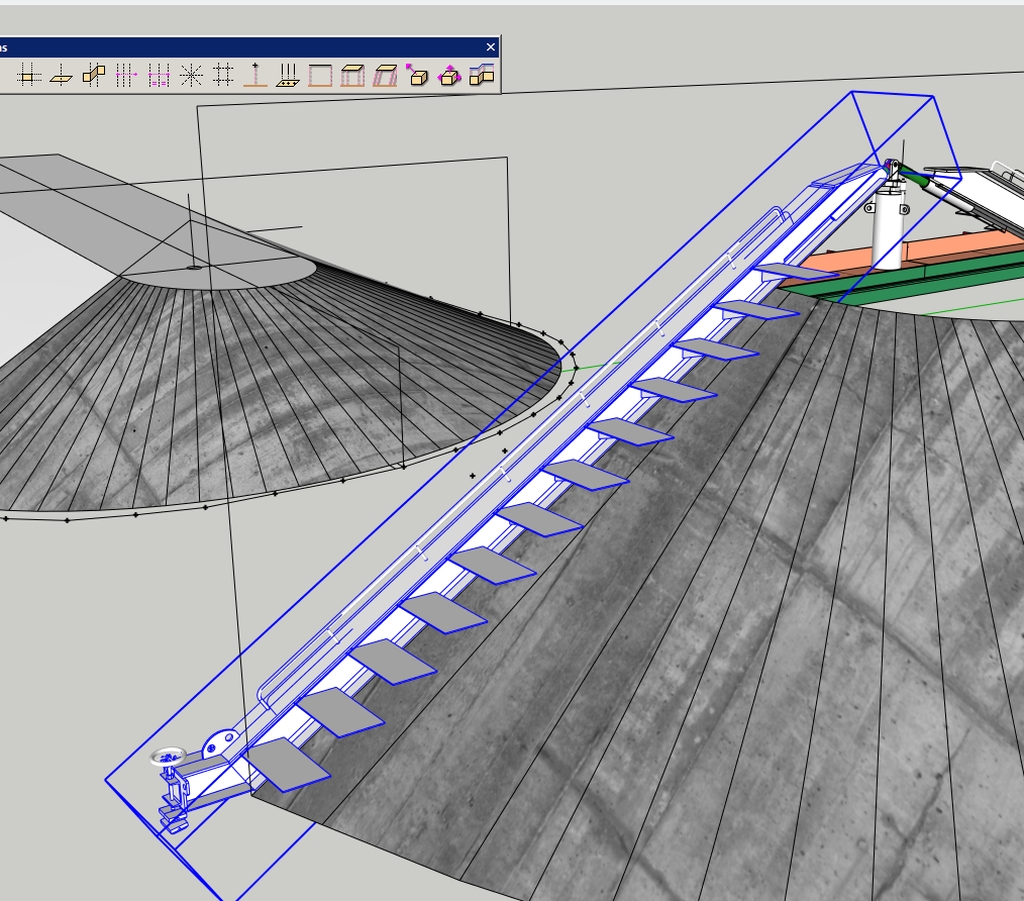
First off, this is an animation that can better be done with a tool that supports "bones" which this version of Animator does not currently do. However, below you will see a very crude attempt to show you the steps that could currently need to be done (many more of them obviously). I did not animate the pedal, just the foot and lower leg. I also left a kind of reference (circle) to give you an idea. I also color coded the sequences to show you which one related to which object in the animation.
You mill notice that there are multiple animation sequences for each object. So what you are doing is rotating, spinning, and translating all at the same time.
For the foot, there are two sequences. One is a rotation based on the reference circle below it and the other is a spin to adjust the ending position of the foot.
Tor the lower leg, there are three sequences. One is a translation that moves the leg to the left and the second is a translation that moves the leg down to match the position of the foot. The third sequence for the leg is a spin that adjust the angle of the leg and would occur in the pedaling action.
To complete the full rotation of the pedaling motion, you would have to perform multiple sets like these.
I did not use the save position anyplace in my animation. I generally only use that tool when I think I am going to make a bunch of revisions and may need a clean starting point.
Hope this helps you...............
-
Thanks, simple, the water is just a flat face moving up and down. Move the water in the lock and the boat at the same time and duration up or down the Z-axis. You have to soften some outlines off the water face were they come together, so they look one peace when the doors slide away.
Nice animation. I am curious about how you accomplished the water level changes. It comes across very smoothly. [/quote]
-
Thank you for your thorough response. That is exactly how I had it set up as far as rotation, in my video you can see the circle behind the foot divided into 12 sections.
My question is what could be the problem if nested components are not rotating around the indicated axis? It seemed to work well for me for the first few sections, and then somehow got bogged down or something.
@ntxdave said:
@falstaff said:
My guess is either its somehow being influenced by another recorded movement for some reason. Or the plugin is misinterpreting the axis.
For the foot, there are two sequences. One is a rotation based on the reference circle below it and the other is a spin to adjust the ending position of the foot.
. -
Just erase the "s" in "https" then use the balise
http://www.youtube.com/watch?v=Bs9x6pjaPLA
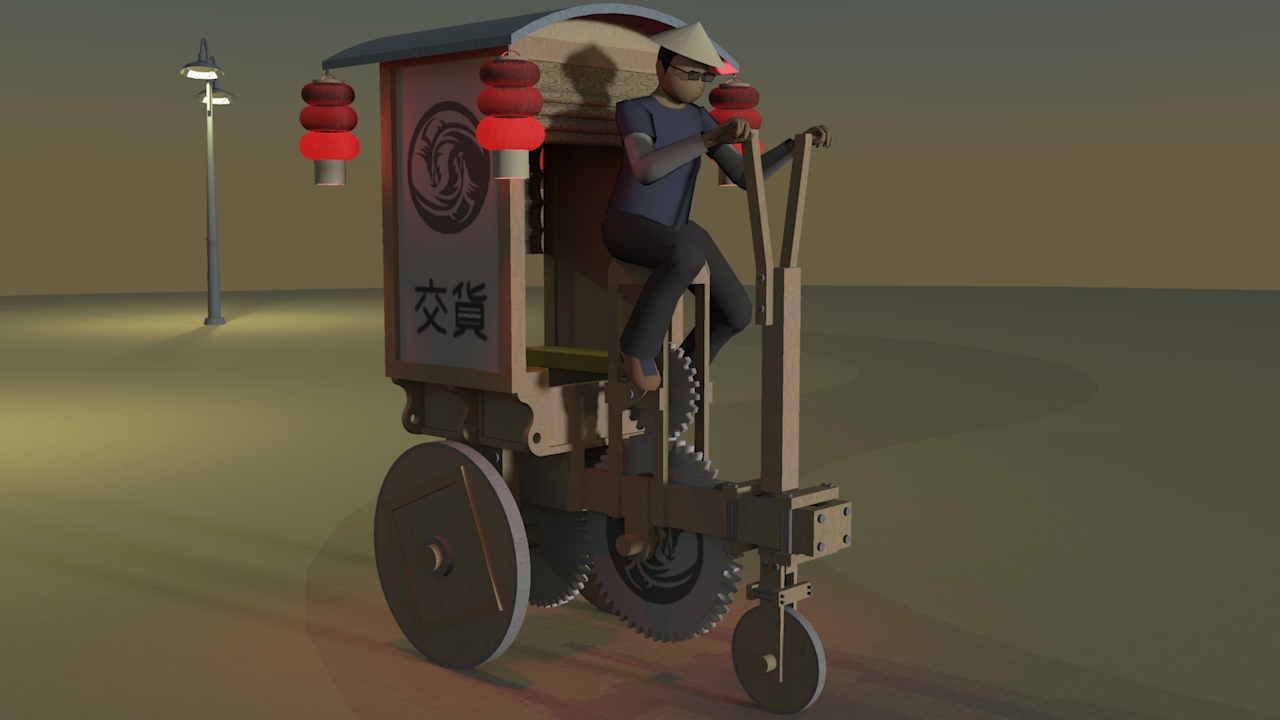
Retro style!
-
@richardpmuller said:
Thanks, simple, the water is just a flat face moving up and down. Move the water in the lock and the boat at the same time and duration up or down the Z-axis. You have to soften some outlines off the water face were they come together, so they look one peace when the doors slide away.
That is what I thought but wanted to make sure. Again nice work.....
@falstaff said:
I've managed to get my animation to work. I scrapped my last on entirely, I had so many animated sections that the plugin kept getting them jumbled. It doesn't like anything unpredicted.
Thank you for your thorough response. That is exactly how I had it set up as far as rotation, in my video you can see the circle behind the foot divided into 12 sections.
Glad you found my coments useful. Yes, I could/should have mentioned DIMS but you got it figured out anyway. I liked your video.
Working with subgroups/subcomponents an be a little trick but also very valuable. If you saw any of my car wash animations, I have to work with them often.
Look forward to future animations from you.
-
Maybe an idea. The possibility to add sounds to the animation ...
-
http://www.youtube.com/watch?v=Bs9x6pjaPLA
I've managed to get my animation to work. I scrapped my last on entirely, I had so many animated sections that the plugin kept getting them jumbled. It doesn't like anything unpredicted.
For each rotation section (I created 12, like a clock) I had 4 or 5 commands so as you can imagine that was quite a lot of movement between two legs. Also in the original I manipulated the movement through direct input of the degrees - so it was about 30 unique numbers. Really confusing to tell which was which.
In this animation I created all my movements outright and instead of having unique numbers I rotated each component the maximum amount 360 degrees and then manipulated it through the DIMS control to get the degree I needed. In the tutorial you can see Fredo6 uses the DIMS as well. Somehow this is less confusing for the plugin. Also clicking save after each new move seems to help.
So I had 8 New Movement controls:
Left Calf 360
Left Leg 360
Left Pedal Stay Flat 360
Left Crank 30
Right Calf 360
Right Leg 360
Right Pedal Stay Flat 360
Right Crank 30Then I repeated these 12 times and it didn't get hung up on anything. Getting my wheels to rotate the legs started flying around where they shouldn't be again. Also moving the biker messed everything up. Ideally I want him to bike down a bike path. Next time, Im pretty happy with this outcome.
Check it out here : https://youtu.be/Bs9x6pjaPLA
@falstaff said:
Thank you for your thorough response. That is exactly how I had it set up as far as rotation, in my video you can see the circle behind the foot divided into 12 sections.
My question is what could be the problem if nested components are not rotating around the indicated axis? It seemed to work well for me for the first few sections, and then somehow got bogged down or something.
@ntxdave said:
@falstaff said:
My guess is either its somehow being influenced by another recorded movement for some reason. Or the plugin is misinterpreting the axis.
For the foot, there are two sequences. One is a rotation based on the reference circle below it and the other is a spin to adjust the ending position of the foot.
. -
@richardpmuller said:
Maybe an idea. The possibility to add sounds to the animation ...
I assume that in normal cases, users will do a post-production with an appropriate video editing software, where you can cut and rearrange sequences, add legends and sounds. So no plan for that in Animator.
Fredo
-
Wow! This animation plugin rules. Is the best plugin ever released by someone for SketchUP Make. Also, if you don't mind I would like to see by myself how this baby works so... I can be the Rat Lab
I would be grateful if I could test it too. If not, I really understand you. It's sad but still I respect your decision.-Leo
-
I publish here video tutorials showing some features from Animator, based on public videos posted on YouTube.
For the tutorial below, I have used a model with a simple forklift and pallet.
Credit to Burckhard Heimlich for the Forklift modelHere is the original model (SU2015)
Burkhard Heimlich - SU15 - Gabelstapler - 0.skpThe final animation is shown below in Natural mode (i.e. without rendering) and Rendered mode with some rendering software supporting integration with Animator. It is advised to watch the video in Full Screen mode, to see the details.
In Natural mode (No rendering)
Rendered with AmbientOcclusionEx
Many thanks to the Fluid Interactive team, in particular Nicola and AlbertoRendered with Thea (no model preparation)
Many thanks to the Thea team, in particular tomaszRendered with SketchFX (no model preparation)
Many thanks to the Fluid Interactive team, in particular Nicola and AlbertoRendered with Twilight Render Pro
Many thanks to the Twilight team team, in particular Chris1) Preparing the Model
Animation should come at the end of the design process, so that most of the objects are in place. Note that Animator allows to add new objects, but modifying the hierarchy of objects already referenced by Animator may cause undesired issues.
Note: I use the term Object to designate both Groups and Components. Animator supports both. Note that the main difference is that when you animate objects which are inside a component, this affects the other instances of the component. When you select a Component Instance, Animator always shows the other instances that would be affected.
Here are a few advices to prepare the model for Animation, essentially around
- Verifying the Grouping of objects. Grouping is a nice way to transform objects as a whole (even if multi-selection is supported). For instance, a car should be an object, embedding sub-objects such as the car body and the wheels, so that you can move the car while spinning the wheels.Deciding about Groups versus Components, making unique component instances, etc... are the kind of decisions you need to think about.
- Naming the Objects: It will make it easier when selecting objects in the Movement Editor. Animator selection displays a popup showing the hierarchy objects under the mouse, so that you can pick the right one. If no name is given, then you will see "Group" or "Component", as in the example below:
[attachment=3:1mluf46k]<!-- ia3 -->Animator - Group Selection.png<!-- ia3 -->[/attachment:1mluf46k] - Creating Layers. Animator records the layer visibility when recording cameras. So it is better to create them before starting the design of an animation.
- Saving the original object positions. Animator includes a Positioner utility, allowing to save the position of all Objects in the model and later restore it. You can save several positions. As there may be bug or mis-manipulation, it is always good to keep a reference positioner so that you can restablish conistent object positions. This is useful, because Undo will not work (objects moves are transparent)
2) Creating a First Animation
The following tutorial shows how to create a basic animation.
3) Finishing the Object Animation
We can now finish the object animation. The tutorial shows how to re-use existing movements and modify / adjust the animation after it is built.
4) Adding Cameras
You will see how to create travelling views with simple cameras and how they are interpolated (fade-out)
5) Installing FFmpeg (MS Windows)
FFmpeg is an open source tool, free, which is used by Animator to generate video files. The tutorial shows how to do the installation once.
6) Generating a video
The tutorial shows how to generate a video at specified dimensions and frame rate, with several options available.
7) Launching / Stopping the Animation
This video tutorial explains the different ways to start, pause, stop and navigate through the Animation in Editor and Player mode.
%(#008040)[ Tracking Cameras]
A tracking camera is a camera attached to an object with a certain viewpoint. This allows to follow the object when it moves.
Tracking cameras supports the Fade-out option, so that you can smoothly switch between two tracking cameras following the same object. Fade out also works to make a smooth transition with other cameras.
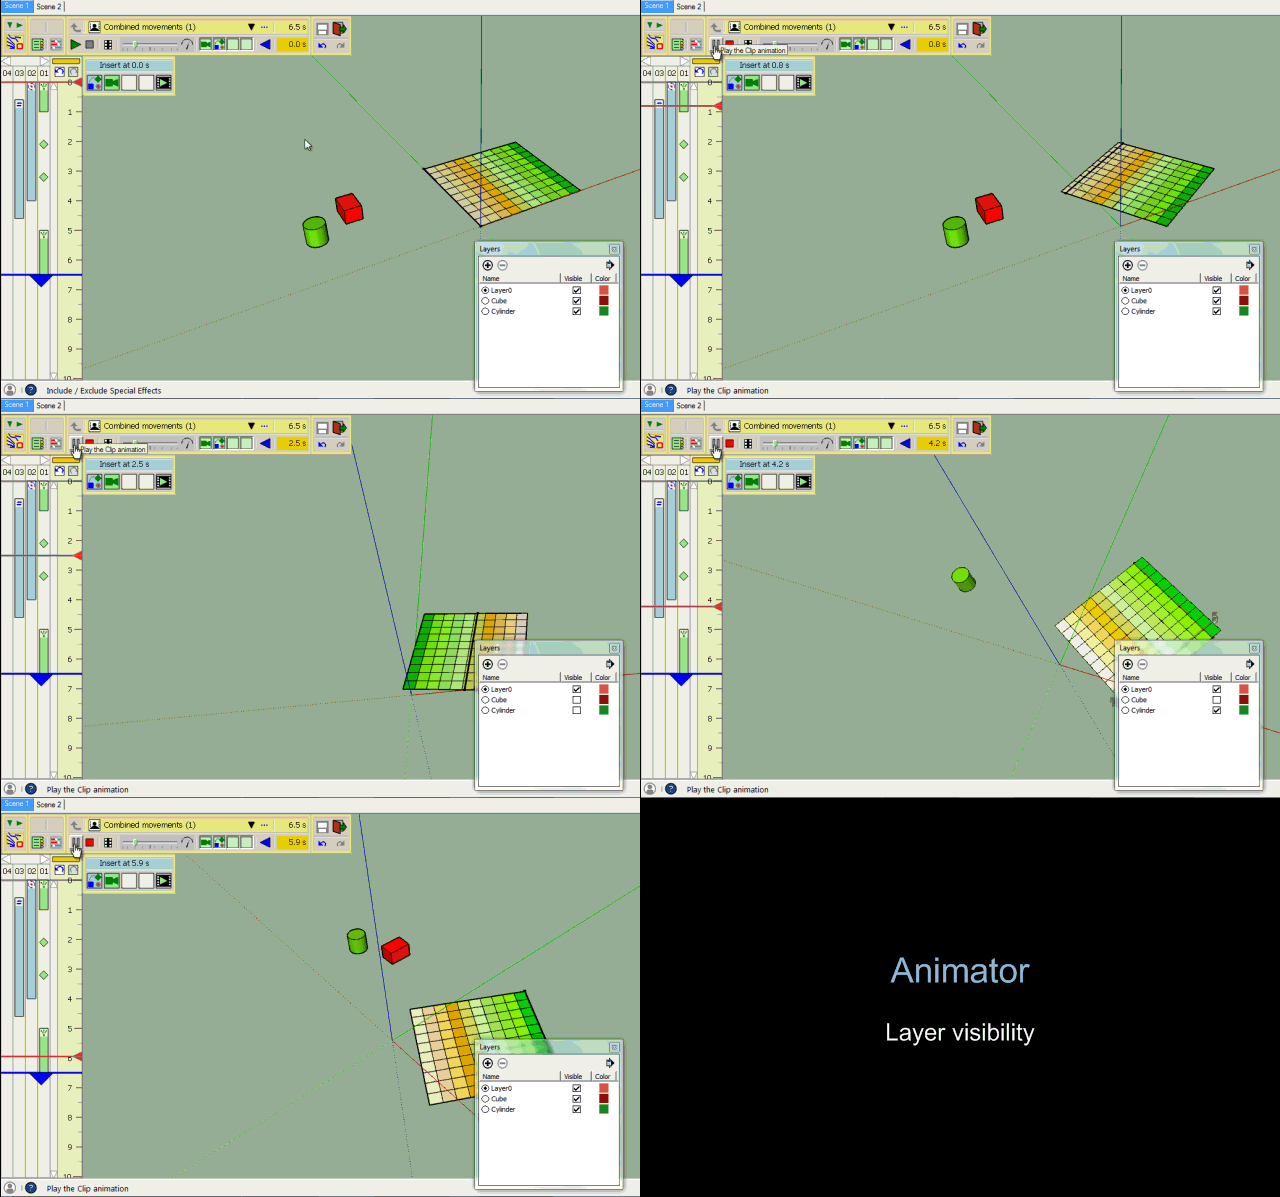
9) Layer Visibility
Animator supports two methods to control Layer Visibility
- STATE: capture of the visibility state of ALL layers. This can be done via the Visual Effect Layer State, or via a View or Scene Camera
- ON-OFF: Specify the visibility state for given layers
Layer on-off is more adapted to super-impose layer visibility changes since you can control layer by layer.
Note that when these visual effects have a duration > 0, they are ignored when the animation time is after.
-
"I publish here video tutorials showing some features from Animator"
Excellent tutorial help videos. Thank you so very much for taking the time to do these. -
This is so great and pushes SketchUp to an high level similar to Sketchy- and MSPhysics. The videos and tutorials show that impressive. Is there somewhere a link to download and to test the plugin?
-
It's in beta test Period! Ask Fredo or Rich O Brien...
-
@faust07 said:
This is so great and pushes SketchUp to an high level similar to Sketchy- and MSPhysics. The videos and tutorials show that impressive. Is there somewhere a link to download and to test the plugin?
If you are meaning the Animator plugin, see this thread If you are meaning the Twilight Render software, they have stated that they will be posting a link to their software sometime today. You will have to have the Pro version though (at least that is my understanding).
-
@thomthom said:
New round of donations for Fredo - anyone?
Could You send me info how to do that?
This many is treasure who earned our support. -
I'm eagerly awaiting your newest plug-in Fredo. Having been tasked with creating some animations, SketchUp is where I wish to do it so your excellent tools help enormously.
One question, will Animate have a path tool so I could make my shapes/groups follow paths other than straight lines?
Kelly
-
-
@ntxdave said:
If you are meaning the Animator plugin, see this thread
I get:
"You are not authorised to read this forum." -
@thomthom said:
@fredo6 said:
But I don't know how to reach the others
PM me who you are looking for - I'll see what I can do. I have the ChaosGroup contacts for sure - but I should be able to obtain other as well.
Oh, that would be ideal. If this could work with Shaderlight renderer, my world would be complete. I'm currently using "Keyframe Animation", however, it will not work with Shaderlight. Therefore, I cannot complete my animations by rendering them. The still only look like cartoons. Thank you for all of your efforts with this!
Advertisement