SubD examples and models
-
@rich o brien said:
Staying aquatic...

 what a beautiful example!
(do you all also feel that this smoothing process still impresses you again and again?) -
There is always an unsustainable suspense with this sort of polys modeling before you press the button!

-
@hornoxx said:
do you all also feel that this smoothing process still impresses you again and again?
Equal amounts of impressiveness and bitterness tend to wash over me depending on the outcome...

-
Looks a mess...and then it resolves itself.

-
That's yummy.
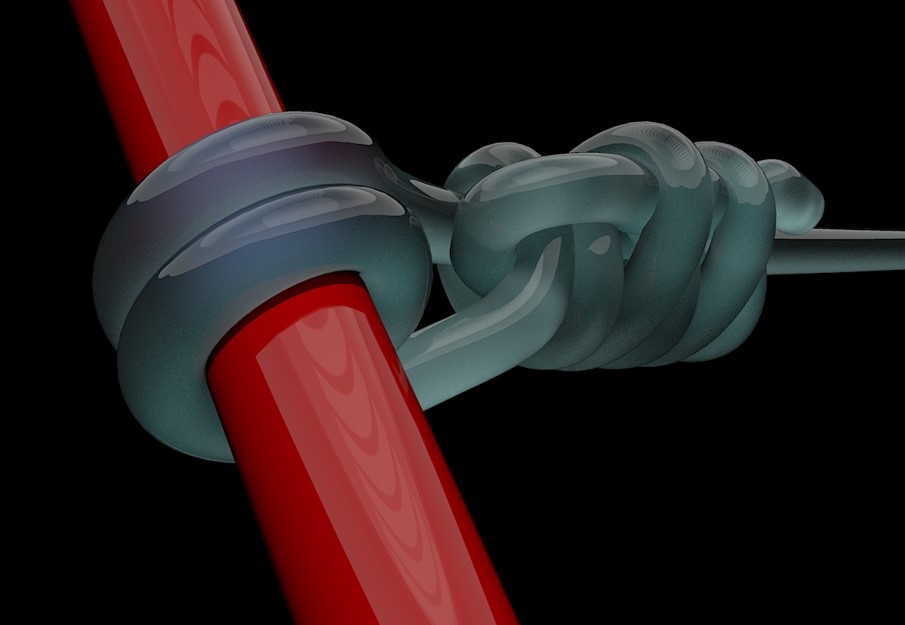
Getting your scout badge for knots?
-
Cheers Rich.
I remember being stunned by someone doing a knot way back when I was learning, so I like playing with them from time to time.
I liked the idea of using subd for it to make it a bit more 'loose' rather than the perfectly straight ones done with perfect curves and lines.Renders nicely too.
-
If you tilt your head to the left you see a guy playing a saxophone!
-
A little more knotting.

-
klasse!
-
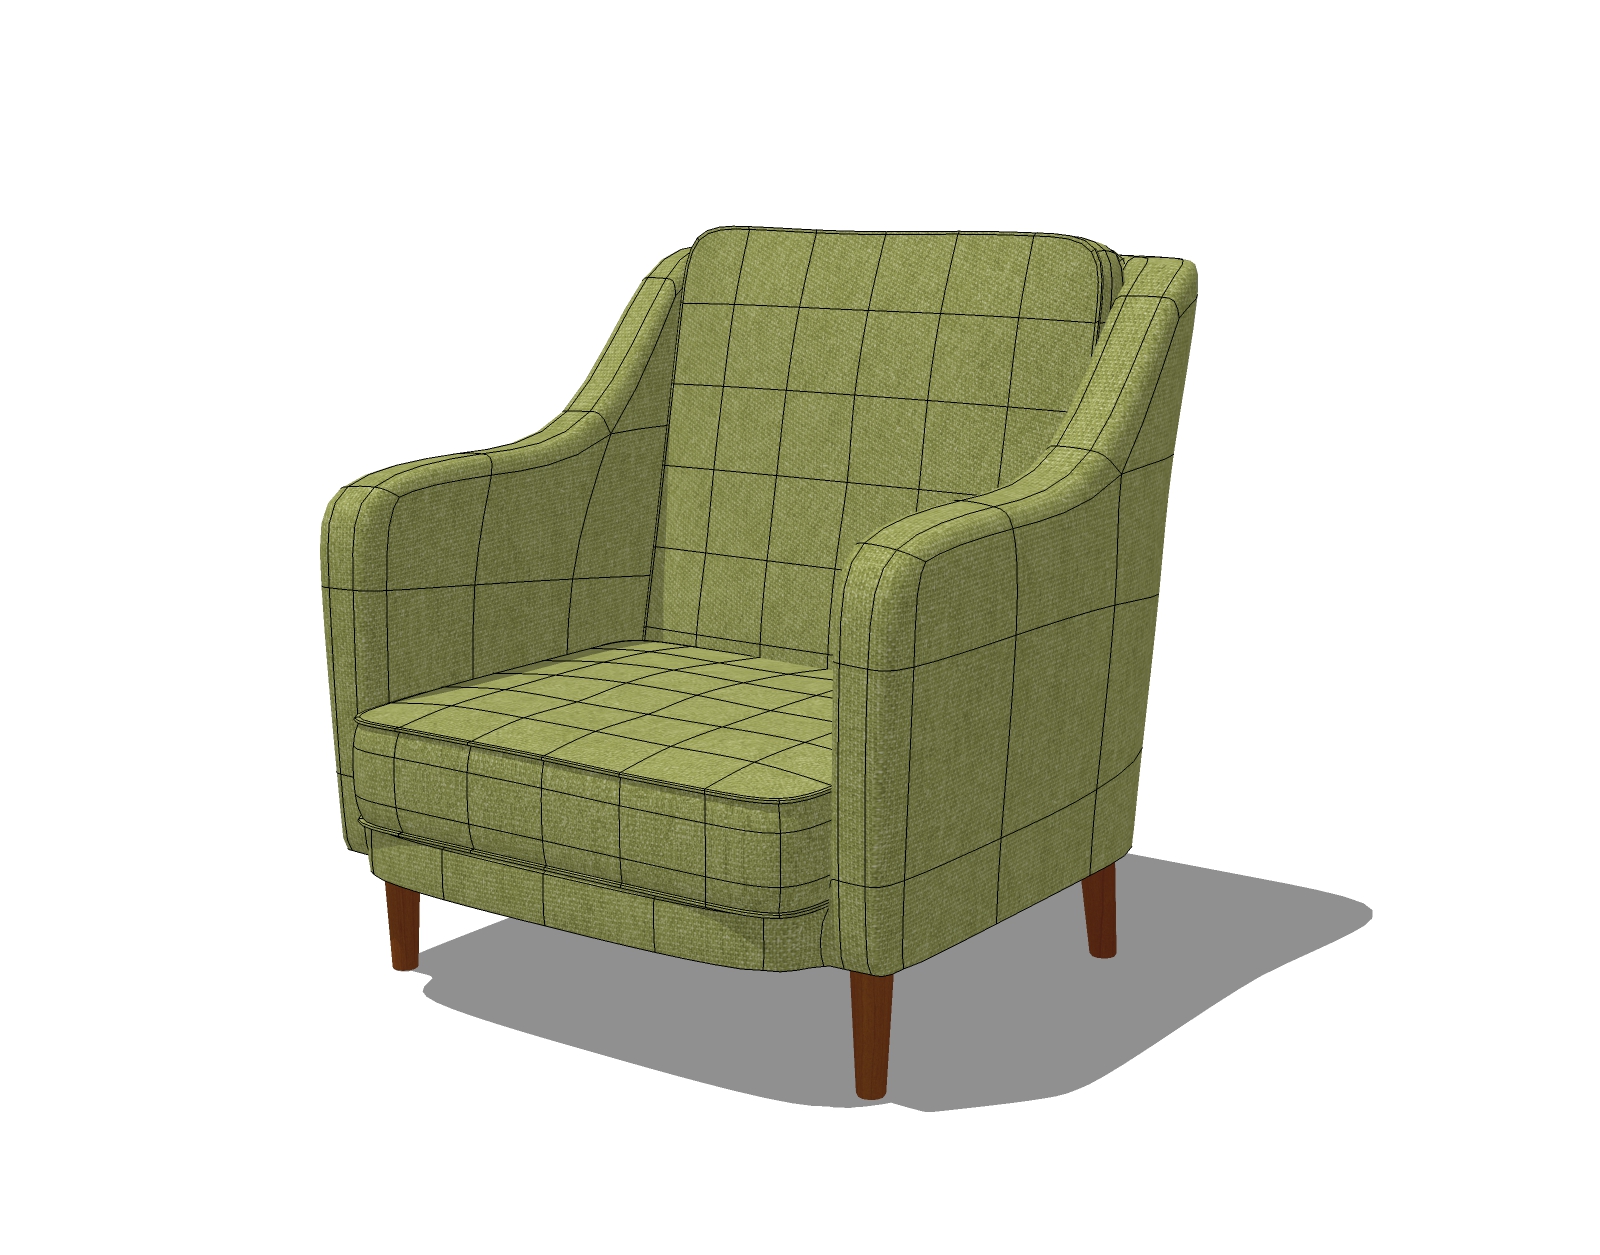
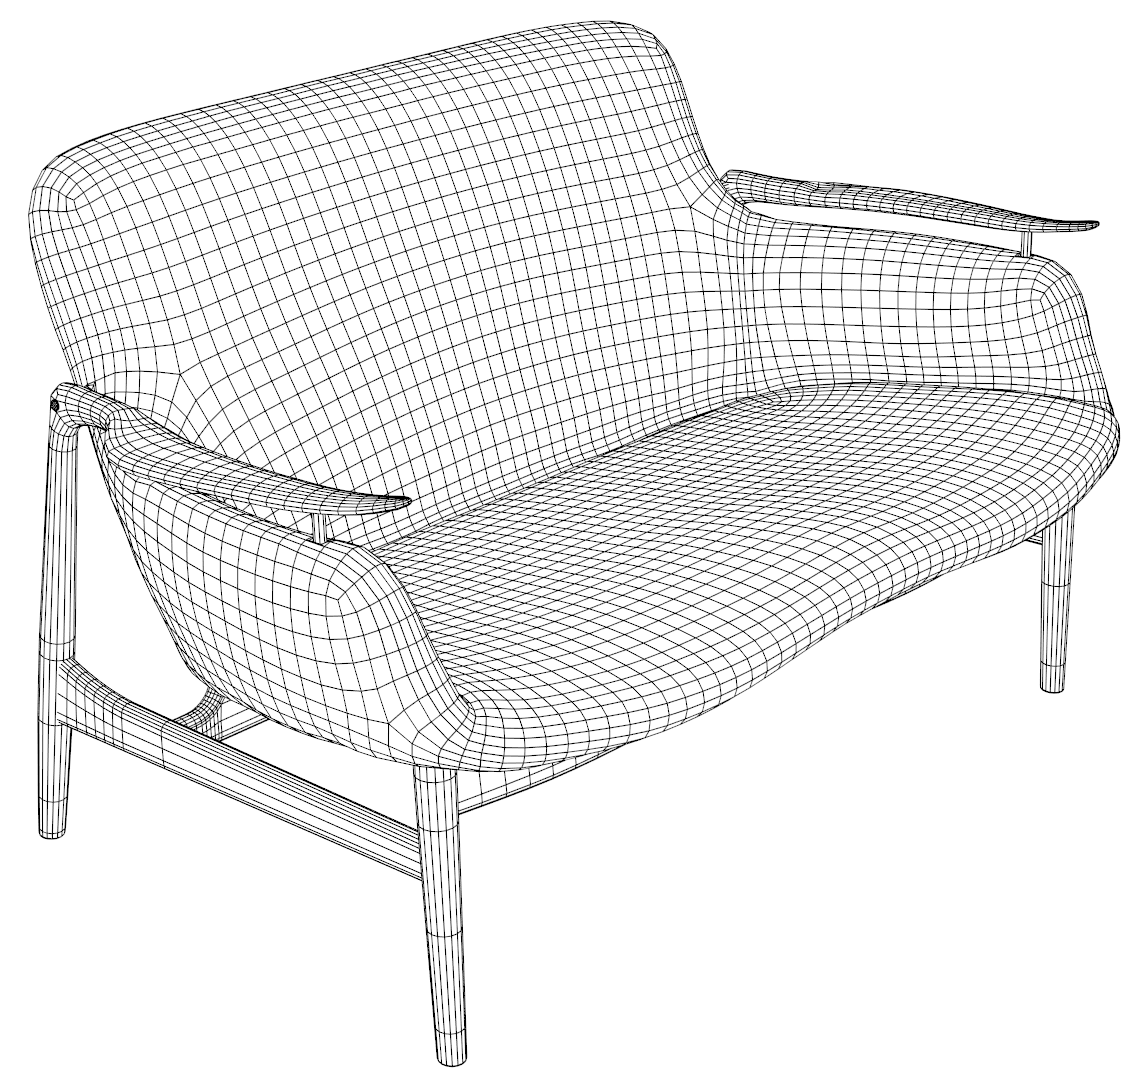
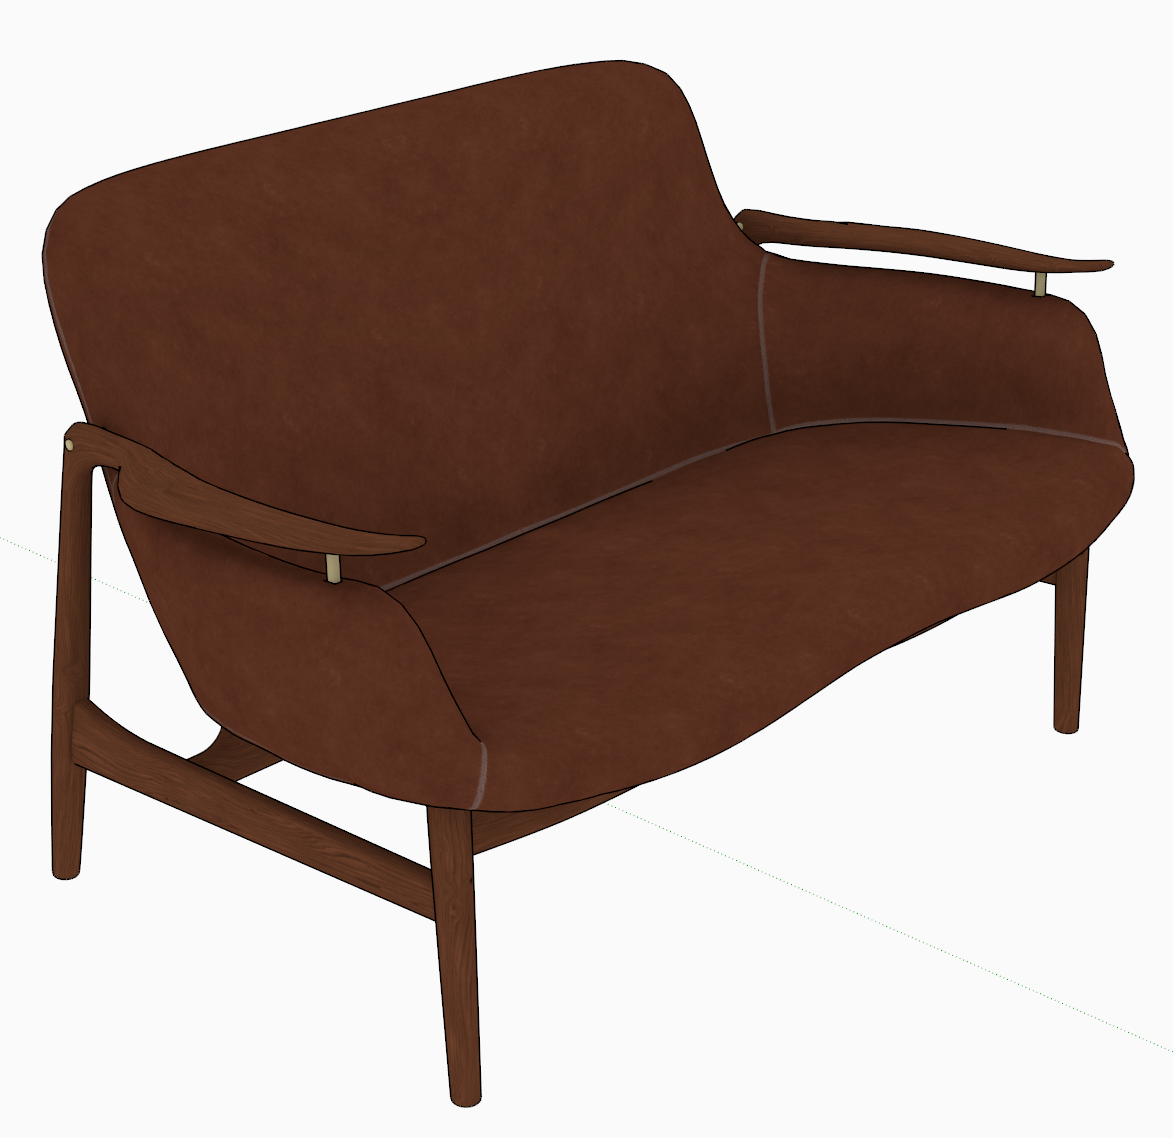
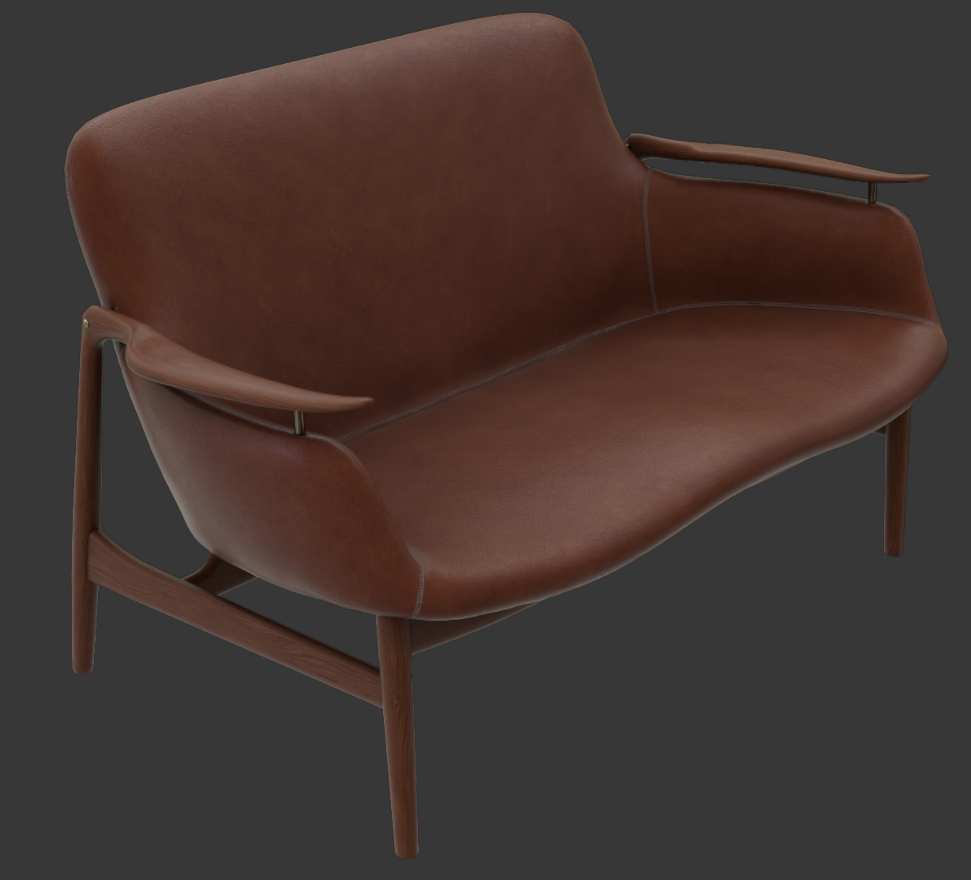
Another SubD chair for the parts file.

-
...prima Tuna1957
 not to forget this "rounded seam" (is there any term for this?) on the edges of the upholstery makes such a furniture model so much better
-
...prima Tuna1957
 not to forget this "rounded seam" (is there any term for this?) on the edges of the upholstery makes such a furniture model so much better
-
@hornoxx said:
...prima Tuna1957
 not to forget this "rounded seam" (is there any term for this?) on the edges of the upholstery makes such a furniture model so much better
 no idea why I posted this twice
-
@hornoxx said:
...prima Tuna1957
 not to forget this "rounded seam" (is there any term for this?) on the edges of the upholstery makes such a furniture model so much better
Thanks HornOxx. I believe Your referring to the “welts” around the cushions…. Welt is the only term I’ve ever used for these. I’m sure there may be other terms used in other parts of the world. What I found interesting in the reference picture I worked from there were no welts around the main body of the chair, just around the cushions.

-
 R Rich O Brien pinned this topic on
-
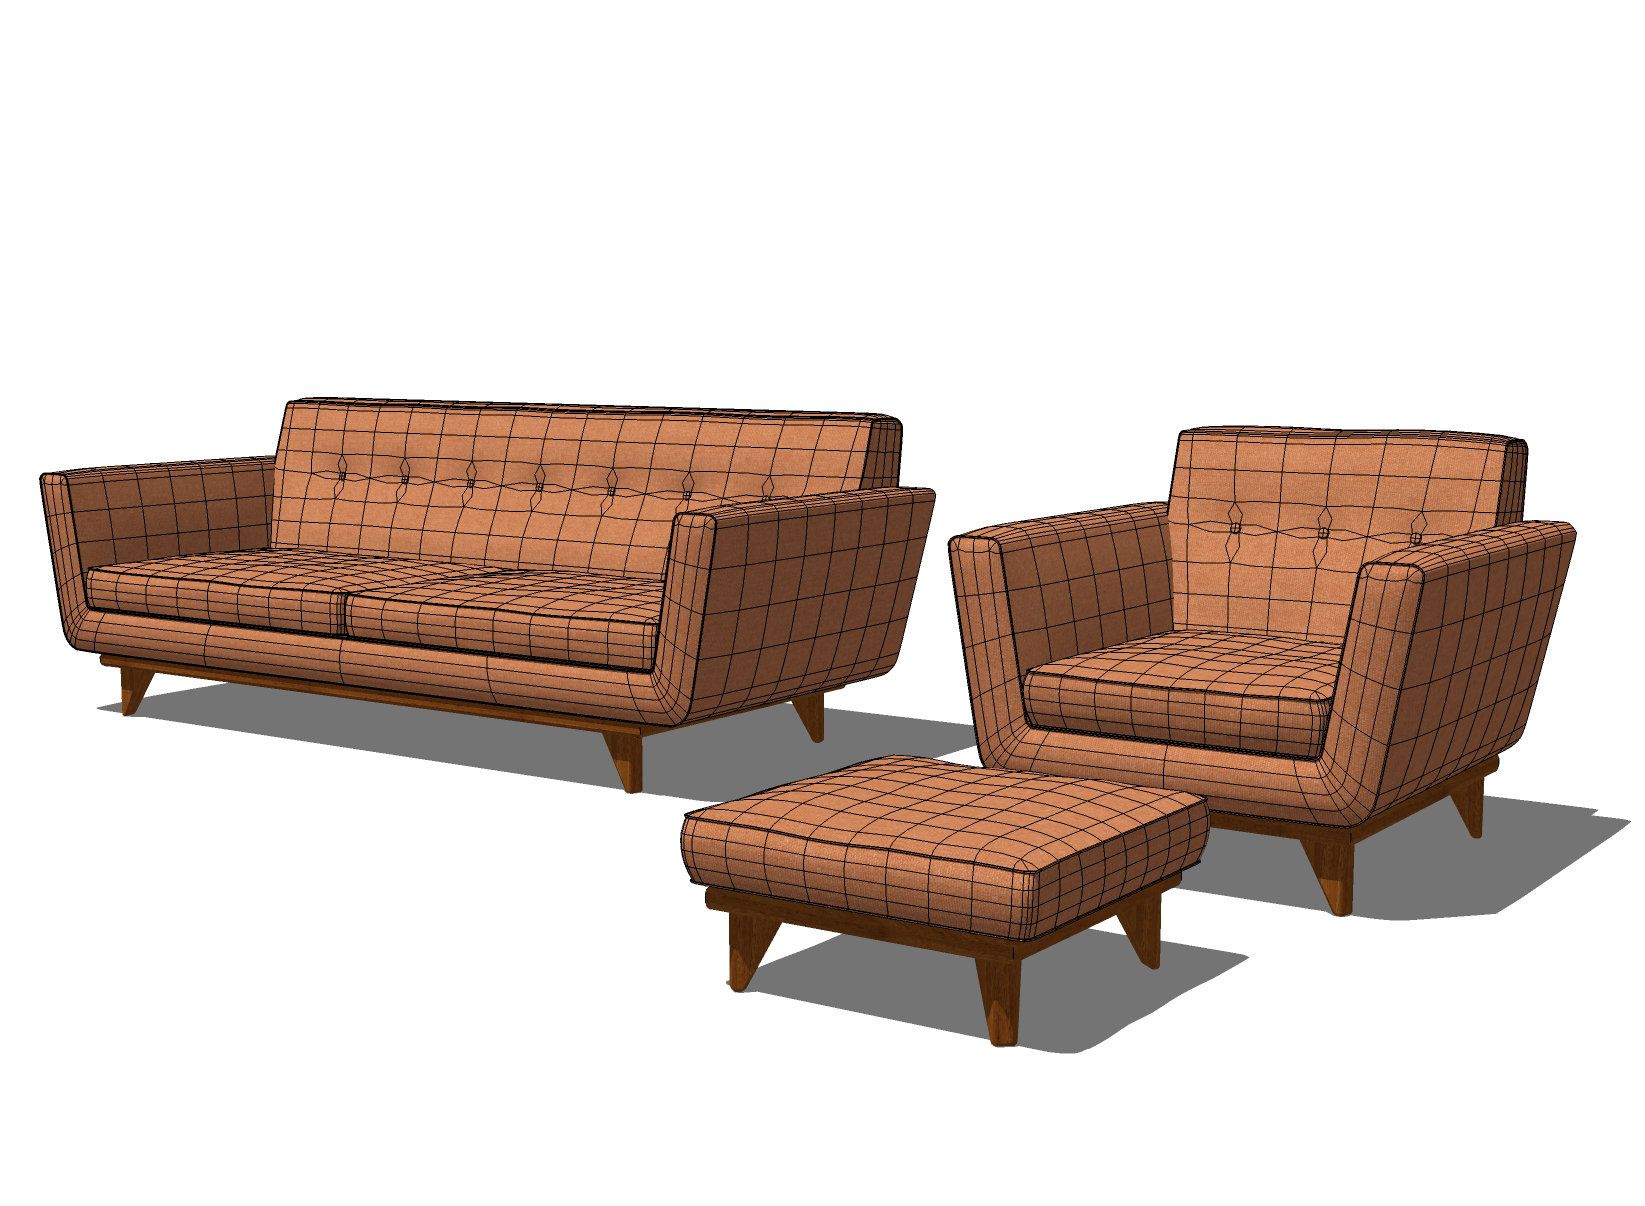
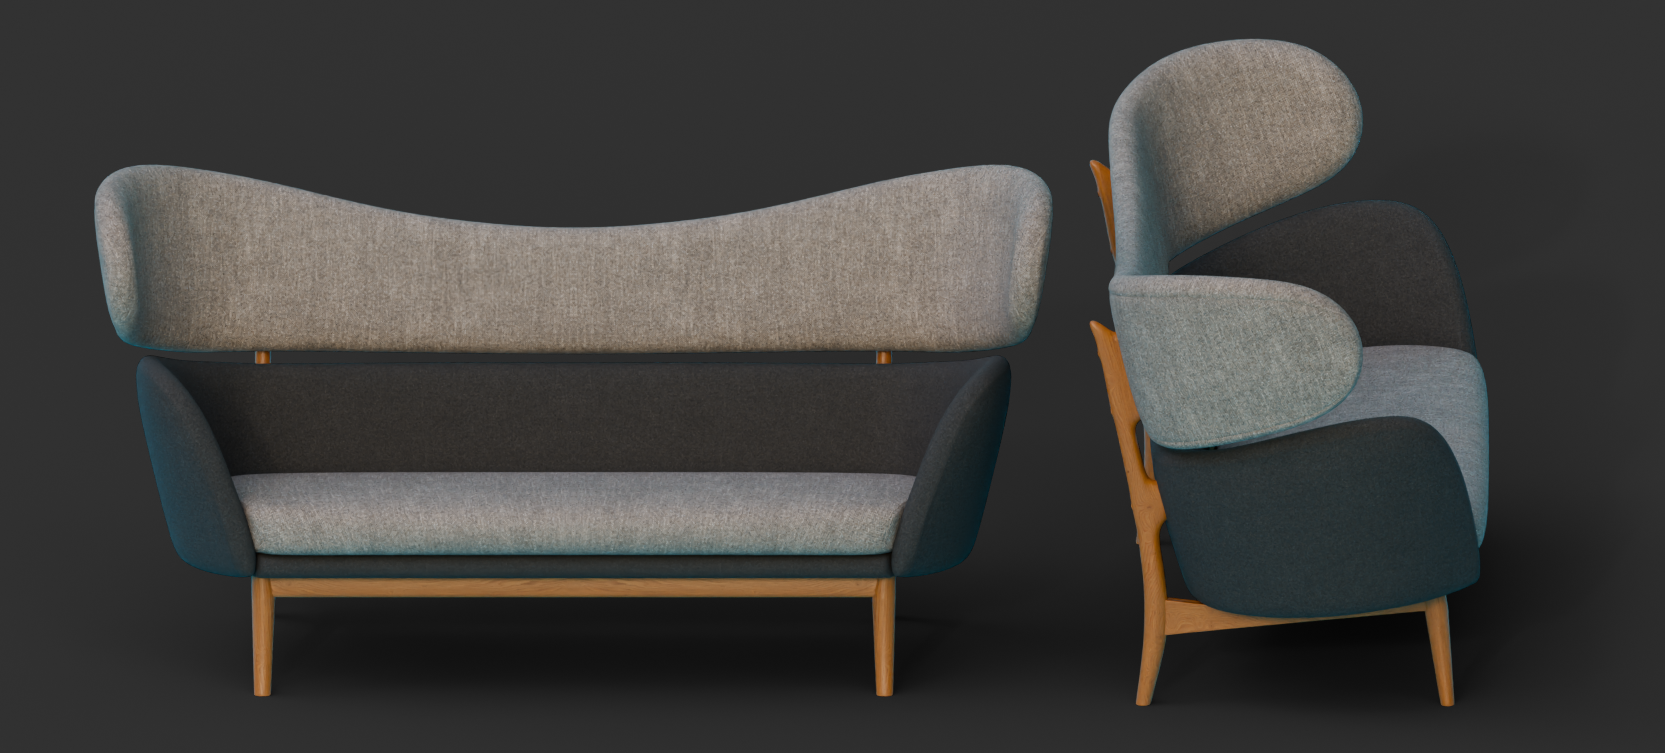
Revisited my first sofa model from many years ago. Fixed a lot of my rookie SubD mistakes. Added a little more detail here and there. Didn’t want to do a total rebuild.

-
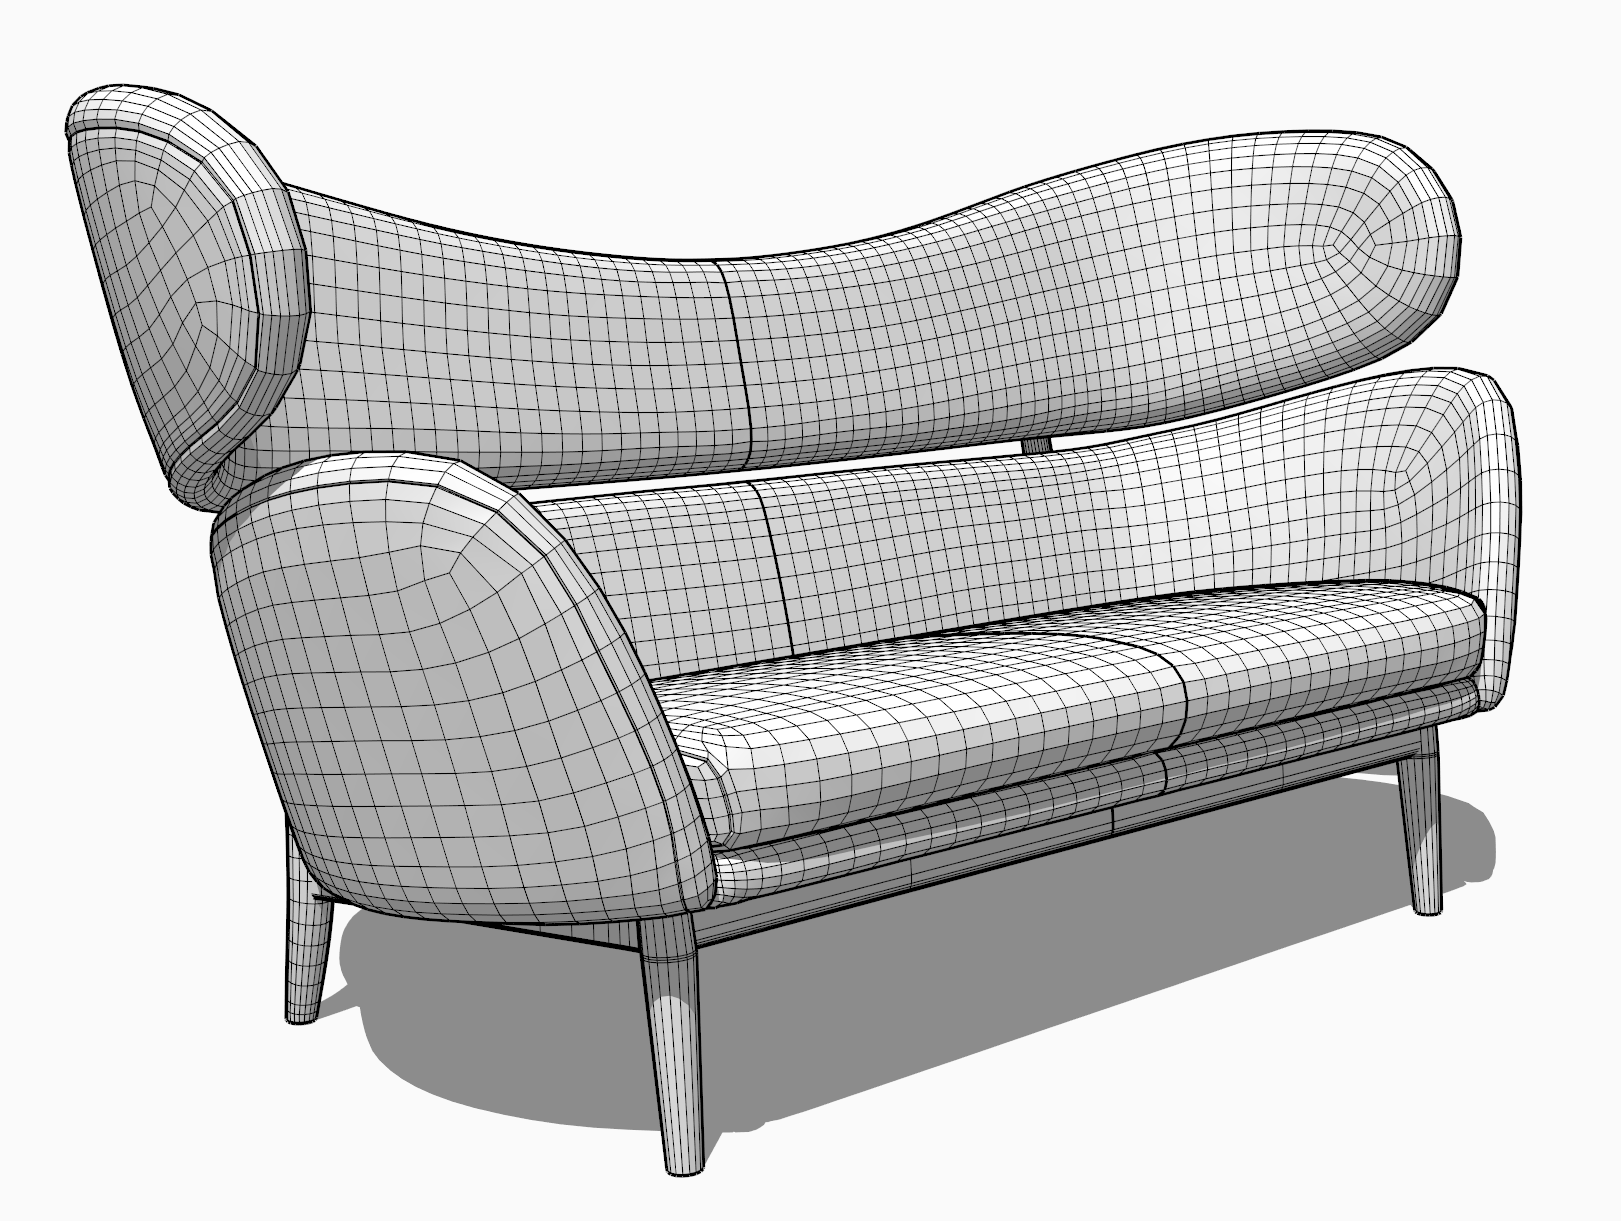
SUbD fun with furniture
-
@Rich-O-Brien Now that’s one sexy sofa

-
It would be better with Kylie Minogue on it tho'.......
-
@Mike-Amos said in SubD examples and models:
It would be better with Kylie Minogue on it tho'.......


-
Advertisement


