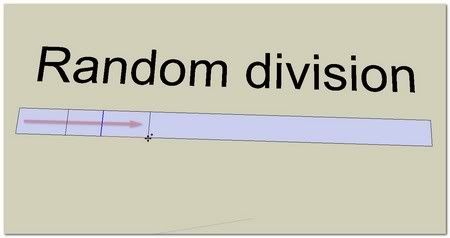
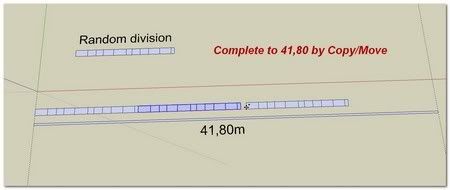
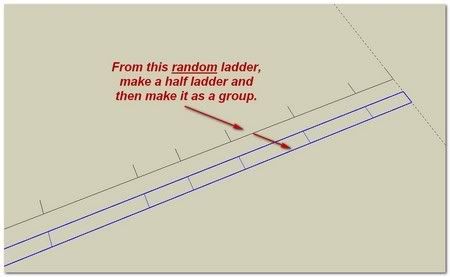
[Plugin] Component Stringer UPDATED May 23, 2013
-
Simon,
I absolutely love the way you fully exploit these different (and of course, wonderful) tools and model things probably even the author didn't even dream about!
Cheers and keep posting, please!

-


As usual I am tiring everybody with my extensions. I promise that this is the last one. You know , when I begin something I go on surrounds until I can think I have finished. May be those studies will brought some help to someone in some future
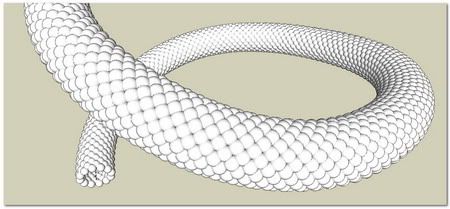
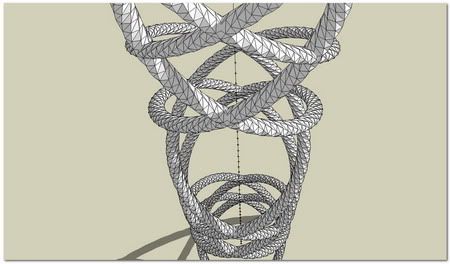
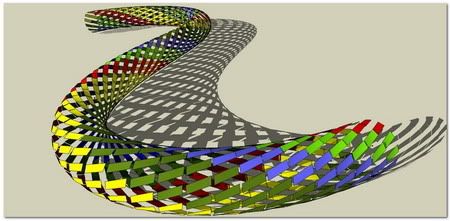
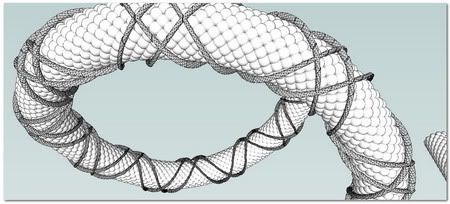
../VARIATIONS on Helical matter..
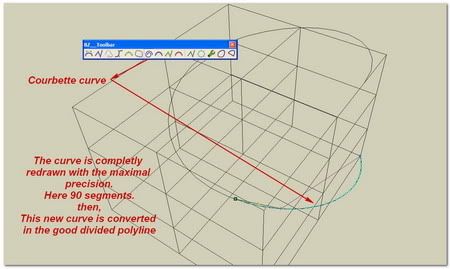
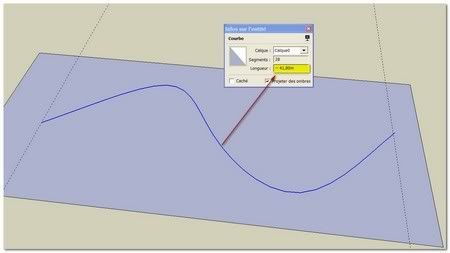
The main point to obtain a good result is to work firmly on the curve, in order to give it the real number of segments: individual in orientation and indentical in length
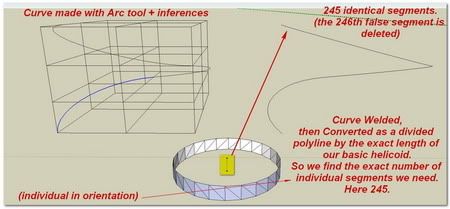
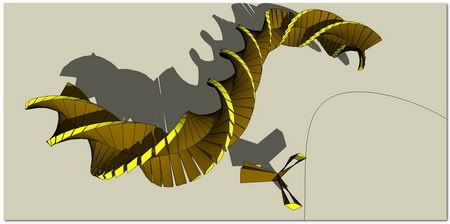
Another variation: Triple use! of Component Stringer

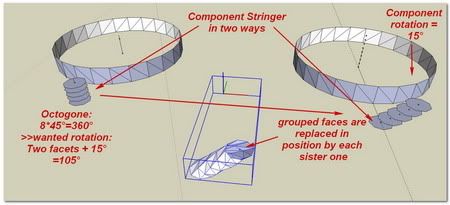
The result isn't so beautiful
 Well, it is just for example
simon -
Dear Gaieus

Your so kind words
 me!!
me!! 
@unknownuser said:
and then lets you do various selection scenarios. ideally a dialog would pop up that let you change your selections dynamically
+1EscapeArtist (Jeff) shows with his Dna

A very cool other use of what I have in mind with this possible selecting tool:
Using sequences of the same component colored differently. In the particular case of a dna, the possibility of selecting elements into an array of data would be probably the most useful..
simon -
Hi Chris, Hi SketchY fellows,
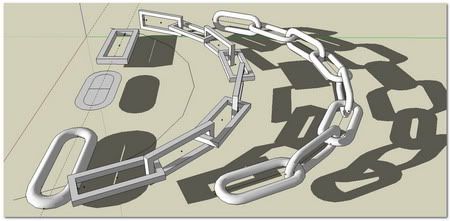
I'm following Component Stringer Study.Chains are now so easy to produce


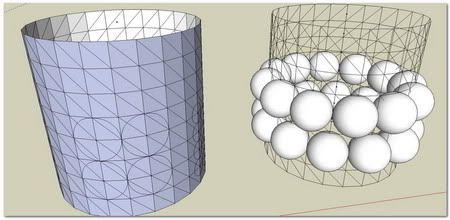
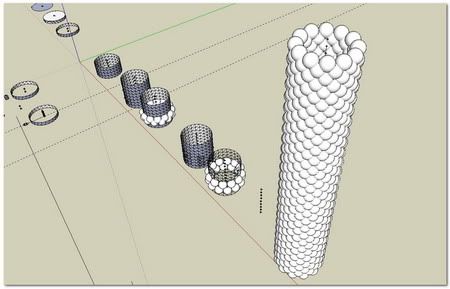
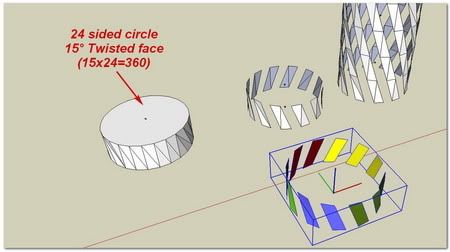
Helical study:
See Http for some explanation:
A PoorFlatEllipsoidIndian BowlThe joints are not welding perfectly, but if we need a good welding, we can use this one as a gauge..
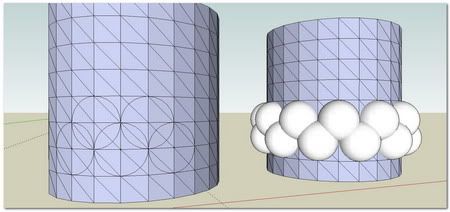
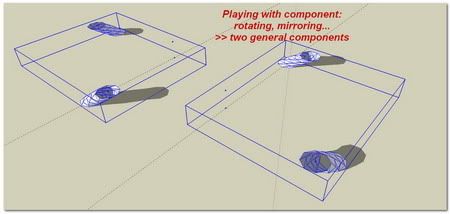
Double use of Component Stringer


(With a smart use of "Total Rotation" 15°[flash=500,405:2xup4in2]http://www.youtube.com/v/CEPRPA1TqwY[/flash:2xup4in2]
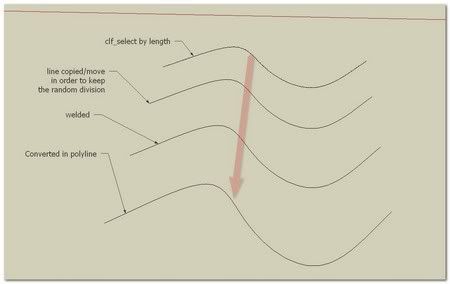
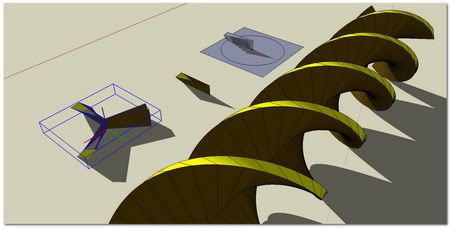
+++Making a straight line as it was a curve in order to use it as the "path" to copy components on.
- a reverse line is added to our line (or else, our line is right clic and divided by minimum two) in order to apply "Weld" because Weld need at least two elements to be applied..
2)This welded line is now (Bezier curves installed) right clic converted to segmented polyline.
3)Now apply "Component Stringer" on this "straight curve" "Scaling Stretch" ; "Component Rotation" 15° (in case -15°
  )
)
*simon
-
Simon, there's no other word for you but awesome

-
Men, this plugin with help of fantasy and skills (like Simon') are a killer combo!
-
Hey, looks great Simon. I love the way you dig in and study the plugins. I think its helpful for users to see how they can be used, and its helpful for me to see how people are trying to use these scripts. Helps think of new workflow improvements.
In fact, the next version of componet stringer lets you select more than 1 component. And it gives you the option of random placement of all selected, or ordered. So the reandom placement will help in the palisade example you just showed. It would make it quicker to place random boards.
The next version will also support series of non-connected edges (I think I already hinted at that earlier) and also supports closed loop selections of lines. It also includes a great little tool to reverse the direction components are "strung". I'm trying to get it all put together for one big release soon.
Also, I'm thining about the offset placement possibilities. I'm trying to figure out how that should be implemented. If anyone has any thoughts on how they want to see that work, I'd be interseted in hearing it.
Chris
-
Thank you Bob & Carrozza ! your encouragement warms my heart..
The following is probably the last idea that I wanted to develop With Component Stringer.
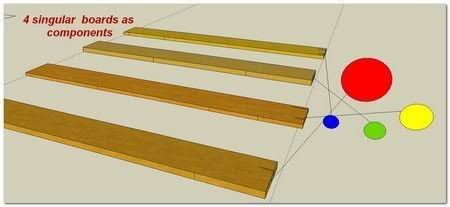
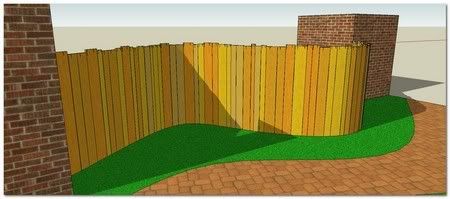
I dedicate it to our so nice fellow and great author, Chris.It is his:"TOTAL CHRIS FULLMER RANDOM PALISADE"
(because made about totally with a set of his own tools )
)How to produce a palisade constituted with random singular boards!!
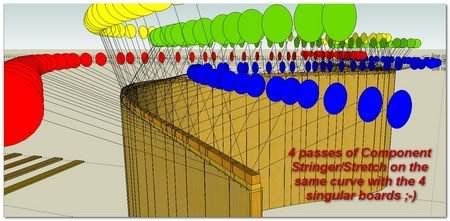
My idea is to copy palisade's boards along a path constituted by a random segmented curve Using ComponentStringer/Stretch mode.
Using ShapeBender this way: same length for the curve and for the grouped segmented line, the resulting ShapeBender Component keep closely the same lengths of segments inside the curve than those of the segmented line


[Plugin] Shape Bender Beta v0.51
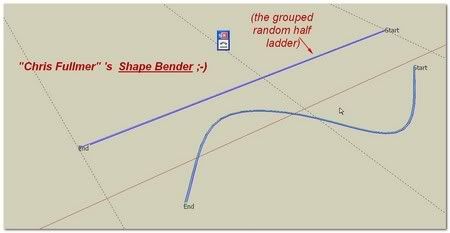
[Plugin] Select Lines by Length
Jim_Selection Memory
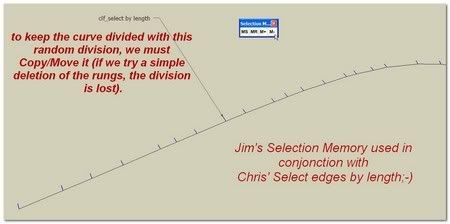
We delete 3/4 component for each segment( artistically if possible
 )
)
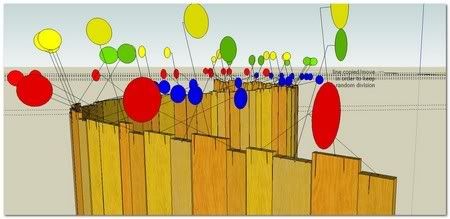
Et voila votre jolie pallissade

Dear Chris,dear all,
with my very friendship..
 simon.
 -
..


-
Suggestion
A rotation (s) of object on it own axis?
A scale of object? -
wow, Chris. thats sounds like a reason (or several for that matter) to be excited about the next release...

-
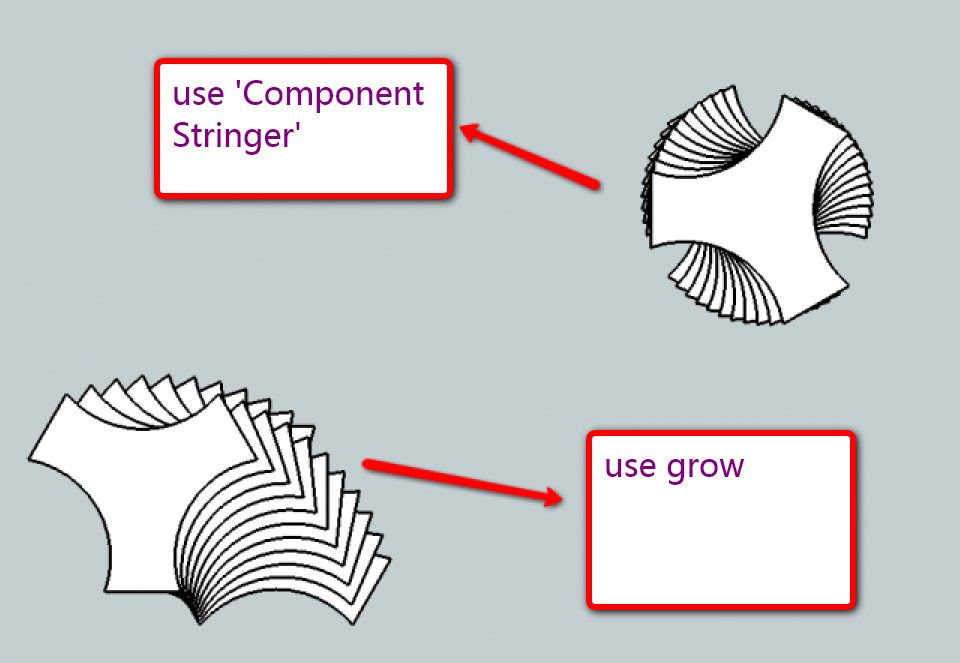
Hi,Chris,I wish your 'Component Stringer'and TIG'S "GROW.RB" combine together
-
Chris:
When using the uniform scale parameter, does the script start out with a set multiple? I am guessing say 1.5 x the scale of the component? and then the factor is applied to each subsequent component instance?
If this is so, would there be a user changeable scale factor parameter in the future?
By the way, this is a nice tool and I appreciate your sharing it. -
Hmm, good idea. That is not the way it works, but it would be fairly easy to implement (I think). No guarantees how fast I'll get it done, but I'll try to put this feature in the mext release.
Chris
-
In the attached I have component which I have attempted to string along a path in an orientation similar to that of the component. I've played with changing the component's axis but can't seem to get it right by only changing the component axis (rotating the component and then reseting its axis can work).
Chris, what is the secret? Your video mentions setting the blue axis but what of the red and green and at what corner of the component?
Signed, all strung out.
John
STRINGER - What are the rules to getting component oriented on path correctly.skp
-
Hi John, I set is up so that the blue axis in the component lines itseful up with the line spegment it is being placed on in the path. That is as much as I control directly in the script. The x and y axes are determined through what SU calls "an arbitrary axis rule." Digging into this, it appears that once I set the blue axis, SU forces the component's red axis to lie flat on the x,y plane. Then the component orients itself so that the green axis is pointing in a positive direction (always pointing slightly upard, or completely upward if the path being followed is flat on the ground).
So, if your path is flat, then the blue will follow the segment it is to stetch over. And the green will point upwards in the model's blue direction.
But once your path gets off the flat x,y plane, the it gets a little trickier to guess how the pices will orient themselves.
Sorry thats not much help,
Chris
-
Thanks, Chris. Helps make things a bit more predictable.
-
@cadfather said:
Thanks Chris
it's funny how many different angles you land on sketchup from..
-
@unknownuser said:
Suggestion
A rotation (s) of object on it own axis?
A scale of object?What I wished for a while now.... http://forums.sketchucation.com/viewtopic.php?f=180&t=19204&hilit=+copy+rotate+scale
I wish I could explain!!! -
Chris, I love your tools but just one thing...
This plugin I can't get to work for some reason, I even reinstalled it. Nothing happens when I even activate it, here is what I get in the Ruby console:
Error: #<NoMethodError: undefined methoddefinition' for nil:NilClass>
C:/Program Files/Google/Google SketchUp 7/Plugins/clf_component_stringer.rb:103:inmain' C:/Program Files/Google/Google SketchUp 7/Plugins/clf_component_stringer.rb:190 C:/Program Files/Google/Google SketchUp 7/Plugins/clf_component_stringer.rb:190:incall'
See Chris? a little help here?`
Advertisement
