The "Duh!" thread (aka the Doh! thread)
-
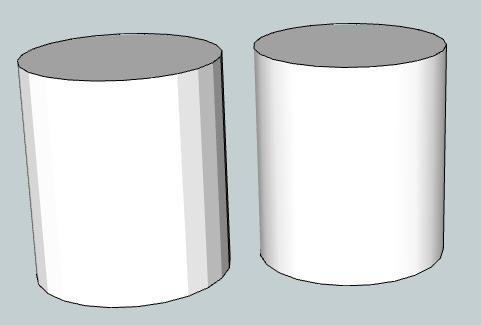
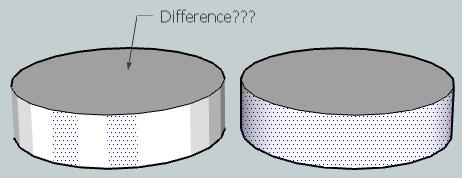
Left is Hidden, right is softened...
and SHIFT+ = Hide
and CTRL+ = Soften
-
@unknownuser said:
Left is Hidden, right is softened...
Other than appearance, is there a difference in how the two behave?
(I'm slow to Doh! on this one
 )
) -
In this example the cylinder with the HIDDEN lines, it's faces are still individually manipulated. Where as SOFTENED results one continuous face. SU playing games with the mind
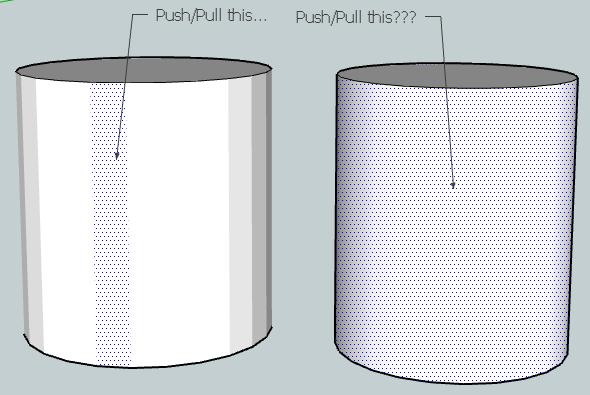
To create the cylinder without softened edges, just draw a circle, then right click it and Explode Curve followed by . Now you can hide edges and see for yourself!
-
Hmm. Strange. I'm able to create hidden and soft lines (I use hidden lines regularly).
But if I create two cylinders, just as you have, the hidden line version behaves exactly the same as the soft lines version (sketchup displays the sides as one big face, unless I display "hidden lines" then I can select each face individually).
Also, my hidden line cylinder looks identical to the soft line cylinder.
Can anyone comment on the intent behind creating these two different line styles? What is the "suggested" or intended use for each?
-
Hi DanBIG,
Draw two circles and the right click as mentioned above to 'Explode Curve'
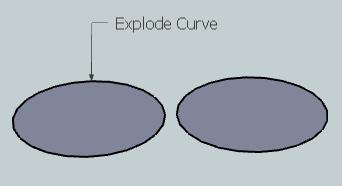
Now both circles, because we have returned the circle to individual segments, instead of one polyline, SU creates a cylinder with individual faces...
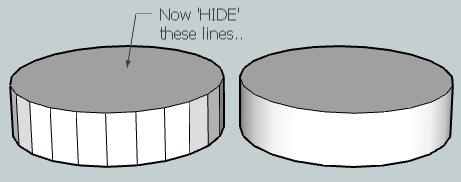
Hiding these faces do not merge the faces into one another again, it just hides the Edges(Vertices). Thus still enabling you to manipulate each face...
@unknownuser said:
What is the "suggested" or intended use for each?
SU, when it creates CURVES(POLYLINES), allows you to simulate smoothness. As SU natively uses only straight lines to create any curve, having the ability to simulate smoothness/roundness is necessary. When you select View>Hidden Geometry you are effectively asking SU to show both HIDDEN and SOFTENED lines.
To answer your question, which looks nicer?
-
following up
doesn't it also affect how textures or materials are applied? -
Regarding textures; it does not really control how they are applied but how you can apply them. I.e. you cannot manipulate texture mapping (positioning, projection etc) on curved surfaces only on singular face(t)s. In order to access these on curved surfaces and be able to do anything, you need to show hidden geometry first.
-
I have never noticed this...

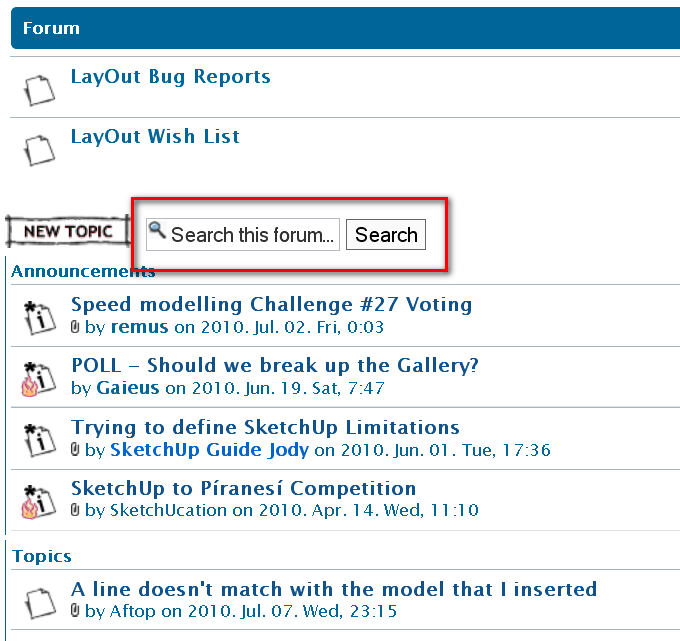
And we have a "search this topic" box as well!

And I am an admin here for about three years now?


-
@Gaieus:
No one is immune.
I will probably be next. -

-
Administrator is at first level
Moderators second level
Surfers users are in the hold
Mine Doh of the day
One research realised then the second one ...

-
@danbig said:
@xrok1 said:
i think the biggest duh moment of all that everbody (hopfully) goes through is realizing that it matters which way the faces are oriented.
90% of the 3dwarehouse posters still havn't had that duh moment.

...ok, I'd better ask, because my mind is blank after reading this.
What do you mean, "it matters which way the faces are oriented"?
This is either something I know, in different terms, or something I don't know at all.
If you export SU models to other software that undestands cad models the "light colored" face is regarded as the surface normal -- an odd phase in itself -- but what that means is that face will change it's appearance per the intensity of the light plus angle of the surface normal relative to the light source whereas the reverse face -- the "dark one" -- does nothing. IOW, any kind of add'l rendering depends upon setting face orientation correctly.
-
I hardly ever mess with the axes settings, but have finally had a need to start using this and often found I would inadvertently set the blue axes downwards rather than up.
Was watching a tutorial this morning, and found that if one triple clicks (after setting the red axis) it is automatically done correctly for you..... It was a Duhh !!! moment for me.
-
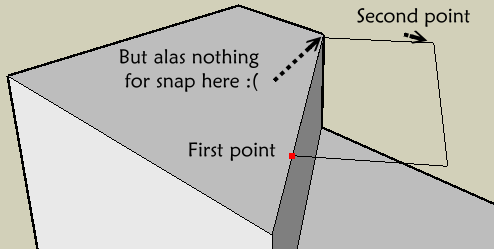
When you use the Rectangle tool and make the first click on an edge that is connected to a face, the rectangle tool will align to the edge.


-
When you have a very long list of Plugins under Menu Plugins

Just press a letter on the keyboard and you can see every plugs begining by this letter


Damned how many time I have losted with this
Of course you must know the name of the plugin that you want use
@Thomthom
@unknownuser said:the rectangle tool will align to the edge
Yes but...Inference don't works or maybe you have a trick?

Of course I can move the segment atfer drawn the rectangle
(maybe the best) but with only the rectangle tool?
-
my duh! moment, toggling control while erasing to hide edges rather than erasing them!
-
@penumbradesign said:
my duh! moment, toggling control while erasing to hide edges rather than erasing them!
Eraser+Ctrl 'softens' edges.
Eraser+Shift 'hides' edges.
Eraser+Ctrl+Shift unsoftens edges.
To 'unhide' edges you have to use Entity Info or right-click context-menu 'unhide'...
-
Eraser+Ctrl+Shift also unhides edges (I think)
-
-
Mine of the day

When you create a component with glue property you must reload it from the menu Component
The first one created on the screen don't want glue!

(and I don't know why


Hello! It looks like you're interested in this conversation, but you don't have an account yet.
Getting fed up of having to scroll through the same posts each visit? When you register for an account, you'll always come back to exactly where you were before, and choose to be notified of new replies (either via email, or push notification). You'll also be able to save bookmarks and upvote posts to show your appreciation to other community members.
With your input, this post could be even better 💗
Register LoginAdvertisement


