[Example] V-Ray Displacement
-
I remember reading something about a 'trick' to get displacement to calc faster on a final rendering. Does anyone remember the process. It had something to do with running the rendering with displacement off and then saving the IR and LC maps and then re-running the rendering? It was supposed to increase render times dramatically.
-
That's pretty much it. If you only have a few materials with displacement, you can turn of the disp. map for those materials and run a render at 1/2 the final resolution (height and width), then saving the LC and IR maps. Then change your settings to render LC and IR map from file, change resolution back to full res, and turn back on the disp. maps. The rendering should then start right into the final render pass. One warning though, there's a bug in the current version where the saved maps don't load correctly. I don't recall the workaround now, but it was discussed in the asgvis (now chaosgroup) forum. I'll post some info if I can dig it up. I think it had to do whether autosave image was turned on or not. (It needs to be turned on and a file path selected.)
Andy
-
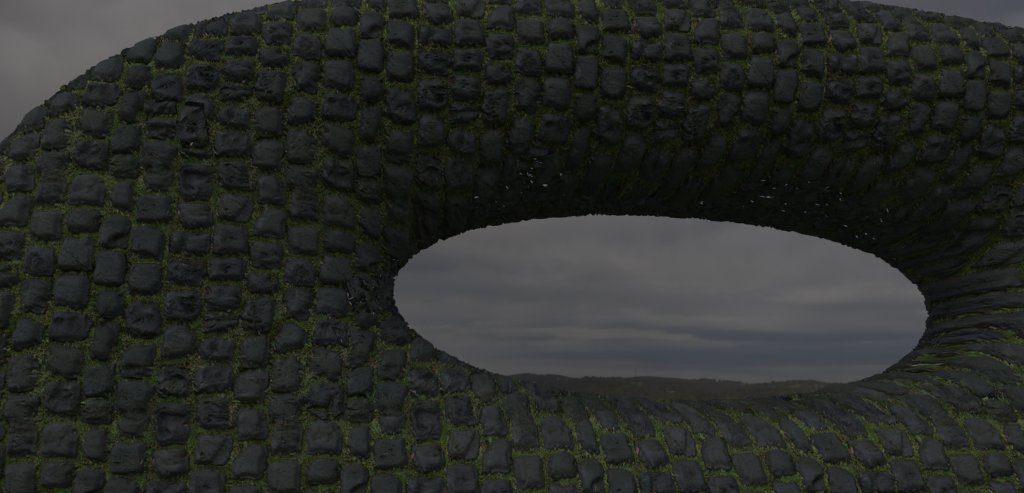
Displacement mapping made with 1.49 vfsu. Texture taken
from http://luzindirecta.luxisessentia.com/
HDRI sky hyperfocal
-
Did we ever figure out the workaround for the 1/2 res LC IR saving in 1.49.01?
-
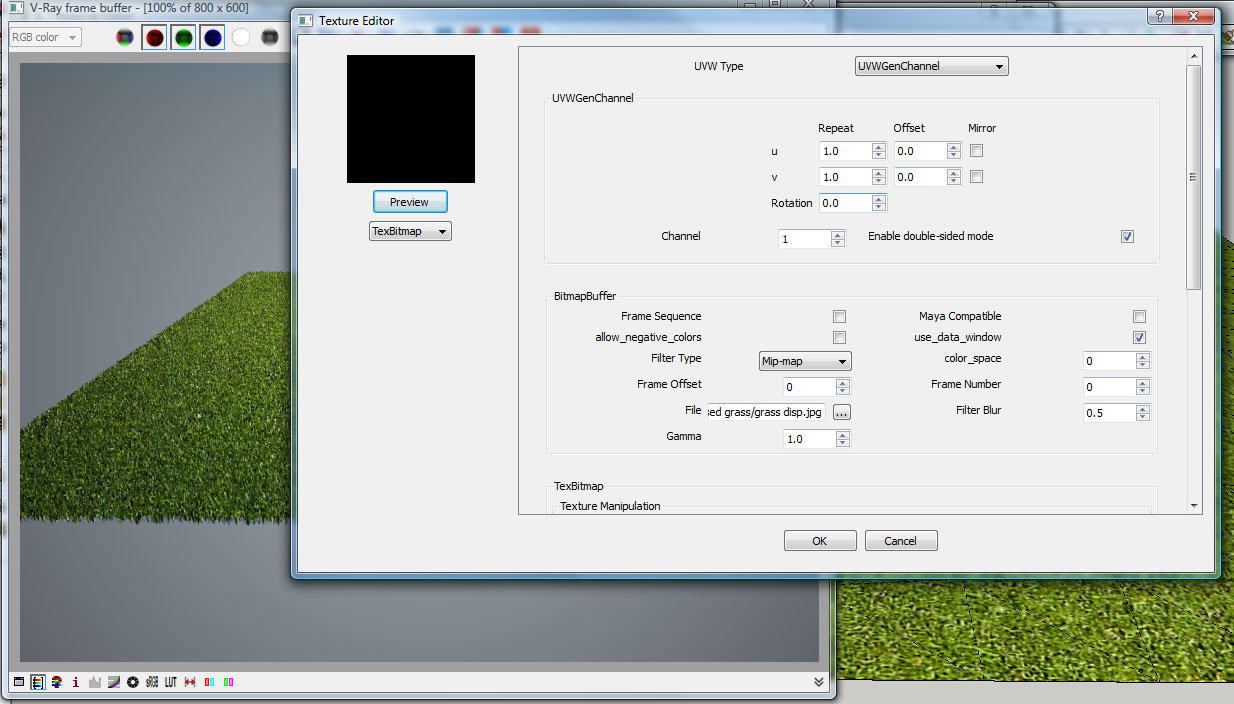
The scene that ThomThom has been good enough to supply has a link to the displacement on a local machine.
If you save this map to your pc and then link to it, the scene should render fine.
Hope this helps
Matthew
-
I might have been clear. I apologize for that. What I am referring to is the workaround that lets you rendering at 1/2 res with displace off and then you load your IR Map and LC Maps and render at full res. Andy mentions that he thinks there is a bug in the latest version that will not let you load the IR and LC maps properly. That's my issue right now.
-
@valerostudio: I had a thread about this on the Chaosgroup forum. There is a trick that's worked most of the time - has to do with autosave. As long as you have a file name selected in the IRmap autosave slot, the saved maps seem to work.
bug and solution for indirect illumination autosave bug
(registration required) -
@3deviator said:
3deviator
I followed your steps, I liked the result.
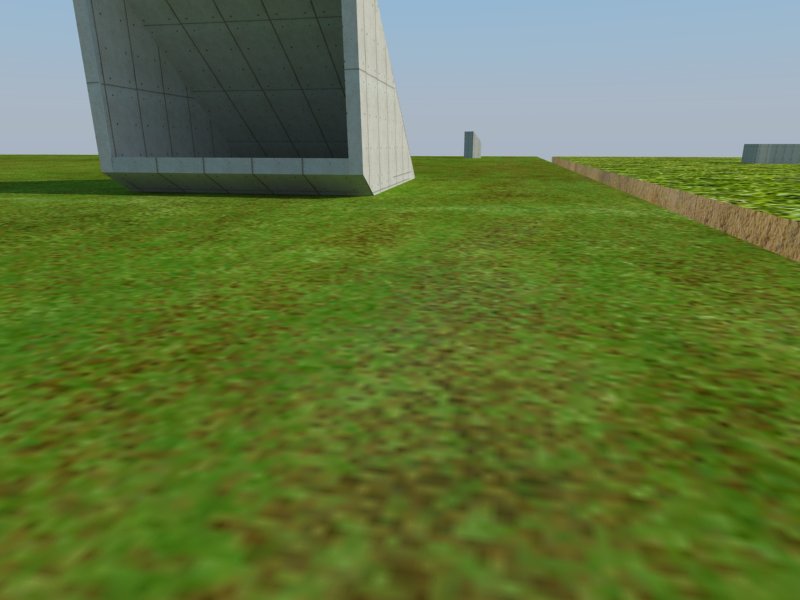
When I preview render in the material editor it looks good, but when I do a render from my scene it doesn't show the displacement.. I have this when rendering other kind of materials with displacement too. So there must be something wrong, I checked all the settings from your images with mine.. and they are the same. Any idea? Really frustrating, been looking for days now (reason why my water material isn't working properly too, see other thread).
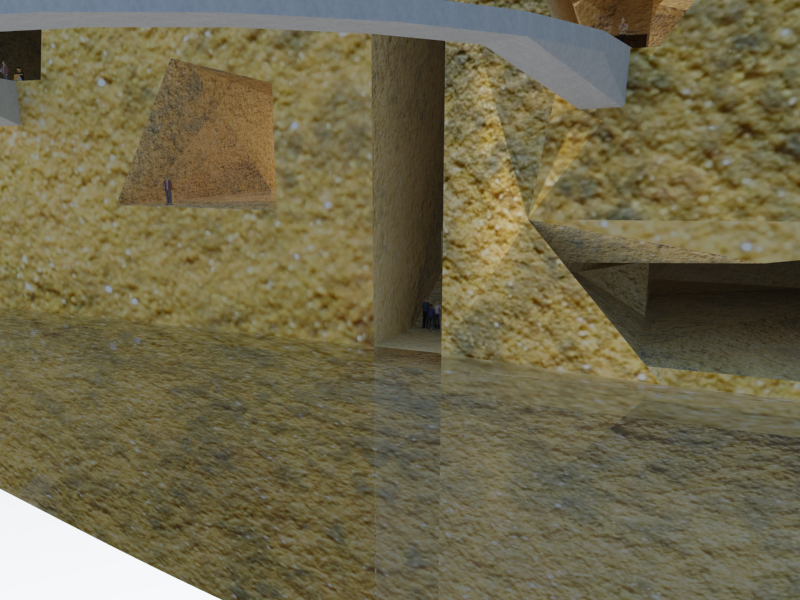
Thank you,
Bert
-
Note that the material editor scene isn't well suited to preview architectural materials. When you create displacement materials you will see that the displacement amount will look different. The displacement multiplier represent inches, so calculate how big your multiplier need to be.
Then you also need to make sure that any displaced geometry is completely isolated. A geometry with a displacement material must not touch any geometry with any other material. That is very important.
-
also, make sure also that any edges in your group do not have any other material applied. That's tricked me up once or twice...
-
I switched the displacement multiplier up to 50, but it doesn't change a thing.
I created a grey rectangle outside my model to check if it would work there (so it isn't connected to another material).. still the same?
Can someone check my sketchup file? Really stuck here. As far as I know I'm not using any groups for the model, maybe by accidence a while ago (been working on it for quite some time now..).
http://www.mediafire.com/?pxmhwih5p0t5li3
(if you open it, does it look like a heavy file? Sketchup blocks from time to time for a minute or 2..)Thank you!
Bert
-
Still downloading, but did you isolate the geometry? That is the most important thing to do.
Also, exactly what version of VfSU do you use?
-
i wonder if he's confused that isolating geometry is not just having it separate but to actually make a "group" or "component" out of it. Haven't had a chance to look at the model either.
-
Just opened the model - looking....
(Just a note on the model in general - I purged the model. erased all the scenes. Erased everything except the test square the camera was focused on and saved it - 1.9MB ... from 40MB. Please purge your model before sharing - everything will be smaller and quicker. People find a 2MB file easier to initiate a download for rather than 40MB.)
-
@andybot said:
i wonder if he's confused that isolating geometry is not just having it separate but to actually make a "group" or "component" out of it.
This is true - everything was ungrouped.
Once grouped it worked fine.
(Though, I found that any geometry in the same context - connected or not - prevents displacement. Wonder if that changed since earlier versions. Before it could be in the same context. But alas not not. Complete isolation is required.)
-
Hi,
thank you both for helping me out. It was the group thing that caused the render to 'misbehave'
I tried it on a small patch, and it worked. But it took a half an hour to render a small piece.. so I'm not going to use it in my large scene (will take ages to find the right settings & get the final render). Very frustrating that all your materials have to be put apart from each other to get a working render.. don't see how you can get walls aligned to each other properly if you have consider this. Going to try the sea water later this evening, it's crucial to get it right for this project.Thank you again, and sorry for the large file. Will keep it in mind for the next time.
-
Yea - I never liked displacement grass anyway. Just end up looking like a spikestrip.
I assign a colour to the Colour ID of the material and render out a Material ID pass which I use in Photoshop as a mask where I overlay real grass from photos.
-
-
Yes, seems a lot easier to do it post-rendering. Thanks, I'll be using it for my grass.
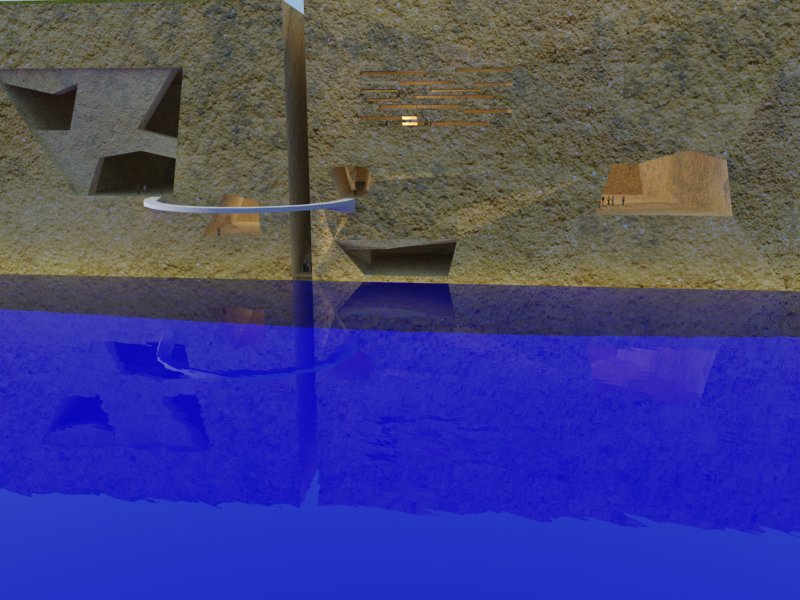
Now I've been trying again to get my (sea)water working. I managed to let vray render my material, but now it's coming out all wrong.
It looks exactly the same in the preview in material editor as in the youtube tutorial (http://youtu.be/vbHdi5bEdlI), but when rendering it comes out very pure blue and not transparent. I redid the whole process 3 times.. still the same result.
Anyone an idea? I'm really getting tired of this same kind of problem over and over again .
.
http://www.mediafire.com/?52she3kywadj4yz
(I copied the water to another file so my SU-file isn't too big to download. )Now to bed! 3 am here.
Thanks in advance,Bert
-
dear mate, do you mind to try this one?
it is just a quick tweak over glass material..... I'vnt changed the refraction IOR ( it is now 1.5 and must be 1.3 for real water) so you may yourself do it... or maybe you prefer a differend wave "size" on bumb section
Hello! It looks like you're interested in this conversation, but you don't have an account yet.
Getting fed up of having to scroll through the same posts each visit? When you register for an account, you'll always come back to exactly where you were before, and choose to be notified of new replies (either via email, or push notification). You'll also be able to save bookmarks and upvote posts to show your appreciation to other community members.
With your input, this post could be even better 💗
Register LoginAdvertisement


