[Example] V-Ray Displacement
-
In response to some general displacement questions, here is a sample displacement test rendered in VfSU 1.48.83.
Notes on displacement in VfSU
-
Always isolate the geometry you want to displace. If any displaced mesh connects to other mesh with different materials it won't work.
-
Displacement takes lots of memory. You can quickly run out of memory with this on. The larger the face your displace, the more it needs to keep in memory while it processes that face. Avoid large faces and sub-divide if necessary.
-
Displacements increases rendering times. Don't use it unless you actually see a big enough difference. Quite possibly a bumpmap will do the job instead.
Example
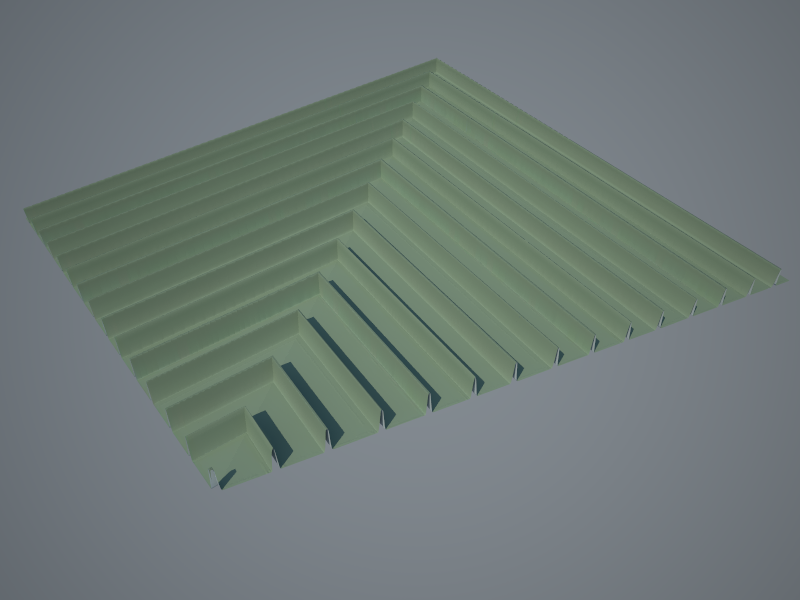
Note that I set the bitmap filter to 0 for these kind of displacement to avoid blurring of the texture and as a result soft transitions. For this kind of displacement you want a hard edge - so remove all filtering.
For more reading on displacement in VfSU: http://forums.sketchucation.com/viewtopic.php?f=322&t=18202&start=15
Note: In 1.48.66+ you do not need to set an inverted gamma for the displacement maps in order to render them linear.
Here is the same scene from: http://forums.sketchucation.com/viewtopic.php?f=322&t=18202&start=15#p148769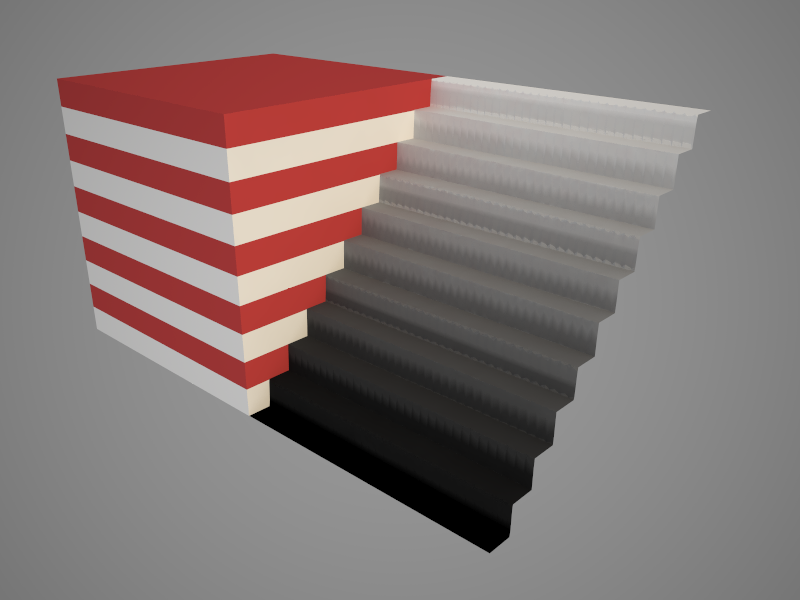
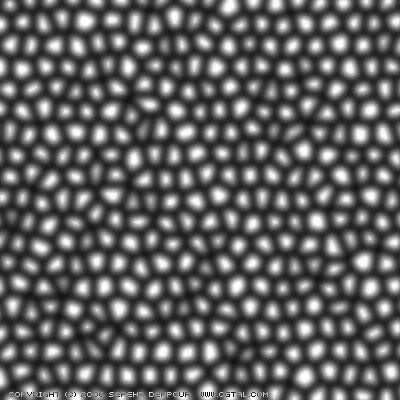
Also be aware that JPEG artefacts can cause regularities in your displacement.
Here is a render with a displacement texture that suffer from JPEG artefacts:
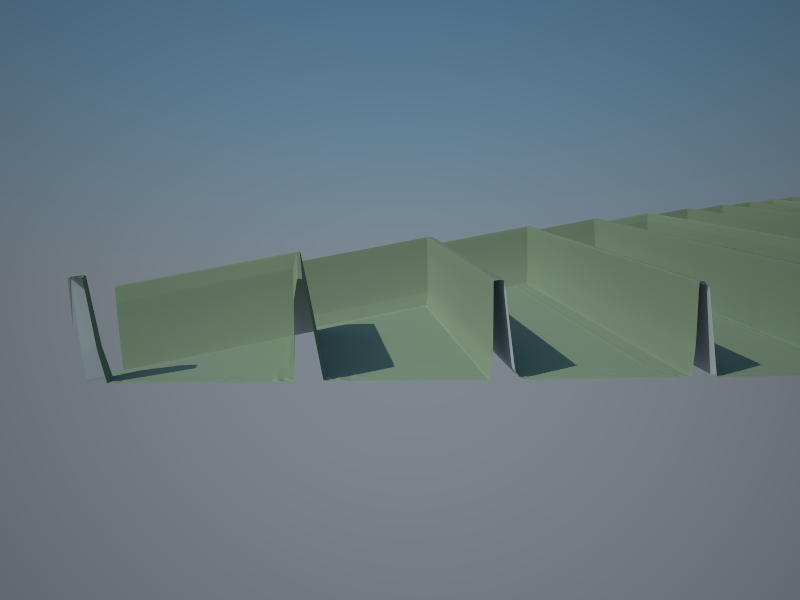
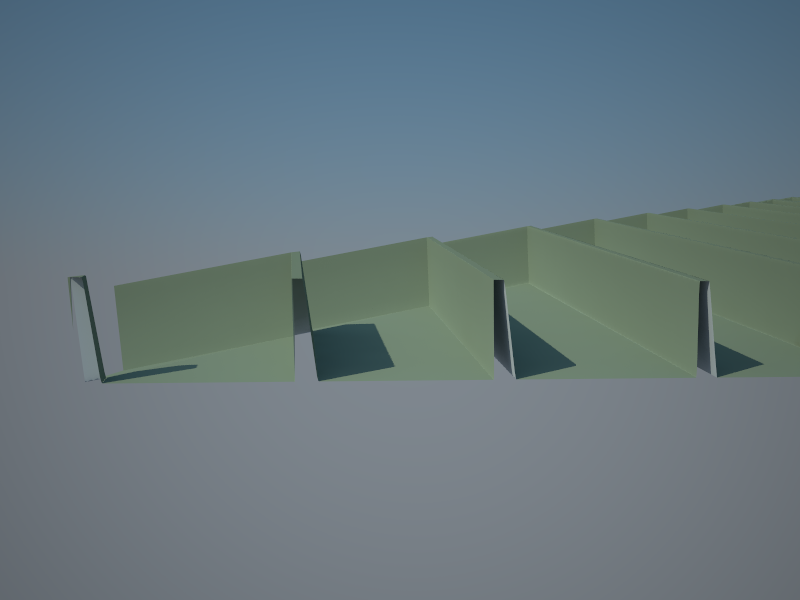
Because the texture consist of clean geometric lines, the lossy compression filters becomes more visible. Next example is the same texture, just with lossless compression:

-
-
I need such result in maxwell

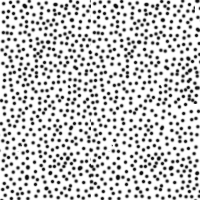
Try to render some grass on big area with lots of triangles using this map:
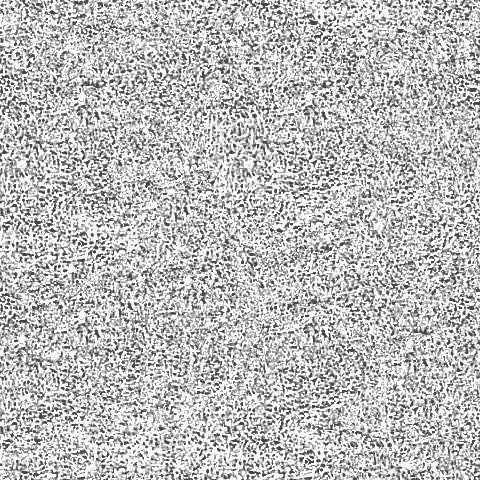
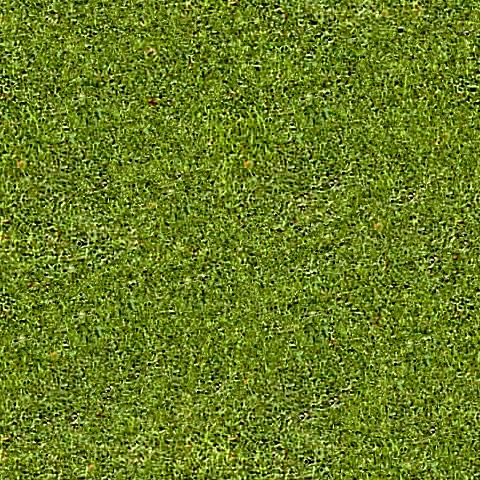
-
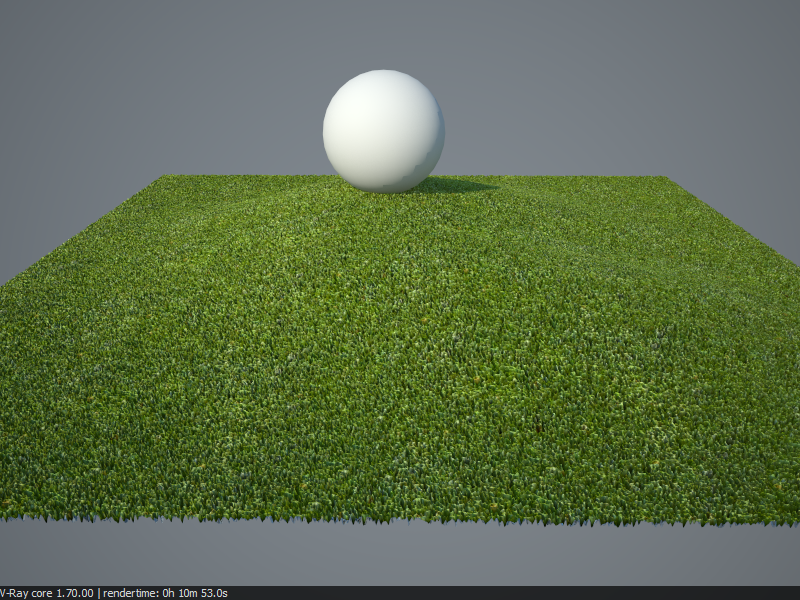
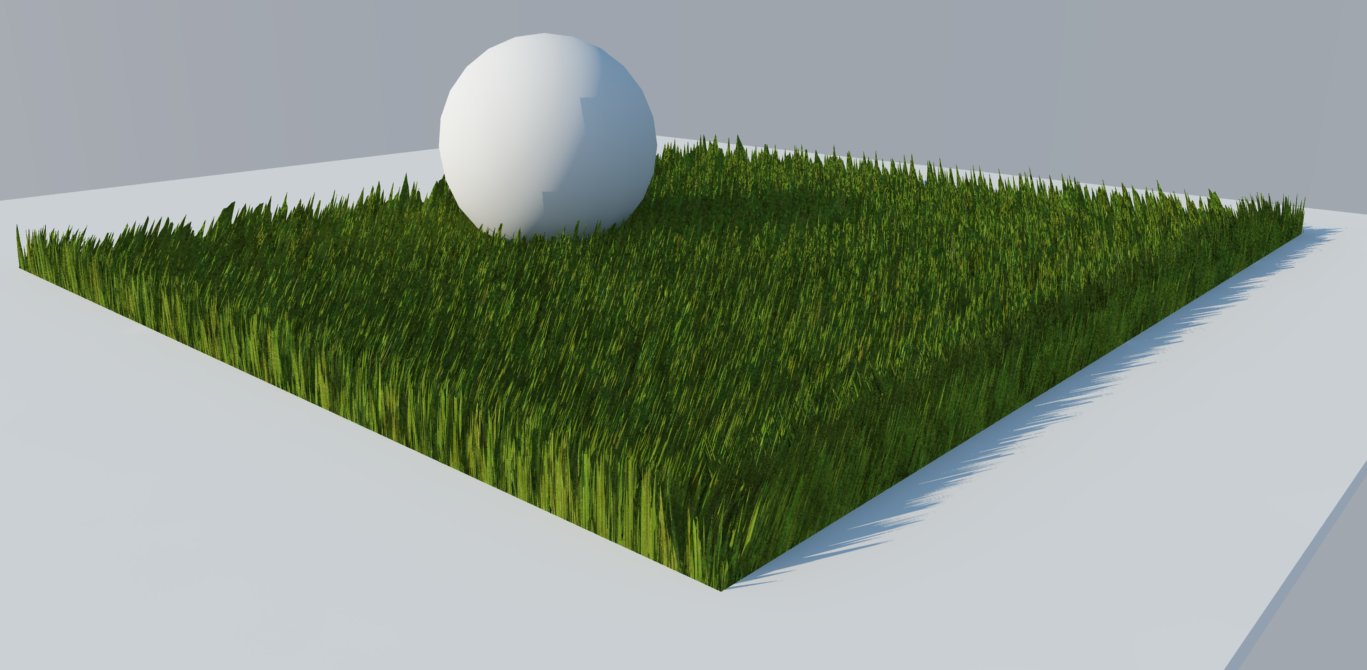
Here's a quick test.
I am not a fan of displaced grass.
- It does not look real - looks like spikes. Especially when the displacement is overdone. If reduced it's usually so subtle that displacement is not needed.
- You need to the UV coordinates 100% right to avoid gaps when displacing irregular geometry this this sample.
- It slow!
- It chews up memory like a cookie monster at the cookie factory. Bad thing for VfSU that is locked inside SU's 32bit system.
- Adding grass in post is quicker, more reliable and yields better results.
-
Hi:
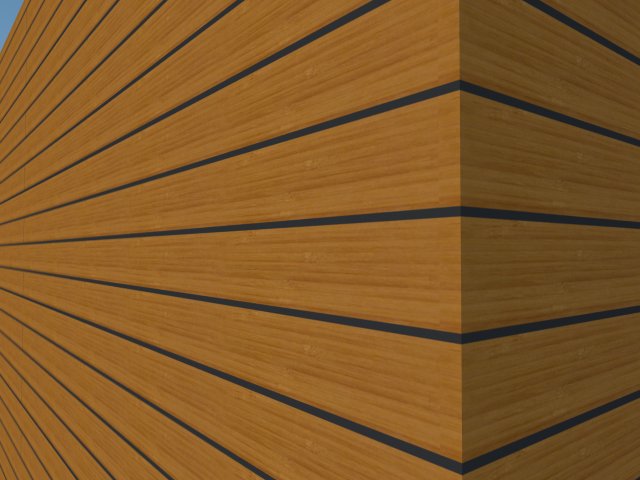
I am in trouble to make this works, I try to make a siding for a project and I can't make the displacement work, any way that someone attach all the modifications that I need also the correct settings, I use the latest Vray just purchased and I have no good feedback from Asgvis, still waiting for the forum and i have a deadline, any help please will be really appreciated...
Kalu!

-
@kalu said:
Hi:
I am in trouble to make this works, I try to make a siding for a project and I can't make the displacement work, any way that someone attach all the modifications that I need also the correct settings, I use the latest Vray just purchased and I have no good feedback from Asgvis, still waiting for the forum and i have a deadline, any help please will be really appreciated...
Kalu!

- First rule of displacement in VfSU. Isolate the geometry with the material you want to displace. In your example that means selecting the wall faces and grouping them.
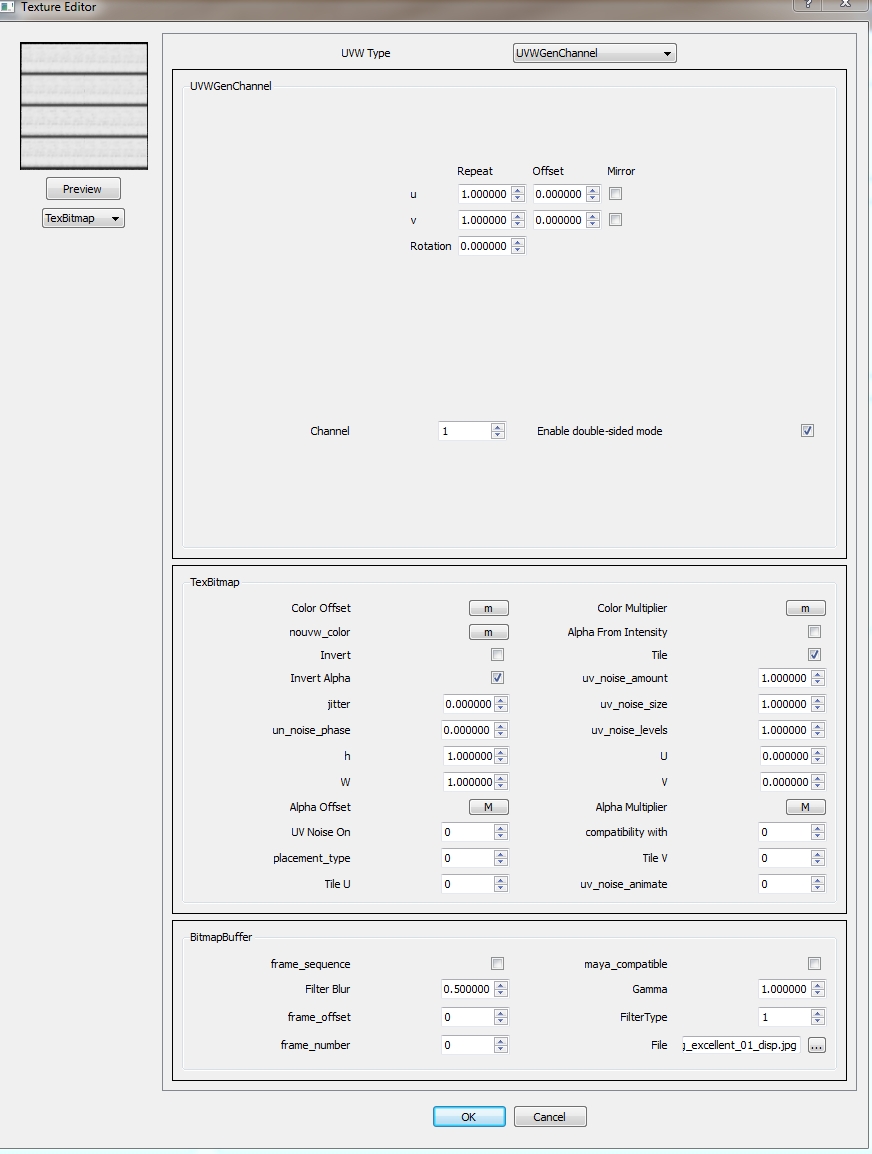
- You had set the displacement mapping type to UVWGenObject - but in 99.9% of the cases you want to leave it to UVWGenChannel which means it uses the SU UV mapping.
-
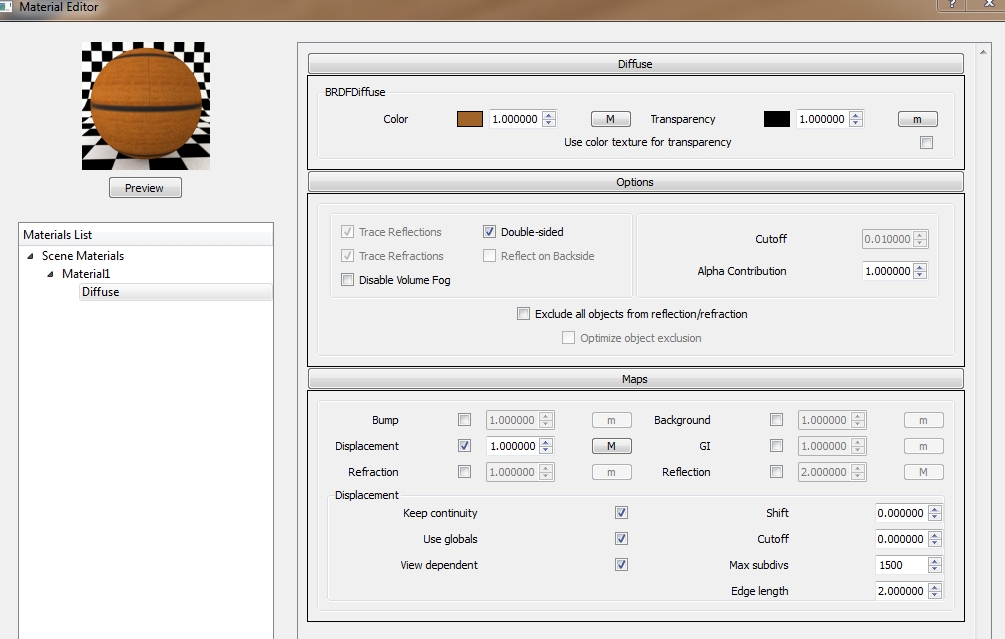
The only thing you need to do to displace the walls is group the walls so they do not connect to any other geometry with different material and set the mapping type for your displacement map to UVQGenChannel.
You might want to adjust the Edge Length to increase quality, but that depends solely on the view you render from.

-
@thomthom said:
@kalu said:
Hi:
I am in trouble to make this works, I try to make a siding for a project and I can't make the displacement work, any way that someone attach all the modifications that I need also the correct settings, I use the latest Vray just purchased and I have no good feedback from Asgvis, still waiting for the forum and i have a deadline, any help please will be really appreciated...
Kalu!

- First rule of displacement in VfSU. Isolate the geometry with the material you want to displace. In your example that means selecting the wall faces and grouping them.
- You had set the displacement mapping type to UVWGenObject - but in 99.9% of the cases you want to leave it to UVWGenChannel which means it uses the SU UV mapping.
Hi thomas, can you be a little more specific with the settings I am new in the VRAY world and I spend 8-10 hours a day learning and if you can be more step by step I am very happy...I will try the changes for now but I hope you can explain a little mroe in detail. Again, thank you so much for your time...
Kalu!
-
Thanks Thomthom for the excellent advice. Very helpful!
-
Do Bumpmaps in vfsu take up just as much memory

-
Josh,
No. Bump maps are processed as normal light bounce calculations. While displacement creates additional geometry. This additional geometry is loaded and unloaded from memory during rendering. Depending on the intensity of the remaining calculations, sometimes the displacement will over tax your ram. The larger the displaced faced, the more is loaded into memory before it is unloaded. By subdividing, Vray can load and unload smaller amounts into memory, saving the overall memory consumption.
To test, open your task manager and view the ram usage during rendering, using first bump, and then displacement.
-
@thomthom said:
[attachment=0:2mhtdcot]<!-- ia0 -->grass01.png<!-- ia0 -->[/attachment:2mhtdcot]
Here's a quick test.
I am not a fan of displaced grass.
- It does not look real - looks like spikes. Especially when the displacement is overdone. If reduced it's usually so subtle that displacement is not needed.
- You need to the UV coordinates 100% right to avoid gaps when displacing irregular geometry this this sample.
- It slow!
- It chews up memory like a cookie monster at the cookie factory. Bad thing for VfSU that is locked inside SU's 32bit system.
- Adding grass in post is quicker, more reliable and yields better results.
how do you add the correct shadows, to post processed grass?
how do you make the post processed grass looks real (3d) when in contact with other surfaces. I mean... post processed grass looks FLAT...
-
Use a layer blend mode so you mix the shades of the underlaying layer. Or render out the image in mulitple passes which you can overlay.
-
Hi guys,
Sorry for disturbing: I don't know nothing about Vray..But I find Displacement incredibly amazing.
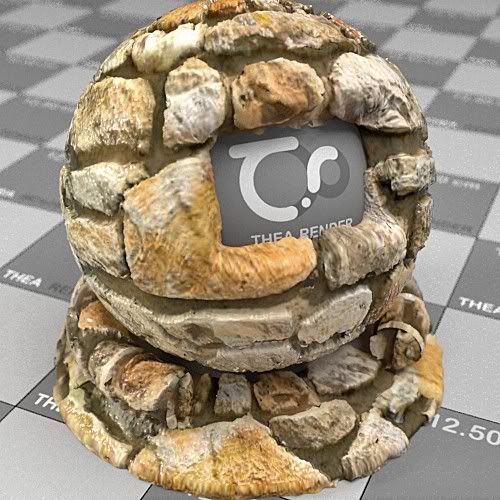
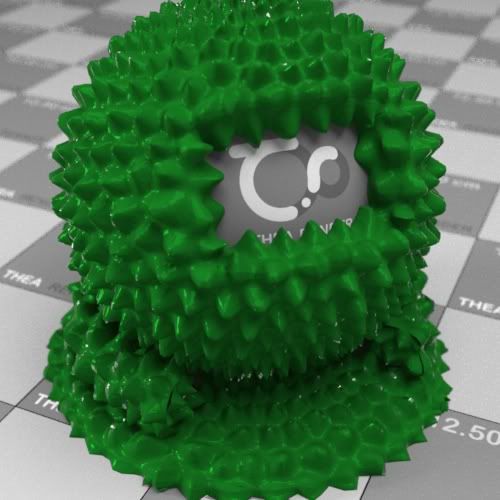
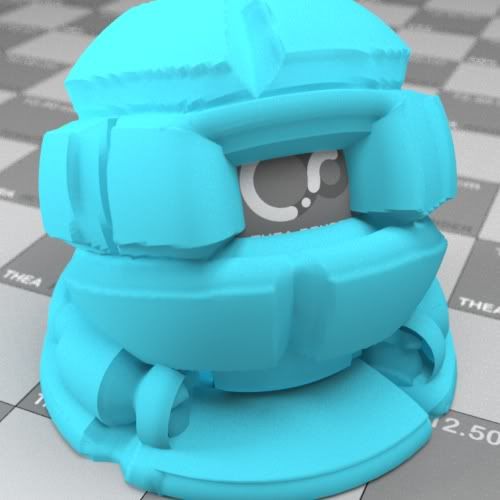

 simon
simon -
Thanks Thomthom! Very helpful!
-
Very frustrated.
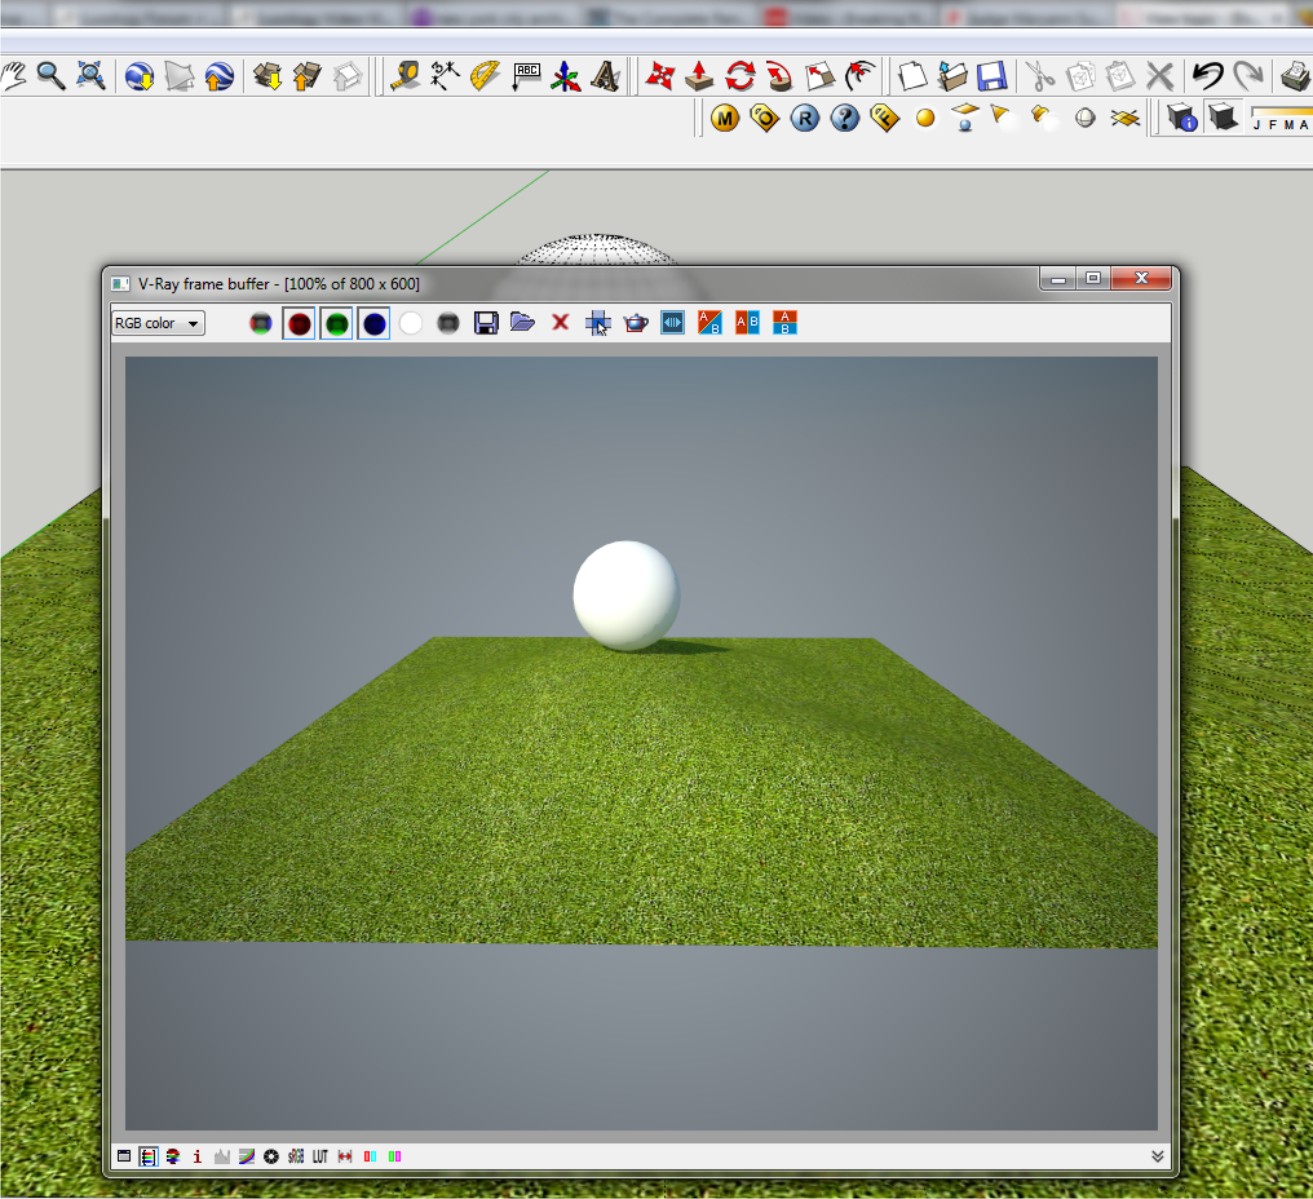
I'm trying to learn a bit of Vray before my demo expires, then I'm back to modo until some more $$ comes in.I can't seem to get displacement to work. Is there a global switch somewhere that I'm overlooking? I've downloaded all of the files in this thread, opened them without changing any settings and I get nothing.
Any ideas of what I'm doing wrong or what I'm not doing?
Thanks
-
@arail1 said:
Very frustrated.
I'm trying to learn a bit of Vray before my demo expires, then I'm back to modo until some more $$ comes in.I can't seem to get displacement to work. Is there a global switch somewhere that I'm overlooking? I've downloaded all of the files in this thread, opened them without changing any settings and I get nothing.
Any ideas of what I'm doing wrong or what I'm not doing?
Thanks
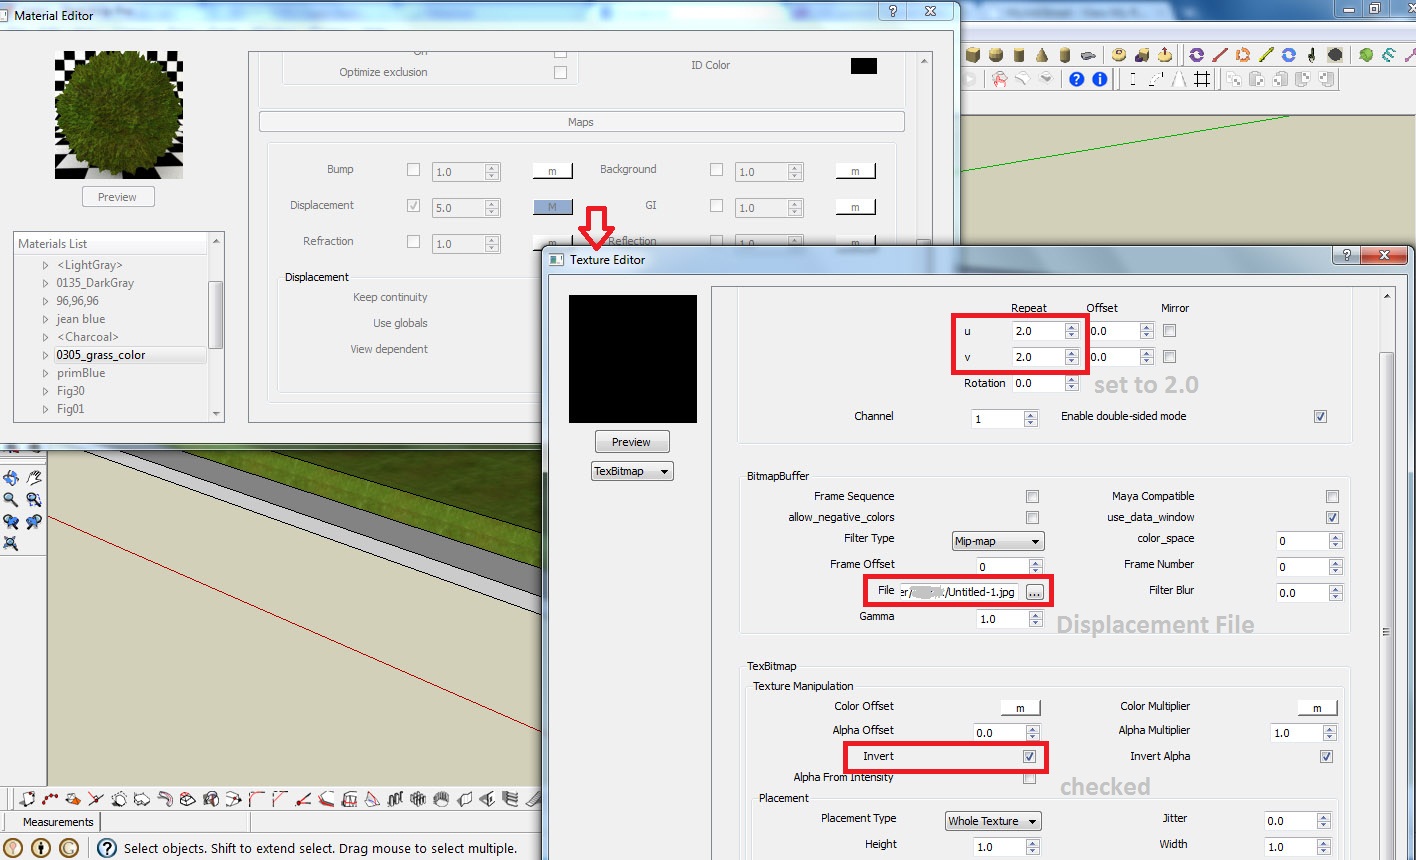
hello arail1, i dont know if this works for you, recently I play vray displacement on grass. And accidentaly found out this settings for grass displacement. I used vray 1.49.01 demo, and heres my settings.
-
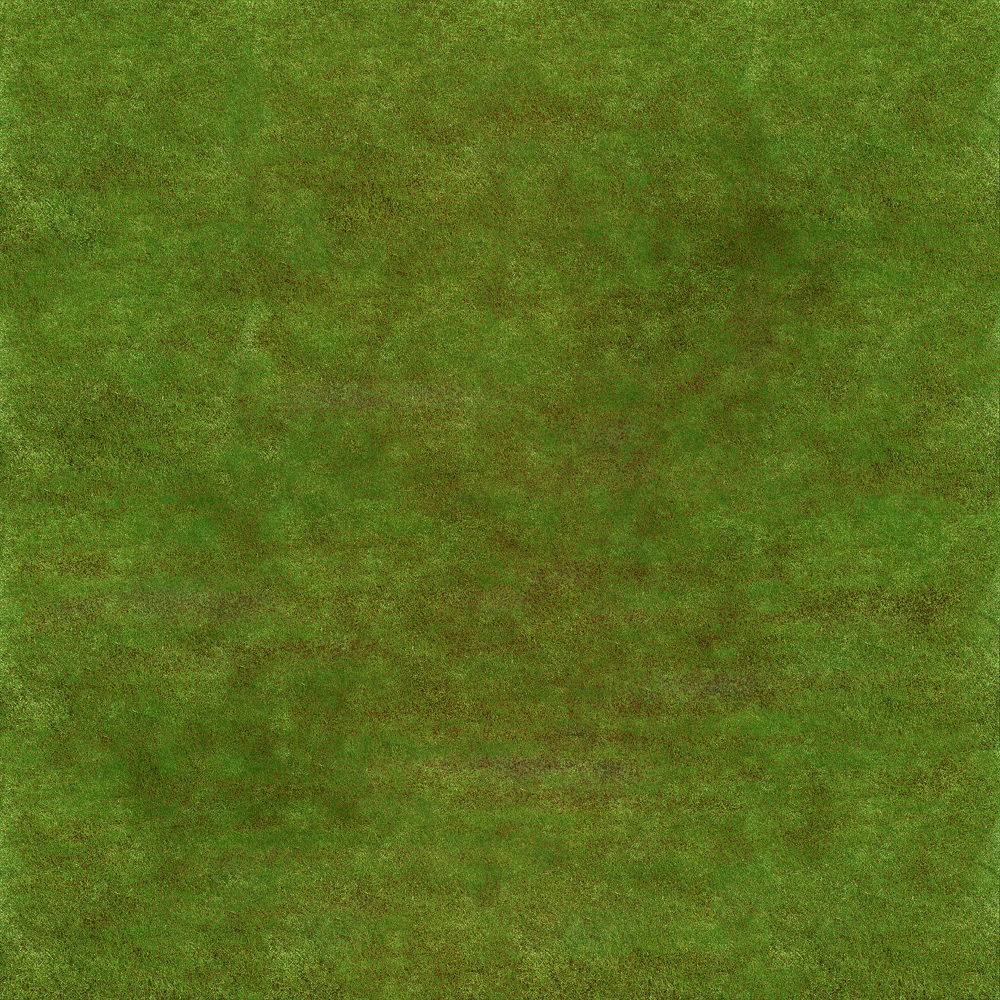
I use the grass textured (attachment no.1) in the difuse layer and the displacement attachment no.2
-
Then in my material editor, at Maps, load the displacement file (attachment no.2) then adjust the U & V equal to 2.0, then check the invert box as shown in picture 7,
-
After that, I adjust the displacement multiplier to 5 and the edge length to 3.0 as shown in pictures also. (picture 4)
-
Then in the V-RAY OPTION. go to Displacement menu then adjust the amount to 2.0 and edge length to 5.0. (see picture 5)
-
finally hit render botton.
I attached also the output of that settings (picture 6), and some other output, i just change the amount of displacement and edge length.
Thats it, hopefully this will help you.
Cheers!
Krisnel
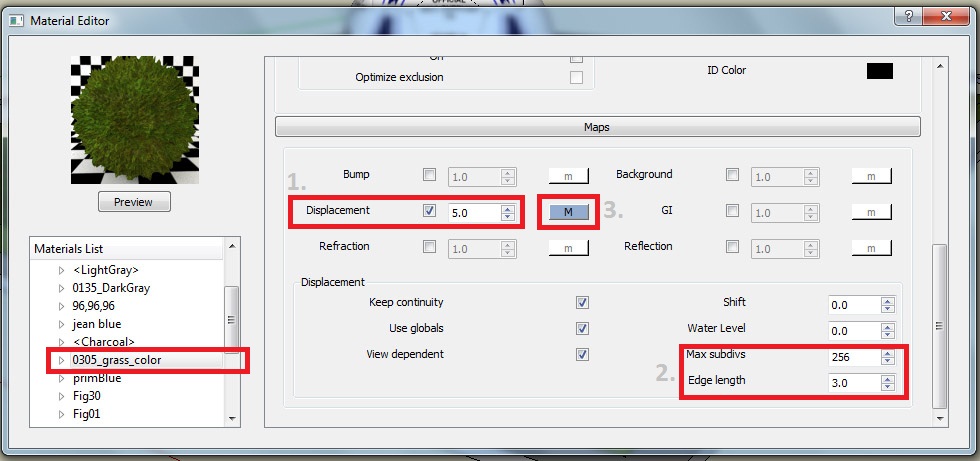

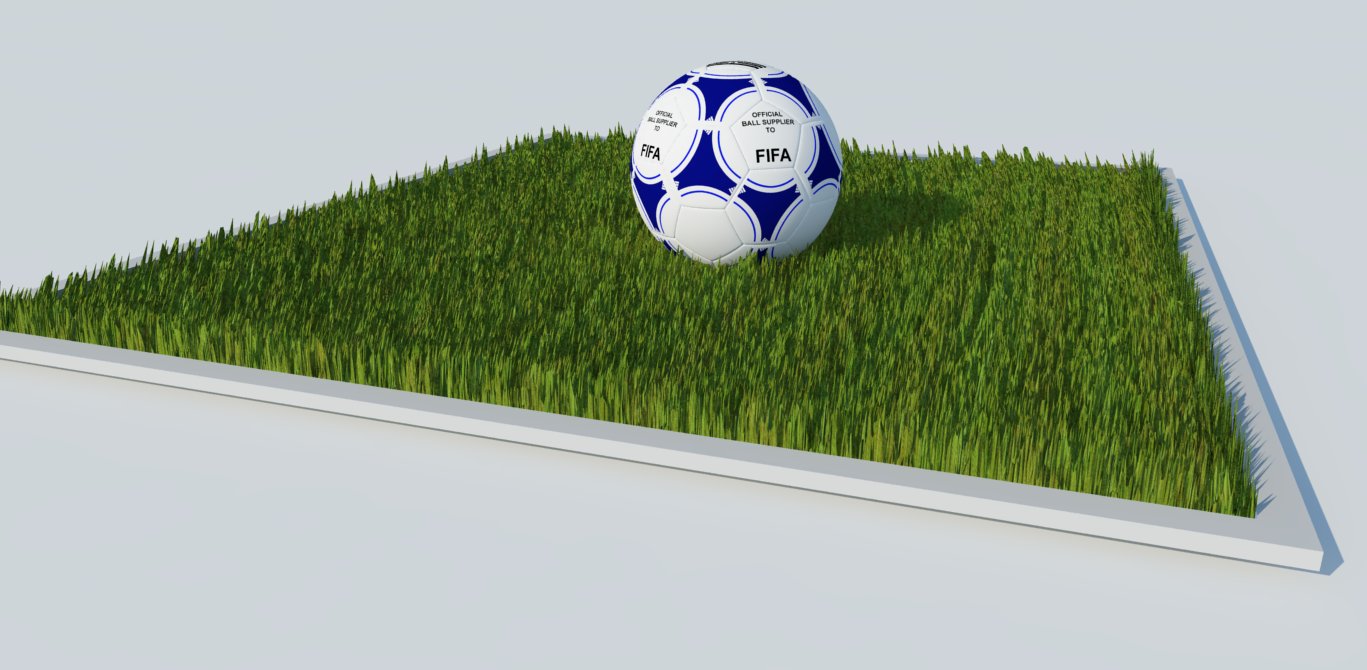
-
-
Thanks 3deviator -
I dragged some displacement maps I use in modo into my SketchUp scene and now I have displacement. I assumed downloading some of the files from this thread and hitting Render without doing anything else would work but for some reason it doesn't, not sure why. But whatever, I seem to have overcome the problem.
-
Make sure you group the faces with the displaced materials.
-
hi thomthom,
I want to ask the basic pattern of displacement map,
is it extrude the black colour and nothing in white?what about if i use a coloured jpg image as displace maps
eq, using the same jpeg image in diffuse and displacement maps
is it displaced?i already try bump maps , make more realistic in texturing, but not more realistic if i render the corner of a room with applied 30x30 tiles on it (look realistic on the texture but not at the edge/ corner at the tile)
maybe, can u share step by step the setting of doing this rendering corner of a room with 30x30 tile? thx
SU 8+vray 1.49.01
-
I remember reading something about a 'trick' to get displacement to calc faster on a final rendering. Does anyone remember the process. It had something to do with running the rendering with displacement off and then saving the IR and LC maps and then re-running the rendering? It was supposed to increase render times dramatically.
Hello! It looks like you're interested in this conversation, but you don't have an account yet.
Getting fed up of having to scroll through the same posts each visit? When you register for an account, you'll always come back to exactly where you were before, and choose to be notified of new replies (either via email, or push notification). You'll also be able to save bookmarks and upvote posts to show your appreciation to other community members.
With your input, this post could be even better 💗
Register LoginAdvertisement


